Page 35 of 211
1
FEATURES OF YOUR HYUNDAI
23
1. Fuel Gauge
2. Coolant Temperature Gauge
3. Charging System Warning Light
4. Parking Brake/Low Brake Fluid Level Warning Light
5. Turn Signal Indicator Light
6. Seat Belt Warning Light
7. High Beam Indicator Light
8. Digital Clock
9. Malfunction Indicator Light (MIL) (If Installed) 10. Speedometer
11. Digital Clock Reset Switch
12. Door Ajar Warning Light
13. Low Oil Pressure Warning Light
14. Fuel Filter Warning Light
15. Odometer/Trip Odometer
16. Low Fuel Warning Light
17. Diesel Pre-heat Indicator Light
18. Trip Odometer Reset Switch
Page 37 of 211
1
FEATURES OF YOUR HYUNDAI
25
1. Tachometer
2. Charging System Warning Light
3. Parking Brake/Low Brake Fluid Level Warning Light
4. Turn Signal Indicator Light
5. Seat Belt Warning Light
6. High Beam Indicator Light
7. Digital Clock
8. Low Fuel Warning Light
9. Malfunction Indicator Light (MIL) (If Installed)
10. Speedometer 11. Digital Clock Reset Switch
12. Low Oil Pressure Warning Light
13. Door Ajar Warning Light
14. Fuel Filter Warning Light
15. Coolant Temperature Gauge
16. Odometer/Trip Odometer
17. Fuel Gauge
18. Diesel Pre-heat Indicator Light
19. Trip Odometer Reset Switch
Page 43 of 211
1
FEATURES OF YOUR HYUNDAI
31
The tachometer registers the speed of your engine in revolutions per minute (rpm).
!
CAUTION:
The engine should not be raced to such a speed that the needle enters the red zone on the tachometer face.This can cause severe engine dam- age and may void your warranty.
B330A02A-AAT TACHOMETER (If Installed)
B330A01HRB310B01HR-GATODOMETER/TRIP ODOMETER
HHR2060
HHR2061
Reset switch
B300A01A-GAT SPEEDOMETER
HHR2011
Your Hyundai's speedometer is cali- brated in kilometers per hour or miles per hour.
Page 44 of 211

1FEATURES OF YOUR HYUNDAI
32
NOTE: Any alteration of the odometer may void your warranty coverage. 2,3 Trip odometer Records the distance of 2 trips in kilo- meters or miles.TRIP A: First distance you have trav-
eled from your origination point to a firstdestination.TRIP B: Second distance from the first
destination to the final destination. To shift from TRIP A to TRIP B, press the reset switch. When it pressed for more than 1 second, the trip odometerwill reset to 0.COMBINATION TURN SIGNAL, HEADLIGHT AND HIGH-BEAMSWITCH
B340A01A-AAT Turn Signal Operation Pulling down on the lever causes the turn signals on the left side of the car toblink. Pushing upwards on the lever causes the turn signals on the right side of the car to blink. As the turn iscompleted, the lever will automatically return to the center position and turn off the turn signals at the same time. Ifeither turn signal indicator light blinks more rapidly than usual, goes on but does not blink, or does not go on at all,there is a malfunction in the system. Check for a burned-out fuse or bulb or see your Hyundai dealer.
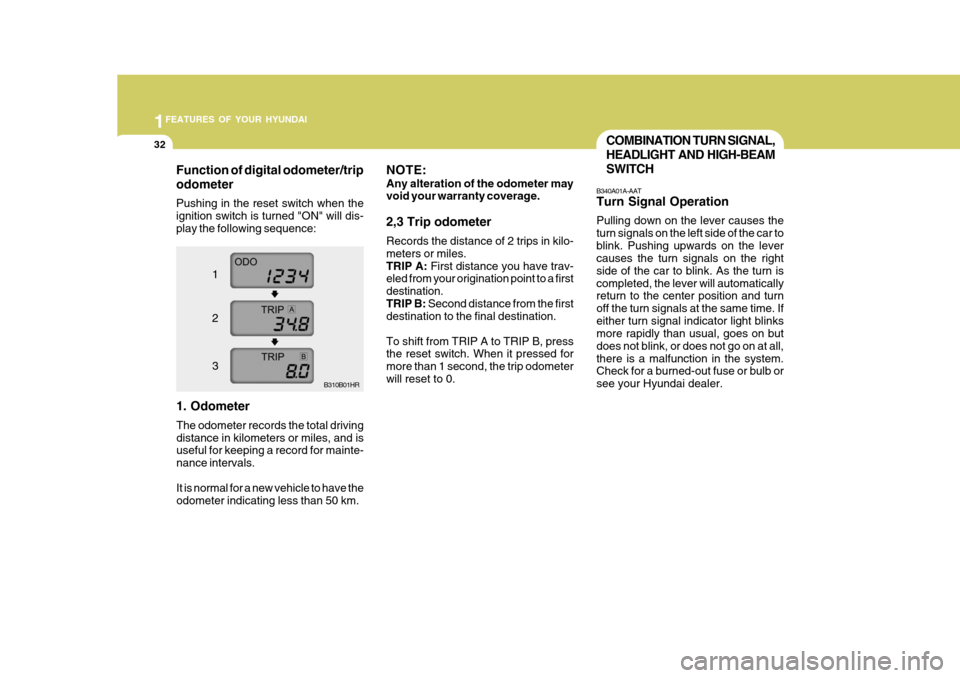
Function of digital odometer/trip odometer
Pushing in the reset switch when the ignition switch is turned "ON" will dis-play the following sequence:
1. Odometer The odometer records the total driving distance in kilometers or miles, and is useful for keeping a record for mainte- nance intervals. It is normal for a new vehicle to have the odometer indicating less than 50 km. B310B01HR
1 2 3
Page 51 of 211
1
FEATURES OF YOUR HYUNDAI
39TICKET HOLDER
B590A01HR-GAT (If Installed)
For your convenience, it may be used for holding a tollgate ticket or a card. OHR028104
CAUTION:
Do not clean the inner side of therear window glass with an abrasive type of glass cleaner or use a scraper to remove foreign deposits from theinner surface of the glass as this may cause damage to the defroster ele- ments. NOTE: The engine must be running for the rear window defroster to operate.
!
DIGITAL CLOCK
B400A01HR-GAT (If Installed) There is a digital clock reset switch for the digital clock. Its functions are: Hour/Minute Adjustment: Turn the switch counterclockwise for less than 1.5 seconds to advance thehour indicated. Turn the switch clock- wise for less than 1.5 seconds to ad- vance the minute indicated. Auto Mode: Turn the switch counterclockwise or clockwise for more than 1.5 seconds to advance the hour or the minute auto-matically. B400A01HR
Digital Clock Reset Switch
Page 52 of 211

1FEATURES OF YOUR HYUNDAI
40
CAUTION:
Do not use electric accessories or equipment other than the Hyundai genuine parts in the socket.
!
Reset: Press the switch for more than 1 sec- ond to reset minutes to ":00" or to facilitate resetting the clock to the cor-rect time. When this is done: Pressing the switch between 9 : 01 and 9 : 29 changes the readout to 9 : 00. Pressing the switch between 9 : 30 and 9 : 59 changes the readout to 10 : 00.
!
CIGARETTE LIGHTER
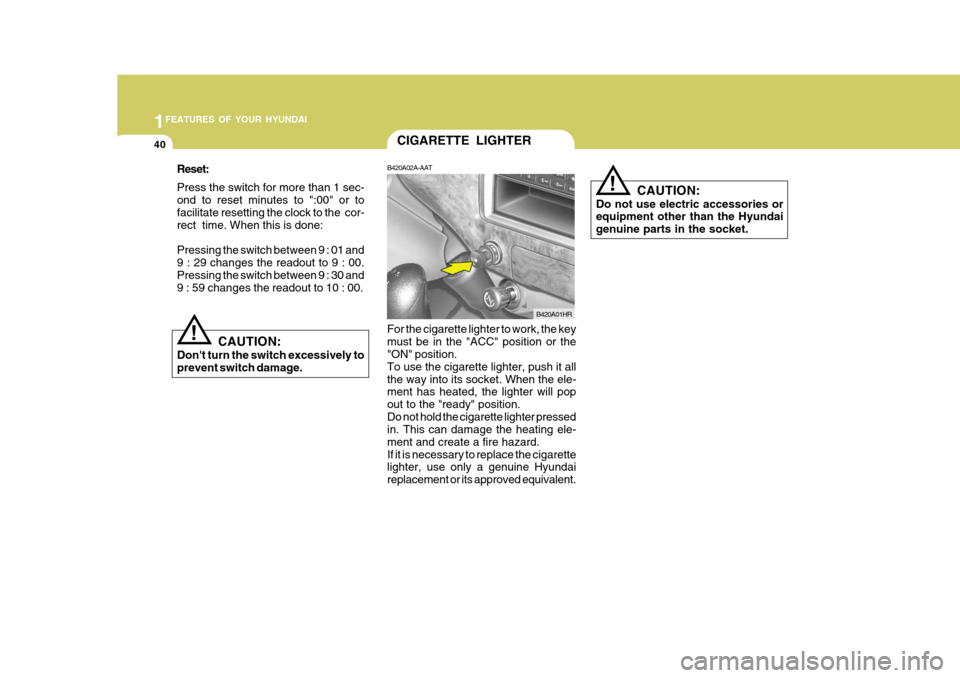
B420A02A-AAT For the cigarette lighter to work, the key must be in the "ACC" position or the "ON" position. To use the cigarette lighter, push it allthe way into its socket. When the ele- ment has heated, the lighter will pop out to the "ready" position.Do not hold the cigarette lighter pressed in. This can damage the heating ele- ment and create a fire hazard.If it is necessary to replace the cigarette lighter, use only a genuine Hyundai replacement or its approved equivalent. B420A01HR
CAUTION:
Don't turn the switch excessively toprevent switch damage.
Page 79 of 211
1
FEATURES OF YOUR HYUNDAI
67
1. POWER/VOLUME 2. DISPLAY(LCD) 3. RADIO(FM/AM) Button4. MODE Button5. SCAN Button 6. PRESET MEMORY Button 7. TUNE/SEEK Button
1
2
4
3
6
5
7
AUDIO SYSTEM
RADIO, SET UP, VOLUME CONTROL (HR K260) (If Installed)
Page 80 of 211

1FEATURES OF YOUR HYUNDAI
68
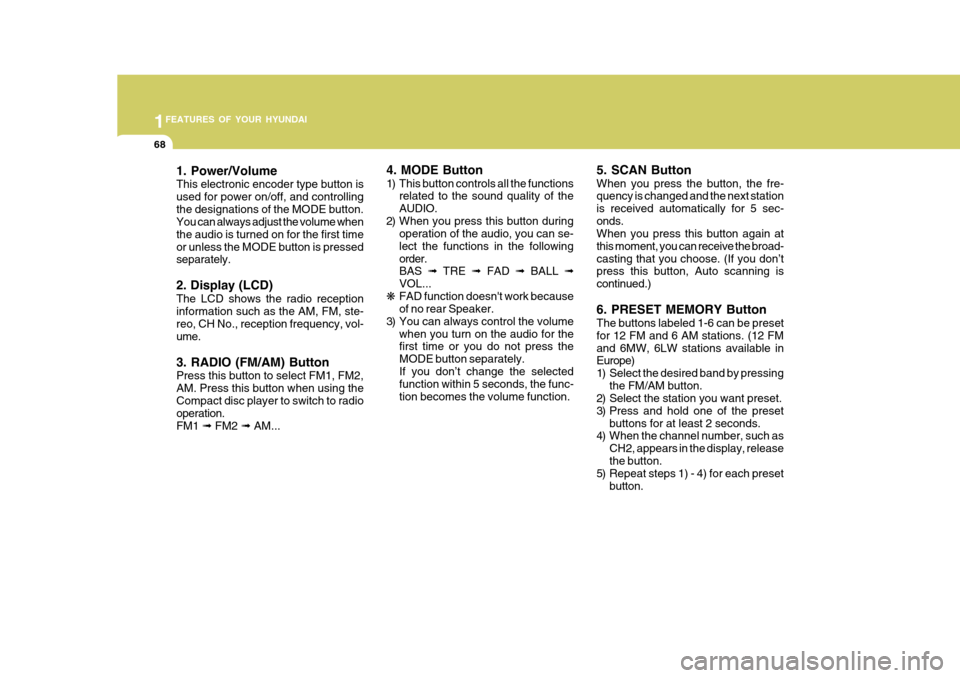
1. Power/Volume This electronic encoder type button is used for power on/off, and controllingthe designations of the MODE button. You can always adjust the volume when the audio is turned on for the first timeor unless the MODE button is pressed separately. 2. Display (LCD) The LCD shows the radio reception information such as the AM, FM, ste- reo, CH No., reception frequency, vol- ume. 3. RADIO (FM/AM) Button Press this button to select FM1, FM2, AM. Press this button when using theCompact disc player to switch to radio operation. FM1 ➟ FM2 ➟ AM... 4. MODE Button
1) This button controls all the functions
related to the sound quality of the AUDIO.
2) When you press this button during operation of the audio, you can se-lect the functions in the followingorder. BAS ➟ TRE ➟ FAD ➟ BALL ➟
VOL...
❋ FAD function doesn't work becauseof no rear Speaker.
3) You can always control the volume when you turn on the audio for thefirst time or you do not press the MODE button separately.If you don’t change the selected function within 5 seconds, the func- tion becomes the volume function. 5. SCAN Button When you press the button, the fre- quency is changed and the next station is received automatically for 5 sec-onds. When you press this button again at this moment, you can receive the broad-casting that you choose. (If you don’t press this button, Auto scanning is continued.) 6. PRESET MEMORY Button The buttons labeled 1-6 can be preset for 12 FM and 6 AM stations. (12 FMand 6MW, 6LW stations available in Europe)
1) Select the desired band by pressing
the FM/AM button.
2) Select the station you want preset.
3) Press and hold one of the preset
buttons for at least 2 seconds.
4) When the channel number, such as
CH2, appears in the display, releasethe button.
5) Repeat steps 1) - 4) for each preset
button.