Page 85 of 211
1
FEATURES OF YOUR HYUNDAI
73
K220A01HR-GAT STEREO RADIO OPERATION (K220) (If Installed)
K220A01HR
1. POWER ON-OFF, BALANCE, VOLUME, SCAN Control Knob 3. Band Selector
4. BASS/TREBLE Control Button
2. TUNE/SEEK Select Button
5. PRESET STATION Select Buttons 6 . LCD
Page 86 of 211

1FEATURES OF YOUR HYUNDAI
74
K220B01HR-GAT
1. POWER ON-OFF/VOLUMEControl Knob
The radio unit may be operated when the ignition key is in the "ACC" or "ON"position. Rotate the knob clockwise to switch the radio unit on and to increase the volume.The LCD shows the radio frequency in the radio mode. Turn the knob counter- clockwise to reduce the volume and toswitch the radio unit off. BAL (Balance) Control Knob Pull and turn the control knob clockwise to emphasize right speaker sound (left speaker sound will be attenuated). When the control knob is turned counterclock-wise, left speaker sound will be empha- sized (right speaker sound will be at- tenuated).After adjusting the balance, push the knob again to use the other function. SCAN Knob When the scan knob is pressed, the frequency will increase and the receiv-able stations will be tuned in one after another, receiving each station for 5 seconds. To stop scanning, press thescan knob again.
2. TUNE (manual) Select Button Press the ( ) side or ( ) side to increase or to decrease the frequency. With the button held down for 1 secondor more, the stop signal (broadcasting radio wave) is ignored and channel selection continues. SEEK Operation (Automatic Channel Selection) Press the TUNE select button for 1 second or more. When the ( ) side ispressed, the unit will automatically tune to the next higher frequency and when the ( ) side is pressed, it will automati-cally tune to the next lower frequency. 3. BAND Selector Pressing the button changes the AM, FM1 and FM2 bands. The modeselected is displayed on LCD. Each press of the button changes the display as follows;
FM1 � FM2 � AM � FM1
4. BASS Control Knob Press to pop the knob out and turn to the left or right for the desired bass tone. TREBLE Control Knob Pull the bass control knob further out. Turn to the left or right for the desiredtreble tone.
5. PRESET STATION Select But- tons
Six (6) stations for AM, FM1 and FM2 respectively can be preset in the elec- tronic memory circuit on this unit.
FM AM
Page 87 of 211

1
FEATURES OF YOUR HYUNDAI
75
HOW TO PRESET STATIONS Six AM and twelve FM stations may be programmed into the memory of theradio. Then, by simply pressing the band select button and/or one of the six station select buttons, you may recallany of these stations instantly. To pro- gram the stations, follow these steps:
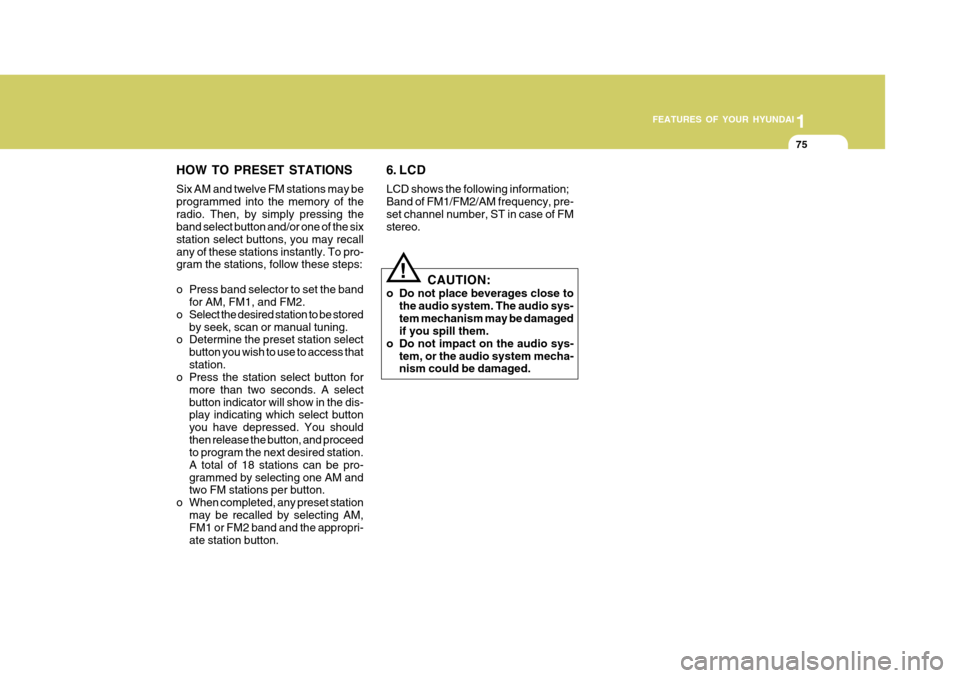
o Press band selector to set the band for AM, FM1, and FM2.
o Select the desired station to be stored by seek, scan or manual tuning.
o Determine the preset station select
button you wish to use to access that station.
o Press the station select button for
more than two seconds. A selectbutton indicator will show in the dis- play indicating which select button you have depressed. You shouldthen release the button, and proceed to program the next desired station. A total of 18 stations can be pro-grammed by selecting one AM and two FM stations per button.
o When completed, any preset station may be recalled by selecting AM,FM1 or FM2 band and the appropri- ate station button.
!
6. LCD LCD shows the following information; Band of FM1/FM2/AM frequency, pre-set channel number, ST in case of FM stereo.
CAUTION:
o Do not place beverages close to the audio system. The audio sys- tem mechanism may be damaged if you spill them.
o Do not impact on the audio sys- tem, or the audio system mecha-nism could be damaged.
Page 90 of 211
1FEATURES OF YOUR HYUNDAI
78
3 . LCD
K240A01HR-GAT STEREO RADIO OPERATION (K240) (If Installed)
K240A01HR
1. POWER ON/OFF, VOLUME Control Knob 8. BASS/BALANCE Control Knob
(BASS/BAL) 4. TREBLE Control Knob
5. TUNE/SEEK Select Button
2. BAND Selector
6. PRESET STATION Select Buttons7. SCAN Button
Page 91 of 211

1
FEATURES OF YOUR HYUNDAI
79
FM/AM
K240B01HR-GAT
1. POWER ON-OFF Control
Knob
The radio unit may be operated when the ignition key is in the "ACC" or "ON"position. Press the knob to switch the power on. The LCD shows the radio frequency in the radio mode or the tapedirection indicator in the tape mode. To switch the power off, press the knob again. VOLUME Control Rotate the knob clockwise to increase the volume and turn the knob counter-clockwise to reduce the volume. 2. BAND Selector Pressing the button changes the AM, FM1 and FM2 bands. The mode selected is displayed on LCD.Each press of button changes the dis- play as follows; FM1 � FM2 � AM � FM1 3. LCD LCD shows the following informations; Band of FM1/FM2/AM frequency, pre-set channel number, ST in case of FM stereo. 4. TREB (Treble) Control Knob Press to pop the knob out and turn to the left or right for the desired trebletone. 5. TUNE (Manual) Select Button Press the ( ) side or ( ) side to increase or to decrease the frequency. Press either button and hold down to continu- ously scroll. Release button once thedesired station is reached. SEEK Operation (Automatic Channel Selection) Press the TUNE select button 0.5 sec or more. Releasing it will automatically tune to the next available station with a beep sound. When the ( ) side is pressed longer than0.5 second, releasing will automaticallytune to the next higher frequency and when the ( ) side is pressed longer than 0.5 second and releasing will automati-cally tune to the next lower frequency.
6. PRESET STATION Select But-
tons
Six (6) stations for AM, FM1 and FM2 respectively can be preset in the elec- tronic memory circuit on this unit. HOW TO PRESET STATIONS Six AM and twelve FM stations may be programmed into the memory of the radio. Then, by simply pressing theband select button and/or one of the six station select buttons, you may recall any of these stations instantly. To pro-gram the stations, follow these steps:
o Press band selector to set the band for AM, FM1, or FM2.
o Select the desired station to be stored
by seek or manual tuning.
o Determine the preset station select button you wish to use to access that station.
Page 92 of 211

1FEATURES OF YOUR HYUNDAI
80
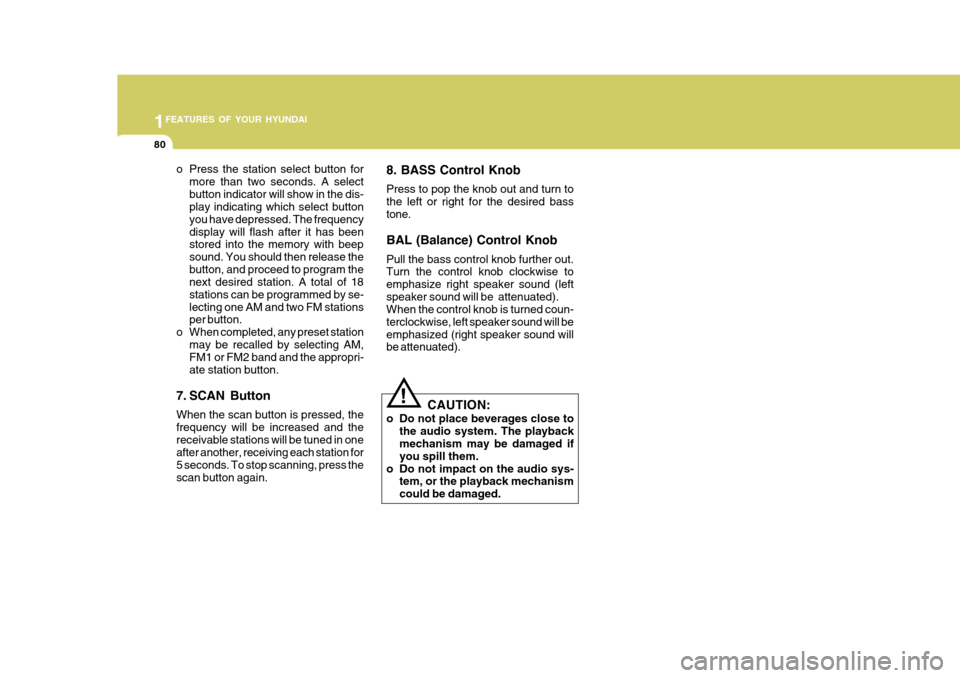
o Press the station select button formore than two seconds. A select button indicator will show in the dis- play indicating which select button you have depressed. The frequencydisplay will flash after it has been stored into the memory with beep sound. You should then release thebutton, and proceed to program the next desired station. A total of 18 stations can be programmed by se-lecting one AM and two FM stations per button.
o When completed, any preset station may be recalled by selecting AM,FM1 or FM2 band and the appropri- ate station button.
7. SCAN Button When the scan button is pressed, the frequency will be increased and thereceivable stations will be tuned in one after another, receiving each station for 5 seconds. To stop scanning, press thescan button again. 8. BASS Control Knob Press to pop the knob out and turn to the left or right for the desired basstone. BAL (Balance) Control Knob Pull the bass control knob further out. Turn the control knob clockwise to emphasize right speaker sound (leftspeaker sound will be attenuated). When the control knob is turned coun- terclockwise, left speaker sound will beemphasized (right speaker sound will be attenuated).
!
CAUTION:
o Do not place beverages close to the audio system. The playback mechanism may be damaged if you spill them.
o Do not impact on the audio sys- tem, or the playback mechanismcould be damaged.
Page 175 of 211

6 DO-IT-YOURSELF MAINTENANCE
24
!
CHECKING THE BATTERY
G210A01A-AAT
WARNING:
Batteries can be dangerous! When working with batteries, carefully ob-serve the following precautions to avoid serious injuries. D010B01HR
The fluid in the battery contains a strong solution of sulfuric acid, which is poi- sonous and highly corrosive. Be careful not to spill it on yourself or the car. If youdo spill battery fluid on yourself, imme- diately do the following:
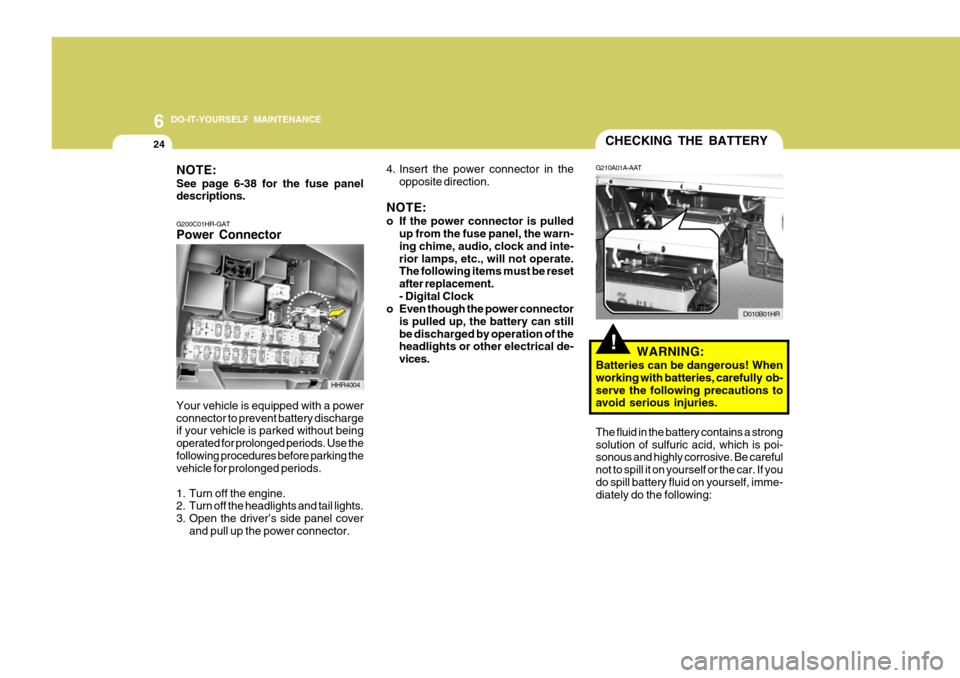
NOTE: See page 6-38 for the fuse panel descriptions. G200C01HR-GAT Power Connector
4. Insert the power connector in the
opposite direction.
NOTE:
o If the power connector is pulled up from the fuse panel, the warn- ing chime, audio, clock and inte-rior lamps, etc., will not operate. The following items must be reset after replacement.- Digital Clock
o Even though the power connector
is pulled up, the battery can stillbe discharged by operation of the headlights or other electrical de- vices.
Your vehicle is equipped with a powerconnector to prevent battery discharge if your vehicle is parked without being operated for prolonged periods. Use thefollowing procedures before parking the vehicle for prolonged periods.
1. Turn off the engine.
2. Turn off the headlights and tail lights.
3. Open the driver’s side panel cover and pull up the power connector.
HHR4004