Page 70 of 356

Maintenance Minder Indicator
This indicator comes on for a few
seconds when you turn the ignition
switch to the ON (II) position. It
reminds you that it is time to take
your vehicle in for scheduled
maintenance. The maintenance main
items and sub items will be displayed
in the information display. See page
247 for more information on the
Maintenance Minder ™.
This indicator goes off when your
dealer resets it after completing the
required maintenance service.Immobilizer System Indicator
This indicator comes on briefly when
you turn the ignition switch to the
ON (II) position. It will go off if you
have inserted a properly coded
ignition key. If it is not a properly
coded key, the indicator will blink,
and the engine's fuel system will be
disabled (see page 79). Security System Indicator
On Sport model
This indicator comes on when the
security system is set. See page 194
for more information on the securitysystem.
SECURITY SYSTEM INDICATOR
Instrument Panel Indicators
66
Main MenuTable of Contents
Page 73 of 356
The information display consists of
two segments. The upper segment
displays instant fuel economy,
maintenance item code(s), and the
lower segment displays the trip
meter, odometer, average fuel
economy, and engine oil life.To switch the display, press and
release the select/reset knob
repeatedly. When you turn the
ignition switch to the ON (II)
position the last selection isdisplayed.Trip Meter
This meter shows the number of
miles (U.S.) or kilometers (Canada)
driven since you last reset it.
To reset a trip meter, display it, and
then press and hold the select/reset
knob until the number resets to‘‘
0.0 ’’.
When you reset the trip meter,
average fuel economy is reset
simultaneously.
ODOMETER TRIP METER
INSTANT FUEL ECONOMY
AVERAGE FUEL ECONOMYENGINE OIL LIFE
: SELECT/RESET KNOB
U.S. model is shown.
Gauges
69
Instruments and Controls
Main MenuTable of Contents
Page 74 of 356

Instant Fuel Economy
This shows your instant fuel
economy in mpg (U.S.) or l/100 km(Canada).
Average Fuel Economy
This shows your vehicle's average
fuel economy in mpg (U.S.) or 1/100
km (Canada) since you last reset the
trip meter.
When you reset a trip meter, the
average fuel economy for that trip
meter also resets.Odometer
The odometer shows the total
distance your vehicle has been
driven. It measures miles in U.S.
models and kilometers in Canadian
models. It is illegal under U.S.
federal law and Canadian provincial/
territorial regulations to disconnect,
reset, or alter the odometer with the
intent to change the number of miles
or kilometers indicated.
Fuel Gauge
This shows how much fuel you have.
It may show slightly more or less
than the actual amount. The needle
returns to the bottom after you turn
off the ignition.
Avoid driving with an extremely low
fuel level. Running out of fuel could
cause the engine to misfire, damaging
the catalytic converter.Check Fuel Cap Indicator
If the fuel fill cap is loose or missing,a
‘‘CHECK FUEL CAP ’’message
appears on the information display
after you start the engine. The
message changes from CHECK, to
FUEL, to CAP repeatedly.
Turn the engine off and confirm the
fuel fill cap is installed. If it is, loosen
the cap, then retighten it until it
clicks at least once. You can cycle the
message off of the display by
pressing the select/reset knob
repeatedly, but this message will be
displayed each time the engine is
started. It will take several days of
normal driving for the vehicle to turn
the warning off.
Gauges
70
Main MenuTable of Contents
Page 75 of 356
If the system still detects a loose or
missing fuel fill cap, the malfunction
indicator lamp (MIL) comes on. Turn
the engine off, and check or
retighten the fuel fill cap until it
clicks at least once. The MIL goes
out after several days of normal
driving once the cap is tightened or
replaced. If it does not go out, have
your dealer inspect the vehicle. For
more information, see page 306.Maintenance Minder
™
The information display in the
instrument panel shows you the
engine oil life and maintenance
service items when the ignition
switch is in the ON (II) position. This
information helps to keep you aware
of the periodic maintenance your
vehicle needs for continued trouble-
free driving. Refer to page 247 for
more information.
Gauges
71
Instruments and Controls
Main MenuTable of Contents
Page 82 of 356
All models except Canadian DX andDX-A models
Your vehicle comes with the two
ignition keys.
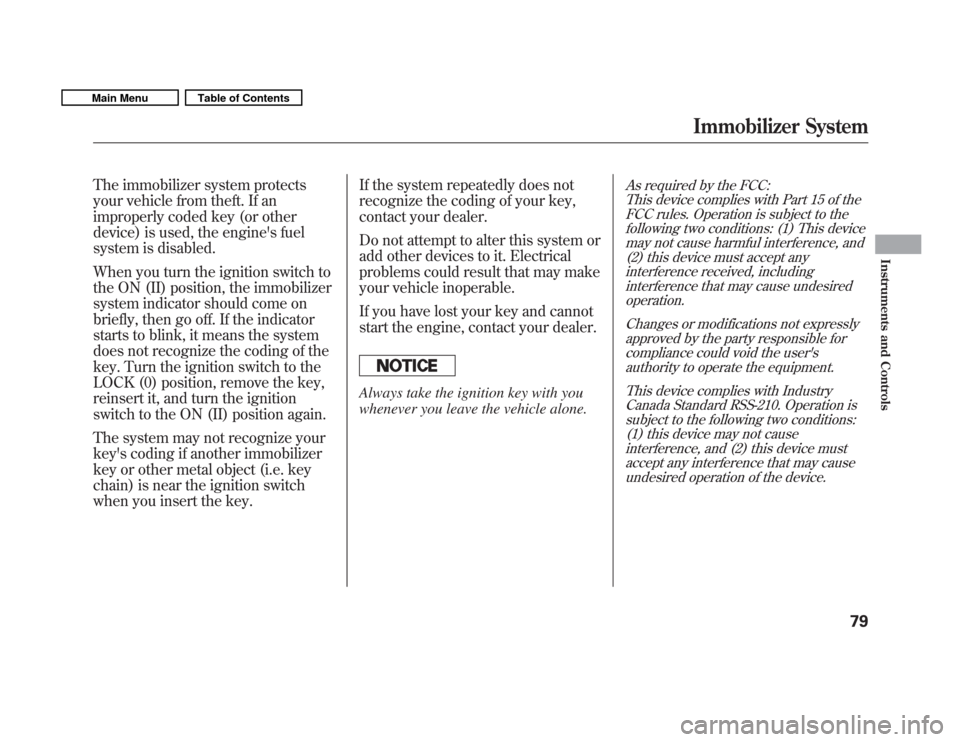
On Canadian DX and DX-A modelsYou should have received a key
number tag with your keys. You will
need this key number if you ever
have to get a lost key replaced. Use
only Honda-approved key blanks.
These keys contain electronic
circuits that are activated by the
immobilizer system. They will not
work to start the engine if the circuits
are damaged.
� Protect the keys from direct
sunlight, high temperature, and
high humidity.
� Do not drop the keys or set heavy
objects on them.
� Keep the keys away from liquids.
If they get wet, dry them
immediately with a soft cloth.
On Canadian DX and DX-A models
The keys do not contain batteries.
Do not try to take them apart.
KEY NUMBER TAG KEYS WITH
TRANSMITTER
KEY NUMBER TAG KEYS
Keys and Locks
78
Main MenuTable of Contents
Page 83 of 356

The immobilizer system protects
your vehicle from theft. If an
improperly coded key (or other
device) is used, the engine's fuel
system is disabled.
When you turn the ignition switch to
the ON (II) position, the immobilizer
system indicator should come on
briefly, then go off. If the indicator
starts to blink, it means the system
does not recognize the coding of the
key. Turn the ignition switch to the
LOCK (0) position, remove the key,
reinsert it, and turn the ignition
switch to the ON (II) position again.
The system may not recognize your
key's coding if another immobilizer
key or other metal object (i.e. key
chain) is near the ignition switch
when you insert the key.If the system repeatedly does not
recognize the coding of your key,
contact your dealer.
Do not attempt to alter this system or
add other devices to it. Electrical
problems could result that may make
your vehicle inoperable.
If you have lost your key and cannot
start the engine, contact your dealer.
Always take the ignition key with you
whenever you leave the vehicle alone.
As required by the FCC:
This device complies with Part 15 of the
FCC rules. Operation is subject to the following two conditions: (1) This device
may not cause harmful interference, and(2) this device must accept any
interference received, includinginterference that may cause undesired
operation.
Changes or modifications not expresslyapproved by the party responsible forcompliance could void the user's
authority to operate the equipment.
This device complies with IndustryCanada Standard RSS-210. Operation is
subject to the following two conditions:(1) this device may not cause
interference, and (2) this device mustaccept any interference that may cause
undesired operation of the device.
Immobilizer System
79
Instruments and Controls
Main MenuTable of Contents
Page 84 of 356

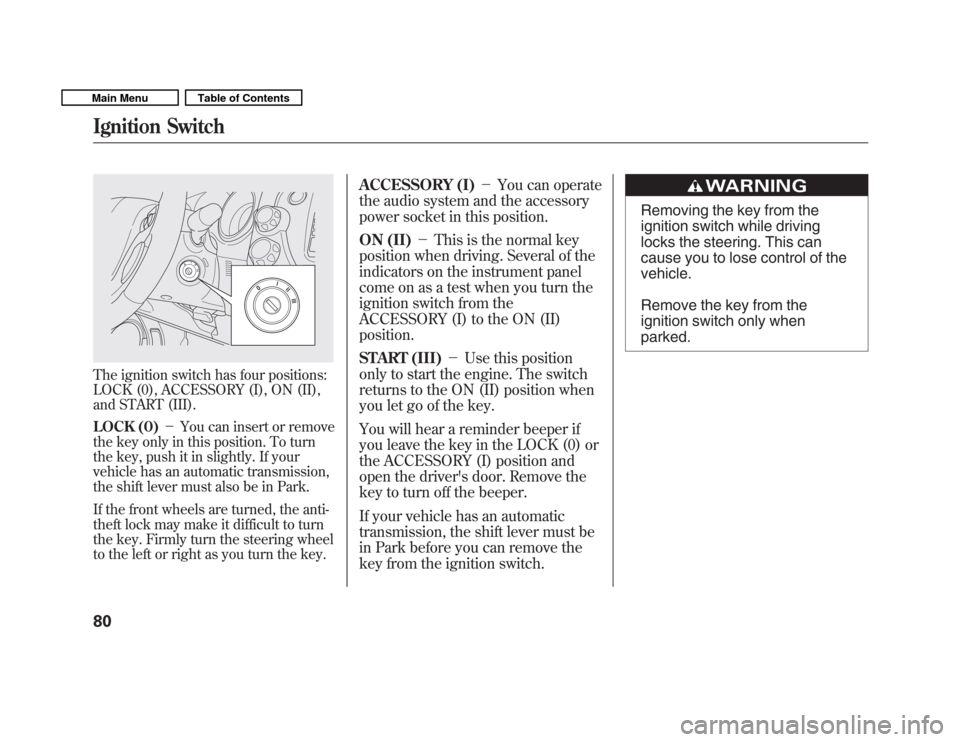
The ignition switch has four positions:
LOCK (0), ACCESSORY (I), ON (II),
and START (III).
LOCK (0)�You can insert or remove
the key only in this position. To turn
the key, push it in slightly. If your
vehicle has an automatic transmission,
the shift lever must also be in Park.
If the front wheels are turned, the anti-
theft lock may make it difficult to turn
the key. Firmly turn the steering wheel
to the left or right as you turn the key. ACCESSORY (I)
�You can operate
the audio system and the accessory
power socket in this position.
ON (II) �This is the normal key
position when driving. Several of the
indicators on the instrument panel
come on as a test when you turn the
ignition switch from the
ACCESSORY (I) to the ON (II)position.
START (III) �Use this position
only to start the engine. The switch
returns to the ON (II) position when
you let go of the key.
You will hear a reminder beeper if
you leave the key in the LOCK (0) or
the ACCESSORY (I) position and
open the driver's door. Remove the
key to turn off the beeper.
If your vehicle has an automatic
transmission, the shift lever must be
in Park before you can remove the
key from the ignition switch.
Removing the key from the
ignition switch while driving
locks the steering. This can
cause you to lose control of thevehicle.
Remove the key from the
ignition switch only whenparked.
Ignition Switch
80
Main MenuTable of Contents
Page 87 of 356

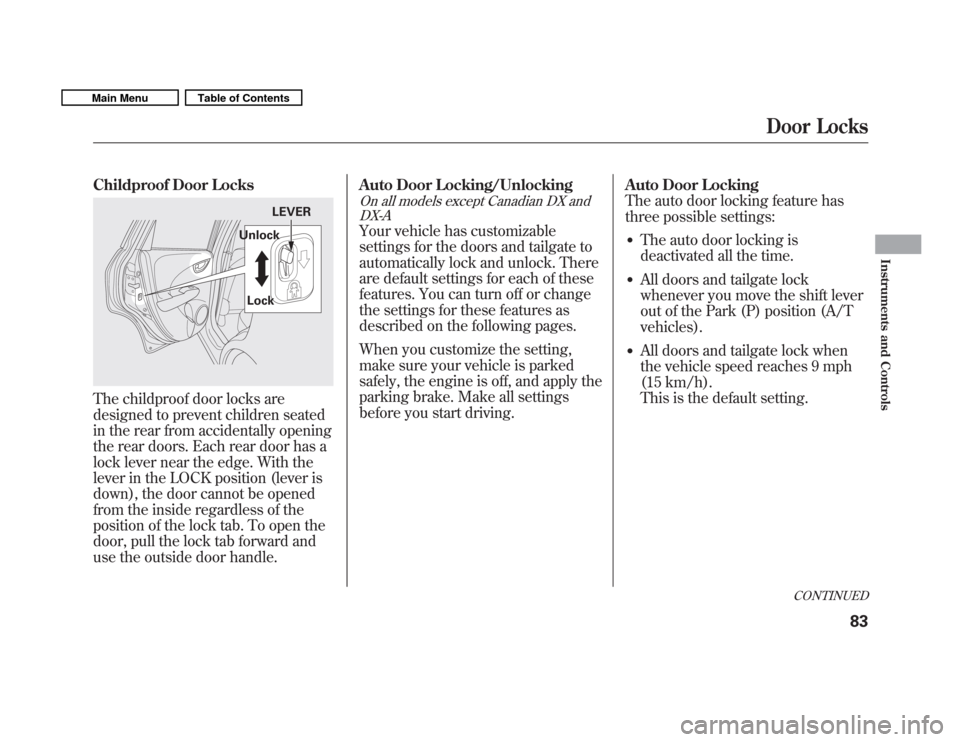
Childproof Door Locks
The childproof door locks are
designed to prevent children seated
in the rear from accidentally opening
the rear doors. Each rear door has a
lock lever near the edge. With the
lever in the LOCK position (lever is
down), the door cannot be opened
from the inside regardless of the
position of the lock tab. To open the
door, pull the lock tab forward and
use the outside door handle.Auto Door Locking/Unlocking
On all models except Canadian DX and
DX-A
Your vehicle has customizable
settings for the doors and tailgate to
automatically lock and unlock. There
are default settings for each of these
features. You can turn off or change
the settings for these features as
described on the following pages.
When you customize the setting,
make sure your vehicle is parked
safely, the engine is off, and apply the
parking brake. Make all settings
before you start driving. Auto Door Locking
The auto door locking feature has
three possible settings:
� The auto door locking is
deactivated all the time.
� All doors and tailgate lock
whenever you move the shift lever
out of the Park (P) position (A/Tvehicles).
� All doors and tailgate lock when
the vehicle speed reaches 9 mph
(15 km/h).
This is the default setting.
LEVER
Unlock
Lock
CONTINUED
Door Locks
83
Instruments and Controls
Main MenuTable of Contents