Page 64 of 369

If this indicator comes on when the
ignition switch is turned to the ON
(II) position and the parking brake is
released, it means there is a problem
with a circuit. Have your vehicle
checked by your dealer.
This indicator comes on with the
high beam headlights. For more
inf ormation, see page .
This indicator also comes on with
reduced brightness when the
daytime running lights (DRL) are on
(see page ).This indicator reminds you that the
exterior lights are on. It comes on
when the light switch is in either the
or position. If you turn the
ignition switch to the ACCESSORY
(I) or the LOCK (0) position without
turning of f the light switch, this
indicator will remain on. A reminder
chime will also sound when you open
the driver’s door and remove the key
from the ignition switch.
This indicator comes on if the trunk
lid is not closed tightly.
This indicator comes on if any door
is not closed tightly. This indicator normally comes on f or
a f ew seconds when you turn the
ignition switch to the ON (II)
position. If it comes on while driving,
it indicates that one or more of your
vehicle’s tires are signif icantly low
on pressure.
If this happens, pull to the side of the
road when it is safe, check which tire
has lost pressure, and determine the
cause. If it is because of a f lat tire,
replace the flat tire with the compact
spare (see page ), and have the
f lat tire repaired as soon as possible.
If two or more tires are underinf lated,
call a professional towing service
(see page ). For more
inf ormation, see page .
75 74
313
333 272U.S. models only
Instrument Panel Indicators
‘‘Daytime Running
Lights’’ Indicator
High Beam Indicator Lights On Indicator
Trunk-open Indicator
Door-open IndicatorLow Tire Pressure
Indicator
60
Main Menu
Page 65 of 369

This indicator comes on as a
reminder that you must ref uel soon.
This indicator goes of f when your
dealer resets it af ter completing the
required maintenance service.
This indicator reminds you that it is
time to take your vehicle in for
scheduled maintenance. The
maintenance main items and sub
items will be displayed in the
inf ormation display. See page f or
more inf ormation on the
Maintenance Minder .
This indicator comes on when you
turn on the cruise control system by
pressing the CRUISE button (see
page ).
This indicator comes on when you
set the cruise control. See page
f or inf ormation on operating the
cruise control.
This indicator comes on when the
washer f luid level is low. Add washer
fluidwhenyouseethisindicator
come on (see page ).
This indicator normally comes on f or
a f ew seconds when you turn the
ignition switch to the ON (II)
position.
If this indicator comes on and stays
on at any other time, or if it does not
come on when you turn the ignition
switch to the ON (II) position, there
is a problem with the TPMS. With
this indicator on, the low tire
pressure indicator will not come on
when a tire loses pressure. Take the
vehicle to your dealer to have the
system checked. For more
inf ormation, see page .
When the indicator comes on, there
are about 1.9 US gal (7.5
)of fuel
remaining in the tank.
When the reading reaches E, there is
a very small amount of f uel in the
tank.
214
290 277
214
273
Canadian models only
U.S. models only
Instrument Panel Indicators
Low Fuel Indicator
Maintenance Minder
Indicator
Cruise Main Indicator
Cruise Control Indicator
Washer Level Indicator
Tire Pressure Monitoring
System (T PMS) Indicator
Inst rument s and Cont rols
61
TM
Main Menu
Page 69 of 369
To switch the information display
between the odometer, trip meter,
outside temperature, and engine oil
lif e and maintenance item code(s),
press the SEL/RESET button
repeatedly.
The odometer shows the total
distance your vehicle has been
driven. It measures miles in U.S.
models and kilometers in Canadian
models. It is illegal under U.S.
federal law and Canadian provincial/
territorial regulations to disconnect,
reset, or alter the odometer with the
intent to change the number of miles
or kilometers indicated.
Odometer
Gauges
Inst rument s and Cont rols
65
TRIP METER
SEL/RESET BUTTON DISPLAY CHANGE BUTTON TACHOMETER
INSTRUMENT PANEL BRIGHTNESS CONTROL BUTTONS INFORMATION
DISPLAY
FUEL GAUGE
SPEEDOMETER
INSTANT FUEL ECONOMY/
TEMPERATURE GAUGE
ODOMETER/OUTSIDE
TEMPERATURE INDICATOR
Main Menu
Page 72 of 369

�¶�¶�µ
�µ�µ�µ�µ �µ�µ�µ
If the outside temperature is
incorrectly displayed, you can adjust
it up to 5°F ( 3°C) warmer or
cooler.
The temperature must be
stabilized bef ore doing this
procedure.
Select the outside temperature
display, then press and hold the
SEL/RESET button f or 10 seconds.
The f ollowing sequence will appear
for1secondeach:0,1,2,3,4,5, 5, 4, 3, 2, 1, 0 (U.S.) or 0, 1, 2,
3, 3, 2, 1, 0 (Canada).
In certain weather conditions,
temperature readings near f reezing
(32°F, 0°C) could mean that ice is
f orming on the road surf ace.
When it reaches the desired value,
release the SEL/RESET button. You
should see the new outside
temperature displayed.
This indicator displays the outside
temperature in Fahrenheit (U.S.
models) or Celsius (Canadian
models). To see the outside
temperature, press and release the
SEL/RESET button until the
temperature is shown on the
inf ormation display.
The temperature sensor is in the
f ront bumper. Theref ore, the
temperature reading can be af f ected
by heat ref lection f rom the road
surf ace, engine heat, and the
exhaust f rom surrounding traf f ic.
This can cause an incorrect
temperature reading when your
speed is under 19 mph (30 km/h).
The sensor delays the display update
until it reaches the correct outside
temperature. This may take several
minutes.
Outside Temperature Indicator
Gauges
68 NOTE:
Main Menu
Page 87 of 369
Locks all doors when the shif t lever ismoved out of the Park (P) position.
Pushandholdthefrontof the
master door lock switch on the
driver’s door until you hear a click
(af ter about 5 seconds).
Release the switch, and within 5
seconds, turn the ignition switch
to the LOCK (0) position.
Make sure the shif t lever is in the
Park (P) position.
Turn the ignition switch to the ON
(II) position, and open the driver’s
door. Make sure the shif t lever is in the
Park (P) position.
Turn the ignition switch to the ON
(II) position, and make sure to
close the driver’s door.
1. 2.
1.2. 3. 4.
CONT INUED
T o t urn of f t he A ut o Door L ock
modes: To program the Park Lock mode:
Door L ocks
Inst rument s and Cont rols
83
Main Menu
Page 88 of 369

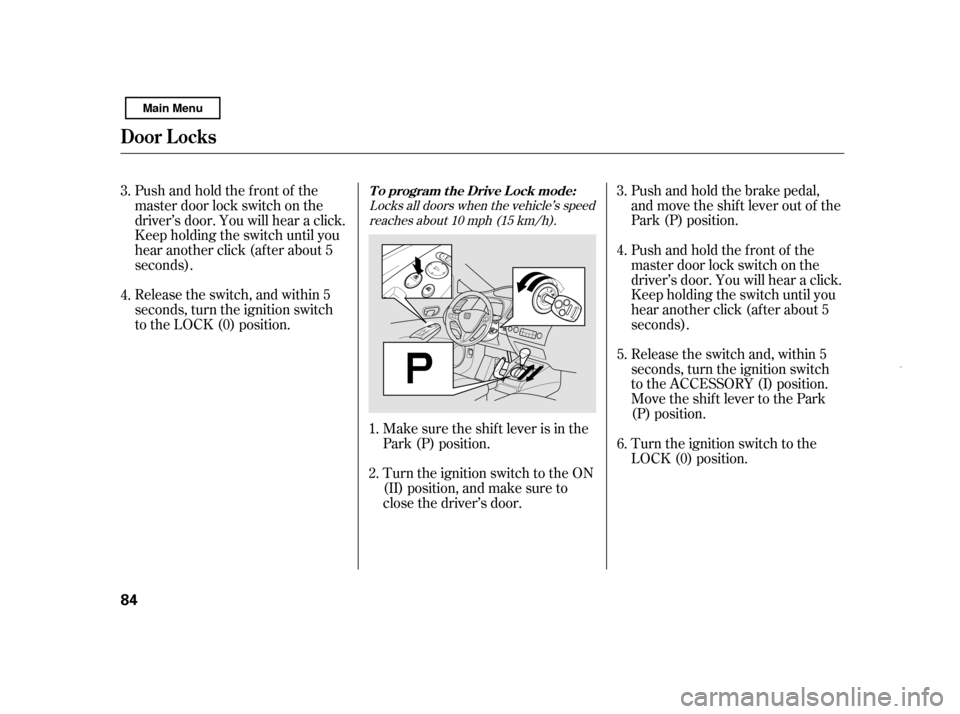
Push and hold the brake pedal,
and move the shif t lever out of the
Park (P) position.
Release the switch and, within 5
seconds, turn the ignition switch
to the ACCESSORY (I) position.
Move the shif t lever to the Park
(P) position.
Pushandholdthefrontof the
master door lock switch on the
driver’s door. You will hear a click.
Keep holding the switch until you
hear another click (after about 5
seconds).
Release the switch, and within 5
seconds, turn the ignition switch
to the LOCK (0) position.
Pushandholdthefrontof the
master door lock switch on the
driver’s door. You will hear a click.
Keep holding the switch until you
hear another click (after about 5
seconds).
Turn the ignition switch to the
LOCK (0) position.
Make sure the shif t lever is in the
Park (P) position.
Turn the ignition switch to the ON
(II) position, and make sure to
close the driver’s door.
1. 2. 3. 5.
4. 6.
3. 4.
Locks all doors when the vehicle’s speed
reaches about 10 mph (15 km/h).
T o program t he Drive L ock mode:
Door L ocks
84
Main Menu
Page 89 of 369

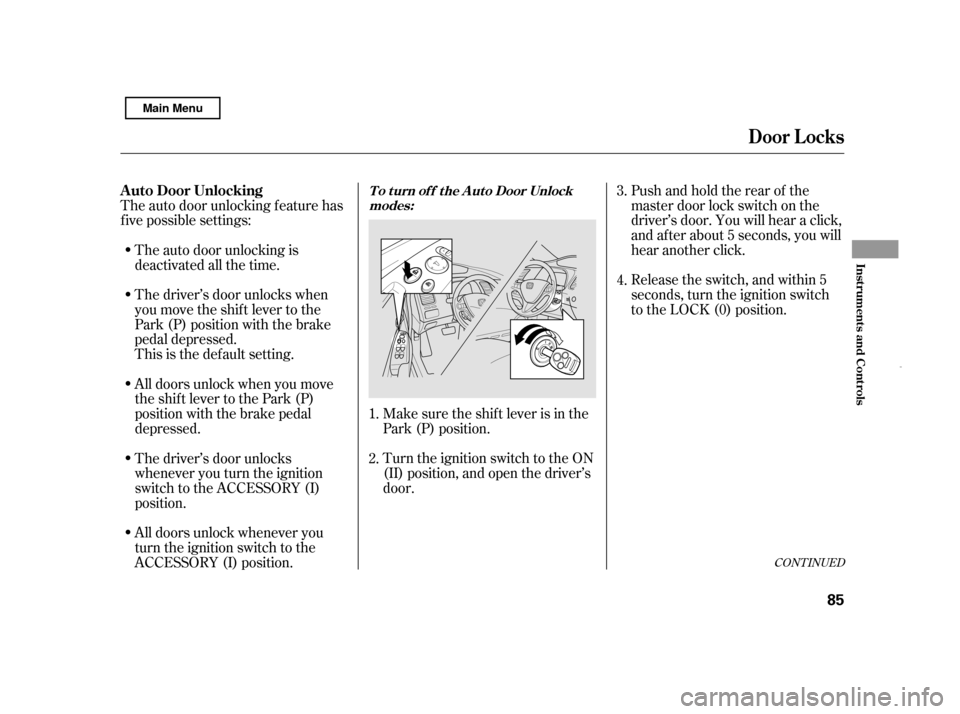
Pushandholdtherearof the
master door lock switch on the
driver’s door. You will hear a click,
and after about 5 seconds, you will
hear another click.
The auto door unlocking f eature has
f ive possible settings:
The driver’s door unlocks when
you move the shif t lever to the
Park (P) position with the brake
pedal depressed.
The auto door unlocking is
deactivated all the time.
Release the switch, and within 5
seconds, turn the ignition switch
to the LOCK (0) position.
Make sure the shif t lever is in the
Park (P) position.
Turn the ignition switch to the ON
(II) position, and open the driver’s
door.
All doors unlock when you move
the shif t lever to the Park (P)
position with the brake pedal
depressed.
All doors unlock whenever you
turn the ignition switch to the
ACCESSORY (I) position.
The driver’s door unlocks
whenever you turn the ignition
switch to the ACCESSORY (I)
position.
This is the def ault setting.
1. 2. 3. 4.
CONT INUED
T o t urn of f t he A ut o Door Unlock
modes:A uto Door Unlocking
Door L ocks
Inst rument s and Cont rols
85
Main Menu
Page 90 of 369

�µ �µ
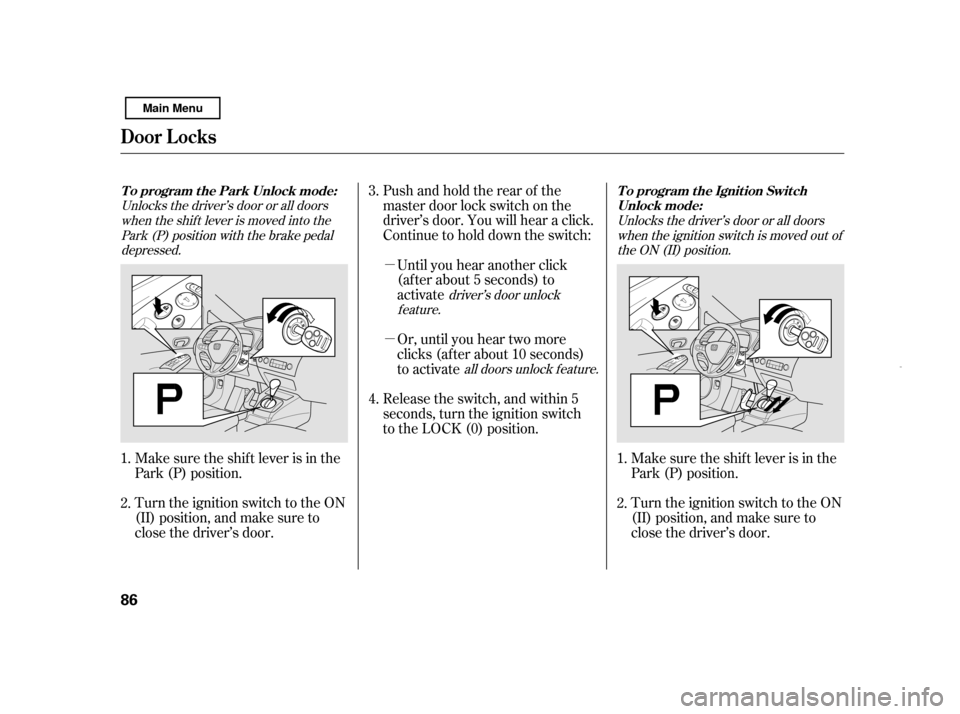
Pushandholdtherearof the
master door lock switch on the
driver’s door. You will hear a click.
Continue to hold down the switch:
Until you hear another click
(af ter about 5 seconds) to
activate
Make sure the shif t lever is in the
Park (P) position.
Turn the ignition switch to the ON
(II) position, and make sure to
close the driver’s door.
Or, until you hear two more
clicks (af ter about 10 seconds)
to activate
Release the switch, and within 5
seconds, turn the ignition switch
to the LOCK (0) position.
Turn the ignition switch to the ON
(II) position, and make sure to
close the driver’s door.
Make sure the shif t lever is in the
Park (P) position.
1. 2. 4.
3.
1.2.
Unlocks the driver’s door or all doorswhen the shif t lever is moved into the Park (P) position with the brake pedaldepressed.
driver’s door unlock
feature. Unlocks the driver’s door or all doors
when the ignition switch is moved out ofthe ON (II) position.
all doors unlock f eature.
To program the Park Unlock mode:
To program the Ignition Switch
Unlock mode:
Door L ocks
86
Main Menu