Page 70 of 441

4. Turn the radio on, using either a tuned FM station or a CD loaded into
the system. Adjust the volume to a comfortable listening level.
5. Turn the portable music player on and adjust the volume to 1/2 the
volume.
6. Press AUX on the vehicle radio repeatedly until LINE, LINE IN or
SYNC LINE IN appears in the display.
You should hear audio from your portable music player although it may
be low.
7. Adjust the sound on your portable music player until it reaches the
level of the FM station or CD by switching back and forth between the
AUX and FM or CD controls.
Troubleshooting:
1. Do not connect the audio input jack to a line level output. Line level
outputs are intended for connection to a home stereo and are not
compatible with the AIJ. The AIJ will only work correctly with devices
that have a headphone output with a volume control.
2. Do not set the portable music player’s volume level higher than is
necessary to match the volume of the CD or FM radio in your audio
system as this will cause distortion and will reduce sound quality. Many
portable music players have different output levels, so not all players
should be set at the same levels. Some players will sound best at full
volume and others will need to be set at a lower volume.
3. If the music sounds distorted at lower listening levels, turn the
portable music player volume down. If the problems persist, replace or
recharge the batteries in the portable music player.
4. The portable music player must be controlled in the same manner
when it is used with headphones as the AIJ does not provide control
(play, pause, etc.) over the attached portable music player.
5. For safety reasons, connecting or adjusting the settings on your
portable music player should not be attempted while the vehicle is
moving. Also, the portable music player should be stored in a secure
location, such as the center console or the glove box, when the vehicle is
in motion. The audio extension cable must be long enough to allow the
portable music player to be safely stored while the vehicle is in motion.
Entertainment Systems
70
2011 F-250/350/450/550(f23)
Owners Guide, 1st Printing
USA(fus)
Page 121 of 441

TAILGATE LOCK (IF EQUIPPED)
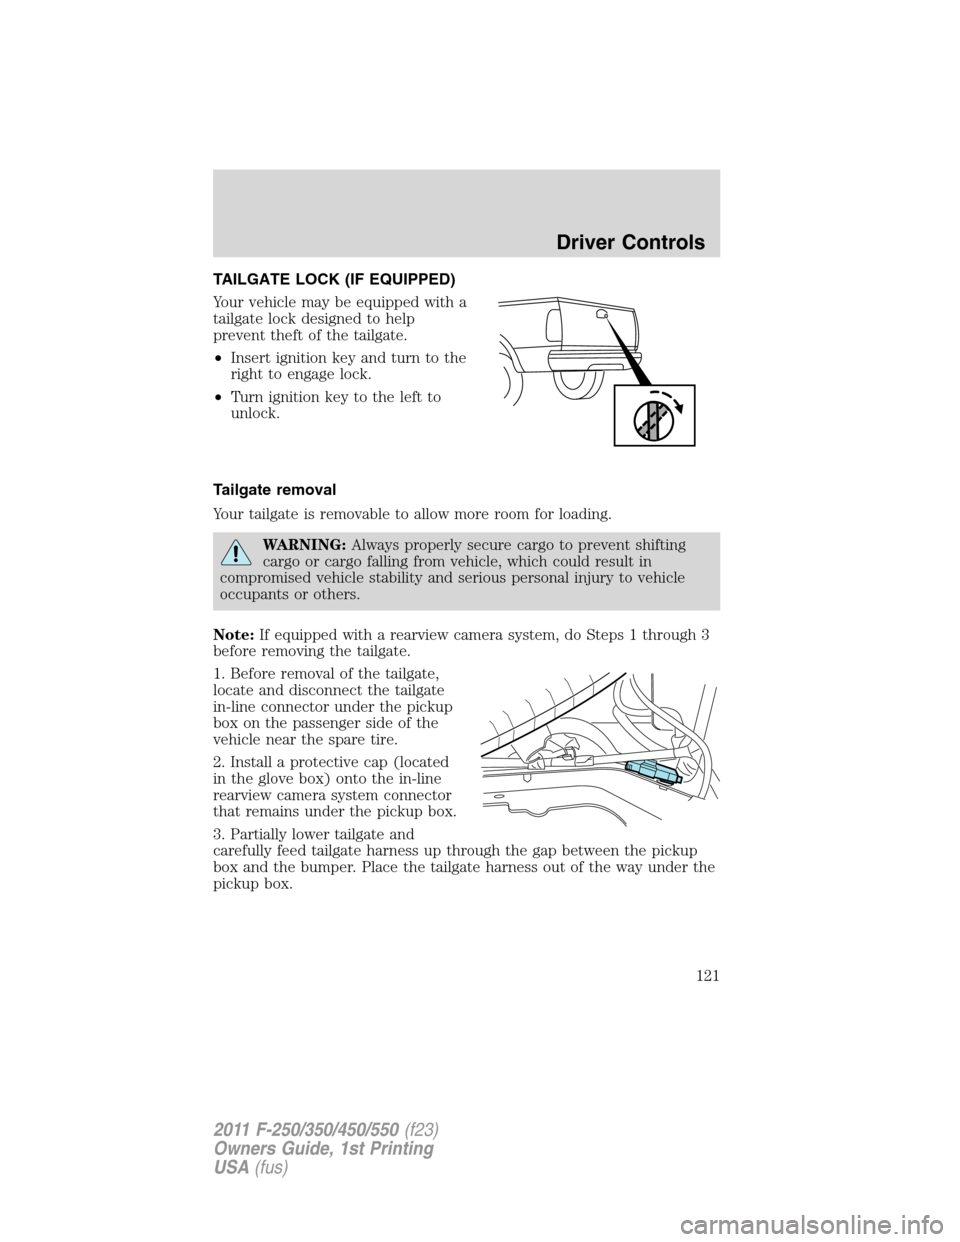
Your vehicle may be equipped with a
tailgate lock designed to help
prevent theft of the tailgate.
•Insert ignition key and turn to the
right to engage lock.
•Turn ignition key to the left to
unlock.
Tailgate removal
Your tailgate is removable to allow more room for loading.
WARNING:Always properly secure cargo to prevent shifting
cargo or cargo falling from vehicle, which could result in
compromised vehicle stability and serious personal injury to vehicle
occupants or others.
Note:If equipped with a rearview camera system, do Steps 1 through 3
before removing the tailgate.
1. Before removal of the tailgate,
locate and disconnect the tailgate
in-line connector under the pickup
box on the passenger side of the
vehicle near the spare tire.
2. Install a protective cap (located
in the glove box) onto the in-line
rearview camera system connector
that remains under the pickup box.
3. Partially lower tailgate and
carefully feed tailgate harness up through the gap between the pickup
box and the bumper. Place the tailgate harness out of the way under the
pickup box.
Driver Controls
121
2011 F-250/350/450/550(f23)
Owners Guide, 1st Printing
USA(fus)
Page 145 of 441

SECURICODE™ KEYLESS ENTRY SYSTEM (IF EQUIPPED)
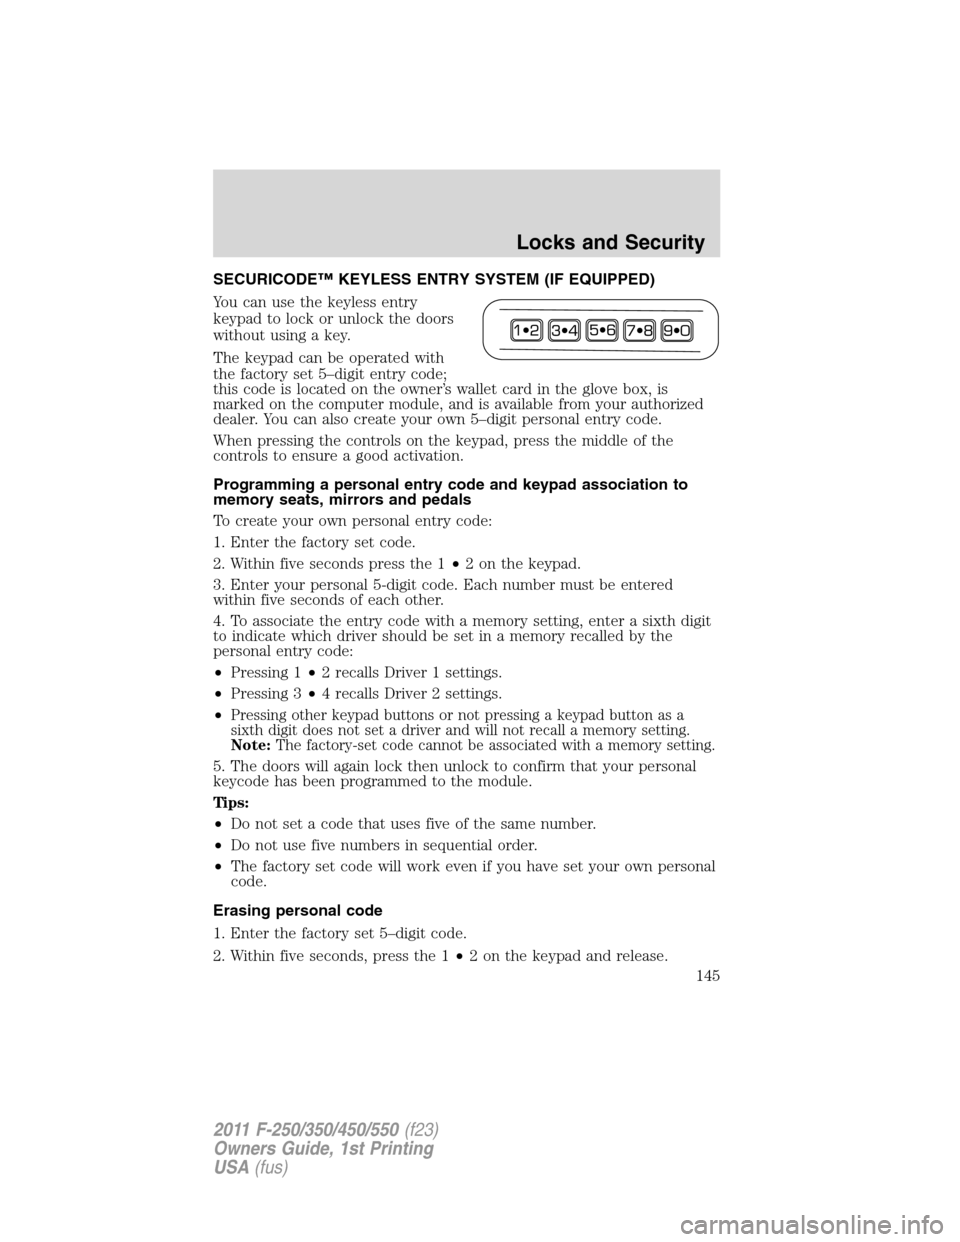
You can use the keyless entry
keypad to lock or unlock the doors
without using a key.
The keypad can be operated with
the factory set 5–digit entry code;
this code is located on the owner’s wallet card in the glove box, is
marked on the computer module, and is available from your authorized
dealer. You can also create your own 5–digit personal entry code.
When pressing the controls on the keypad, press the middle of the
controls to ensure a good activation.
Programming a personal entry code and keypad association to
memory seats, mirrors and pedals
To create your own personal entry code:
1. Enter the factory set code.
2. Within five seconds press the 1•2 on the keypad.
3. Enter your personal 5-digit code. Each number must be entered
within five seconds of each other.
4. To associate the entry code with a memory setting, enter a sixth digit
to indicate which driver should be set in a memory recalled by the
personal entry code:
•Pressing 1•2 recalls Driver 1 settings.
•Pressing 3•4 recalls Driver 2 settings.
•
Pressing other keypad buttons or not pressing a keypad button as a
sixth digit does not set a driver and will not recall a memory setting.
Note:The factory-set code cannot be associated with a memory setting.
5. The doors will again lock then unlock to confirm that your personal
keycode has been programmed to the module.
Tips:
•Do not set a code that uses five of the same number.
•Do not use five numbers in sequential order.
•The factory set code will work even if you have set your own personal
code.
Erasing personal code
1. Enter the factory set 5–digit code.
2. Within five seconds, press the 1•2 on the keypad and release.
Locks and Security
145
2011 F-250/350/450/550(f23)
Owners Guide, 1st Printing
USA(fus)
Page 327 of 441

Location of the spare tire and tools
If your vehicle is equipped with a spare tire, jack and associated tools,
refer to the following table for their locations:
Tool Location
Spare tire (pick-up trucks only) Under the vehicle, just forward of
the rear bumper
Jack Regular cab and Crew Cab:
Fastened to floor pan behind
rearmost seat on passenger side
SuperCab: Under rear bench seat
on passenger side
Jack handle, lug wrench, lug
wrench extension (only available
on Dual Rear Wheel [DRW]
vehicles) and wheel chock (only
available on Single Rear Wheel
[SRW] vehicles equipped with a
diesel engine)Regular cab: Fastened to floor
behind driver seat
SuperCab: Fastened to floor under
rear seat
Crew Cab: Fastened to floor
behind rear seat at driver side
Key and spare tire lock In the glove box
Jack instruction sheet Under the jack tool kit
Removing the spare tire (with spare tire carrier only)
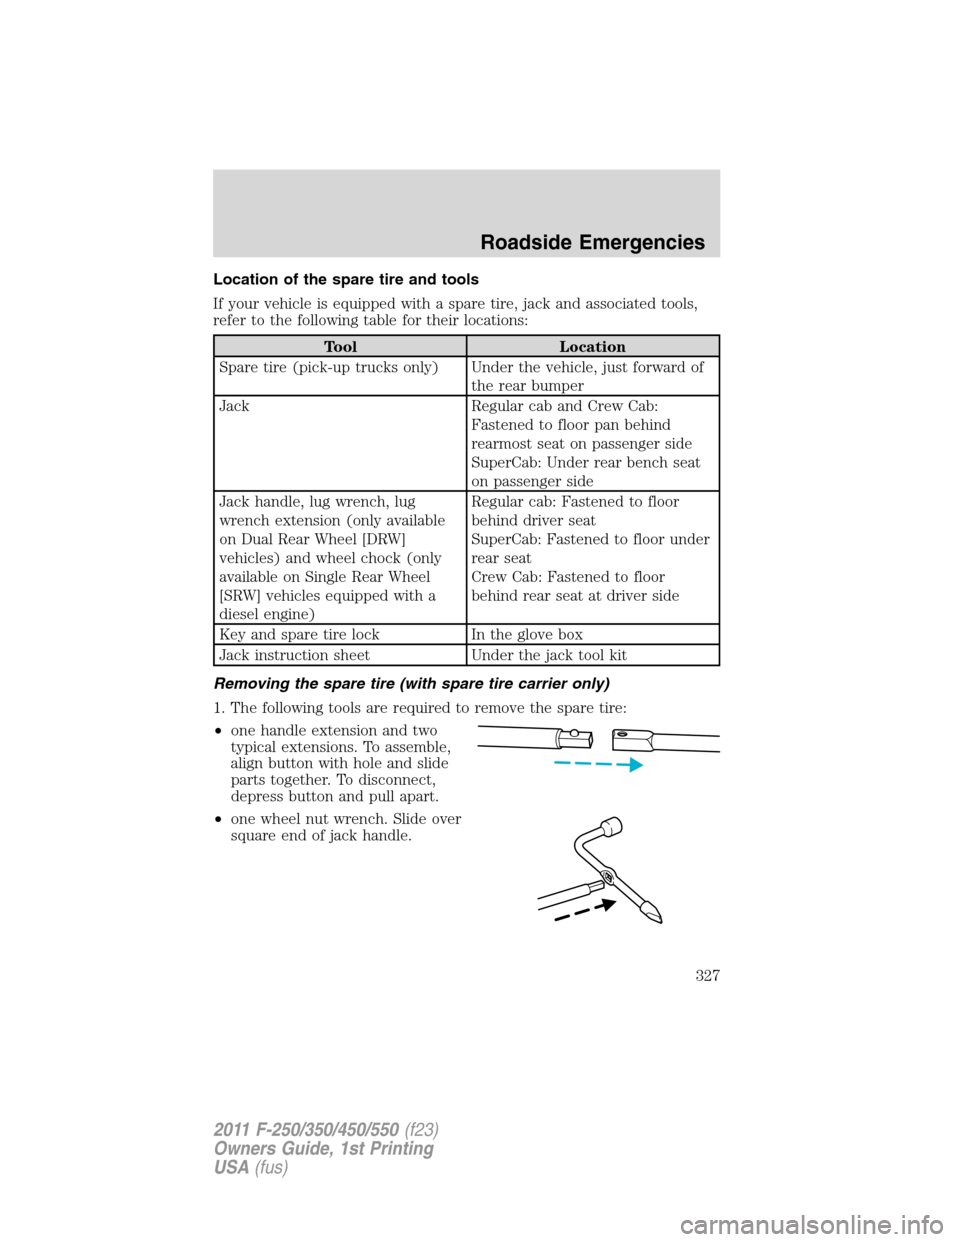
1. The following tools are required to remove the spare tire:
•one handle extension and two
typical extensions. To assemble,
align button with hole and slide
parts together. To disconnect,
depress button and pull apart.
•one wheel nut wrench. Slide over
square end of jack handle.
Roadside Emergencies
327
2011 F-250/350/450/550(f23)
Owners Guide, 1st Printing
USA(fus)