2011 FORD SUPER DUTY ignition
[x] Cancel search: ignitionPage 281 of 441
AUTOMATIC TRANSMISSION OPERATION
Understanding the shift positions of the 5–speed automatic
transmission (if equipped)
This vehicle is equipped with an adaptive transmission shift strategy.
Adaptive transmission shift strategy offers the optimal transmission
operation and shift quality. When the vehicle’s battery has been
disconnected for any type of service or repair, the transmission will need
to relearn the normal shift strategy parameters, much like having to reset
your radio stations when your vehicle battery has been disconnected.
The adaptive transmission shift strategy allows the transmission to
relearn these operating parameters. This learning process could take
several transmission upshifts and downshifts; during this learning
process, slightly firmer shifts may occur. After this learning process,
normal shift feel and shift scheduling will resume.
P (Park)
This position locks the transmission and prevents the rear wheels from
turning.
To put your vehicle in gear:
•Start the engine
•Press the brake pedal
•Move the gearshift lever into the desired gear
To put your vehicle in P (Park):
•Come to a complete stop
•Move the gearshift lever and securely latch it in P (Park)
WARNING:Always set the parking brake fully and make sure
the gearshift is latched in P (Park). Turn the ignition to the off
position and remove the key whenever you leave your vehicle.
R (Reverse)
With the gearshift lever in R (Reverse), the vehicle will move backward.
Always come to a complete stop before shifting into and out of R
(Reverse).
Driving
281
2011 F-250/350/450/550(f23)
Owners Guide, 1st Printing
USA(fus)
Page 284 of 441
P (Park)
This position locks the transmission and prevents the rear wheels from
turning.
To put your vehicle in gear:
1. Start the engine
2. Press the brake pedal
3. Move the gearshift lever into the desired gear
To put your vehicle in P (Park):
1. Come to a complete stop
2. Move the gearshift lever and securely latch it in P (Park)
WARNING:Always set the parking brake fully and make sure
the gearshift is latched in P (Park). Turn the ignition to the off
position and remove the key whenever you leave your vehicle.
R (Reverse)
With the gearshift lever in R (Reverse), the vehicle will move backward.
Always come to a complete stop before shifting into and out of R (Reverse).
N (Neutral)
With the gearshift lever in N (Neutral), the vehicle can be started and is
free to roll. Hold the brake pedal down while in this position.
D (Overdrive) with Tow/Haul Off
D (Overdrive) with tow/haul off is the normal driving position for the
best fuel economy. The overdrive function allows automatic upshifts and
downshifts through gears one through six.
D (Overdrive) with Tow/Haul On
The tow/haul feature improves transmission operation when towing a
trailer or a heavy load. All transmission gear ranges are available when
using tow/haul.
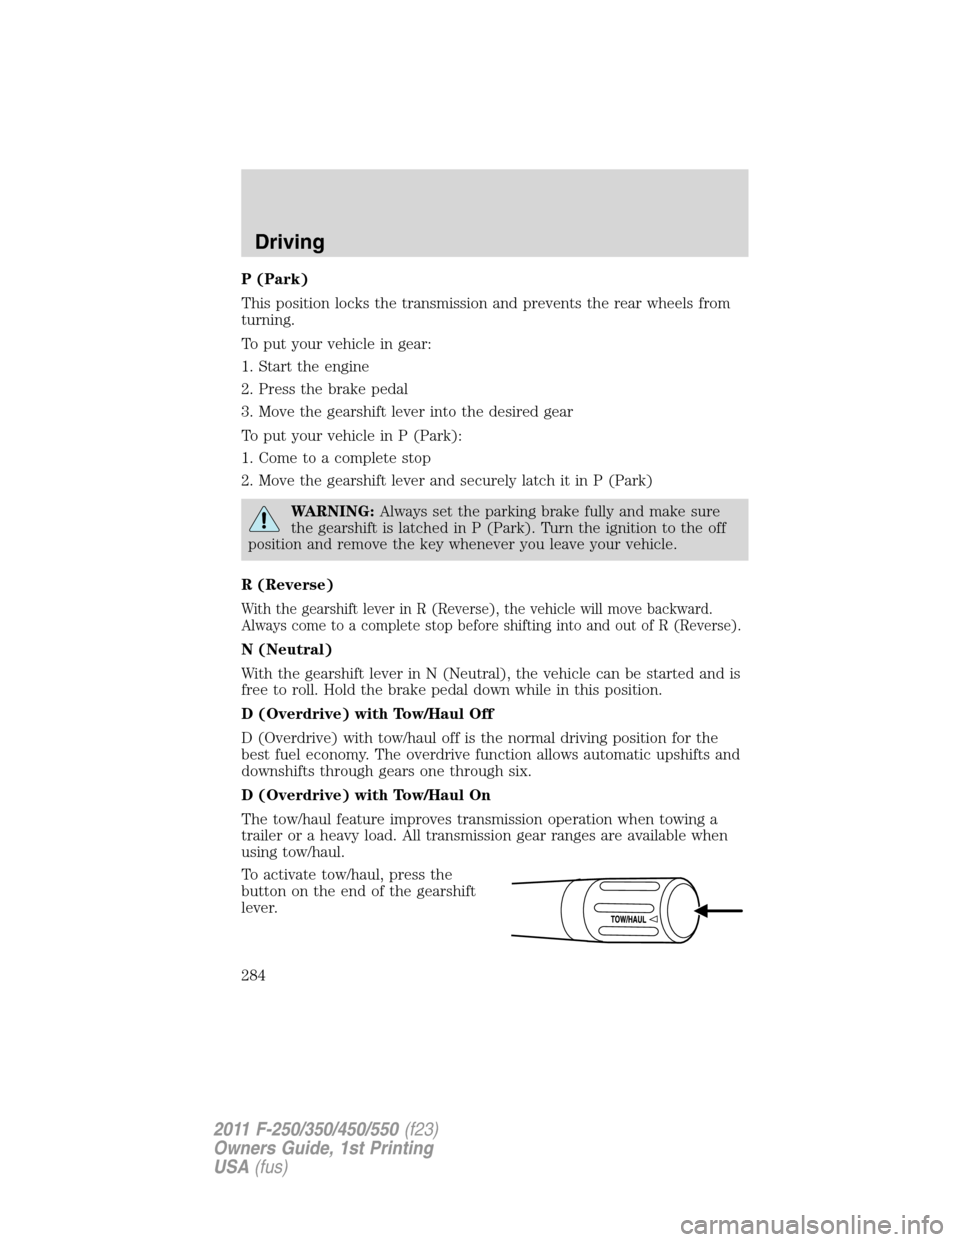
To activate tow/haul, press the
button on the end of the gearshift
lever.
Driving
284
2011 F-250/350/450/550(f23)
Owners Guide, 1st Printing
USA(fus)
Page 290 of 441
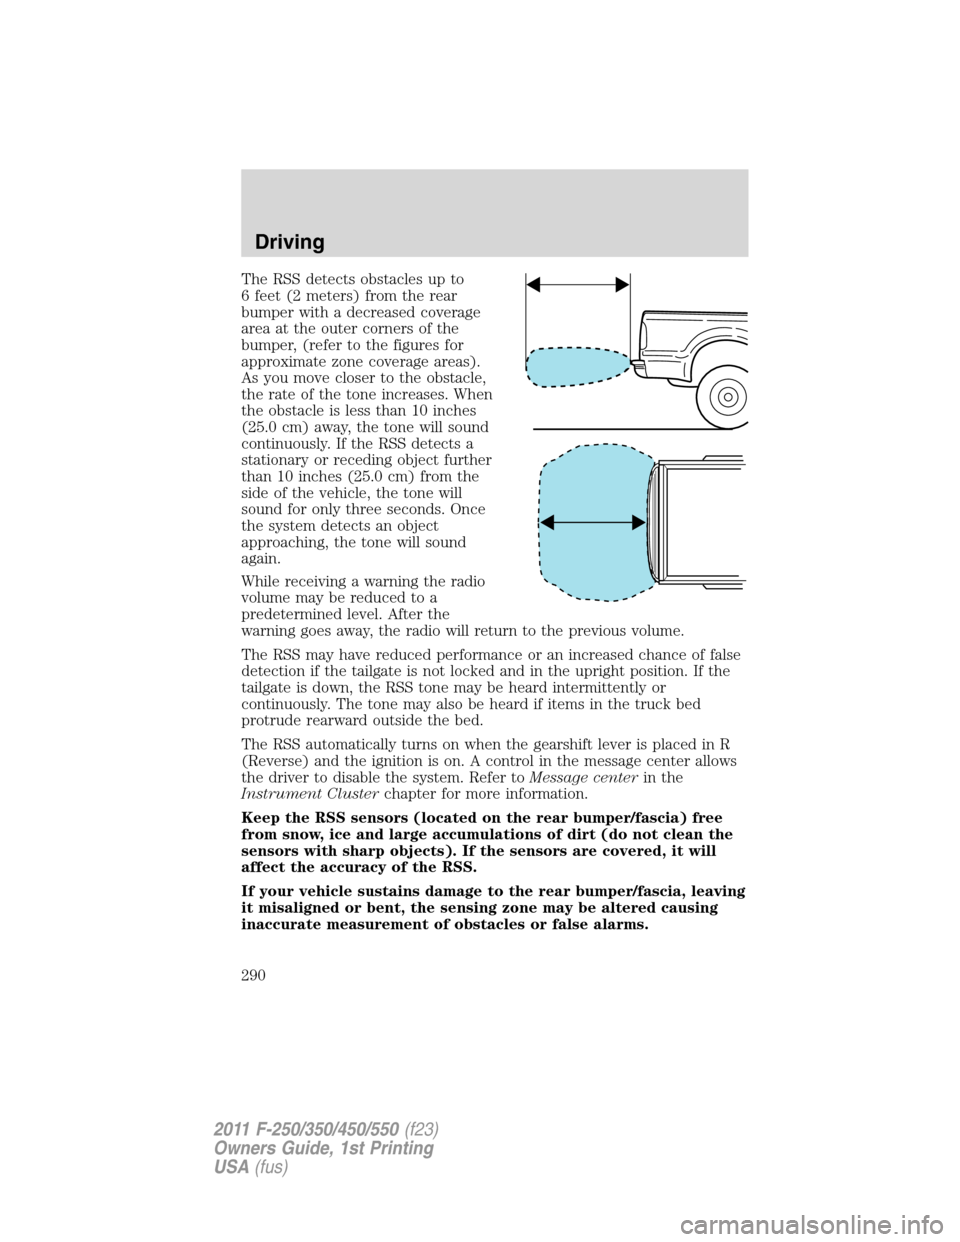
The RSS detects obstacles up to
6 feet (2 meters) from the rear
bumper with a decreased coverage
area at the outer corners of the
bumper, (refer to the figures for
approximate zone coverage areas).
As you move closer to the obstacle,
the rate of the tone increases. When
the obstacle is less than 10 inches
(25.0 cm) away, the tone will sound
continuously. If the RSS detects a
stationary or receding object further
than 10 inches (25.0 cm) from the
side of the vehicle, the tone will
sound for only three seconds. Once
the system detects an object
approaching, the tone will sound
again.
While receiving a warning the radio
volume may be reduced to a
predetermined level. After the
warning goes away, the radio will return to the previous volume.
The RSS may have reduced performance or an increased chance of false
detection if the tailgate is not locked and in the upright position. If the
tailgate is down, the RSS tone may be heard intermittently or
continuously. The tone may also be heard if items in the truck bed
protrude rearward outside the bed.
The RSS automatically turns on when the gearshift lever is placed in R
(Reverse) and the ignition is on. A control in the message center allows
the driver to disable the system. Refer toMessage centerin the
Instrument Clusterchapter for more information.
Keep the RSS sensors (located on the rear bumper/fascia) free
from snow, ice and large accumulations of dirt (do not clean the
sensors with sharp objects). If the sensors are covered, it will
affect the accuracy of the RSS.
If your vehicle sustains damage to the rear bumper/fascia, leaving
it misaligned or bent, the sensing zone may be altered causing
inaccurate measurement of obstacles or false alarms.
Driving
290
2011 F-250/350/450/550(f23)
Owners Guide, 1st Printing
USA(fus)
Page 298 of 441
WARNING:Do not leave the vehicle unattended with the
transfer case in the N (Neutral) position. Always set the parking
brake fully and turn off the ignition when leaving the vehicle.
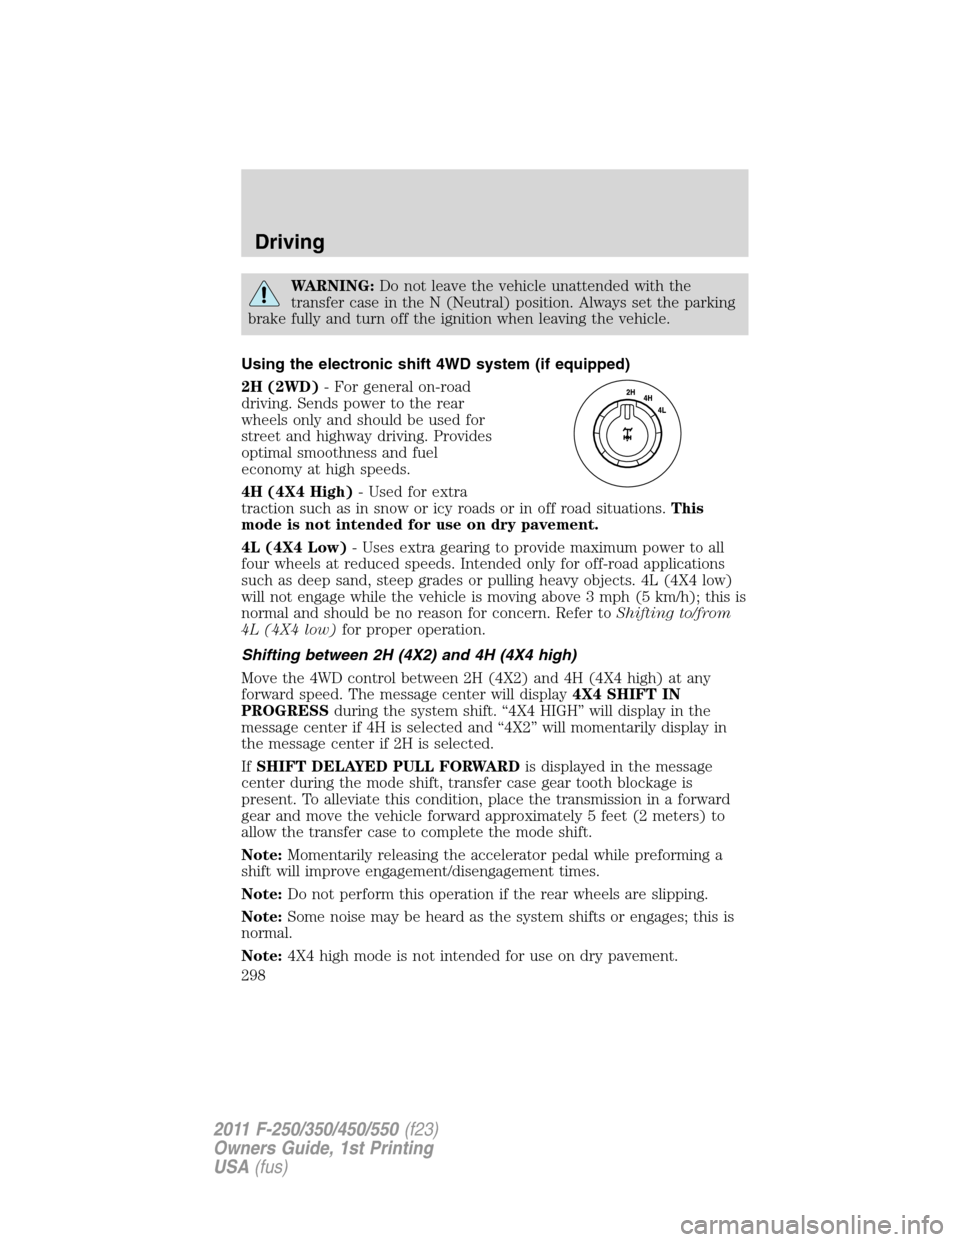
Using the electronic shift 4WD system (if equipped)
2H (2WD)- For general on-road
driving. Sends power to the rear
wheels only and should be used for
street and highway driving. Provides
optimal smoothness and fuel
economy at high speeds.
4H (4X4 High)- Used for extra
traction such as in snow or icy roads or in off road situations.This
mode is not intended for use on dry pavement.
4L (4X4 Low)- Uses extra gearing to provide maximum power to all
four wheels at reduced speeds. Intended only for off-road applications
such as deep sand, steep grades or pulling heavy objects. 4L (4X4 low)
will not engage while the vehicle is moving above 3 mph (5 km/h); this is
normal and should be no reason for concern. Refer toShifting to/from
4L (4X4 low)for proper operation.
Shifting between 2H (4X2) and 4H (4X4 high)
Move the 4WD control between 2H (4X2) and 4H (4X4 high) at any
forward speed. The message center will display4X4 SHIFT IN
PROGRESSduring the system shift. “4X4 HIGH” will display in the
message center if 4H is selected and “4X2” will momentarily display in
the message center if 2H is selected.
IfSHIFT DELAYED PULL FORWARDis displayed in the message
center during the mode shift, transfer case gear tooth blockage is
present. To alleviate this condition, place the transmission in a forward
gear and move the vehicle forward approximately 5 feet (2 meters) to
allow the transfer case to complete the mode shift.
Note:Momentarily releasing the accelerator pedal while preforming a
shift will improve engagement/disengagement times.
Note:Do not perform this operation if the rear wheels are slipping.
Note:Some noise may be heard as the system shifts or engages; this is
normal.
Note:4X4 high mode is not intended for use on dry pavement.
Driving
298
2011 F-250/350/450/550(f23)
Owners Guide, 1st Printing
USA(fus)
Page 302 of 441
•If the vehicle goes from one type of surface to another (i.e., from
concrete to gravel) there will be a change in the way the vehicle
responds to a maneuver (steering, acceleration or braking). Again,
avoid these abrupt inputs.
Parking
On some 4WD vehicles, when the transfer case is in the N (Neutral)
position, the engine and transmission are disconnected from the rest of
the driveline. Therefore, the vehicle is free to roll even if the automatic
transmission is in P (Park). Do not leave the vehicle unattended with the
transfer case in the N (Neutral) position. Always set the parking brake
fully and turn off the ignition when leaving the vehicle.
WARNING:Always set the parking brake fully and make sure
the gearshift is latched in P (Park). Turn the ignition to the off
position and remove the key whenever you leave your vehicle.
WARNING:If the parking brake is fully released, but the brake
warning lamp remains illuminated, the brakes may not be
working properly. See your authorized dealer.
4WD Systems
4WD (when you select a 4WD mode), uses all four wheels to power the
vehicle. This increases traction, enabling you to drive over terrain and
road conditions that a conventional two-wheel drive vehicle cannot.
Power is supplied to all four wheels through a transfer case. On 4WD
vehicles, the transfer case allows you to select 4WD when necessary.
Information on transfer case operation and shifting procedures can be
found in theDrivingchapter. Information on transfer case maintenance
can be found in theMaintenance and Specificationschapter. You
should become thoroughly familiar with this information before you
operate your vehicle.
Normal characteristics
On some 4WD models, the initial shift from two-wheel drive to 4x4 while
the vehicle is moving can cause some momentary clunk and ratcheting
sounds. This is the front drivetrain coming up to speed and the
automatic locking hubs engaging and is not cause for concern.
Driving
302
2011 F-250/350/450/550(f23)
Owners Guide, 1st Printing
USA(fus)
Page 303 of 441
Sand
When driving over sand, try to keep all four wheels on the most solid
area of the trail. Avoid reducing the tire pressures but shift to a lower
gear and drive steadily through the terrain. Apply the accelerator slowly
and avoid spinning the wheels.
Avoid excessive speed because vehicle momentum can work against you
and cause the vehicle to become stuck to the point that assistance may
be required from another vehicle. Remember, you may be able to back
out the way you came if you proceed with caution.
Note:If air is released from your tires, the Tire Pressure Monitoring
System (TPMS) indicator light may illuminate (if equipped).
Mud and water
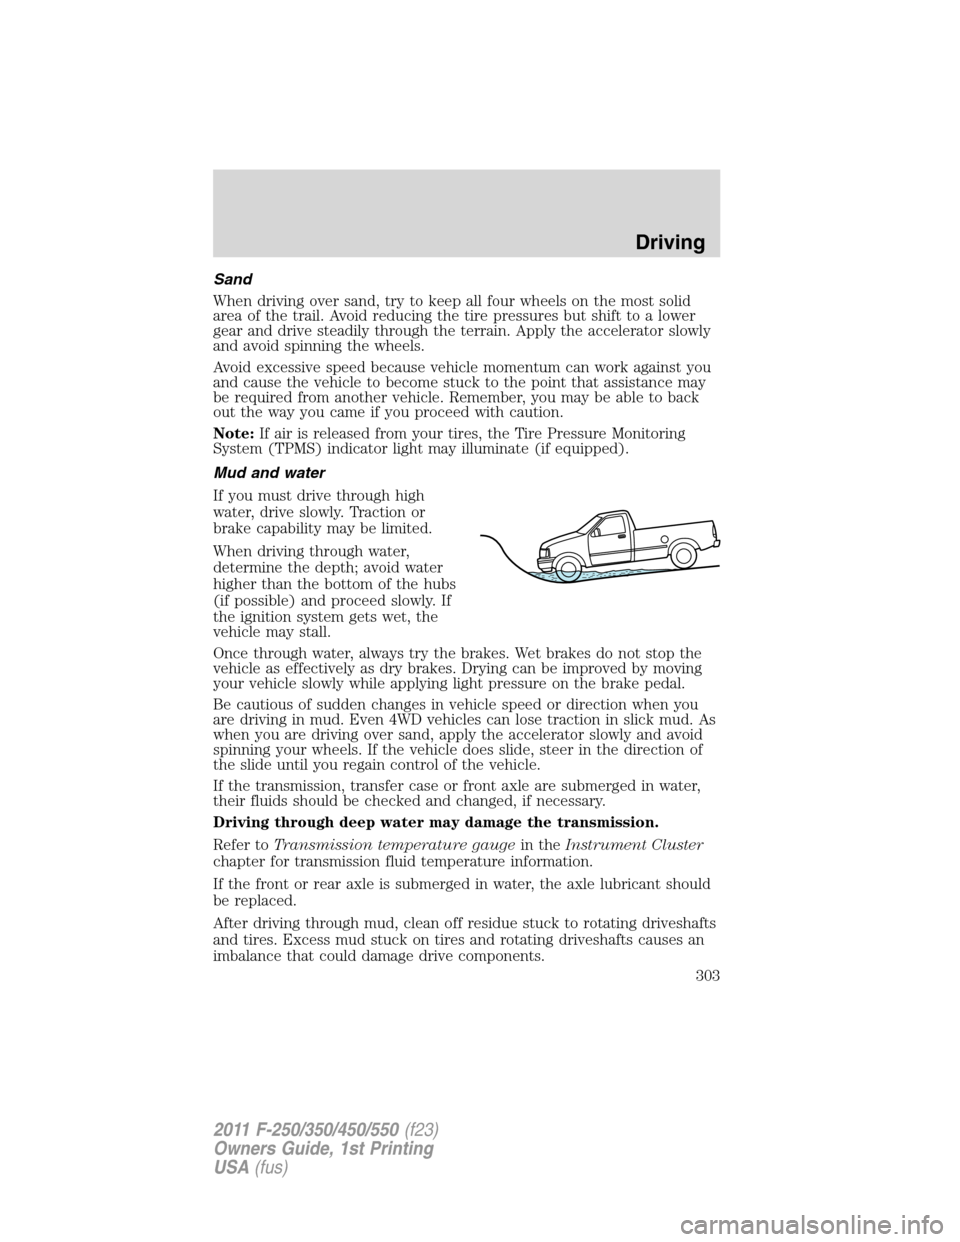
If you must drive through high
water, drive slowly. Traction or
brake capability may be limited.
When driving through water,
determine the depth; avoid water
higher than the bottom of the hubs
(if possible) and proceed slowly. If
the ignition system gets wet, the
vehicle may stall.
Once through water, always try the brakes. Wet brakes do not stop the
vehicle as effectively as dry brakes. Drying can be improved by moving
your vehicle slowly while applying light pressure on the brake pedal.
Be cautious of sudden changes in vehicle speed or direction when you
are driving in mud. Even 4WD vehicles can lose traction in slick mud. As
when you are driving over sand, apply the accelerator slowly and avoid
spinning your wheels. If the vehicle does slide, steer in the direction of
the slide until you regain control of the vehicle.
If the transmission, transfer case or front axle are submerged in water,
their fluids should be checked and changed, if necessary.
Driving through deep water may damage the transmission.
Refer toTransmission temperature gaugein theInstrument Cluster
chapter for transmission fluid temperature information.
If the front or rear axle is submerged in water, the axle lubricant should
be replaced.
After driving through mud, clean off residue stuck to rotating driveshafts
and tires. Excess mud stuck on tires and rotating driveshafts causes an
imbalance that could damage drive components.
Driving
303
2011 F-250/350/450/550(f23)
Owners Guide, 1st Printing
USA(fus)
Page 312 of 441
Canadian customers refer to your Warranty Guide or visit our
website at www.ford.ca for information on:
Using roadside assistance
Complete the roadside assistance identification card and place it in your
wallet for quick reference. In the United States, this card is found in the
Owner Guide portfolio in the glove compartment. In Canada, the card is
found in theWarranty Guidein the glove compartment.
U.S. Ford, Mercury and Lincoln vehicle customers who require Roadside
Assistance, call 1-800-241-3673.
Canadian customers who require roadside assistance, call
1-800-665-2006.
If you need to arrange roadside assistance for yourself, Ford Motor
Company will reimburse a reasonable amount for towing to the nearest
dealership within 35 miles (56 km). To obtain reimbursement
information, U.S. Ford, Mercury and Lincoln vehicle customers call
1-800-241-3673. Customers will be asked to submit their original
receipts.
Canadian customers who need to obtain reimbursement information, call
1-800-665-2006 or visit our website at www.ford.ca.
HAZARD FLASHER CONTROL
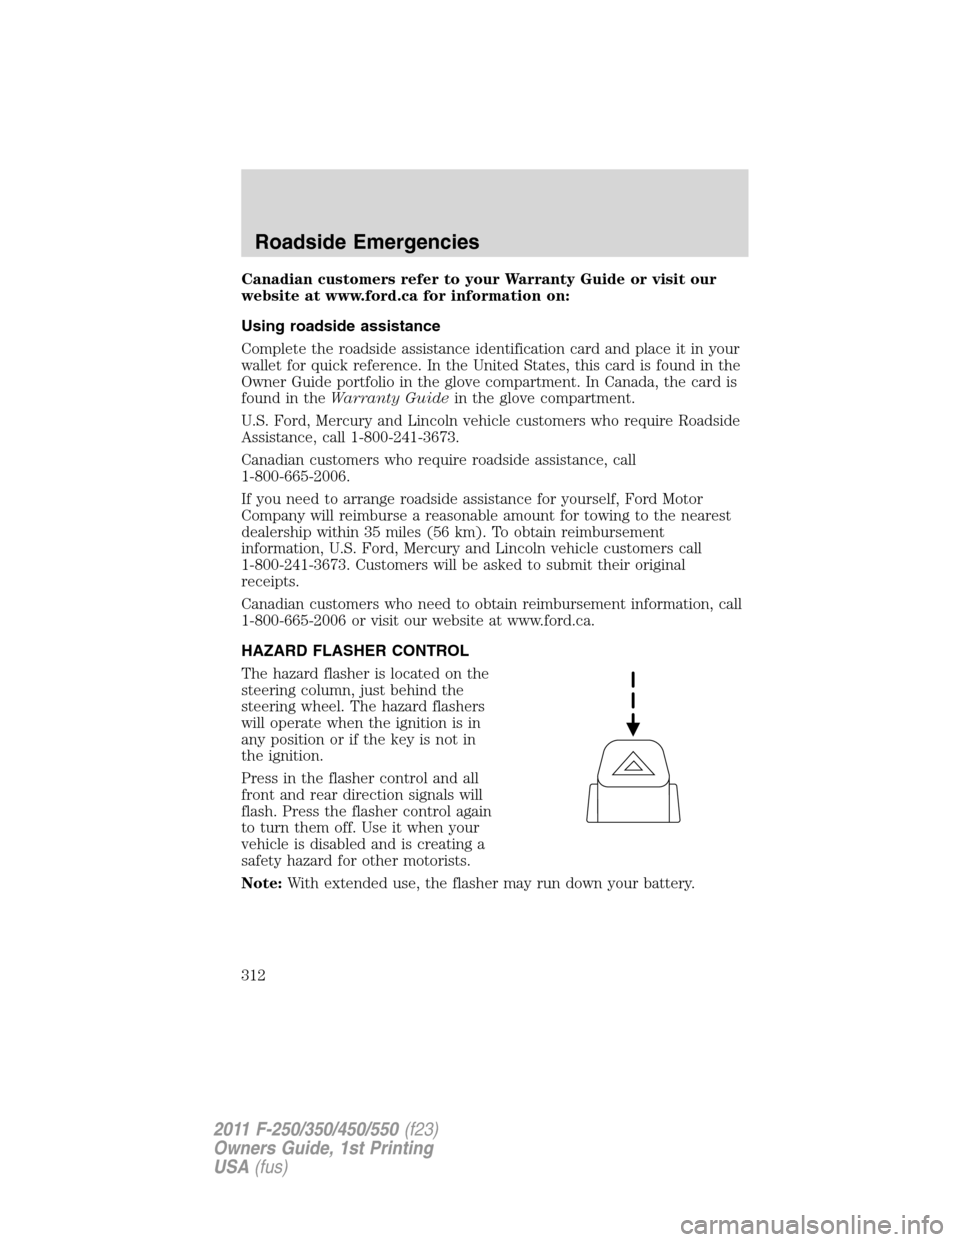
The hazard flasher is located on the
steering column, just behind the
steering wheel. The hazard flashers
will operate when the ignition is in
any position or if the key is not in
the ignition.
Press in the flasher control and all
front and rear direction signals will
flash. Press the flasher control again
to turn them off. Use it when your
vehicle is disabled and is creating a
safety hazard for other motorists.
Note:With extended use, the flasher may run down your battery.
Roadside Emergencies
312
2011 F-250/350/450/550(f23)
Owners Guide, 1st Printing
USA(fus)
Page 313 of 441

FUEL PUMP SHUT-OFF
In the event of a moderate to severe collision, this vehicle is equipped
with a fuel pump shut-off feature that stops the flow of fuel to the
engine. Not every impact will cause a shut-off.
Should your vehicle shut off after a collision due to this feature, you may
restart your vehicle by doing the following:
1. Turn the ignition switch to the off position.
2. Turn the ignition switch to the on position.
In some instances the vehicle may not restart the first time you try to
restart and may take one additional attempt.
WARNING:Failure to inspect and if necessary repair fuel leaks
after a collision may increase the risk of fire and serious injury.
Ford Motor Company recommends that the fuel system be inspected
by an authorized dealer after any collision.
FUSES AND RELAYS
Fuses
If electrical components in the
vehicle are not working, a fuse may
have blown. Blown fuses are
identified by a broken wire within
the fuse. Check the appropriate
fuses before replacing any electrical
components.
Note:Always replace a fuse with one that has the specified amperage
rating. Using a fuse with a higher amperage rating can cause severe wire
damage and could start a fire.
15
Roadside Emergencies
313
2011 F-250/350/450/550(f23)
Owners Guide, 1st Printing
USA(fus)