2011 FORD EXPLORER instrument panel
[x] Cancel search: instrument panelPage 79 of 449

3. Rotate the headlamp control to the off position.
4. Turn the vehicle on.
5. Turn the vehicle off.
6. Turn the headlamp control to the autolamp position (the headlights
should turn on).
7. Turn the headlamp control to the off position when the desired delay
time (up to three minutes) has been reached.
Fog lamp control
Press the top of the control, located
on the instrument panel, to activate
the fog lamps. The fog lamp
indicator will illuminate when the
fog lamps are on. Press the top of
the control again to deactivate the
fog lamps.
The fog lamps will only operate with
the parking lamps or headlamps on.
When the high beams are activated,
the fog lamps will not operate.
High beams
Pull the lever fully past the detent
to activate. Pull the lever fully again
to deactivate.
Flash-to-pass
Pull toward you slightly to activate
and release to deactivate.
Lights
78
2011 Explorer(exp)
Owners Guide, 1st Printing
USA(fus)
Page 80 of 449

Daytime running lamps (DRL) (if equipped)
To activate DRL:
•the ignition must be in the on position and
•the headlamp control is in the
orposition
•the transmission is not in P (Park).
WARNING:Always remember to turn on your headlamps at
dusk or during inclement weather. The Daytime Running Light
(DRL) System does not activate your tail lamps and generally may not
provide adequate lighting during these conditions. Failure to activate
your headlamps under these conditions may result in a collision.
PANEL DIMMER CONTROL
Use to adjust the brightness of the
instrument panel and all applicable
lit components in the vehicle during
headlamp and parking lamp
operation.
•Tapthetoporbottomofthe
control to brighten/dim all interior
lit components incrementally, or
•Press and hold the top or bottom
of the control until the desired lighting level is reached.
Note:In the uplevel message center only, a message will pop up that will
show incrementally where the dimmer is in relation to the dimming
steps. These steps will also vary for daytime and night time dimming.
Note:If the battery is disconnected, discharged, or a new battery is
installed, the dimmer control requires re-calibration. Press the dimmer
control from the full dim position to the full on position to reset. This
will ensure that your displays are visible under all lighting conditions.
Lights
79
2011 Explorer(exp)
Owners Guide, 1st Printing
USA(fus)
Page 84 of 449

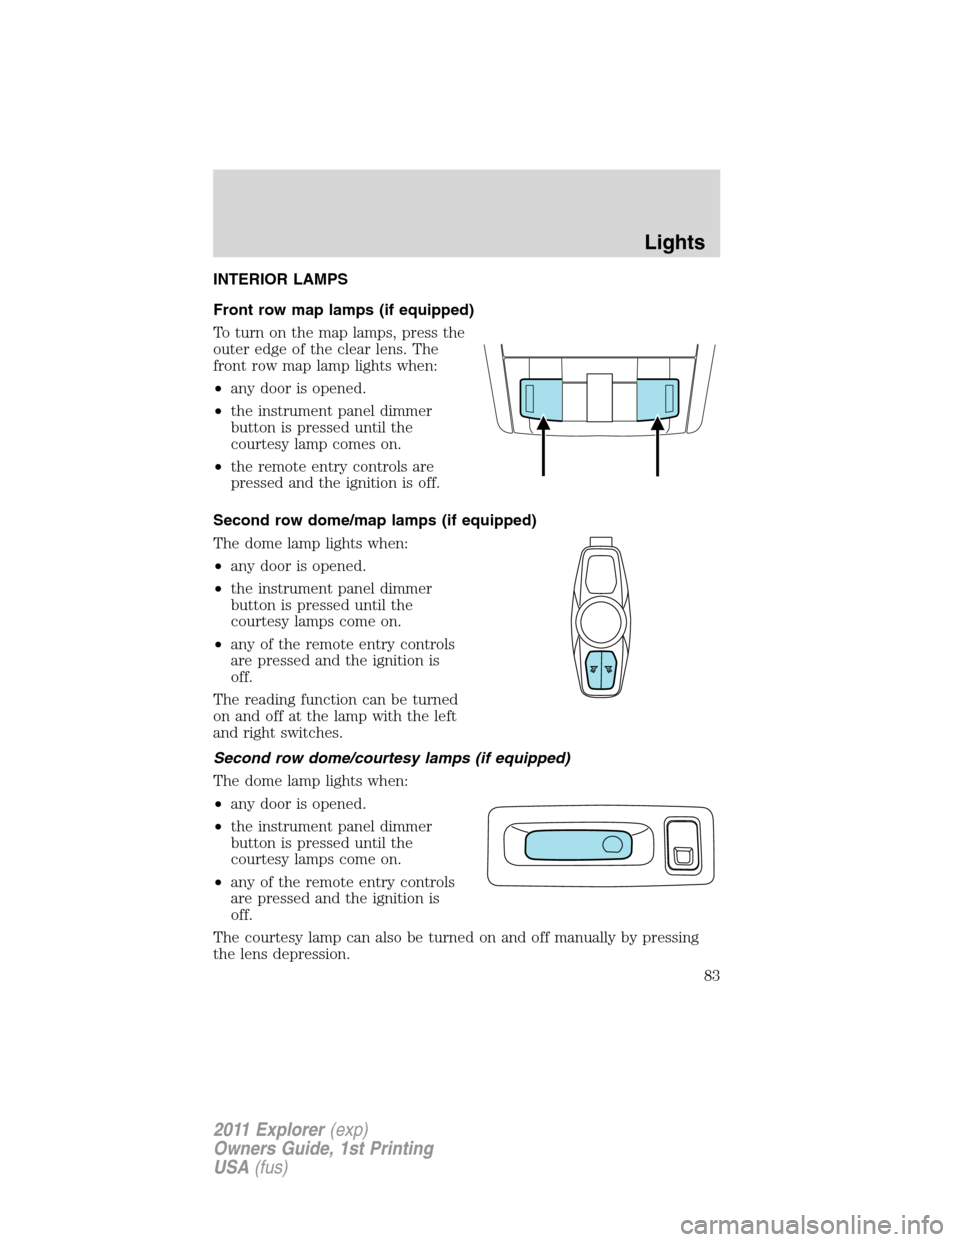
INTERIOR LAMPS
Front row map lamps (if equipped)
To turn on the map lamps, press the
outer edge of the clear lens. The
front row map lamp lights when:
•any door is opened.
•the instrument panel dimmer
button is pressed until the
courtesy lamp comes on.
•the remote entry controls are
pressed and the ignition is off.
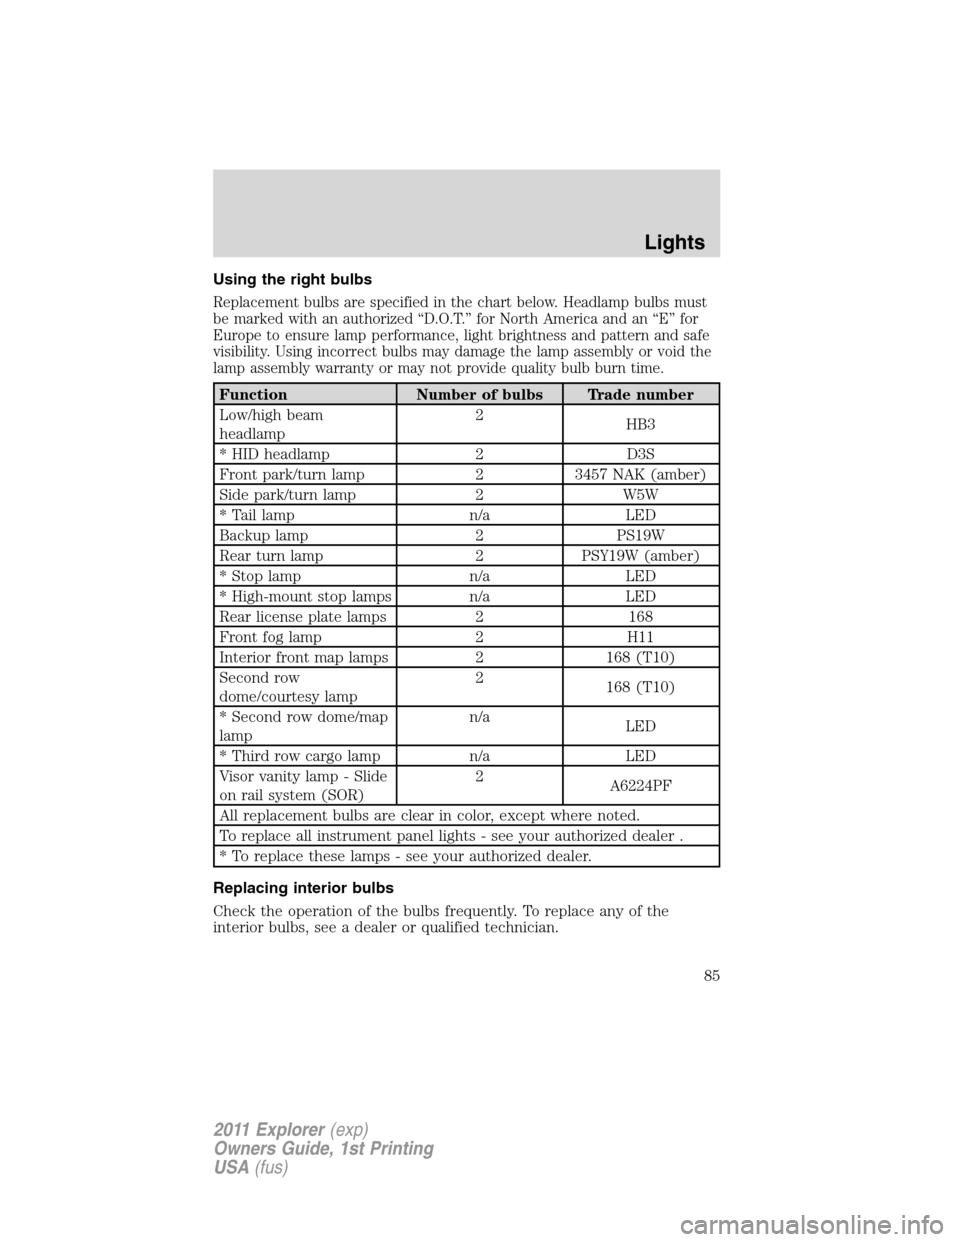
Second row dome/map lamps (if equipped)
The dome lamp lights when:
•any door is opened.
•the instrument panel dimmer
button is pressed until the
courtesy lamps come on.
•any of the remote entry controls
are pressed and the ignition is
off.
The reading function can be turned
on and off at the lamp with the left
and right switches.
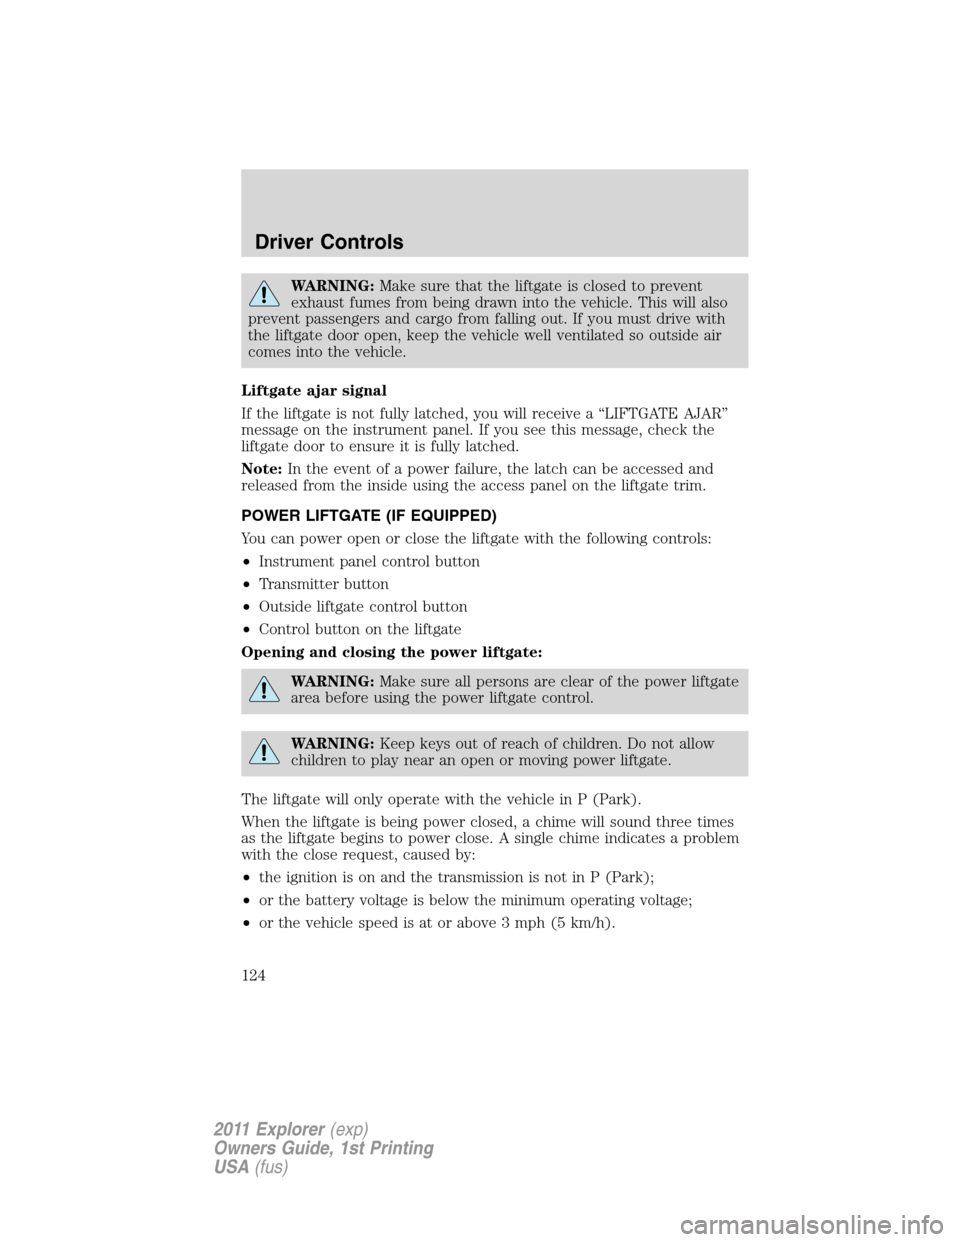
Second row dome/courtesy lamps (if equipped)
The dome lamp lights when:
•any door is opened.
•the instrument panel dimmer
button is pressed until the
courtesy lamps come on.
•any of the remote entry controls
are pressed and the ignition is
off.
The courtesy lamp can also be turned on and off manually by pressing
the lens depression.
Lights
83
2011 Explorer(exp)
Owners Guide, 1st Printing
USA(fus)
Page 85 of 449

Third row cargo lamp
The dome lamp lights when:
•any door is opened.
•the instrument panel dimmer
button is pressed until the
courtesy lamp comes on.
•any of the remote entry controls
are pressed and the ignition is
off.
The courtesy lamp can also be
turned on and off manually by
pressing the control switch.
Battery saver
The battery saver will shut off the exterior lamps and interior lamps,
except the hazard warning lamps if activated, 10 minutes after the
ignition control has been turned off. The system will not turn off the
parking lamps if they are on.
BULB REPLACEMENT
Lamp assembly condensation
Exterior lamps are vented to accommodate normal changes in pressure.
Condensation can be a natural by-product of this design. When moist air
enters the lamp assembly through the vents, there is a possibility that
condensation can occur when the temperature is cold. When normal
condensation occurs, a thin film of mist can form on the interior of the
lens. The thin mist eventually clears and exits through the vents during
normal operation. Clearing time may take as long as 48 hours under dry
weather conditions.
Examples of acceptable condensation are:
•Presence of thin mist (no streaks, drip marks or droplets)
•Fine mist covers less than 50% of the lens
Examples of unacceptable moisture (usually caused by a lamp water
leak) are:
•Water puddle inside the lamp
•Large water droplets, drip marks or streaks present on the interior of
the lens
Take your vehicle to a dealer for service if any of the above conditions of
unacceptable moisture are present.
Lights
84
2011 Explorer(exp)
Owners Guide, 1st Printing
USA(fus)
Page 86 of 449

Using the right bulbs
Replacement bulbs are specified in the chart below. Headlamp bulbs must
be marked with an authorized “D.O.T.” for North America and an “E” for
Europe to ensure lamp performance, light brightness and pattern and safe
visibility. Using incorrect bulbs may damage the lamp assembly or void the
lamp assembly warranty or may not provide quality bulb burn time.
Function Number of bulbs Trade number
Low/high beam
headlamp2
HB3
* HID headlamp 2 D3S
Front park/turn lamp 2 3457 NAK (amber)
Side park/turn lamp 2 W5W
* Tail lamp n/a LED
Backup lamp 2 PS19W
Rear turn lamp 2 PSY19W (amber)
* Stop lamp n/a LED
* High-mount stop lamps n/a LED
Rear license plate lamps 2 168
Front fog lamp 2 H11
Interior front map lamps 2 168 (T10)
Second row
dome/courtesy lamp2
168 (T10)
* Second row dome/map
lampn/a
LED
* Third row cargo lamp n/a LED
Visor vanity lamp - Slide
on rail system (SOR)2
A6224PF
All replacement bulbs are clear in color, except where noted.
To replace all instrument panel lights - see your authorized dealer .
* To replace these lamps - see your authorized dealer.
Replacing interior bulbs
Check the operation of the bulbs frequently. To replace any of the
interior bulbs, see a dealer or qualified technician.
Lights
85
2011 Explorer(exp)
Owners Guide, 1st Printing
USA(fus)
Page 125 of 449

WARNING:Make sure that the liftgate is closed to prevent
exhaust fumes from being drawn into the vehicle. This will also
prevent passengers and cargo from falling out. If you must drive with
the liftgate door open, keep the vehicle well ventilated so outside air
comes into the vehicle.
Liftgate ajar signal
If the liftgate is not fully latched, you will receive a “LIFTGATE AJAR”
message on the instrument panel. If you see this message, check the
liftgate door to ensure it is fully latched.
Note:In the event of a power failure, the latch can be accessed and
released from the inside using the access panel on the liftgate trim.
POWER LIFTGATE (IF EQUIPPED)
You can power open or close the liftgate with the following controls:
•Instrument panel control button
•Transmitter button
•Outside liftgate control button
•Control button on the liftgate
Opening and closing the power liftgate:
WARNING:Make sure all persons are clear of the power liftgate
area before using the power liftgate control.
WARNING:Keep keys out of reach of children. Do not allow
children to play near an open or moving power liftgate.
The liftgate will only operate with the vehicle in P (Park).
When the liftgate is being power closed, a chime will sound three times
as the liftgate begins to power close. A single chime indicates a problem
with the close request, caused by:
•the ignition is on and the transmission is not in P (Park);
•or the battery voltage is below the minimum operating voltage;
•or the vehicle speed is at or above 3 mph (5 km/h).
Driver Controls
124
2011 Explorer(exp)
Owners Guide, 1st Printing
USA(fus)
Page 126 of 449

If the liftgate reverses and starts to close after an open request, a fast
continuous chime indicates excessive load on the gate or a possible strut
failure. If any excessive load is removed and you still have a faster
chime, have the system serviced immediately by your authorized dealer.
Do not attempt to manually force the liftgate to travel faster than the
power system will permit. This will activate the obstacle detection
feature.
Note:Cycling the ignition prior to completely latching the liftgate could
result in damage to the liftgate and/or its power components. Make sure
the liftgate is fully latched before operating the vehicle.
Care should be exercised in starting the engine before the liftgate is fully
closed (latched). If the ignition is cycled during a liftgate power close
cycle and the liftgate is 6-10 inches (15–24 cm) from being latched, the
liftgate may reverse to the full open position. Verify that the gate is
closed before operating or moving the vehicle, especially in an enclosure,
like a garage or a parking structure. The liftgate or its components could
be damaged in an enclosure if the liftgate is open while the vehicle is
being operated.
When operating the power liftgate after a lower height than full-open has
been programmed, the liftgate can be fully opened by manually pushing
it upward to the maximum open position.
The power liftgate feature can be enabled or disabled using the message
center controls. With the setting turned off, power operation is disabled
from the liftgate handle button and from the control button on the
liftgate. The transmitter and instrument panel switch will still continue to
operate the liftgate regardless of the position state of the message
center. Refer toMessage centerin theInstrument Clusterchapter.
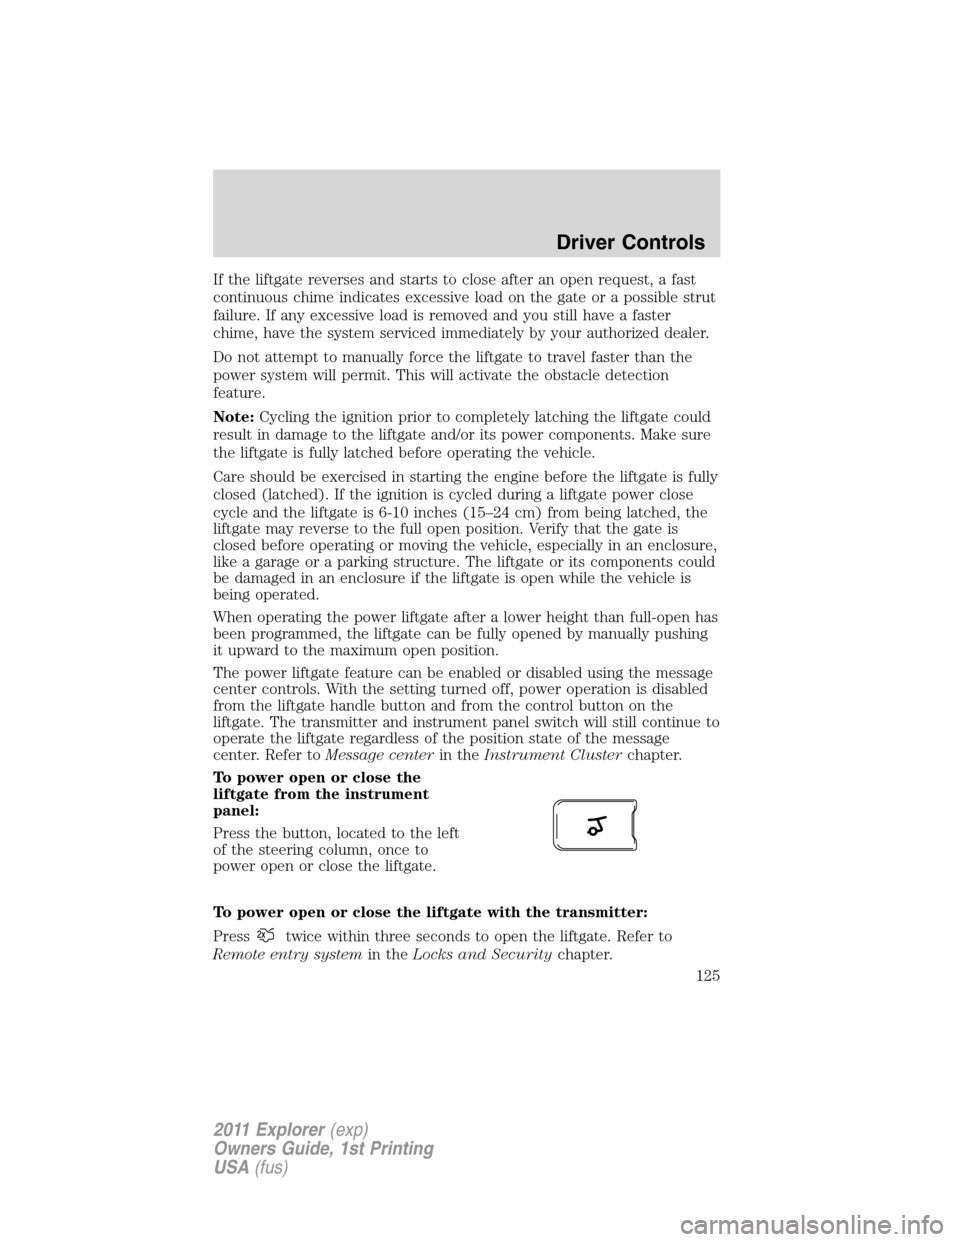
To power open or close the
liftgate from the instrument
panel:
Press the button, located to the left
of the steering column, once to
power open or close the liftgate.
To power open or close the liftgate with the transmitter:
Press
twice within three seconds to open the liftgate. Refer to
Remote entry systemin theLocks and Securitychapter.
Driver Controls
125
2011 Explorer(exp)
Owners Guide, 1st Printing
USA(fus)
Page 127 of 449

To power open the liftgate with
outside liftgate control button:
1. Unlock the liftgate with the
transmitter or power door unlock
control. If the intelligent access
transmitter (if equipped) is within
3 feet (1 meter) of the liftgate, the
liftgate will unlock when you press
the liftgate release button.
2. To open the liftgate, press the
control button located in the top of the liftgate pull-cup handle.
Note:For the best performance allow the power system to open the
liftgate after pressing the control. Manually pushing or pulling the liftgate
may activate the system’s obstacle detection feature and stops the power
operation.
To power close the liftgate with
the control button on the
liftgate:
Press and release the control on the
liftgate.
WARNING:Keep clear of the liftgate when activating the rear
switch.
Note:The liftgate movement direction can be reversed with a second
press of the instrument panel, or the control button on the liftgate, or a
second double press of the transmitter button.
To set the height of the open liftgate:
1. Open the liftgate.
2. Manually move the liftgate to the desired height.
3. Press and hold the control button on the liftgate until a chime is
heard, indicating the new height has been programmed.Note:If the
liftgate position is too low, the height cannot be programmed.
Driver Controls
126
2011 Explorer(exp)
Owners Guide, 1st Printing
USA(fus)