Page 121 of 452
If you ever wish to interrupt the system while it lists
options, press the Voice Command
button, listen
for the beep, and say your command.
Pressing the Voice Command
button while the
system is speaking is known as “barging in.” The system
will be interrupted, and after the beep, you can add or
change commands. This will become helpful once you
start to learn the options.
NOTE: At any time, you can say the words “Cancel”,
“Help” or “Main Menu”.
These commands are universal and can be used from any
menu. All other commands can be used depending upon
the active application.
When using this system, you should speak clearly and at
a normal speaking volume. The system will best recognize your speech if the win-
dows are closed, and the heater/air conditioning fan is
set to low.
At any point, if the system does not recognize one of your
commands, you will be prompted to repeat it.
To hear the first available Menu, press the Voice
Command
button and say “Help” or “Main
Menu”.
Commands
The Voice Command system understands two types of
commands. Universal commands are available at all
times. Local commands are available if the supported
radio mode is active.
Changing the Volume
1. Start a dialogue by pressing the Voice Command
button.
3
UNDERSTANDING THE FEATURES OF YOUR VEHICLE 119
Page 131 of 452
Heated Seats — If Equipped
On some models, the front driver and passenger seats
may be equipped with heaters in both the seat cushions
and seatbacks.
There are two heated seat switches that allow the driver
and passenger to operate the seats independently. Thecontrols for each seat are located on a switch bank near
the bottom center of the instrument panel.
You can choose from HIGH, LOW or OFF heat settings.
Amber indicator lights in each switch indicate the level of
heat in use. Two indicator lights will illuminate for
HIGH, one for LOW and none for OFF.
Press the switch once to select HIGH-level
heating. Press the switch a second time to select
LOW-level heating. Press the switch a third
time to shut the heating elements OFF.
When the HIGH-level setting is selected, the heater will
provide a boosted heat level during the first four minutes
of operation. Then, the heat output will drop to the
normal HIGH-level. If the HIGH-level setting is selected,
the system will automatically switch to LOW-level after
approximately 30 minutes of continuous operation. At
that time, the number of illuminated LEDs changes from
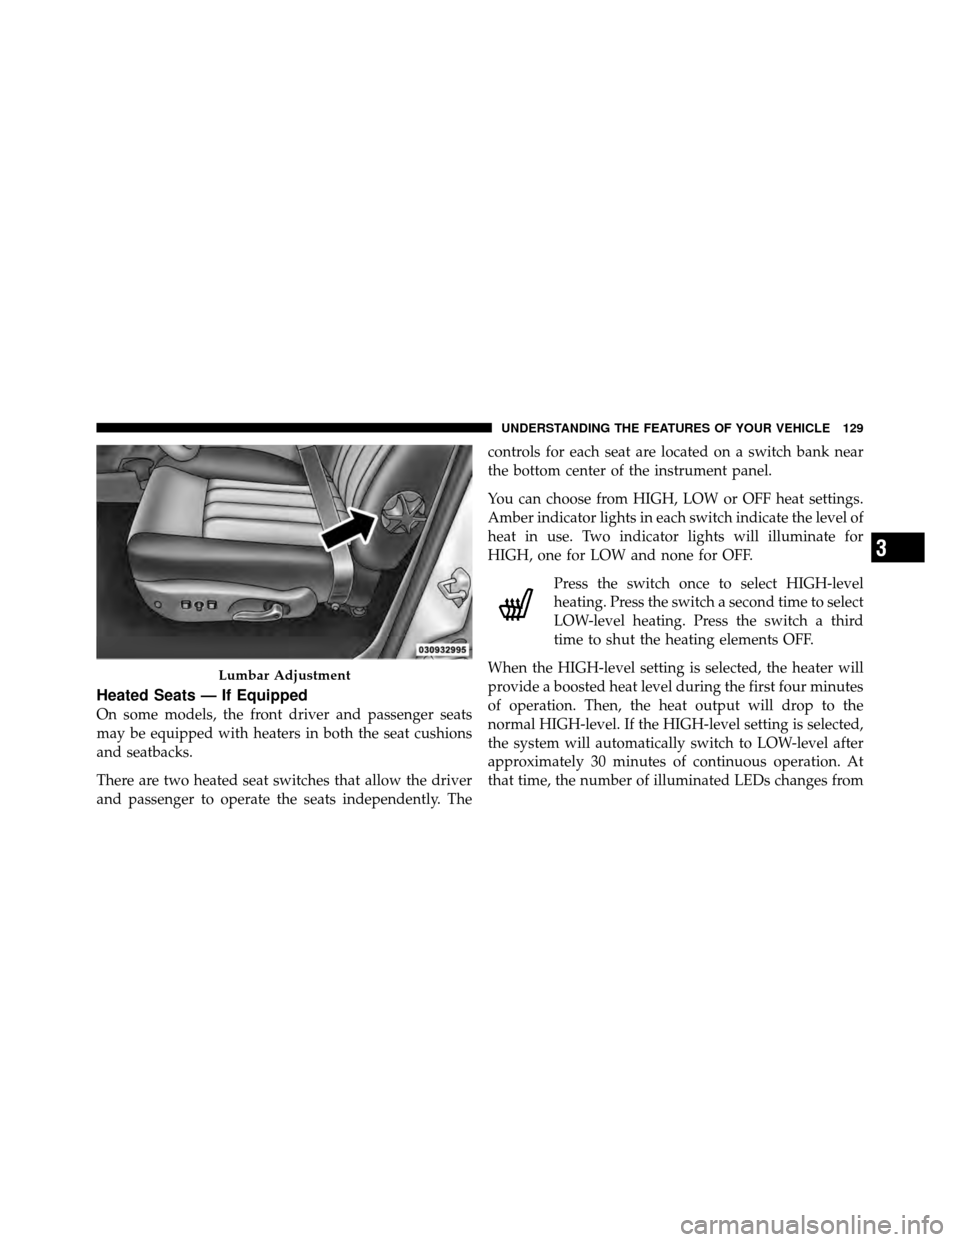
Lumbar Adjustment
3
UNDERSTANDING THE FEATURES OF YOUR VEHICLE 129
Page 132 of 452
two to one, indicating the change. The LOW-level setting
will turn OFF automatically after approximately 30 min-
utes.
NOTE:Once a heat setting is selected, heat will be felt
within two to five minutes.
WARNING!
•Persons who are unable to feel pain to the skin
because of advanced age, chronic illness, diabetes,
spinal cord injury, medication, alcohol use, ex-
haustion or other physical condition must exercise
care when using the seat heater. It may cause burns
even at low temperatures, especially if used for
long periods of time.
(Continued)
WARNING! (Continued)
•Do not place anything on the seat that insulates
against heat, such as a blanket or cushion. This
may cause the seat heater to overheat. Sitting in a
seat that has been overheated could cause serious
burns due to the increased surface temperature of
the seat.
Head Restraints
Head restraints are designed to reduce the risk of injury
by restricting head movement in the event of a rear
impact. Head restraints should be adjusted so that the top
of the head restraint is located above the top of your ear.
130 UNDERSTANDING THE FEATURES OF YOUR VEHICLE
Page 171 of 452
REAR WINDOW FEATURES
Rear Window Defroster — If Equipped
The rear window defroster button is located on the
right-side of the Air Conditioning and Heater
Control, below the A/C (snowflake) button. Press this
button to turn on the rear window defroster and the
heated outside mirrors (if equipped). An indicator in the
button will illuminate when the rear window defroster is
on. The rear window defroster automatically turns off
after approximately 10 minutes. For an additional five
minutes of operation, press the button a second time.
NOTE: To prevent excessive battery drain, use the rear
window defroster only when the engine is operating.
CAUTION!
Failure to follow these cautions can cause damage to
the heating elements:
•Use care when washing the inside of the rear
window. Do not use abrasive window cleaners on
the interior surface of the window. Use a soft cloth
and a mild washing solution, wiping parallel to
the heating elements. Labels can be peeled off
after soaking with warm water.
•Do not use scrapers, sharp instruments, or abra-
sive window cleaners on the interior surface of the
window.
•Keep all objects a safe distance from the window.
3
UNDERSTANDING THE FEATURES OF YOUR VEHICLE 169
Page 172 of 452
Sliding Rear Window — If Equipped
A locking device in the center of the window helps to
prevent entry from the rear of the vehicle. Squeeze the
lock to release the window.
SLIDE-IN CAMPERS
Camper Applications
Certain truck models are not recommended for slide-in
campers. To determine if your vehicle is excluded, please
refer to the Consumer Information Truck-Camper Load-
ing document, located in your Owner’s Manual packet or
available from your authorized dealer. For safety reasons,
follow all instructions on this important document.
General Information
The Manufacturer’s Warranty does not apply to body
modifications and special equipment, such as a camper
unit, heaters, stoves, refrigerators, etc., supplied by
manufacturers other than Chrysler Group LLC. For war-
ranty coverage and service on these items, contact the
applicable manufacturer.
Sliding Rear Window Latch
170 UNDERSTANDING THE FEATURES OF YOUR VEHICLE
Page 178 of 452

▫Notes On Playing MP3 Files ............ 216
▫ Operation Instructions - Auxiliary Mode .... 219
� Media Center 130 With Satellite Radio
(Sales Code RES+RSC) ................... 220
▫ Operating Instructions — Radio Mode ..... 220
▫ Operation Instructions — CD Mode For CD
And MP3 Audio Play ................. 226
▫ Notes On Playing MP3 Files ............ 228
▫ List Button (CD Mode For MP3 Play) ...... 230
▫ Info Button (CD Mode For MP3 Play) ...... 230
▫ Uconnect™ Multimedia
(Satellite Radio) — If Equipped .......... 231�
Steering Wheel Audio
Controls — If Equipped .................. 236
▫ Radio Operation ..................... 236
▫ CD Player ......................... 237
� CD/DVD Disc Maintenance .............. 237
� Radio Operation And Mobile Phones ....... 238
� Climate Controls ...................... 238
▫ Air Conditioning And Heater ............ 238
▫ Operating Tips ...................... 241
▫ Operation Tips Chart ................. 244
176 UNDERSTANDING YOUR INSTRUMENT PANEL
Page 240 of 452
NOTE:If you experience difficulty in playing a particu-
lar disc, it may be damaged (i.e., scratched, reflective
coating removed, a hair, moisture or dew on the disc)
oversized, or have protection encoding. Try a known
good disc before considering disc player service.
RADIO OPERATION AND MOBILE PHONES
Under certain conditions, the mobile phone being on in
your vehicle can cause erratic or noisy performance from
your radio. This condition may be lessened or eliminated
by relocating the mobile phone antenna. This condition is
not harmful to the radio. If your radio performance does
not satisfactorily “clear” by the repositioning of the
antenna, it is recommended that the radio volume be
turned down or off during mobile phone operation when
not using Uconnect™ (if equipped).
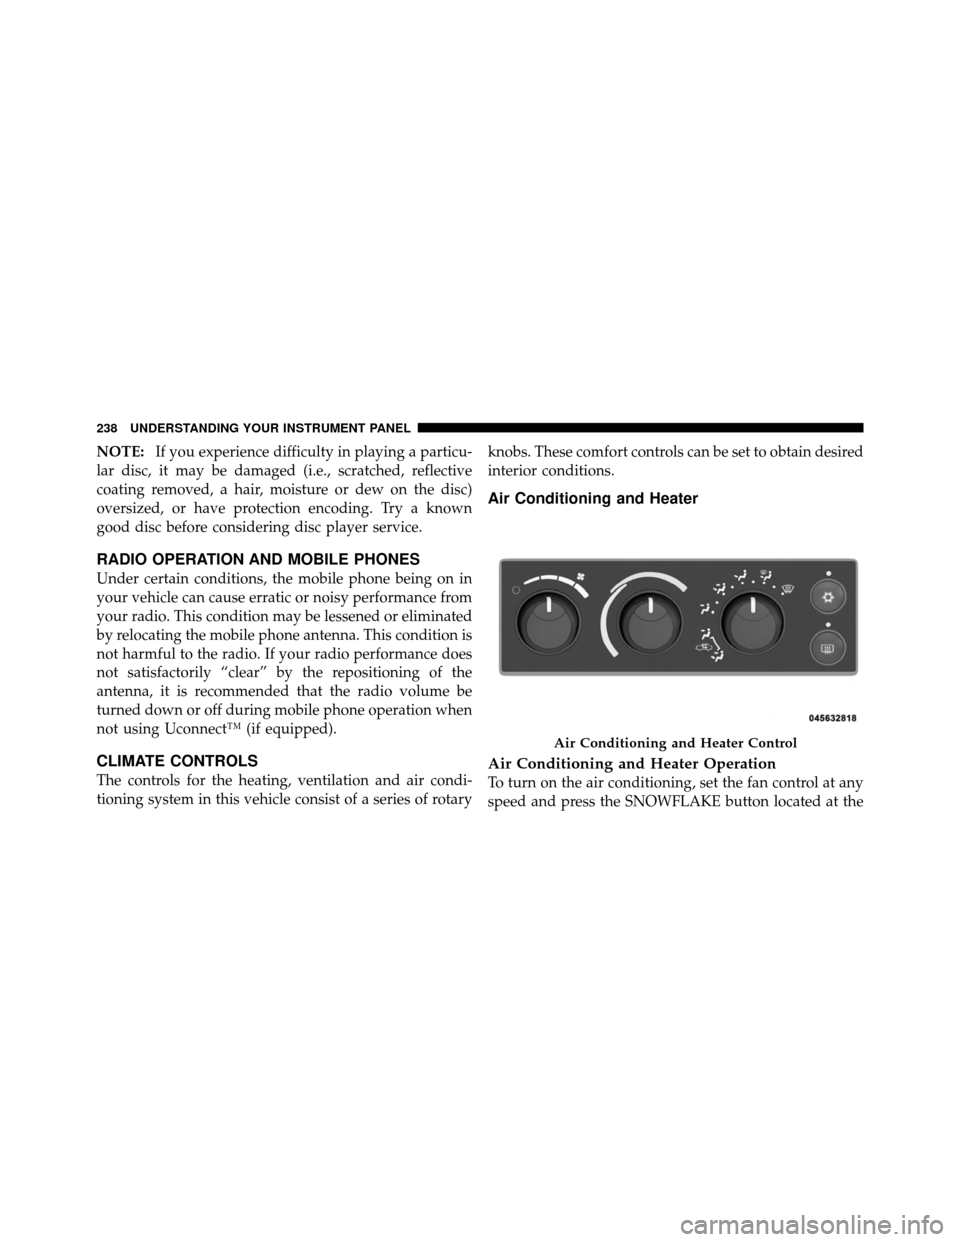
CLIMATE CONTROLS
The controls for the heating, ventilation and air condi-
tioning system in this vehicle consist of a series of rotary knobs. These comfort controls can be set to obtain desired
interior conditions.
Air Conditioning and Heater
Air Conditioning and Heater Operation
To turn on the air conditioning, set the fan control at any
speed and press the SNOWFLAKE button located at the
Air Conditioning and Heater Control
238 UNDERSTANDING YOUR INSTRUMENT PANEL
Page 247 of 452
STARTING AND OPERATING
CONTENTS
�Starting Procedures .................... 249
▫ Automatic Transmission ............... 249
▫ Normal Starting ..................... 249
▫ Extreme Cold Weather
(Below –20°F Or –29°C) ................ 250
▫ If Engine Fails To Start ................ 250
▫ After Starting ....................... 251
� Engine Block Heater — If Equipped ........ 251�
Automatic Transmission ................. 252
▫ Key Ignition Park Interlock ............. 253
▫ Brake/Transmission Interlock System ...... 253
▫ Automatic Transmission ............... 253
▫ Gear Ranges ........................ 253
� Four-Wheel Drive Operation — If Equipped . . 258
▫ Transfer Case Operating Information/
Precautions ......................... 258
▫ Shifting Procedure ................... 262
5