Page 236 of 452

INFO Button
Pressing the INFO button will cycle the display informa-
tion between Artist, Song Title, and Composer (if avail-
able). Also, pressing and holding the INFO button for an
additional three seconds will make the radio display the
Song Title all of the time (press and hold again to return
to normal display).
RW/FF
Pressing the RW (Rewind) or FF (Fast Forward) buttons
causes the tuner to search for the next channel in the
direction of the arrows.
TUNE Control (Rotary)
Turn the rotary TUNE/SCROLL control knob clockwise
to increase or counterclockwise to decrease the channel.
MUSIC TYPE Button
Pressing this button once will turn on the Music Type
mode for five seconds. Pressing the MUSIC TYPE button
or turning the TUNE/SCROLL control knob within five
seconds will allow the program format type to be se-
lected.
Toggle the MUSIC TYPE button again to select the music
type.
By pressing the SEEK button when the Music Type
function is active, the radio will be tuned to the next
channel with the same selected Music Type name.
If a preset button is activated while in the Music Type
(Program Type) mode, the Music Type mode will be
exited and the radio will tune to the preset channel.
234 UNDERSTANDING YOUR INSTRUMENT PANEL
Page 242 of 452

Bi-Level
Outside air flows through the outlets located in the
instrument panel and at the floor.
Floor
Outside air flows primarily through the floor out-
lets located under the instrument panel.
Mix
Outside air flows in equal proportions through the
floor and defroster outlets.
Defrost
Outside air is primarily directed to the windshield
through the defroster outlets located at the base of
the windshield, and the demister outlets located at the
edge of each side of the instrument panel. NOTE:
•The air conditioner compressor operates in both Mix
and Defrost or a blend of these modes, even if the A/C
button has not been pressed. This dehumidifies the air
to help dry the windshield.
•For information on operating the rear defrost, refer to
“Rear Window Features” in “Understanding The Fea-
tures Of Your Vehicle”.
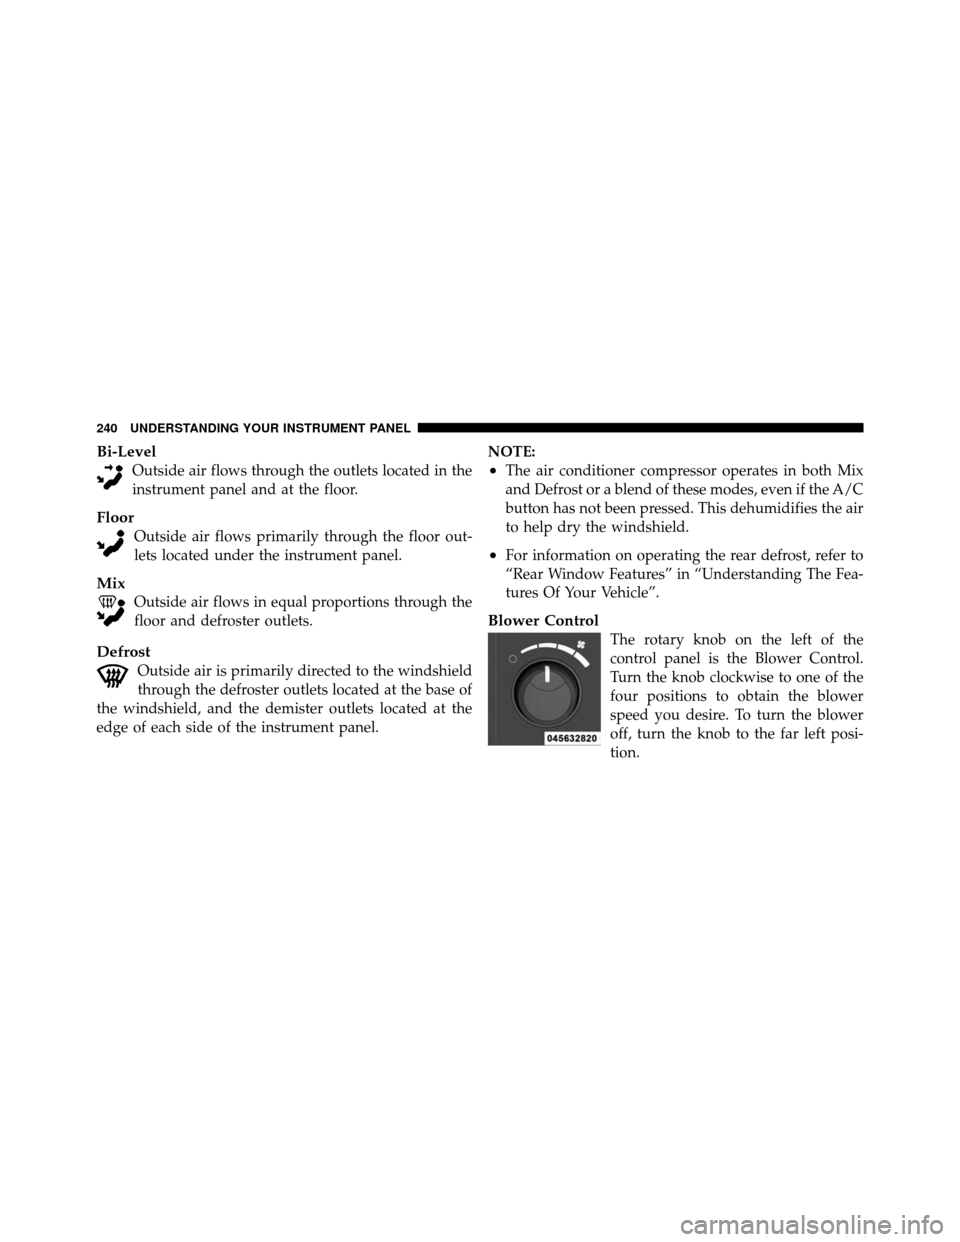
Blower Control
The rotary knob on the left of the
control panel is the Blower Control.
Turn the knob clockwise to one of the
four positions to obtain the blower
speed you desire. To turn the blower
off, turn the knob to the far left posi-
tion.
240 UNDERSTANDING YOUR INSTRUMENT PANEL
Page 339 of 452
WARNING!
The jack is designed as a tool for changing tires only.
The jack should not be used to lift the vehicle for
service purposes, unless suitable supports are placed
under the vehicle as a safety measure. The vehicle
should be jacked on a firm level surface only. Avoid
icy or slippery areas.
Removing The Spare Tire
Remove the spare tire before attempting to jack the truck.
Attach the wheel wrench to the jack extension tube. Insert
the tube through the access hole in the rear bumper and
into the winch mechanism tube. Rotate the wheel wrench
handle counterclockwise until the spare tire is on the
ground with enough cable slack to allow you to pull it
out from under the vehicle. When the spare is clear, tilt
the retainer at the end of the cable and pull it through the
center of the wheel.
Jack Stowage Location (Crew Cab)6
WHAT TO DO IN EMERGENCIES 337
Page 340 of 452
Steps for Removing the Spare Tire
•Remove the jack from the stowage compartment using
the supplied finger-assist tool.
•Remove the finger-assist tool from jack and set aside
until jack is stowed.
•Assemble the jack tools.
•Locate the tire carrier access hole on the rear bumper.
•Place assembled jack tool extension rod into the access
hole in the direction of the arrow on the bumper trim.
•Rotate the tool counterclockwise to release and lower
the spare tire to the ground so that it can be pulled
from under the vehicle.
•Rotate clockwise to stow the spare tire.
Inserting Lug Wrench and Extension
338 WHAT TO DO IN EMERGENCIES
Page 344 of 452

CAUTION!
Do not attempt to raise the vehicle by jacking on
locations other than those indicated in the Jacking
Instructions for this vehicle.
1. Lower and remove the spare wheel, jack, and tools
from stowage.
2. Using the wheel wrench, loosen, but do not remove,
the wheel nuts by turning them counterclockwise one
turn while the wheel is still on the ground.
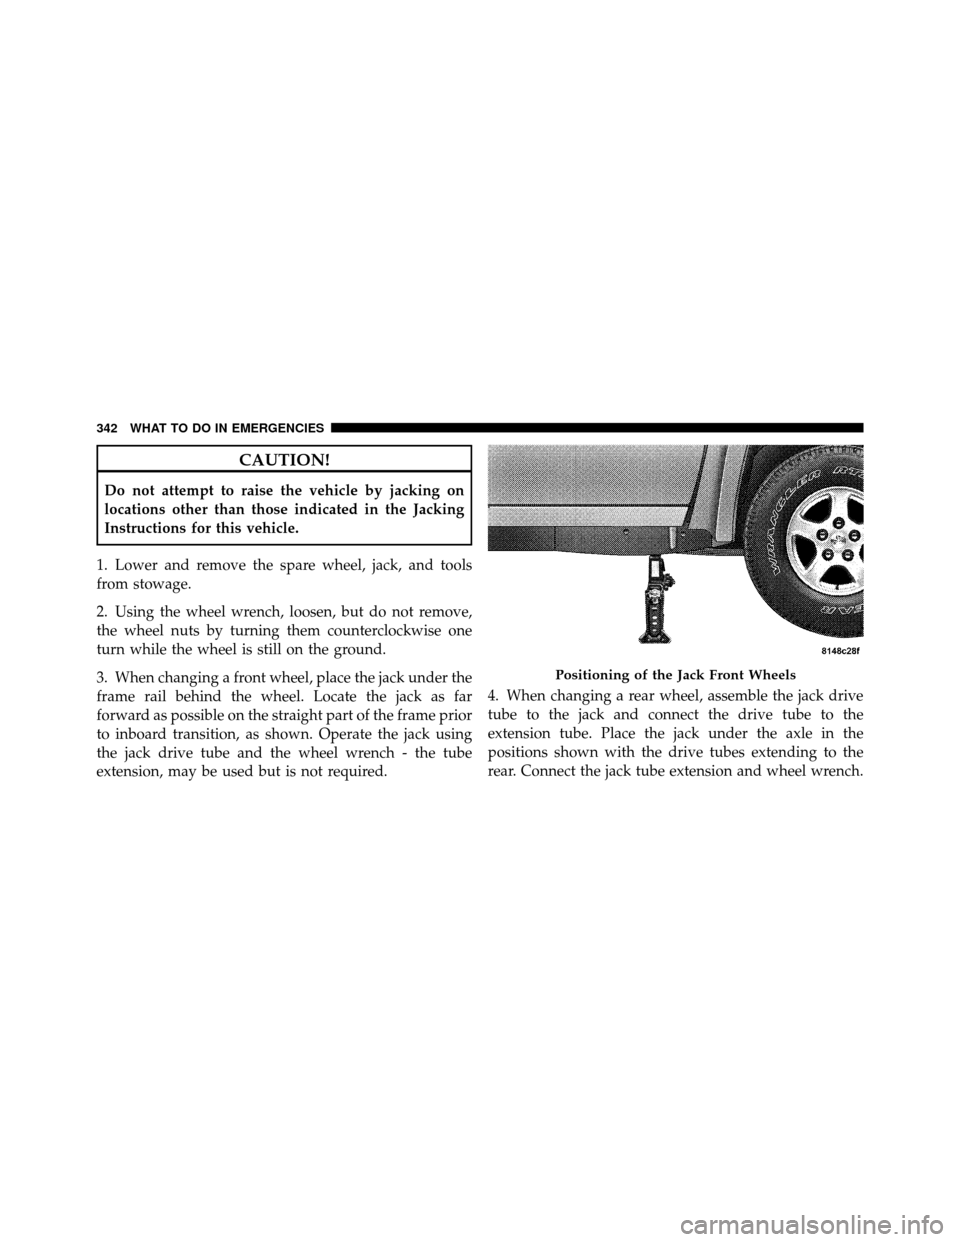
3. When changing a front wheel, place the jack under the
frame rail behind the wheel. Locate the jack as far
forward as possible on the straight part of the frame prior
to inboard transition, as shown. Operate the jack using
the jack drive tube and the wheel wrench - the tube
extension, may be used but is not required. 4. When changing a rear wheel, assemble the jack drive
tube to the jack and connect the drive tube to the
extension tube. Place the jack under the axle in the
positions shown with the drive tubes extending to the
rear. Connect the jack tube extension and wheel wrench.
Positioning of the Jack Front Wheels
342 WHAT TO DO IN EMERGENCIES
Page 345 of 452
NOTE: Before raising the wheel off the ground, make
sure that the jack will not damage surrounding truck
parts and adjust the jack position as required.
5. By rotating the wheel wrench clockwise, raise the
vehicle until the wheel just clears the surface.
Left Rear Jacking LocationRight Rear Jacking Location6
WHAT TO DO IN EMERGENCIES 343
Page 397 of 452
2. Pull the taillamp housing straight out from the body. 3. Rotate the bulb socket counterclockwise to remove itfrom the housing.
7
MAINTAINING YOUR VEHICLE 395
Page 402 of 452
2. Rotate the socket 1/4-turn counterclockwise. 3. Pull bulb from socket.
400 MAINTAINING YOUR VEHICLE