2011 CHEVROLET HHR brake light
[x] Cancel search: brake lightPage 247 of 430
Black plate (9,1)Chevrolet HHR Owner Manual - 2011
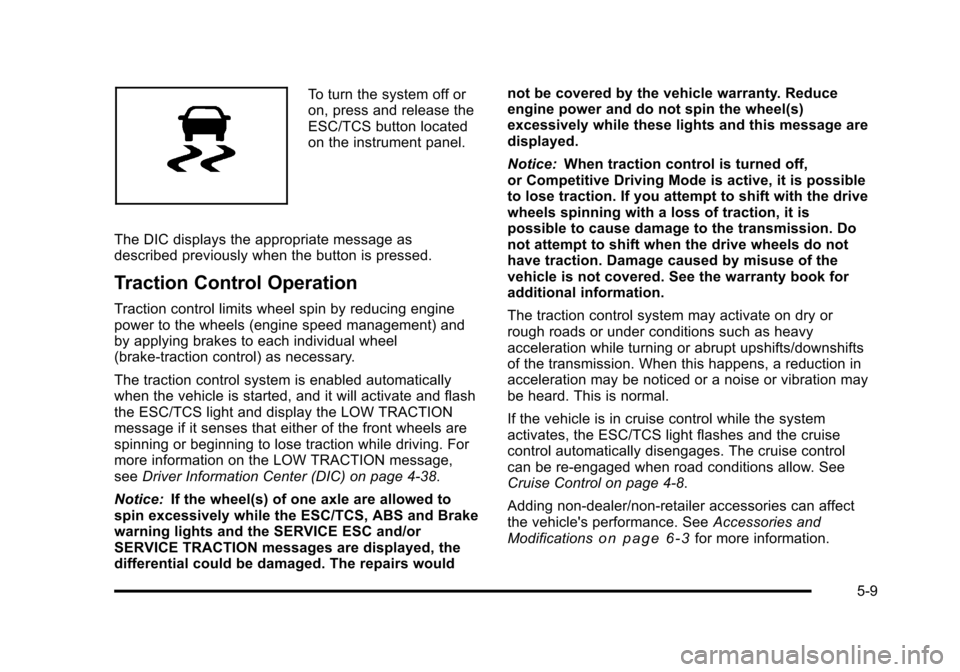
To turn the system off or
on, press and release the
ESC/TCS button located
on the instrument panel.
The DIC displays the appropriate message as
described previously when the button is pressed.
Traction Control Operation
Traction control limits wheel spin by reducing engine
power to the wheels (engine speed management) and
by applying brakes to each individual wheel
(brake-traction control) as necessary.
The traction control system is enabled automatically
when the vehicle is started, and it will activate and flash
the ESC/TCS light and display the LOW TRACTION
message if it senses that either of the front wheels are
spinning or beginning to lose traction while driving. For
more information on the LOW TRACTION message,
see Driver Information Center (DIC) on page 4‑38.
Notice: If the wheel(s) of one axle are allowed to
spin excessively while the ESC/TCS, ABS and Brake
warning lights and the SERVICE ESC and/or
SERVICE TRACTION messages are displayed, the
differential could be damaged. The repairs would not be covered by the vehicle warranty. Reduce
engine power and do not spin the wheel(s)
excessively while these lights and this message are
displayed.
Notice:
When traction control is turned off,
or Competitive Driving Mode is active, it is possible
to lose traction. If you attempt to shift with the drive
wheels spinning with a loss of traction, it is
possible to cause damage to the transmission. Do
not attempt to shift when the drive wheels do not
have traction. Damage caused by misuse of the
vehicle is not covered. See the warranty book for
additional information.
The traction control system may activate on dry or
rough roads or under conditions such as heavy
acceleration while turning or abrupt upshifts/downshifts
of the transmission. When this happens, a reduction in
acceleration may be noticed or a noise or vibration may
be heard. This is normal.
If the vehicle is in cruise control while the system
activates, the ESC/TCS light flashes and the cruise
control automatically disengages. The cruise control
can be re-engaged when road conditions allow. See
Cruise Control on page 4‑8.
Adding non‐dealer/non‐retailer accessories can affect
the vehicle's performance. See Accessories and
Modifications
on page 6‑3for more information.
5-9
Page 248 of 430
Black plate (10,1)Chevrolet HHR Owner Manual - 2011
Enhanced Traction System (ETS)
The vehicle may have an Enhanced Traction System
(ETS) that limits wheel spin. This is especially useful in
slippery road conditions. The system operates only if it
senses that one or both of the front wheels are spinning
or beginning to lose traction. When this happens, the
system reduces engine power and may also upshift the
transmission to limit wheel spin.
If the vehicle has ETS, there is not an ESC/TCS button
on the instrument panel. To turn the system off, shift to
L (Low) or R (Reverse). There is more information about
how to turn the system off later in this section.
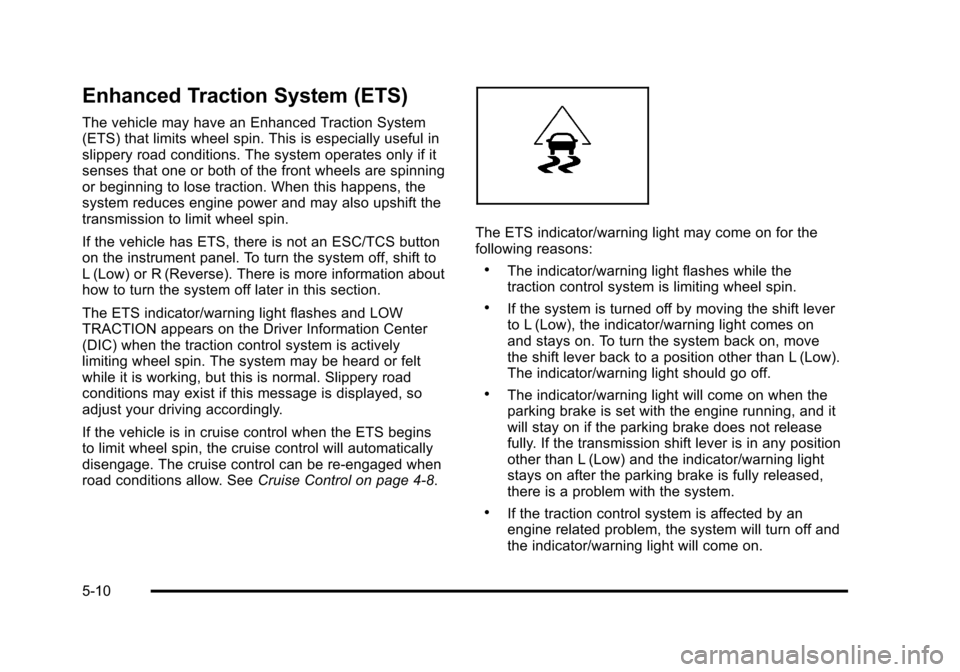
The ETS indicator/warning light flashes and LOW
TRACTION appears on the Driver Information Center
(DIC) when the traction control system is actively
limiting wheel spin. The system may be heard or felt
while it is working, but this is normal. Slippery road
conditions may exist if this message is displayed, so
adjust your driving accordingly.
If the vehicle is in cruise control when the ETS begins
to limit wheel spin, the cruise control will automatically
disengage. The cruise control can be re-engaged when
road conditions allow. SeeCruise Control on page 4‑8.
The ETS indicator/warning light may come on for the
following reasons:
.The indicator/warning light flashes while the
traction control system is limiting wheel spin.
.If the system is turned off by moving the shift lever
to L (Low), the indicator/warning light comes on
and stays on. To turn the system back on, move
the shift lever back to a position other than L (Low).
The indicator/warning light should go off.
.The indicator/warning light will come on when the
parking brake is set with the engine running, and it
will stay on if the parking brake does not release
fully. If the transmission shift lever is in any position
other than L (Low) and the indicator/warning light
stays on after the parking brake is fully released,
there is a problem with the system.
.If the traction control system is affected by an
engine related problem, the system will turn off and
the indicator/warning light will come on.
5-10
Page 254 of 430
Black plate (16,1)Chevrolet HHR Owner Manual - 2011
Driving at Night
Night driving is more dangerous than day driving
because some drivers are likely to be impaired—by
alcohol or drugs, with night vision problems, or by
fatigue.
Night driving tips include:
.Drive defensively.
.Do not drink and drive.
.Reduce headlamp glare by adjusting the inside
rearview mirror.
.Slow down and keep more space between you and
other vehicles because headlamps can only light
up so much road ahead.
.Watch for animals.
.When tired, pull off the road.
.Do not wear sunglasses.
.Avoid staring directly into approaching headlamps.
.Keep the windshield and all glass on your vehicle
clean —inside and out.
.Keep your eyes moving, especially during turns or
curves.
No one can see as well at night as in the daytime.
But, as we get older, these differences increase.
A 50-year-old driver might need at least twice as much
light to see the same thing at night as a 20-year-old.
Driving in Rain and on Wet Roads
Rain and wet roads can reduce vehicle traction and
affect your ability to stop and accelerate. Always drive
slower in these types of driving conditions and avoid
driving through large puddles and deep‐standing or
flowing water.
{WARNING:
Wet brakes can cause crashes. They might not
work as well in a quick stop and could cause
pulling to one side. You could lose control of the
vehicle.
After driving through a large puddle of water or a
car/vehicle wash, lightly apply the brake pedal
until the brakes work normally.
Flowing or rushing water creates strong forces.
Driving through flowing water could cause your
vehicle to be carried away. If this happens, you
and other vehicle occupants could drown. Do not
ignore police warnings and be very cautious about
trying to drive through flowing water.
5-16
Page 307 of 430
Black plate (31,1)Chevrolet HHR Owner Manual - 2011
Do not top off the brake/clutch fluid. Adding fluid does
not correct a leak. If fluid is added when the brake
linings are worn, there will be too much fluid when new
brake linings are installed. Add or remove fluid, as
necessary, only when work is done on the brake/clutch
hydraulic system.
{WARNING:
If too much brake fluid is added, it can spill on the
engine and burn, if the engine is hot enough. You
or others could be burned, and the vehicle could
be damaged. Add brake fluid only when work is
done on the brake and/or clutch hydraulic system.
When the brake fluid falls to a low level, the brake
warning light comes on. See Brake System Warning
Light on page 4‑29.
What to Add
Use only new DOT 3 brake fluid from a sealed
container. See Recommended Fluids and Lubricantson
page 7‑8.
Always clean the brake fluid reservoir cap and the area
around the cap before removing it. This helps keep dirt
from entering the reservoir.
{WARNING:
With the wrong kind of fluid in the brake or clutch
hydraulic system, the brakes or clutch might not
work well. This could cause a crash. Always use
the proper brake fluid.
Notice:
.Using the wrong fluid can badly damage
brake or clutch hydraulic system parts. For
example, just a few drops of mineral-based
oil, such as engine oil, in the brake or clutch
hydraulic system can damage brake or
clutch hydraulic system parts so badly that
they will have to be replaced. Do not let
someone put in the wrong kind of fluid.
.If brake fluid is spilled on the vehicle's
painted surfaces, the paint finish can be
damaged. Be careful not to spill brake fluid
on the vehicle. If you do, wash it off
immediately. See Washing Your Vehicle
on
page 6‑95
.
6-31
Page 308 of 430
Black plate (32,1)Chevrolet HHR Owner Manual - 2011
Brake Wear
This vehicle has front disc brakes and could have rear
drum brakes or rear disc brakes.
Disc brake pads have built-in wear indicators that make
a high-pitched warning sound when the brake pads are
worn and new pads are needed. The sound can come
and go or be heard all the time the vehicle is moving,
except when applying the brake pedal firmly.
{WARNING:
The brake wear warning sound means that soon
the brakes will not work well. That could lead to a
crash. When the brake wear warning sound is
heard, have the vehicle serviced.
Notice: Continuing to drive with worn-out brake
pads could result in costly brake repair.
Some driving conditions or climates can cause a brake
squeal when the brakes are first applied or lightly
applied. This does not mean something is wrong with
the brakes. Properly torqued wheel nuts are necessary to help
prevent brake pulsation. When tires are rotated, inspect
brake pads for wear and evenly tighten wheel nuts in
the proper sequence to torque specifications in
Capacities and Specifications on page 6‑107.
If the vehicle has rear drum brakes, they do not have
wear indicators, but if a rear brake rubbing noise is
heard, have the rear brake linings inspected
immediately. Rear brake drums should be removed and
inspected each time the tires are removed for rotation or
changing. When the front brake pads are replaced,
have the rear brakes inspected, too.
Brake linings should always be replaced as complete
axle sets.
Brake Pedal Travel
See your dealer if the brake pedal does not return to
normal height, or if there is a rapid increase in pedal
travel. This could be a sign that brake service might be
required.
Brake Adjustment
Every time the brakes are applied, with or without the
vehicle moving, the brakes adjust for wear.
6-32
Page 310 of 430
Black plate (34,1)Chevrolet HHR Owner Manual - 2011
Jump Starting
For more information about the vehicle battery, see
Battery on page 6‑33.
If the vehicle's battery has run down, you may want to
use another vehicle and some jumper cables to start the
vehicle. Be sure to use the following steps to do it
safely.
{WARNING:
Batteries can hurt you. They can be dangerous
because:
.They contain acid that can burn you.
.They contain gas that can explode or ignite.
.They contain enough electricity to burn you.
If you do not follow these steps exactly, some or
all of these things can hurt you.
Notice: Ignoring these steps could result in costly
damage to the vehicle that would not be covered by
the warranty.
Trying to start the vehicle by pushing or pulling it
will not work, and it could damage the vehicle.
1. Check the other vehicle. It must have a 12-volt battery with a negative ground system. Notice:
If the other vehicle's system is not a
12-volt system with a negative ground, both
vehicles can be damaged. Only use vehicles with
12-volt systems with negative grounds to jump start
your vehicle.
2. Get the vehicles close enough so the jumper cables can reach, but be sure the vehicles are not
touching each other. If they are, it could cause a
ground connection you do not want. You would not
be able to start the vehicle, and the bad grounding
could damage the electrical systems.
To avoid the possibility of the vehicles rolling, set
the parking brake firmly on both vehicles involved
in the jump start procedure. Put an automatic
transmission in P (Park) or a manual transmission
in N (Neutral) before setting the parking brake.
Notice: If you leave the radio or other accessories
on during the jump starting procedure, they could
be damaged. The repairs would not be covered by
the warranty. Always turn off the radio and other
accessories when jump starting the vehicle.
3. Turn off the ignition on both vehicles. Unplug unnecessary accessories plugged into the
cigarette lighter or the accessory power outlet.
Turn off the radio and all lamps that are not
needed. This will avoid sparks and help save both
batteries. And it could save the radio!
6-34
Page 341 of 430
Black plate (65,1)Chevrolet HHR Owner Manual - 2011
Different Size Tires and Wheels
If you add wheels or tires that are a different size than
your original equipment wheels and tires, this could
affect the way your vehicle performs, including its
braking, ride and handling characteristics, stability, and
resistance to rollover. Additionally, if your vehicle has
electronic systems such as anti‐lock brakes, rollover
airbags, traction control, and electronic stability control,
the performance of these systems can be affected.
{WARNING:
If you add different sized wheels, your vehicle
may not provide an acceptable level of
performance and safety if tires not recommended
for those wheels are selected. You may increase
the chance that you will crash and suffer serious
injury. Only use GM specific wheel and tire
systems developed for your vehicle, and have
them properly installed by a GM certified
technician.
See Buying New Tires
on page 6‑62andAccessories
and Modificationson page 6‑3for additional
information.
Uniform Tire Quality Grading
Quality grades can be found where applicable on
the tire sidewall between tread shoulder and
maximum section width. For example:
Treadwear 200 Traction AA
Temperature A
The following information relates to the system
developed by the United States National Highway
Traffic Safety Administration (NHTSA), which
grades tires by treadwear, traction, and
temperature performance. This applies only to
vehicles sold in the United States. The grades are
molded on the sidewalls of most passenger car
tires. The Uniform Tire Quality Grading (UTQG)
system does not apply to deep tread, winter-type
snow tires, space-saver, or temporary use spare
tires, tires with nominal rim diameters of
10 to 12 inches (25 to 30 cm), or to some
limited-production tires.
While the tires available on General Motors
passenger cars and light trucks may vary with
respect to these grades, they must also conform
to federal safety requirements and additional
General Motors Tire Performance Criteria (TPC)
standards.
6-65
Page 417 of 430

Black plate (1,1)Chevrolet HHR Owner Manual - 2011
A
Accessories and Modifications . . . . . . . . . . . . . . . . . . . . . . .6-3
Accessory Power . . . . . . . . . . . . . . . . . . . . . . . . . . . . . . . . . . 3-24
Accessory Power Outlets . . . . . . . . . . . . . . . . . . . . . . . . . . 4-15
Add-On Electrical Equipment . . . . . . . . . . . . . . . . . . . . . 6-100
Additives, Fuel . . . . . . . . . . . . . . . . . . . . . . . . . . . . . . . . . . . . . . .6-7
AdjustmentChime Level . . . . . . . . . . . . . . . . . . . . . . . . . . . . . . . . . . . . . . 4-81
Air Cleaner/Filter, Engine . . . . . . . . . . . . . . . . . . . . . . . . . . 6-20
Air Conditioning . . . . . . . . . . . . . . . . . . . . . . . . . . . . . . . . . . . 4-18
Air Filter, Passenger Compartment . . . . . . . . . . . . . . . . 4-21
Airbag Adding Equipment to Your Airbag-EquippedVehicle . . . . . . . . . . . . . . . . . . . . . . . . . . . . . . . . . . . . . . . . . . 2-72
Airbag System How Does an Airbag Restrain? . . . . . . . . . . . . . . . . . . . 2-64
Passenger Sensing System . . . . . . . . . . . . . . . . . . . . . . 2-66
Servicing Your Airbag-Equipped Vehicle . . . . . . . . . . 2-72
What Makes an Airbag Inflate? . . . . . . . . . . . . . . . . . . . 2-64
What Will You See After an Airbag Inflates? . . . . . . 2-65
When Should an Airbag Inflate? . . . . . . . . . . . . . . . . . . 2-63
Where Are the Airbags? . . . . . . . . . . . . . . . . . . . . . . . . . . 2-61
Airbags Passenger Status Indicator . . . . . . . . . . . . . . . . . . . . . . . 4-27
Readiness Light . . . . . . . . . . . . . . . . . . . . . . . . . . . . . . . . . . 4-26
System Check . . . . . . . . . . . . . . . . . . . . . . . . . . . . . . . . . . . . 2-58 Antenna
Fixed Mast . . . . . . . . . . . . . . . . . . . . . . . . . . . . . . . . . . . . . . . 4-81
Antenna, XM™ Satellite Radio Antenna System . . . 4-81
Antilock Brake System (ABS) . . . . . . . . . . . . . . . . . . . . . . . .5-4 Warning Light . . . . . . . . . . . . . . . . . . . . . . . . . . . . . . . . . . . . . 4-30
Appearance Care Aluminum or Chrome-Plated Wheels . . . . . . . . . . . . . 6-97
Care of Safety Belts . . . . . . . . . . . . . . . . . . . . . . . . . . . . . . 6-95
Chemical Paint Spotting . . . . . . . . . . . . . . . . . . . . . . . . . . 6-98
Cleaning Exterior Lamps/Lenses . . . . . . . . . . . . . . . . . 6-95
Fabric/Carpet . . . . . . . . . . . . . . . . . . . . . . . . . . . . . . . . . . . . . 6-93
Finish Care . . . . . . . . . . . . . . . . . . . . . . . . . . . . . . . . . . . . . . . 6-96
Finish Damage . . . . . . . . . . . . . . . . . . . . . . . . . . . . . . . . . . . 6-98
Instrument Panel, Vinyl, and Other Plastic
Surfaces . . . . . . . . . . . . . . . . . . . . . . . . . . . . . . . . . . . . . . . . 6-94
Interior Cleaning . . . . . . . . . . . . . . . . . . . . . . . . . . . . . . . . . . 6-92
Leather . . . . . . . . . . . . . . . . . . . . . . . . . . . . . . . . . . . . . . . . . . . 6-94
Sheet Metal Damage . . . . . . . . . . . . . . . . . . . . . . . . . . . . . 6-98
Tires . . . . . . . . . . . . . . . . . . . . . . . . . . . . . . . . . . . . . . . . . . . . . . 6-98
Underbody Maintenance . . . . . . . . . . . . . . . . . . . . . . . . . . 6-98
Washing Your Vehicle . . . . . . . . . . . . . . . . . . . . . . . . . . . . 6-95
Weatherstrips . . . . . . . . . . . . . . . . . . . . . . . . . . . . . . . . . . . . . 6-95
Windshield and Wiper Blades . . . . . . . . . . . . . . . . . . . . . 6-96
Ashtray . . . . . . . . . . . . . . . . . . . . . . . . . . . . . . . . . . . . . . . . . . . . 4-17
Assistance Program, Roadside . . . . . . . . . . . . . . . . . . . . . .8-6
i - 1