2011 CHEVROLET CORVETTE tow
[x] Cancel search: towPage 110 of 428
Black plate (46,1)Chevrolet Corvette Owner Manual - 2011
3-46 Seats and Restraints
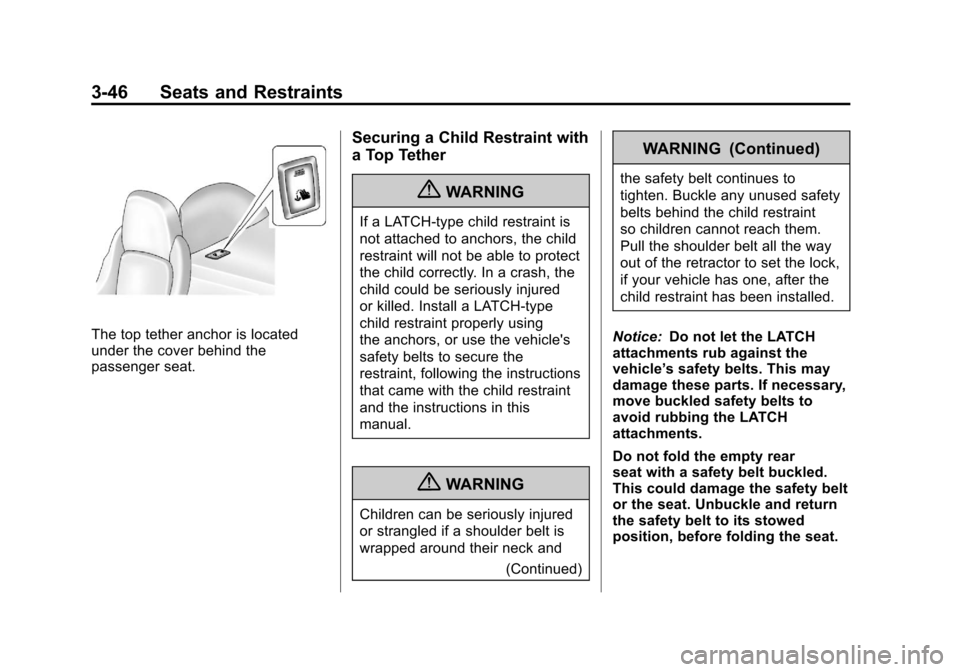
The top tether anchor is located
under the cover behind the
passenger seat.
Securing a Child Restraint with
a Top Tether
{WARNING
If a LATCH-type child restraint is
not attached to anchors, the child
restraint will not be able to protect
the child correctly. In a crash, the
child could be seriously injured
or killed. Install a LATCH-type
child restraint properly using
the anchors, or use the vehicle's
safety belts to secure the
restraint, following the instructions
that came with the child restraint
and the instructions in this
manual.
{WARNING
Children can be seriously injured
or strangled if a shoulder belt is
wrapped around their neck and(Continued)
WARNING (Continued)
the safety belt continues to
tighten. Buckle any unused safety
belts behind the child restraint
so children cannot reach them.
Pull the shoulder belt all the way
out of the retractor to set the lock,
if your vehicle has one, after the
child restraint has been installed.
Notice: Do not let the LATCH
attachments rub against the
vehicle’ s safety belts. This may
damage these parts. If necessary,
move buckled safety belts to
avoid rubbing the LATCH
attachments.
Do not fold the empty rear
seat with a safety belt buckled.
This could damage the safety belt
or the seat. Unbuckle and return
the safety belt to its stowed
position, before folding the seat.
Page 115 of 428
Black plate (51,1)Chevrolet Corvette Owner Manual - 2011
Seats and Restraints 3-51
7. If the child restraint has a toptether, follow the child restraint
manufacturer's instructions
regarding the use of the top
tether. See Lower Anchors and
Tethers for Children (LATCH
System) (Coupe and Convertible
Models Only) on page 3‑43
or Lower Anchors and Tethers
for Children (LATCH System)
(Z06 and ZR1 Models Only) on
page 3‑44 for more information.
8. Before placing a child in the child restraint, make sure it is
securely held in place. To check,
grasp the child restraint at the
safety belt path and attempt
to move it side‐to‐side and
back‐and‐forth. When the child
restraint is properly installed,
there should be no more than
2.5 cm (1 in) of movement. If the airbag or airbags are off, the
off indicator in the passenger airbag
status indicator will come on and
stay on when the vehicle is started.
If a child restraint has been
installed and the on indicator is lit,
see
“If the On Indicator is Lit for a
Child Restraint ”under Passenger
Sensing System on page 3‑30 for
more information.
To remove the child restraint,
unbuckle the vehicle safety belt and
let it return to the stowed position.
If the top tether is attached to a top
tether anchor, disconnect it.
Page 122 of 428

Black plate (2,1)Chevrolet Corvette Owner Manual - 2011
5-2 Instruments and Controls
Vehicle Personalization
Vehicle Personalization . . . . . . 5-55
Universal Remote System
Universal Remote System . . . 5-64
Universal Remote SystemProgramming . . . . . . . . . . . . . . . 5-64
Universal Remote System Operation . . . . . . . . . . . . . . . . . . 5-69
Controls
Steering Wheel
Adjustment
The lever is located on the left side
of the steering column.
To adjust the steering wheel:
1. Pull the lever toward you.
2. Move the steering wheel up
or down.
3. Release the lever to lock the steering wheel in place.
Telescopic Steering Column
For vehicles with this feature, the
telescopic steering column switch
is located on the right side of the
steering column.
To adjust the telescopic steering
column:
1. Push the switch forward to movethe wheel away from you.
2. Pull the switch toward you to move the wheel closer to you.
Page 141 of 428

Black plate (21,1)Chevrolet Corvette Owner Manual - 2011
Instruments and Controls 5-21
Brake System Warning
Light
The vehicle brake system
consists of two hydraulic circuits.
If one circuit is not working, the
remaining circuit can still work to
stop the vehicle. For normal braking
performance, both circuits need to
be working.
EnglishMetric
This light comes on briefly while
starting the engine. If it does not
come on, have it fixed so it is ready
to warn if there is a problem.
{WARNING
The brake system might not be
working properly if the brake
system warning light is on.
Driving with the brake system
warning light on can lead to a
crash. If the light is still on after
the vehicle has been pulled off
the road and carefully stopped,
have the vehicle towed for
service.
If this warning light stays on after
the engine is started, the parking
brake may still be set or there
could be a brake problem. Refer
to Parking Brake on page 9‑35 to
see if it is set. If the parking brake
is not set, have the brake system
inspected right away. If the light comes on while driving
and a CHECK BRAKE FLUID
message shows on the DIC, pull
off the road and stop carefully.
The pedal may be harder to push
or the pedal may go closer to the
floor. It may take longer to stop.
If the light is still on, have the
vehicle towed for service. See
Towing the Vehicle on page 10‑86
and
Brake System Messages on
page 5‑36 for more information.
Page 151 of 428

Black plate (31,1)Chevrolet Corvette Owner Manual - 2011
Instruments and Controls 5-31
Head-Up Display (HUD)
{WARNING
If the HUD image is too bright,
or too high in your field of view, it
may take you more time to see
things you need to see when it is
dark outside. Be sure to keep the
HUD image dim and placed low in
your field of view.
For vehicles with the Head-Up
Display (HUD), you can see some
of the driver information that
appears on the instrument panel
cluster. The information may be displayed
in English or metric units and
appears as an image focused
out toward the front of the vehicle.
The HUD consists of the following
information:
.Speedometer
.Turn Signal Indicators
.High-Beam Indicator Symbol
.Tachometer
.Manual Paddle Shift Gear
Indicator (If Equipped)
These displays on the HUD are
for use when using the manual
paddle shift controls to shift the
transmission. See
“Manual
Paddle Shift” inAutomatic
Transmission on page 9‑28.
.Shift Light
This light is used for
performance driving to
indicate that the vehicle's
best performance level has
been reached to shift the transmission into the next higher
gear. An arrow pointing up will
light up on the display just prior
to reaching the engine fuel
cut-off mode. This cut-off is
about 6,500 RPM for the
LS3 engine, 6,600 RPM for
the LS9 & ZR1 engines and
7,000 RPM for the LS7 engine.
.Check Gauges Warning
.Engine Coolant Temperature
Gauge
.Transmission Fluid Temperature
Gauge, (Automatic Transmission
Vehicles Only)
.Engine Oil Temperature Gauge
.Engine Oil Pressure Gauge
.G-Force Gauge
.Boost Gauge (If Equipped)
.Audio Functions, Street
Mode Only
.Navigation, Only with Navigation
Radio, Turn-by-Turn Guidance
Page 192 of 428
Black plate (2,1)Chevrolet Corvette Owner Manual - 2011
6-2 Lighting
Exterior Lamps Off
Reminder
A warning chime will sound if the
exterior lamp control is left on in
either the headlamp or parking lamp
position and the driver's door is
opened with the ignition off.
Headlamp High/
Low-Beam Changer
To change the headlamps from low
beam to high, push the turn signal
lever all the way forward. To change
from high to low beam, pull the lever
rearward.
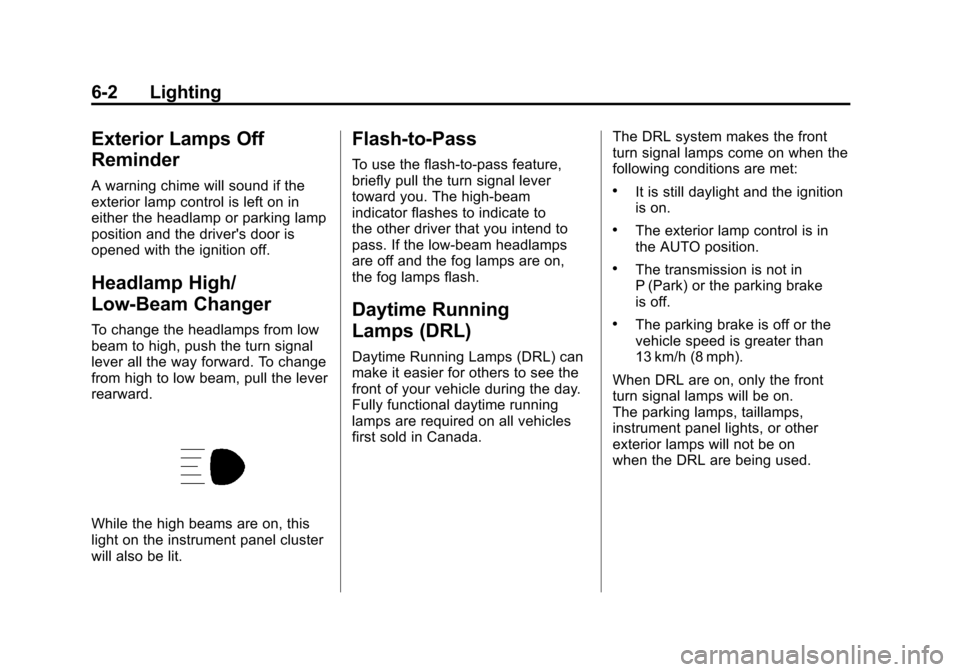
While the high beams are on, this
light on the instrument panel cluster
will also be lit.
Flash-to-Pass
To use the flash-to-pass feature,
briefly pull the turn signal lever
toward you. The high-beam
indicator flashes to indicate to
the other driver that you intend to
pass. If the low-beam headlamps
are off and the fog lamps are on,
the fog lamps flash.
Daytime Running
Lamps (DRL)
Daytime Running Lamps (DRL) can
make it easier for others to see the
front of your vehicle during the day.
Fully functional daytime running
lamps are required on all vehicles
first sold in Canada.The DRL system makes the front
turn signal lamps come on when the
following conditions are met:
.It is still daylight and the ignition
is on.
.The exterior lamp control is in
the AUTO position.
.The transmission is not in
P (Park) or the parking brake
is off.
.The parking brake is off or the
vehicle speed is greater than
13 km/h (8 mph).
When DRL are on, only the front
turn signal lamps will be on.
The parking lamps, taillamps,
instrument panel lights, or other
exterior lamps will not be on
when the DRL are being used.
Page 201 of 428
Black plate (3,1)Chevrolet Corvette Owner Manual - 2011
Infotainment System 7-3
Playing the Radio
Top Knob (Power/Volume):Press
to turn the system on and off. Turn
to increase or decrease the volume.
MUTE: Press to silence the
system. Press again to turn the
sound on.
This button is not available on the
Six-Disc CD Radio.
4(Information): Press until the
desired display is shown, then
hold for 2 seconds until radio beeps
once to change the default display.
The selected display is now the
default.
For RDS:
Press
4to change the display.
The display options are station
name, RDS station frequency,
PTY, and the name of the program
(if available). For XM™:
Press
4to retrieve 4 different
categories of information related to
the current song or channel: Artist,
Song Title, Category or PTY,
Channel Number/Channel Name.
Audio Settings
Press and holdO ewhen no tone
or speaker control is displayed to
adjust all tone and speaker controls
to the middle position. AUDIO
SETTINGS CENTERED displays.
Adjusting the Tone
(Bass/Treble)
O e(Bass/Treble): To adjust the
Bass or Treble:
Press and release
O euntil
BASS or TREBLE displays.
.Turn theO eknob to increase
or to decrease the level.
.Press and hold theO eknob
until the level changes to the
middle position.
Adjusting the Speakers
(Balance/Fade)
O e(Balance/Fade): To adjust
the Balance:
Press and release
O euntil
BALANCE displays.
.Turn theO eknob to move
the sound toward the right or the
left speakers.
.Press and hold theO eknob
until the level changes to the
middle position.
To adjust the Fade:
Press and release
O euntil FADE
displays
.Turn theO eknob to move
the sound toward the front or the
rear speakers.
.Press and hold theO eknob
until the level changes to the
middle position.
Page 231 of 428
Black plate (1,1)Chevrolet Corvette Owner Manual - 2011
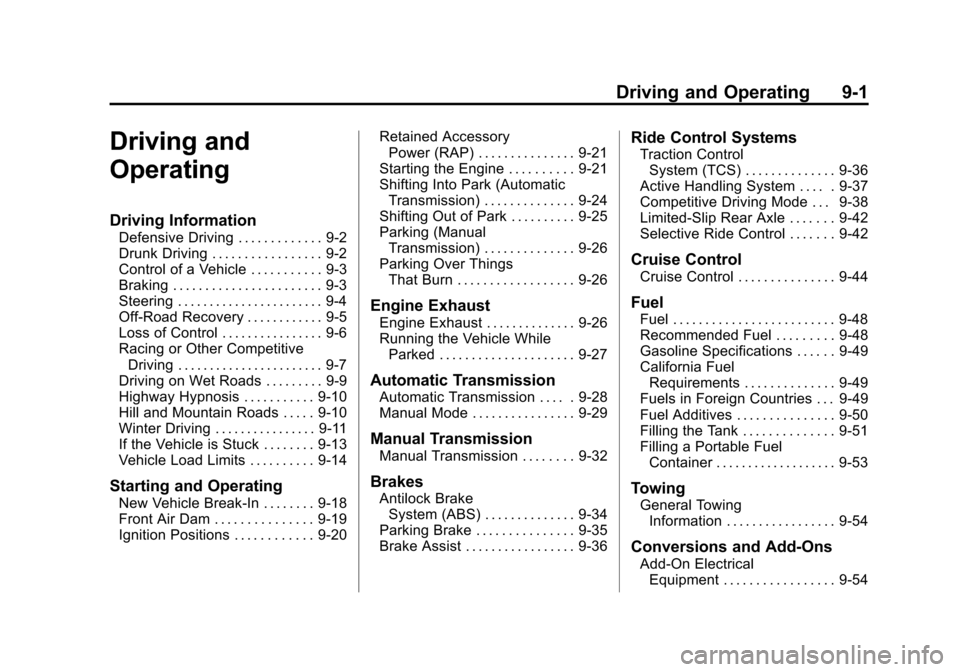
Driving and Operating 9-1
Driving and
Operating
Driving Information
Defensive Driving . . . . . . . . . . . . . 9-2
Drunk Driving . . . . . . . . . . . . . . . . . 9-2
Control of a Vehicle . . . . . . . . . . . 9-3
Braking . . . . . . . . . . . . . . . . . . . . . . . 9-3
Steering . . . . . . . . . . . . . . . . . . . . . . . 9-4
Off-Road Recovery . . . . . . . . . . . . 9-5
Loss of Control . . . . . . . . . . . . . . . . 9-6
Racing or Other CompetitiveDriving . . . . . . . . . . . . . . . . . . . . . . . 9-7
Driving on Wet Roads . . . . . . . . . 9-9
Highway Hypnosis . . . . . . . . . . . 9-10
Hill and Mountain Roads . . . . . 9-10
Winter Driving . . . . . . . . . . . . . . . . 9-11
If the Vehicle is Stuck . . . . . . . . 9-13
Vehicle Load Limits . . . . . . . . . . 9-14
Starting and Operating
New Vehicle Break-In . . . . . . . . 9-18
Front Air Dam . . . . . . . . . . . . . . . 9-19
Ignition Positions . . . . . . . . . . . . 9-20 Retained Accessory
Power (RAP) . . . . . . . . . . . . . . . 9-21
Starting the Engine . . . . . . . . . . 9-21
Shifting Into Park (Automatic Transmission) . . . . . . . . . . . . . . 9-24
Shifting Out of Park . . . . . . . . . . 9-25
Parking (Manual Transmission) . . . . . . . . . . . . . . 9-26
Parking Over Things That Burn . . . . . . . . . . . . . . . . . . 9-26
Engine Exhaust
Engine Exhaust . . . . . . . . . . . . . . 9-26
Running the Vehicle WhileParked . . . . . . . . . . . . . . . . . . . . . 9-27
Automatic Transmission
Automatic Transmission . . . . . 9-28
Manual Mode . . . . . . . . . . . . . . . . 9-29
Manual Transmission
Manual Transmission . . . . . . . . 9-32
Brakes
Antilock BrakeSystem (ABS) . . . . . . . . . . . . . . 9-34
Parking Brake . . . . . . . . . . . . . . . 9-35
Brake Assist . . . . . . . . . . . . . . . . . 9-36
Ride Control Systems
Traction Control System (TCS) . . . . . . . . . . . . . . 9-36
Active Handling System . . . . . 9-37
Competitive Driving Mode . . . 9-38
Limited-Slip Rear Axle . . . . . . . 9-42
Selective Ride Control . . . . . . . 9-42
Cruise Control
Cruise Control . . . . . . . . . . . . . . . 9-44
Fuel
Fuel . . . . . . . . . . . . . . . . . . . . . . . . . 9-48
Recommended Fuel . . . . . . . . . 9-48
Gasoline Specifications . . . . . . 9-49
California Fuel Requirements . . . . . . . . . . . . . . 9-49
Fuels in Foreign Countries . . . 9-49
Fuel Additives . . . . . . . . . . . . . . . 9-50
Filling the Tank . . . . . . . . . . . . . . 9-51
Filling a Portable Fuel Container . . . . . . . . . . . . . . . . . . . 9-53
Towing
General TowingInformation . . . . . . . . . . . . . . . . . 9-54
Conversions and Add-Ons
Add-On ElectricalEquipment . . . . . . . . . . . . . . . . . 9-54