Page 36 of 253
34
Interface SettingsWallpaper
System SetupHINFO/PHONE button Setup Other Wallpaper Delete Pictures on
HDD
1.Rotate i to select a picture. Press
u .
The picture is displayed on the
screen.
2. Press u to select OK.
Repeat step 1 and 2 to delete
other pictures.
Items to be deleted are indicated
with a trash icon.
3. Move r to select OK.
4. Rotate i to select Yes . Press u
to delete the picture(s).
■ Deleting Pictures from HDD1 Deleting Pictures from HDD
If there are no pictures on the HDD, “No Entries
Exist” is displayed.
You can only delete pictures when the vehicle is
in Park.
You can only delete pictures that have been fully
uploaded from a USB flash drive.
Trash icon
TSX_KA-31TL1820.book Page 34 Wednesday, September 22, 2010 3:17 PM
Page 37 of 253
35
Interface SettingsWallpaper
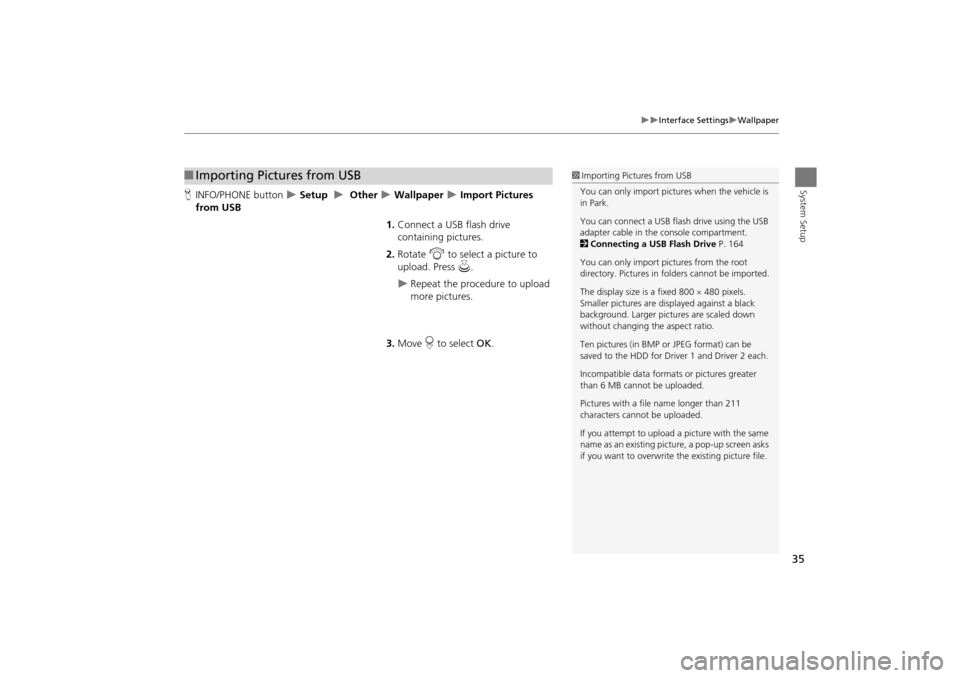
System SetupHINFO/PHONE button Setup Other Wallpaper Import Pictures
from USB
1.Connect a USB flash drive
containing pictures.
2. Rotate i to select a picture to
upload. Press u.
Repeat the procedure to upload
more pictures.
3. Move r to select OK.
■Importing Pictures from USB1 Importing Pictures from USB
You can only import pictures when the vehicle is
in Park.
You can connect a USB flash drive using the USB
adapter cable in the console compartment.
2 Connecting a USB Flash Drive P. 164
You can only import pict ures from the root
directory. Pictures in folders cannot be imported.
The display size is a fixed 800 480 pixels.
Smaller pictures are displayed against a black
background. Larger pictures are scaled down
without changing the aspect ratio.
Ten pictures (in BMP or JPEG format) can be
saved to the HDD for Driver 1 and Driver 2 each.
Incompatible data format s or pictures greater
than 6 MB cannot be uploaded.
Pictures with a file name longer than 211
characters cannot be uploaded.
If you attempt to upload a picture with the same
name as an existing picture, a pop-up screen asks
if you want to overwrite the existing picture file.
TSX_KA-31TL1820.book Page 35 Wednesday, September 22, 2010 3:17 PM
Page 39 of 253
37
Personal InformationAddress Book
System Setup
Address Book
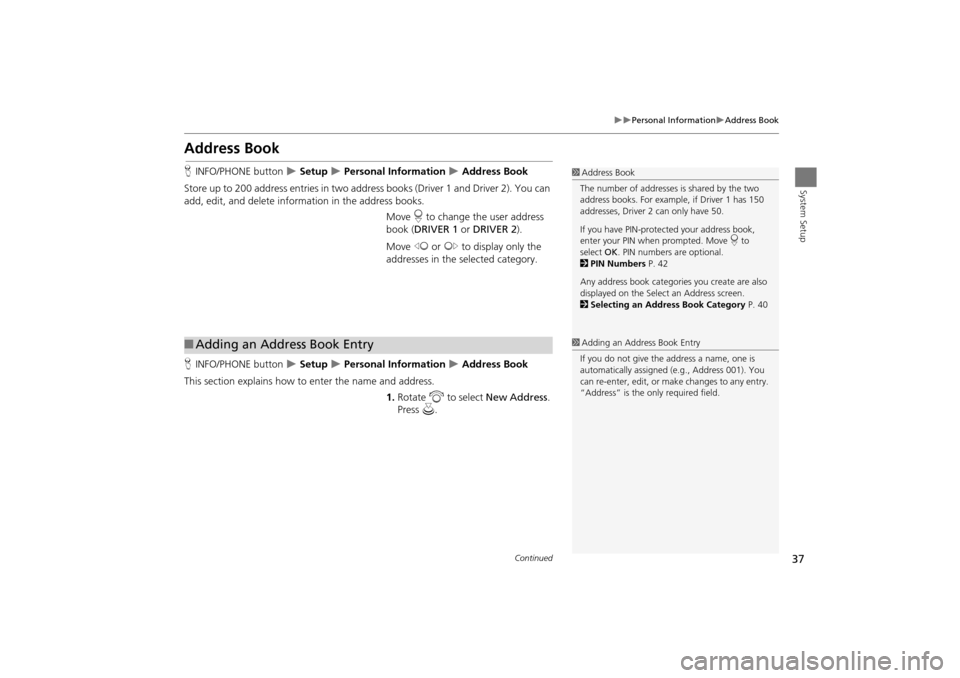
HINFO/PHONE button Setup Personal Information Address Book
Store up to 200 address entries in two addr ess books (Driver 1 and Driver 2). You can
add, edit, and delete information in the address books.
Move r to change the user address
book ( DRIVER 1 or DRIVER 2 ).
Move w or y to display only the
addresses in the selected category.
H INFO/PHONE button
Setup Personal Information Address Book
This section explains how to enter the name and address. 1.Rotate i to select New Address .
Press u.
1Address Book
The number of addresses is shared by the two
address books. For example, if Driver 1 has 150
addresses, Driver 2 can only have 50.
If you have PIN-protec ted your address book,
enter your PIN when prompted. Move r to
select OK. PIN numbers are optional.
2 PIN Numbers P. 42
Any address book categories you create are also
displayed on the Select an Address screen.
2 Selecting an Address Book Category P. 40
■Adding an Address Book Entry1 Adding an Address Book Entry
If you do not give the address a name, one is
automatically assigned (e.g., Address 001). You
can re-enter, edit, or make changes to any entry.
“Address” is the only required field.
Continued
TSX_KA-31TL1820.book Page 37 Wednesday, September 22, 2010 3:17 PM
Page 41 of 253
39
Personal InformationAddress Book
System Setup
The following items are available:
•Current Position: Select your current position.
• Address: Enter an address on the character input screen when prompted.
2Address P. 70
• Previous Destinations: Select a previous destination.
2Previous Destination P. 76
• Place Name: Enter the name of a place/landmark.
2Place Name P. 77
• Place Category: Select a category to search for a place/landmark (e.g., Banking,
Lodging).
2 Place Category P. 80
• Place Phone Number: Enter the phone number of a place/landmark.
2Place Phone Number P. 84
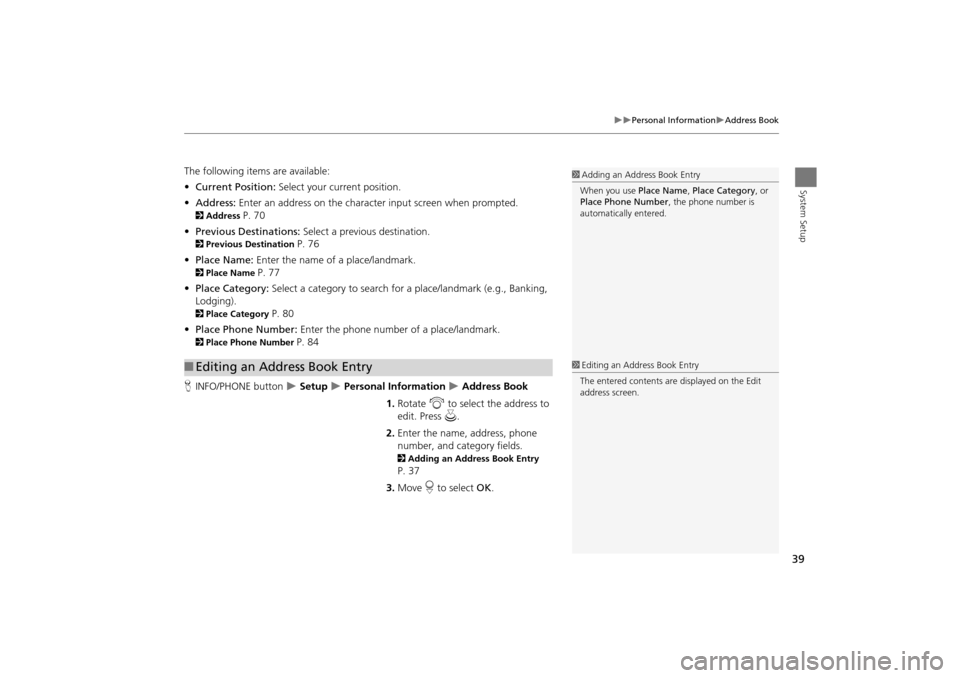
H INFO/PHONE button
Setup Personal Information Address Book
1. Rotate i to select the address to
edit. Press u.
2. Enter the name, address, phone
number, and category fields.
2 Adding an Address Book Entry
P. 37
3. Move r to select OK.
■Editing an Address Book Entry
1 Adding an Address Book Entry
When you use Place Name, Place Category , or
Place Phone Number , the phone number is
automatically entered.
1 Editing an Address Book Entry
The entered contents are displayed on the Edit
address screen.
TSX_KA-31TL1820.book Page 39 Wednesday, September 22, 2010 3:17 PM
Page 44 of 253
42
Personal InformationPIN Numbers
System Setup
PIN Numbers
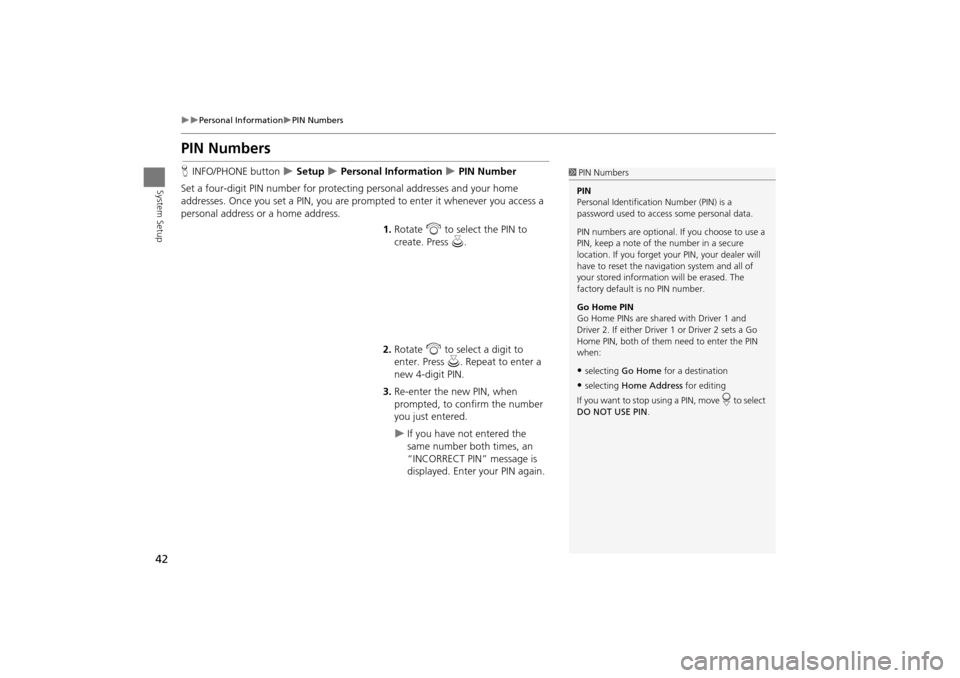
HINFO/PHONE button Setup Personal Information PIN Number
Set a four-digit PIN number for protecting personal addresses and your home
addresses. Once you set a PIN, you are prom pted to enter it whenever you access a
personal address or a home address.
1.Rotate i to select the PIN to
create. Press u.
2. Rotate i to select a digit to
enter. Press u. Repeat to enter a
new 4-digit PIN.
3. Re-enter the new PIN, when
prompted, to confirm the number
you just entered.
If you have not entered the
same number both times, an
“INCORRECT PIN” message is
displayed. Enter your PIN again.
1PIN Numbers
PIN
Personal Identification Number (PIN) is a
password used to access some personal data.
PIN numbers are optional. If you choose to use a
PIN, keep a note of the number in a secure
location. If you forget your PIN, your dealer will
have to reset the navigation system and all of
your stored informati on will be erased. The
factory default is no PIN number.
Go Home PIN
Go Home PINs are shared with Driver 1 and
Driver 2. If either Driver 1 or Driver 2 sets a Go
Home PIN, both of them need to enter the PIN
when:
•selecting Go Home for a destination
•selecting Home Address for editing
If you want to stop using a PIN, move
r to select
DO NOT USE PIN .
TSX_KA-31TL1820.book Page 42 Wednesday, September 22, 2010 3:17 PM
Page 50 of 253
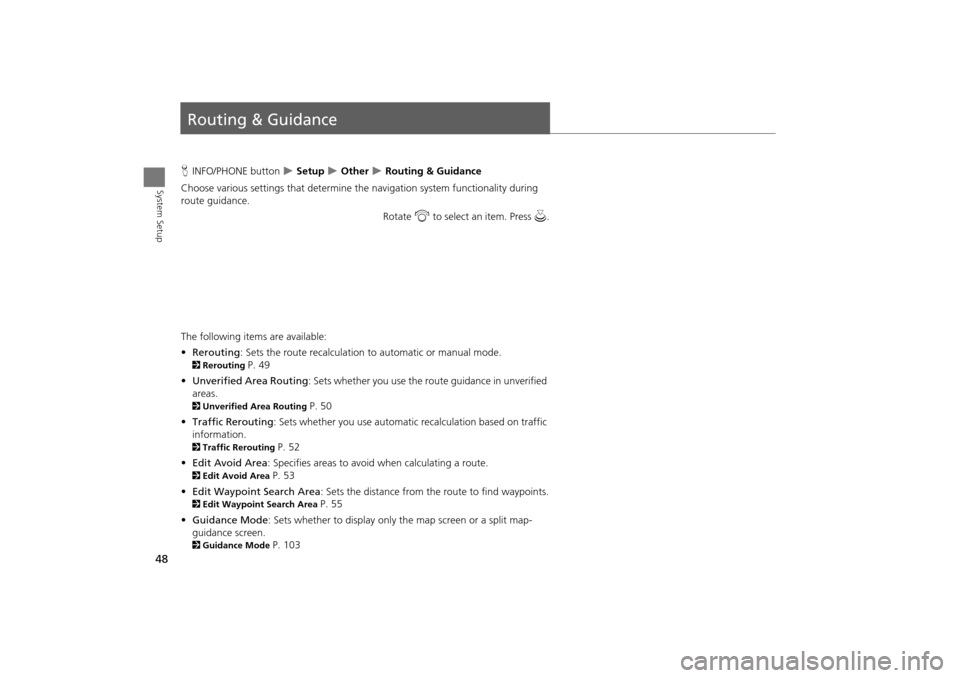
48
System Setup
Routing & Guidance
HINFO/PHONE button Setup Other Routing & Guidance
Choose various settings that determine th e navigation system functionality during
route guidance.
Rotate i to select an item. Press u .
The following item s are available:
• Rerouting : Sets the route recalculation to automatic or manual mode.
2Rerouting P. 49
• Unverified Area Routing : Sets whether you use the ro ute guidance in unverified
areas.
2 Unverified Area Routing P. 50
• Traffic Rerouting : Sets whether you use automatic recalculation based on traffic
information.
2 Traffic Rerouting P. 52
• Edit Avoid Area : Specifies areas to avoid when calculating a route.
2Edit Avoid Area P. 53
• Edit Waypoint Search Area : Sets the distance from the route to find waypoints.
2Edit Waypoint Search Area P. 55
• Guidance Mode : Sets whether to display only the map screen or a split map-
guidance screen.
2 Guidance Mode P. 103
TSX_KA-31TL1820.book Page 48 Wednesday, September 22, 2010 3:17 PM
Page 51 of 253

49
Routing & GuidanceRerouting
System Setup
•Street Name Guidance : Sets whether to read out the street names during voice
guidance.
2 Street Name Guidance P. 56
• Guidance Screen Interruption: Sets whether the guidanc e screen interrupts the
audio screen display.
2 Guidance Screen Interruption P. 57
Rerouting
HINFO/PHONE button Setup Other Routing & Guidance Rerouting
Set whether route recalculat ion occurs automatically or manually during route
guidance.
Rotate i to select an option. Press
u .
The following options are available:
• AUTOMATIC (factory default): The system ca lculates a new route automatically
when you deviate from the route. It is strongly recommended that you leave the
system set to Automatic.
• MANUAL : Disables route recalculation. Th e system beeps and “Off Route” is
displayed when you deviate from the route.
1 Rerouting
If you live in an area with poor mapping, you
may wish to set Rerouting to MANUAL to avoid
constant recalcul ation. You will need to select
Recalculation manually to make the system
recalculate your new route.
TSX_KA-31TL1820.book Page 49 Wednesday, September 22, 2010 3:17 PM
Page 52 of 253

50
Routing & GuidanceUnverified Area Routing
System Setup
Unverified Area Routing
HINFO/PHONE button Setup Other Routing & Guidance Unverified
Area Routing
Receive turn-by-turn map and voice guidance in unverified areas. Rotate i to select ON or OFF . Press
u .1Unverified Area Routing
Unverified roads are found in rural areas, and
typically include residential streets away from the
center of a town. They may not be accurate, and
can contain errors in location, naming, and
address range.
Unverified roads are s hown only when viewing
the map in the 1/20, 1/8, 1/4 mile map scales.
Vector line (dotted)
Blue-pink route line
Differences OFF (factory default) ON
ON or OFF?The driver wishes to manually
navigate using the navigation map
and choose the streets that lead to
the destination.The driver chooses to let the
navigation system suggest
possible routing, knowing that the
guidance may not be accurate.
Route
calculation Route is usually longer, using
verified roads whenever possible. Route is shorter, but uses
unverified (purple) streets that
may not be accurate.
Route lineA blue dotted vector line is displayed
on the map that continually points
to your destination.A blue-pink dashed route line
highlights suggested unverified
streets on the map while traveling
to your destination.
Cautionary
messages Cautionary pop-up screens and
voice announcements remind you to
obey all traffic restrictions. Cautionary pop-up screens and
voice announcements remind you
to exercise additional caution and
obey all traffic restrictions.
TSX_KA-31TL1820.book Page 50 Wednesday, September 22, 2010 3:17 PM