2011 Acura TSX ad blue
[x] Cancel search: ad bluePage 92 of 253

90
Navigation
Calculating the Route
This section describes how to calculate your route.1.Rotate i to select OK . Press u.
The system calculates and
displays the route line on the
map screen.
2Route Line P. 94
• Route Pref. : Changes the route preferences (calculating method).
2Changing the Route Preference P. 91
• View Routes : Displays three different routes.
2Viewing the Routes P. 91
• DESTINATION MAP : Move r to select DESTINATION MAP to display a map of
the destination.
2 Calculating the Route on the Destination Map P. 92
2. Follow the route guidance to your
destination.
2 Driving to Your Destination P. 93
The system provides you with
pop-up messages if your route
passes through unverified areas,
avoid areas, areas with traffic
restrictions, or weather warning
areas.
1Calculating the Route
The current route prefer ences are displayed as
icons on the top right of the Calculate Route
screen. The straight line distance (as the crow
flies, not driving distan ce) and direction to the
destination are shown t ogether with weather
information. You must have an AcuraLink Real-
Time Weather™ subscripti on to receive weather
information.
2 AcuraLink Real-Time Weather™ P. 15
2 Subscribing to XM® Radio P. 144
You cannot use voice commands while the
system is calculating the route.
Add to Address Book
You can add the destination address to the
address book.
2 Adding an Address Book Entry P. 37
Add to Dest. List
You can add the address to the Destination List.
2 Editing the Destination List P. 127
Call
You can place a telephone ca ll to the destination
phone number.
2 Bluetooth® HandsFreeLink® P. 174
TSX_KA-31TL1820.book Page 90 Wednesday, September 22, 2010 3:17 PM
Page 96 of 253

94
Driving to Your DestinationViewing the Route
Navigation
The guidance screen offers an alternative way to view your route.
In single-screen mode, press the MAP/
GUIDE button to switch between the
map and guidance screens. In split-
screen mode, press the MAP/GUIDE
button to switch between the next
guidance direction and a list of
guidance directions.
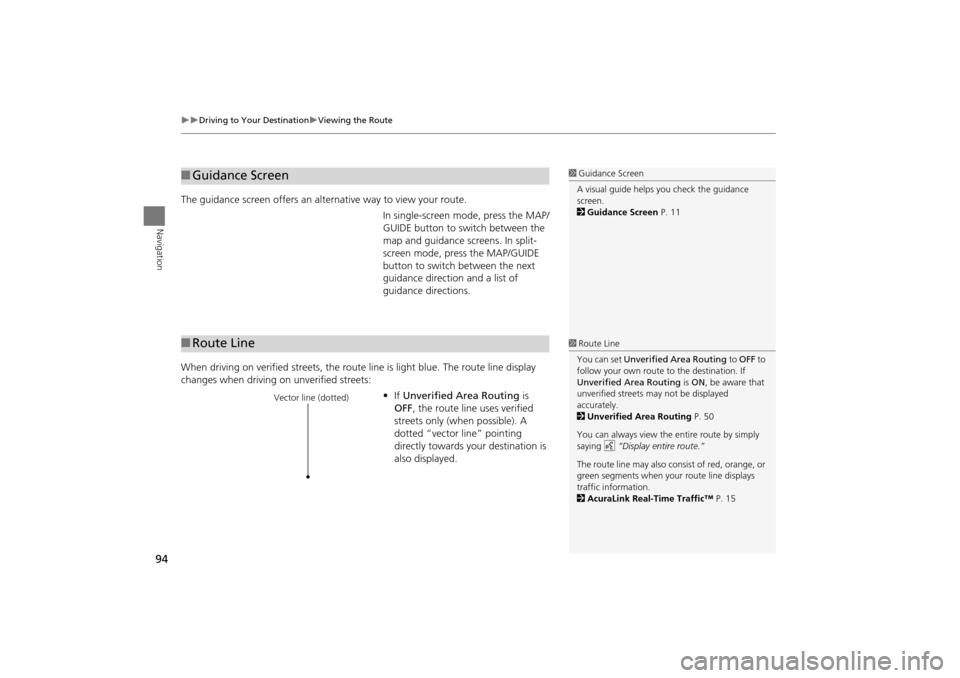
When driving on verified streets, the rout e line is light blue. The route line display
changes when driving on unverified streets:
•If Unverified Area Routing is
OFF , the route line uses verified
streets only (when possible). A
dotted “vector line” pointing
directly towards your destination is
also displayed.
■ Guidance Screen1 Guidance Screen
A visual guide helps you check the guidance
screen.
2 Guidance Screen P. 11
■Route Line1 Route Line
You can set Unverified Area Routing to OFF to
follow your own route to the destination. If
Unverified Area Routing is ON , be aware that
unverified streets ma y not be displayed
accurately.
2 Unverified Area Routing P. 50
You can always view the entire route by simply
saying d “Display entire route.”
The route line may also c onsist of red, orange, or
green segments when your route line displays
traffic information.
2 AcuraLink Real-Time Traffic™ P. 15
Vector line (dotted)
TSX_KA-31TL1820.book Page 94 Wednesday, September 22, 2010 3:17 PM
Page 97 of 253

95
Driving to Your DestinationViewing the Route
Navigation
•If Unverified Area Routing is ON,
the route line changes to a blue-
pink line to indicate that the route
line uses unverified streets.
If you momentarily leave the calculated rout e, the system automatically recalculates
a route to the desired destination based on your current location and direction.
2 Rerouting P. 49
Blue-pink route line
■Deviating From the Planned Route1 Deviating From the Planned Route
If Rerouting is set to MANUAL and you go off
route, the system wait s for you to manually
initiate recalculation.
2 Rerouting P. 49
Rotate i to select Recalculation and press u .
TSX_KA-31TL1820.book Page 95 Wednesday, September 22, 2010 3:17 PM
Page 134 of 253

132
Navigation
Resuming Your Trip
Stop your vehicle en route (e.g., to rest, stop for gas, etc.), and then continue on
your route.
If you did not complete your route, the Continue Trip screen is displayed when you
restart your vehicle.
Rotate i to select OK. Press u.
You can continue on the same
route.
• Route Pref. : Changes the route preferences (calculating method).
2Changing the Route Preference P. 91
• View Routes : Views three different routes.
2Viewing the Routes P. 91
• DESTINATION MAP : Move r to select DESTINATION MAP to display a map of
the destination.
2 Calculating the Route on the Destination Map P. 92
1Continuing Your Trip
The Continue Trip screen has the same options
as when you calculate a route.
2 Calculating the Route P. 90
To cancel your destination, press the CANCEL/
BACK button.
Add to Address Book
You can add the address to the address book.
2 Adding an Address Book Entry P. 37
Add to Dest. List
You can add the address to the Destination List.
2 Editing the Destination List P. 127
Call
You can place a phone ca ll to the destination
phone number.
2 Bluetooth® HandsFreeLink® P. 174
TSX_KA-31TL1820.book Page 132 Wednesday, September 22, 2010 3:17 PM
Page 135 of 253

133
Audio
This section describes how to operate the audio system. You can play
music from a wide array of media s ources, and control the audio system
using the audio buttons, the Interface Dial, or voice control.
Audio System .................................................. 134
About Your Audio System .............................. 134
Auxiliary Input Jack ......... .......................... ..... 135
Audio System Theft Protection ....................... 135
Playing FM/AM Radio ..................................... 136
Selecting FM/AM Mode.................................. 136
Audio Screen Control ..................................... 136
Audio Menu .................................................. 137
Radio Data System (RDS) ................................ 138
Playing XM® Radio ......................................... 140
Selecting XM Mode........................................ 140
Audio Screen Control ..................................... 140
Audio Menu .................................................. 141
Note Function ................................................ 142
XM® Radio Service ........................................ 144
Playing a Disc ................................................... 145
Selecting Disc Mode ....................................... 145
Audio Screen Control ..................................... 145 Audio Menu ................................................... 146
Playing MP3/WMA/AAC Discs ........................ 147
Recommended Discs ...................................... 148
Playing Hard Disc Drive (HDD) Audio ............ 149
Selecting HDD Mode ...................................... 149
Audio Screen Control ..................................... 150
Audio Menu ................................................... 150
Recording a Music CD to HDD........................ 152
Searching for Music........................................ 154
Adding a Track to a User Playlist ..................... 155
Editing a Playlist ............................................. 155
Displaying Music Information ......................... 157
Updating Gracenote® Album Info .................. 158
Playing an iPod® ............................................. 159
Selecting iPod® Mode .................................... 160
Audio Screen Control ..................................... 160
Audio Menu ................................................... 161
Searching for Music........................................ 162 Searching for Music Using Song By Voice™
(SBV) ............................................................... 163
Playing a USB Flash Drive ............................... 164
Selecting USB Mode....................................... 165
Audio Screen Control..................................... 165
Audio Menu .................................................. 166
Playing Tracks in Folders................................. 167
Playing Bluetooth ® Audio............................. 168
Selecting Bluetooth ® Audio Mode ................ 168
Switching to HFL Mode .................................. 169
Audio Screen Control..................................... 169
Adjusting the Sound ....................................... 170
Audio Remote Controls .................................. 171
Steering Wheel Controls ................................ 171
TSX_KA-31TL1820.book Page 133 Wednesday, September 22, 2010 3:17 PM
Page 136 of 253

134
Audio
Audio System
About Your Audio System
The audio system features FM/AM radio and XM® Radio. It can also play audio discs,
WMA/MP3/ACC tracks, iPods®, USB flash drives, and Bluetooth® devices.
The audio system is operable from the butto ns and switches on the panel, or the
remote controls on the steering wheel.
The radio theft protection feature activates if the audio system is disconnected from
electric power. You need to enter a radio code that comes with your vehicle to
reactivate the disabled system.1 About Your Audio System
XM® Radio is available on a subscription basis
only. For more information on XM® Radio,
contact your dealer.
2 XM® Radio Service P. 144
XM® Radio is available in the United States and
Canada, except Ha waii, Alaska, and Puerto Rico.
XM is a registered trademark of Sirius XM®
Radio, Inc.
Video CDs, DVDs, and 3-inch (8-cm) mini discs
are not supported.
iPod® is a registered tra demark owned by Apple
Inc.
You can operate the audio system by voice
commands.
2 Audio Commands P. 239
XM® Radio
Remote Control
iPod®
USB Flash
Drive
TSX_KA-31TL1820.book Page 134 Wednesday, September 22, 2010 3:17 PM
Page 170 of 253

168
Audio
Playing Bluetooth ® Audio
Your audio system allows you to listen to music tracks stored on your Bluetooth-
compatible phone.
This function is available when the phone is linked to the vehicle’s Bluetooth®
HandsFreeLink® (HFL) system.
2 Bluetooth® HandsFreeLink® P. 173
Selecting Bluetooth ® Audio Mode
1.Make sure that your phone is on, paired, and linked to HFL.
2Pairing a Phone P. 176
2. Press the AUX button to select Bluetooth® Audio mode.
A Bluetooth ® message and icon are displaye d on the display and screen.
3. If necessary, follow the cell phone operating instructions for playing audio tracks.
Check the following if the phone is not recognized:
• Another HFL-compatible phone, which is not compatible for Bluetooth® Audio, is
already connected.
1 Playing Bluetooth ® Audio
d “Display audio screen”
You can control the audio system using voice
control commands.
2 Bluetooth ® Audio Commands P. 241
Not all Bluetooth -enabled phones with
streaming audio capabilities are compatible. To
check if your phone is compatible:
•Call HandsFreeLink customer support at
(888) 528-7876.
•U.S.: Visit www.acura.com/handsfreelink .
•Canada: Visit www.handsfreelink.ca .
In some states, it may be illegal to perform some
data device functions while driving.
Only one phone can be used with HFL at a time.
When there are more than two paired phones in
the vehicle, a first paired phone the system finds
will be automatically linked.
Pressing the TITLE button switches the center
display between the Bluetooth® Audio message
and the device name.
If more than one phone is paired to the HFL
system, there may be a delay before the system
begins to play.
A “NO CONNECT” message may be displayed if:
•The phone is not linked to HFL.
•The phone is not turned on.
•The phone is not in the vehicle.
•An incompatible phone is connected.
TSX_KA-31TL1820.book Page 168 Wednesday, September 22, 2010 3:17 PM
Page 171 of 253

169
Playing Bluetooth® AudioSwitching to HFL Mode
Audio
Switching to HFL Mode
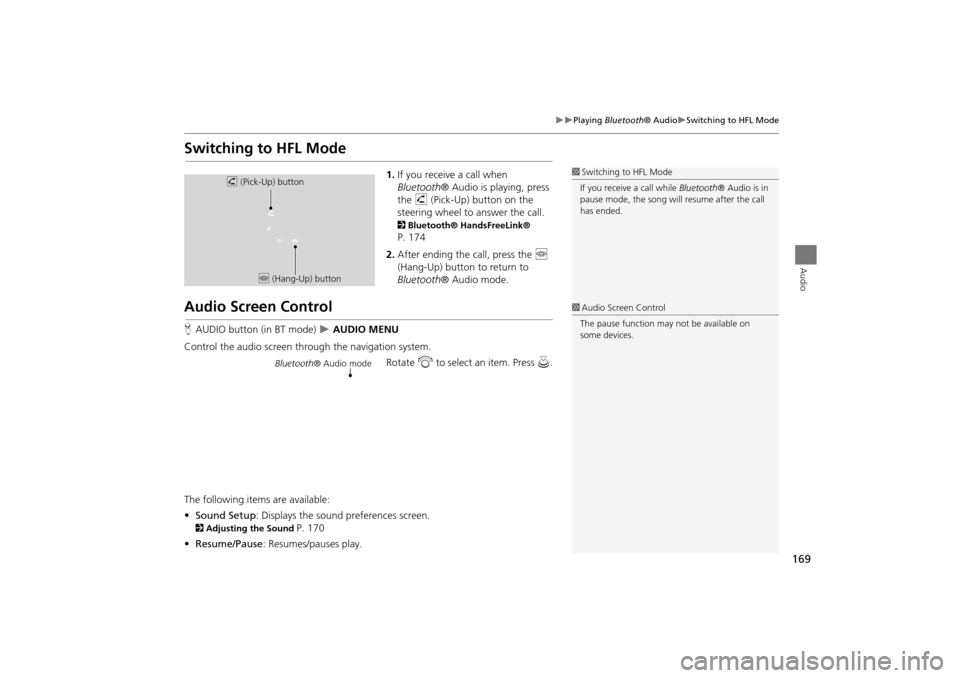
1.If you receive a call when
Bluetooth ® Audio is playing, press
the h (Pick-Up) button on the
steering wheel to answer the call.
2 Bluetooth® HandsFreeLink®
P. 174
2. After ending the call, press the j
(Hang-Up) button to return to
Bluetooth ® Audio mode.
Audio Screen Control
HAUDIO button (in BT mode) AUDIO MENU
Control the audio screen through the navigation system. Rotate i to select an item. Press u.
The following items are available:
• Sound Setup : Displays the sound preferences screen.
2Adjusting the Sound P. 170
• Resume/Pause : Resumes/pauses play.
1Switching to HFL Mode
If you receive a call while Bluetooth® Audio is in
pause mode, the song will resume afte r the call
has ended.h (Pick-Up) button
j (Hang-Up) button
1Audio Screen Control
The pause function may not be available on
some devices.
Bluetooth ® Audio mode
TSX_KA-31TL1820.book Page 169 Wednesday, September 22, 2010 3:17 PM