Page 99 of 146

8-21
1
2
3
4
5
6
78
9
10
11
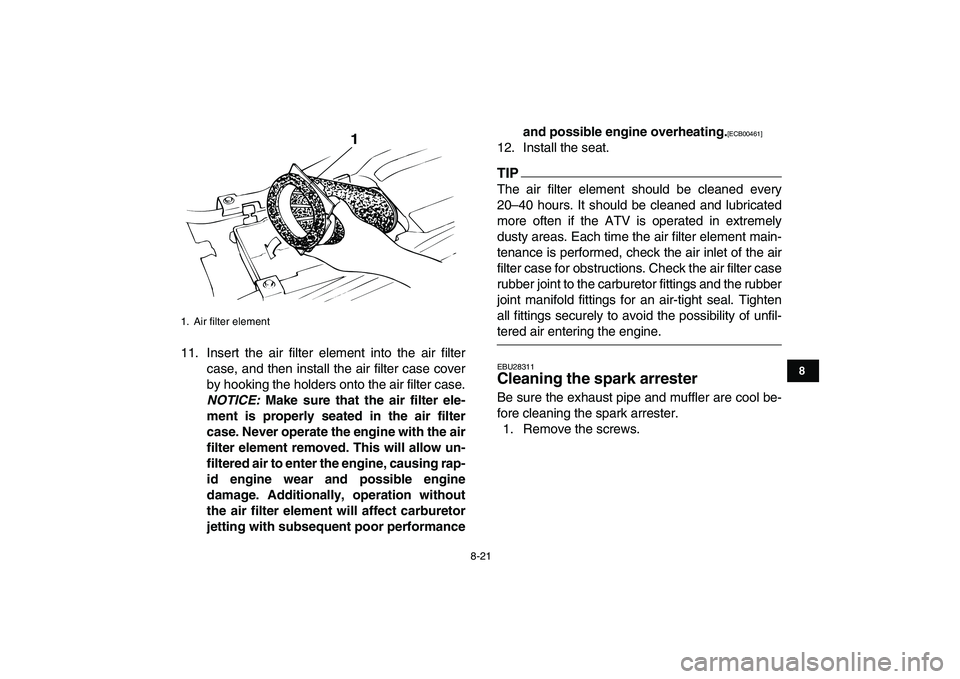
11. Insert the air filter element into the air filter
case, and then install the air filter case cover
by hooking the holders onto the air filter case.
NOTICE:
Make sure that the air filter ele-
ment is properly seated in the air filter
case. Never operate the engine with the air
filter element removed. This will allow un-
filtered air to enter the engine, causing rap-
id engine wear and possible engine
damage. Additionally, operation without
the air filter element will affect carburetor
jetting with subsequent poor performanceand possible engine overheating.
[ECB00461]
12. Install the seat.TIP
The air filter element should be cleaned every
20–40 hours. It should be cleaned and lubricated
more often if the ATV is operated in extremely
dusty areas. Each time the air filter element main-
tenance is performed, check the air inlet of the air
filter case for obstructions. Check the air filter case
rubber joint to the carburetor fittings and the rubber
joint manifold fittings for an air-tight seal. Tighten
all fittings securely to avoid the possibility of unfil-
tered air entering the engine.
EBU28311
Cleaning the spark arrester
Be sure the exhaust pipe and muffler are cool be-
fore cleaning the spark arrester.
1. Remove the screws.
1. Air filter element
1
✦✯��✬�✩✧�✤✲✣ ✥✤ ��
����������������������
Page 101 of 146

8-23
1
2
3
4
5
6
78
9
10
11
WARNING
EWB02340
Do not start the engine when cleaning the
spark arrester, otherwise it could cause injury
to the eyes, burns, carbon monoxide poison-
ing, possibly leading to death, and start a fire.
Always let the exhaust system cool prior to
touching exhaust components.
EBU23993
Changing the carburetor settings
In extremely cold weather, it is necessary to
change the carburetor settings to maintain opti-
mum engine performance and to prevent engine
damage.
WARNING
EWB01990
�
Improperly servicing or adjusting the carbu-
retors could cause them to malfunction with
the possibility of an accident, or the carbure-
tors could leak fuel, which would be a fire
hazard.
�
Carburetor adjustments should only be per-
formed by a Yamaha dealer. Do not attempt
to perform these procedures unless you
have mechanical knowledge and the neces-sary tools.
�
Do not perform this procedure while the en-
gine is hot. Place a rag under each carbure-
tor to catch any fuel. Wipe up any spilled fuel
completely.
�
After servicing the carburetors, always
check the throttle lever operation before op-
erating the ATV to make sure it is working
correctly.
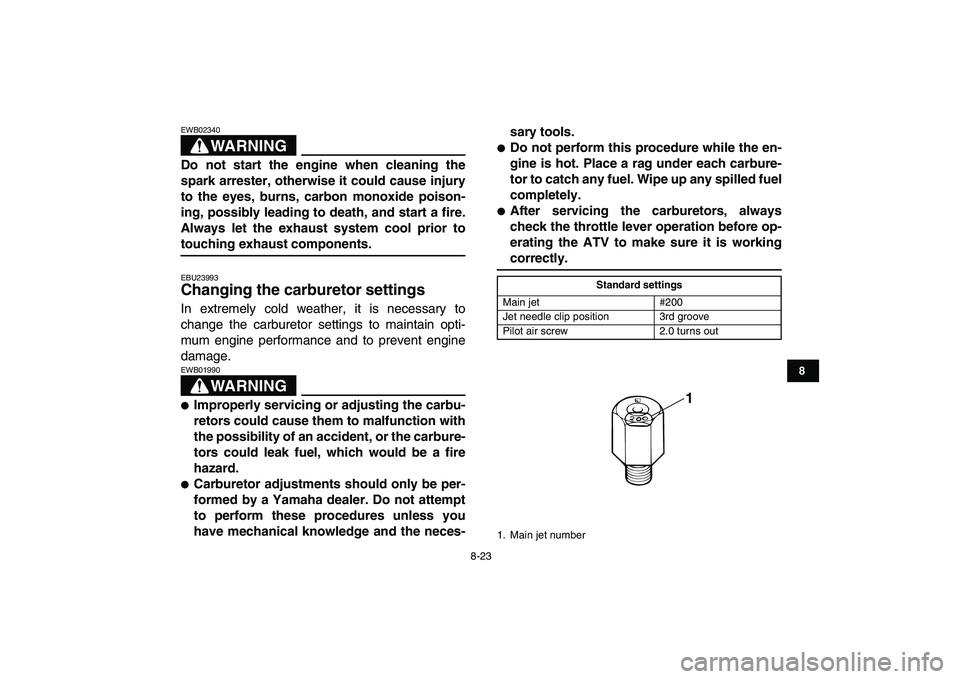
Standard settings
Main jet #200
Jet needle clip position 3rd groove
Pilot air screw 2.0 turns out
1. Main jet number
1
✦✯��✬�✩✧�✤✲✣ ✥✦ ��
����������������������
Page 109 of 146

8-31
1
2
3
4
5
6
78
9
10
11
5. Move the throttle lever a few times and re-
check the position.
6. Install the fuel tank, side cover, radiator cover
and air filter case cover.
7. Connect the fuel hoses.
8. Install the seat.
EBU24020
Adjusting the engine idling speed
The engine idling speed must be checked and, if
necessary, adjusted as follows at the intervals
specified in the periodic maintenance and lubrica-tion chart.TIP
�
A diagnostic tachometer is needed to make this
adjustment.
�
The carburetor synchronization and the throttle
cable free play must be checked, and adjusted if
necessary, before adjusting the engine idling
speed.
1. Start the engine and warm it up.
TIP
The engine is warm when it quickly responds to the
throttle.
2. Attach the tachometer to the spark plug lead.
3. Turn in both pilot air screws until they lightly
seat.
4. Turn out both pilot air screws to specification.
(See the “Changing the carburetor settings”
section on the page 8-23.)
1. Adjusting nut
2. Locknut
1
2
✦✯��✬�✩✧�✤✲✣ ✦✤ ��
����������������������
Page 110 of 146
8-32
1
2
3
4
5
6
78
9
10
11
5. Remove the seat. (See page 4-11.)
6. Check the engine idling speed and, if neces-
sary, adjust it to specification by turning the
throttle stop screws at the carburetors. To in-
crease the engine idling speed, turn the throt-
tle stop screws in direction (a), and to
decrease it, turn the screws in direction (b).NOTICE
ECB00510
�
The throttle stop screws were preset at the
factory. When adjusting the idling speed,
turn both throttle stop screws the same
amount, otherwise the carburetor synchroni-
zation will be incorrect.
�
Adjusting the pilot air screws and the idling
speed are separate procedures, but they
must be adjusted at the same time to achieve
1. Pilot air screw
1
1. Throttle stop screw
Engine idling speed:
1450–1550 r/min
1
(b)
(a)
(a)
(b)
✦✯��✬�✩✧�✤✲✣ ✦✥ ��
����������������������
Page 111 of 146

8-33
1
2
3
4
5
6
78
9
10
11
optimum engine performance.
TIP
If the specified idling speed cannot be obtained as
described above, have a Yamaha dealer make the
adjustment.
7. Install the seat.
EBU24045
Adjusting the throttle cable free play
The throttle cable free play should be checked
and, if necessary, adjusted at the intervals speci-
fied in the periodic maintenance and lubrication
chart.
The throttle cable free play should measure
4.0–6.0 mm (0.16–0.24 in) at the throttle lever.
Periodically check the throttle cable free play
and, if necessary, adjust it as follows.
TIP
The engine idling speed must be checked, and ad-
justed if necessary, before adjusting the throttle ca-
ble free play.
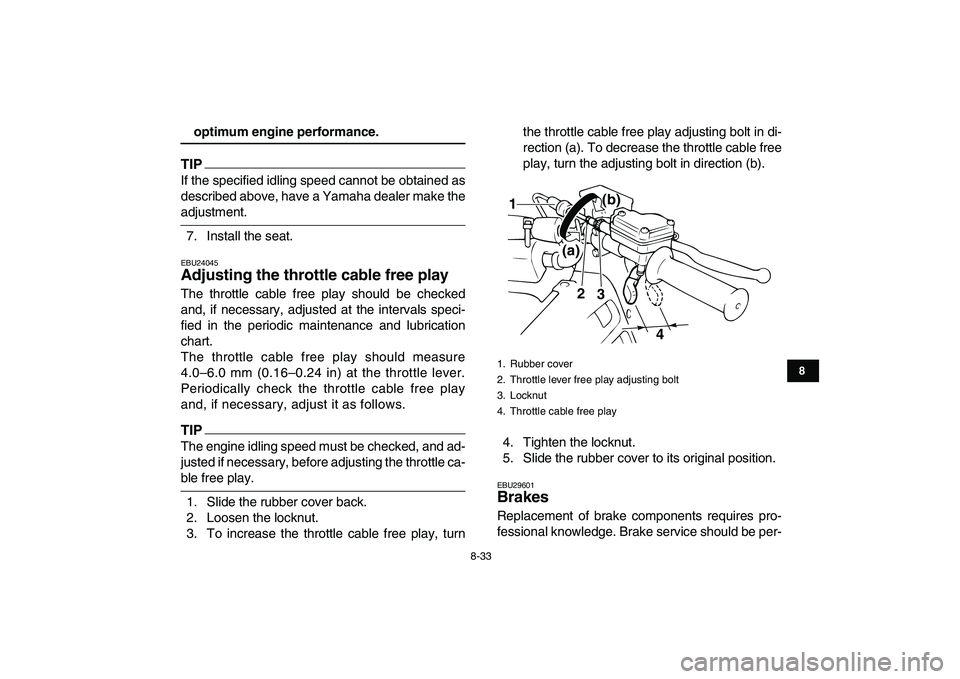
1. Slide the rubber cover back.
2. Loosen the locknut.
3. To increase the throttle cable free play, turnthe throttle cable free play adjusting bolt in di-
rection (a). To decrease the throttle cable free
play, turn the adjusting bolt in direction (b).
4. Tighten the locknut.
5. Slide the rubber cover to its original position.
EBU29601
Brakes
Replacement of brake components requires pro-
fessional knowledge. Brake service should be per-
1. Rubber cover
2. Throttle lever free play adjusting bolt
3. Locknut
4. Throttle cable free play
2
3
4
(a)(b)
1
✦✯��✬�✩✧�✤✲✣ ✦✦ ��
����������������������
Page 122 of 146

8-44
1
2
3
4
5
6
78
9
10
11
2. Wipe the drive chain dry.
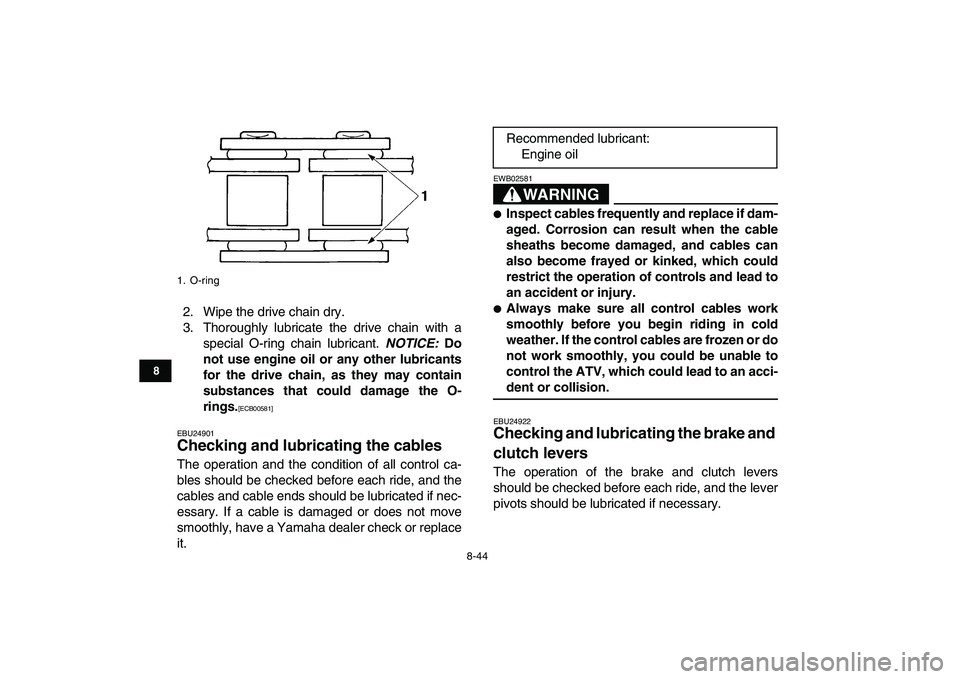
3. Thoroughly lubricate the drive chain with a
special O-ring chain lubricant.
NOTICE:
Do
not use engine oil or any other lubricants
for the drive chain, as they may contain
substances that could damage the O-
rings.
[ECB00581]
EBU24901
Checking and lubricating the cables
The operation and the condition of all control ca-
bles should be checked before each ride, and the
cables and cable ends should be lubricated if nec-
essary. If a cable is damaged or does not move
smoothly, have a Yamaha dealer check or replace
it.WARNING
EWB02581
�
Inspect cables frequently and replace if dam-
aged. Corrosion can result when the cable
sheaths become damaged, and cables can
also become frayed or kinked, which could
restrict the operation of controls and lead to
an accident or injury.
�
Always make sure all control cables work
smoothly before you begin riding in cold
weather. If the control cables are frozen or do
not work smoothly, you could be unable to
control the ATV, which could lead to an acci-
dent or collision.
EBU24922
Checking and lubricating the brake and
clutch levers
The operation of the brake and clutch levers
should be checked before each ride, and the lever
pivots should be lubricated if necessary.
1. O-ring
Recommended lubricant:
Engine oil
✦✯��✬�✩✧�✤✲✣ ✧✧ ��
����������������������
Page 132 of 146
8-54
1
2
3
4
5
6
78
9
10
11
EBU25841
Troubleshooting charts
Starting problems or poor engine performance
Check the fuel level in
the fuel tank.1. Fuel
There is
enough fuel.
There is
no fuel.
Supply fuel.
Operate the kickstarter.2. Compression
There is compression.
There is
no compression.Check the ignition.
Have a Yamaha dealer
check the ATV.
Remove the spark plugs
and check the electrodes.3. Ignition
Wet
DryWipe off with a dry cloth and correct the
spark plug gaps, or replace the spark plugs.
Have a Yamaha dealer check the ATV.The engine does not start.
Have a Yamaha dealer check the ATV.
Open the throttle halfway and operate
the kickstarter.
Check the compression.
The engine does not start.
Check the compression.
✦✯��✬�✩✧�✤✲✣ �✧ ��
����������������������
Page 133 of 146
8-55
1
2
3
4
5
6
78
9
10
11
Engine overheating
WARNING
EWB02290
Wait for the engine and radiator to cool before removing the radiator cap. You could be burned by
hot fluid and steam blown out under pressure. Always put a thick rag over the cap when opening.
Allow any remaining pressure to escape before completely removing the cap.
TIP
If coolant is not available, tap water can be temporarily used instead, provided that it is changed to the rec-
ommended coolant as soon as possible.
Wait until the
engine has cooled.
Check the coolant level in the
reservoir and radiator.
The coolant level
is OK.The coolant level is low.
Check the cooling system
for leakage.
Have a Yamaha dealer check
and repair the cooling system.Add coolant. (See TIP.)
Start the engine. If the engine overheats again, have a
Yamaha dealer check and repair the cooling system.
There is
leakage.
There is
no leakage.
✦✯��✬�✩✧�✤✲✣ �� ��
����������������������