2010 VOLKSWAGEN TRANSPORTER ESP
[x] Cancel search: ESPPage 109 of 486
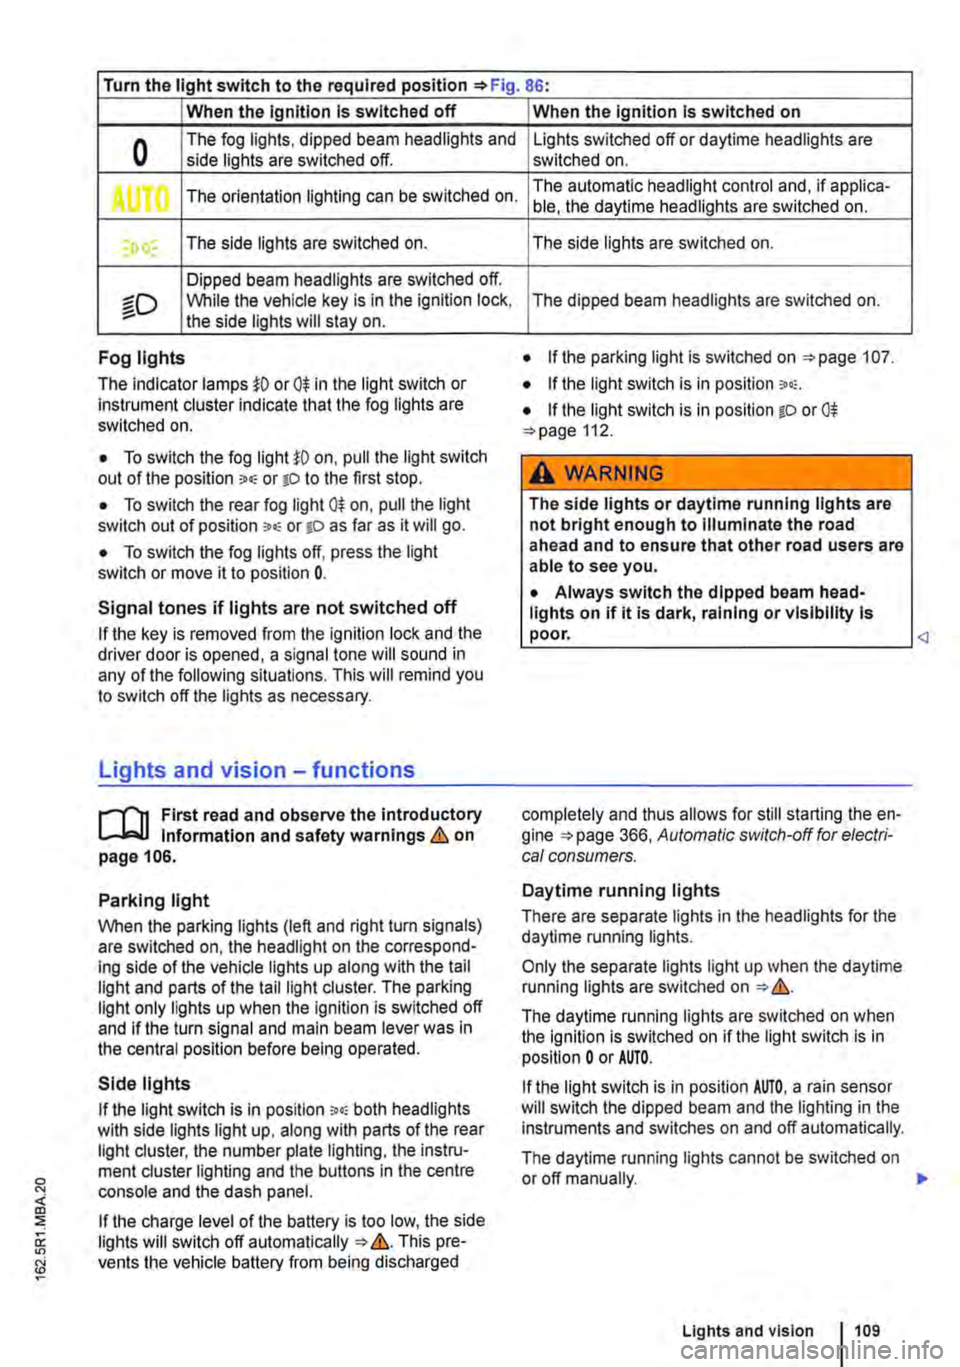
Turn the light switch to the required position 86:
When the Ignition Is switched off
0 The fog lights, dipped beam headlights and side lights are switched off.
,. The orientation lighting can be switched on.
) , The side lights are switched on.
Dipped beam headlights are switched off.
"'D While the vehicle key is in lhe ignition lock, the side lights will stay on.
Fog lights
The indicator lamps or 0$ in the light switch or Instrument cluster indicate that the fog lights are switched on.
• To switch the fog light on, pull the light switch out of the position "" or tD to the first stop.
• To switch the rear fog light 0$ on, pull the light switch out of position ,.,, or gD as far as it will go.
• To switch the fog lights off, press the light switch or move it to position 0.
Signal tones if lights are not switched off
If the key is removed from the ignition lock and the driver door is opened, a signal tone will sound in any of the following situations. This will remind you to switch off the lights as necessary.
Lights and vision -functions
1""1'11 First read and observe the introductory L-lo:.U Information and safety warnings & on page 106.
Parking light
When the parking lights (left and right turn signals) are switched on, the headlight on the correspond-ing side of the vehicle lights up along with the tail light and parts of the tail light cluster. The parking light only lights up when the Ignition is switched off and if the turn signal and main beam lever was in the central position before being operated.
Side lights
If the light switch is in position ;.o; both headlights with side lights light up, along with parts of the rear light cluster, the number plate lighting, the instru-ment cluster lighting and the buttons in the centre console and the dash panel.
If the charge level of the battery is too low, the side lights will switch off automatically &. This pre-vents the vehicle battery from being discharged
When the Ignition Is switched on
Lights switched off or daytime headlights are switched on.
The automatic headlight control and, if applica-ble, the daytime headlights are switched on.
The side lights are switched on.
The dipped beam headlights are switched on.
• If the parking light is switched on 107.
• If the light switch is in position '"'·
• If the light switch is in position iD or 0$ 112.
A WARNING
The side lights or daytime running lights are not bright enough to Illuminate the road ahead and to ensure that other road users are able to see you.
• Always switch the dipped beam head-lights on if it is dark, raining or visibility Is
completely and thus allows for still starting the en-gine 366, Automatic switch-off for electri-cal consumers.
Daytime running lights
There are separate lights in the headlights for the daytime running lights.
Only the separate lights light up when the daytime running lights are switched on &.
The daytime running lights are switched on when the ignition is switched on if the light switch is in position 0 or AUTO.
If the light switch is in position AUTO, a rain sensor will switch the dipped beam and the lighting in the instruments and switches on and off automatically.
The daytime running lights cannot be switched on or off manually. ,._
Lights and vision 1109
Page 118 of 486
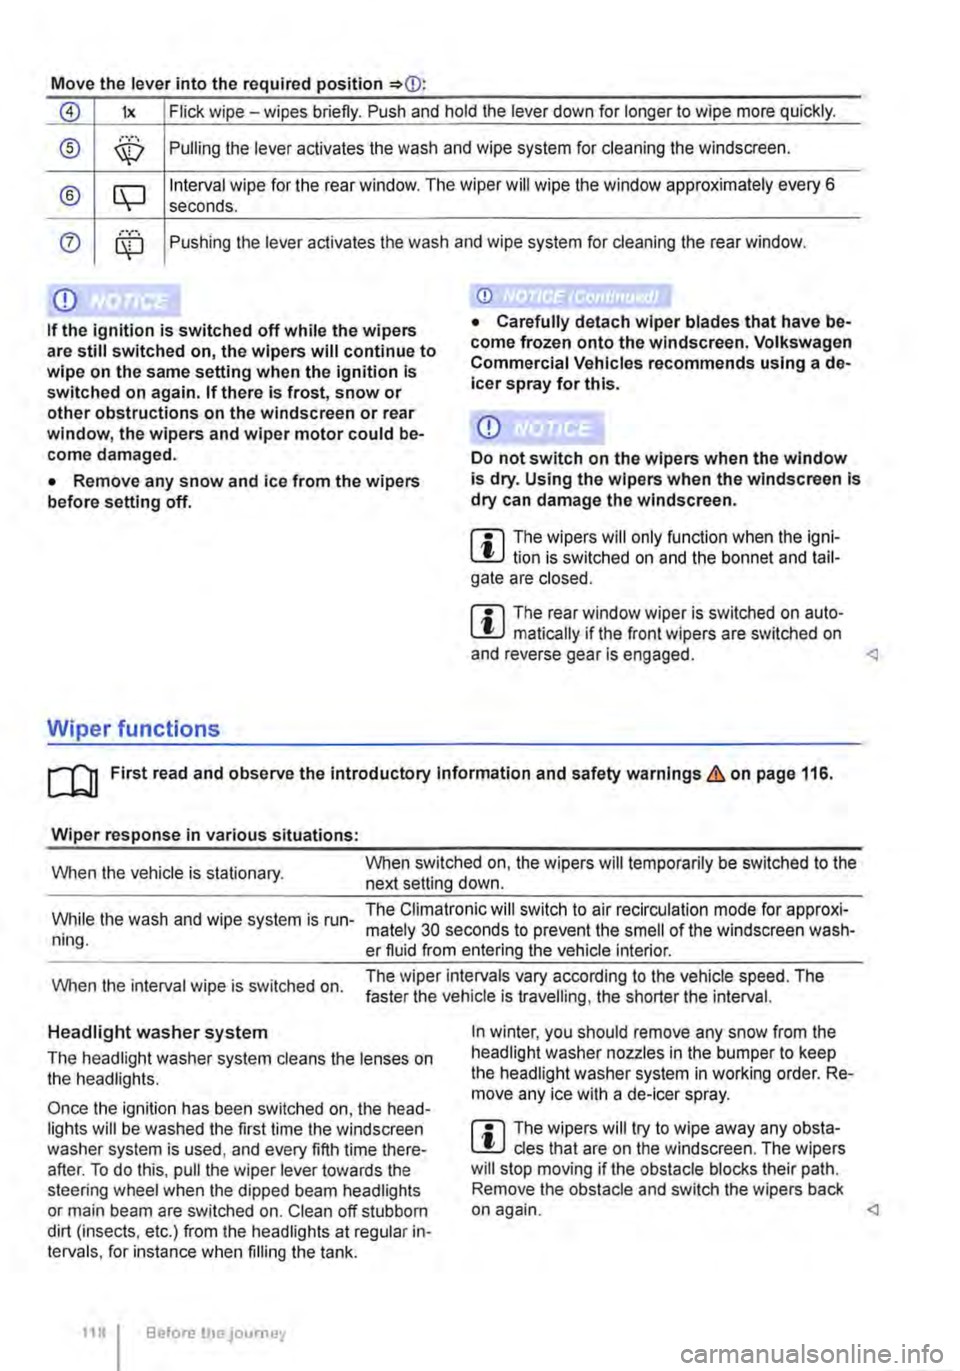
Move the lever into the required position
0 lx Flick wipe -wipes briefly. Push and hold the lever down for longer to wipe more quickly.
® ,··.··· \X:) Pulling the lever aclivates the wash and wipe system for cleaning the windscreen.
® CQ Interval wipe for the rear window. The wiper will wipe the window approximately every 6 seconds .
0 ........ Pushing the lever activates the wash and wipe system for cleaning the rear window.
Q)
If the ignition is switched off while the wipers are still switched on, the wipers will continue to wipe on the same setting when the ignition Is switched on again. If there Is frost, snow or other obstructions on the windscreen or rear window, the wipers and wiper motor could be-come damaged.
• Remove any snow and ice from the wipers before setting off.
Wiper functions
Q)
Do not switch on the wipers when the window is dry. Using the wipers when the windscreen Is dry can damage the windscreen.
m The wipers will only function when the igni-W lion is switched on and the bonnet and tail-gate are closed.
m The rear window wiper is switched on auto-W matically if the front wipers are switched on and reverse gear is engaged.
Wiper response in various situations:
When the vehicle is stationary. When switched on, the wipers will temporarily be switched to the next setting down.
While the wash and wipe system is run-ning.
The Climatronic will switch to air recirculation mode for approxi-mately 30 seconds to prevent the smell of the windscreen wash-er fluid from entering the vehicle interior.
When the interval wipe is switched on. The wiper intervals vary according to the vehicle speed. The faster the vehicle is travelling, the shorter the interval.
Headlight washer system
The headlight washer system cleans the lenses on the headlights.
Once the ignition has been switched on, the head-lights will be washed the first time the windscreen washer system is used, and every fifth time there-after. To do this, pull the wiper lever towards the steering wheel when the dipped beam headlights or main beam are switched on. Clean off stubborn dirt (insects, etc.) from the headlights at regular in-tervals, for instance when filling the tank.
118 Before the journey
In winter, you should remove any snow from the headlight washer nozzles in the bumper to keep the headlight washer system in working order. Re-move any ice with a de-icer spray.
m The wipers will try to wipe away any obsta-W cles that are on the windscreen. The wipers will stop moving if the obstacle blocks their path. Remove the obstacle and switch the wipers back on again.
Page 121 of 486

Recommended windscreen washer fluid
• For warm weather: summer windscreen wash G 052 184 A 1. Dilution 1:100 (1 part concen-trate, 100 parts water) in the washer fluid reservoir.
• All-year washer fluid G 052 164 A2. Dilution in winter to -18°C (0°F) approx. 1 :2 (1 part concen-trate, 2 parts water), otherwise dilute one part con-centrate to four parts water (1 :4) in the washer fluid reservoir.
Capacities
The capacity of the washer fluid reservoir is ap-proximately 3. 7 litres or approximately 5.0 litres in vehicles with a headlight washer system.
A WARNING
Never mix coolant additive or other unsuita-ble additives into the windscreen washer flu-id. An oily film may otherwise be left on the windscreen or rear window which will restrict the field of vision.
Mirrors
o:n Introduction
This chapter contains information on the following subjects:
Interior mirror .............. . 122
Exterior mirrors ............ . . .... 123
For safety reasons it is important that the driver po-sitions the exterior and interior mirrors correctly be-fore starting a journey '* &.
You can use the exterior mirrors and the interior mirror to observe traffic behind you and adjust driv-ing style accordingly. Looking in the exterior mir-rors and the interior mirror does not allow the driver to see the entre side and rear area of the vehicle. The area that cannot be seen is known as the blind spot. There may be objects and other road users in the blind spot.
Additional information and warnings:
• Exterior views '* page 5
• Changing gear '*page 260
• Braking, stopping and parking '*page 269
A WARNING (Continued)
• Use clean, clear water (not distilled water) with a washer fluid recommended by Volks-wagen Commercial Vehicles.
• A suitable anti-freeze agent should be added to the windscreen washer fluid If nec-essary.
CD
• Never mix other cleaning agents with the cleaning agents recommended by Volkswagen Commercial Vehicles. This can cause the ingre-dients to separate and block the windscreen washer jets.
• When refilling or changing service fluids, please ensure that the correct fluids are added through the correct openings. Incorrect service fluids can cause serious functional problems and engine damage.
Adjusting the exterior and interior mirrors while driving may cause the driver to become distracted. This can lead to accidents and se-rious Injuries.
• Exterior and interior mirrors should only be adjusted when the vehicle is stationary.
• When parking, changing lane, or perform-ing an overtaking or turning manoeuvre, al-ways pay careful attention to the area around the vehicle as objects and other road users may be located In the blind spot.
• Always ensure that the mirrors are posi-tioned correctly and that the rear view Is not restricted by ice, snow, condensation or any other objects.
A WARNING
Automatic anti-dazzle mirrors contain an electrolyte fluid which could leak If the mirror is broken.
• The leaking electrolyte fluid can cause lrri-tation to the skin, eyes and respiratory or-gans, especially In people who suffer from
Lights and vision 121
Page 125 of 486
Transporting items
Driving notes
ClJl Introduction
This chapter contains information on the following subjects:
Stowing items of luggage . . . . . . . . . . . . . . . . . 126
Stowing cargo . . . . . . . . . . . . . . . . . . 127
Buckle straps . . . . . . . . . . . . . . . . . . . . . . . . . . . 128
Ratchet straps . . . . . . . . . . . . . . . . . . . 128 Driving with an open tailgate or open wing doors . . . . . . . . . . . . . . . . . . . . . 129
Driving a loaded vehicle .... 130
Always secure the load transported in the luggage compartment or load compartment, on the roof car-rier, on the load surface or trailer. Always use suita-ble securing straps with the fastening rings to se-cure heavy items. Never exceed the vehicle's max-imum payload. Both the payload and the distribu-tion of the load in the vehicle will have an effect on the driving response and braking distance &.
Using securing straps
• Follow the instructions for the securing straps.
• Observe specifications for maximum load rat-ing.
• The securing straps must be long enough for the item you wish to secure.
Damaged securing straps
Never use the securing straps if:
• Damage to the warp and weft of the webbing (cuts or fraying) accounts for more than 10% of the webbing.
• The seams are damaged.
• The webbing is deformed by friction or heat.
• The securing straps are cracked, especially if cracked across the strap, or if the straps have notches.
• The securing straps have splits or corrosion damage.
• There is damage to the tightening device and connection elements.
Additional information and warnings:
• Tailgate 49
• Wing doors 52
• Lights 106
• Luggage compartment 130
• Roof carrier 137
• Towing a trailer 139
• Wheels and tyres 367
• Vehicle weight and axle weight rating 450
A WARNING
Objects that are not secured, or are secured incorrectly, can cause serious injuries in the event of a sudden driving or braking manoeu-vre or accident. This applies particularly if objects are struck by the airbag when activa-ted and then flung through the vehicle interi-or. To reduce the risk of accidents, please ob-serve the following guidelines:
• Always stow all objects in the vehicle se· curely.
• Always use suitable straps to prevent ob-jects entering the deployment zones of the curtain alrbag, the combined curtain and side airbag or the front airbag during a sudden driving or braking manoeuvre.
• Objects should be stowed in the vehicle interior In such a way that they can never en-ter the alrbag deployment zones while the ve-hicle is In motion.
• Always keep stowage compartments closed while the vehicle is In motion.
• The front airbag must be switched off and the indicator lamp PASSENGER AIR BAG OFF 'Ji; must light up for as long as the front passenger seat backrest is folded forwards.
• Stowed objects must never cause passen-gers to assume an incorrect sitting position.
• If an item is being stowed on a seat, this seat must not be used by any passengers.
A WARNING
Transporting heavy objects changes the vehi-cle driving characteristics and increases the braking distance. Heavy loads which are not properly stowed or secured in the vehicle can lead to a loss of vehicle control and cause se-rious injury. .,..
Transporting items 125
Page 130 of 486
A WARNING (Continued)
• Any objects protruding from the luggage compartment must be marked to ensure that they are visible to other road users. Comply with legal regulations.
• If items protrude out of the luggage com-partment, never use the tail gate or wing doors to "hold them in position".
• If you drive with the tailgate or wing doors open, remove any racks and luggage from the tail gate or a wing door.
A WARNING
Poisonous exhaust fumes can get into the in-terior when the tailgate or wing doors are open. This can result in loss of conscious-ness, carbon monoxide poisoning, serious Injury and accidents.
Driving a loaded vehicle
1"''l1 First read and observe the introductory L--Wl information and safety warnings & on page 125.
For good vehicle handling when driving a loaded vehicle, please observe the following:
• Stow all items of luggage page 127.
• Accelerate carefully and gently.
• Avoid sudden braking and driving manoeuvres.
• Brake earlier than in normal driving.
• If applicable, heed the information about driving with a trailer 139.
• If applicable, observe the information concern-ing the roof carrier 137.
Luggage compartment
CO Introduction
This chapter contains information on the following subjects:
Luggage compartment cover . . . . . . . . . . . . . . 132
130 Before the JOUrney
A WARNING (Continued)
• Always drive with the wing doors or tail-gate closed to prevent poisonous exhaust fumes getting into the vehicle.
• If exceptional circumstances require you to drive with an open tallgate or open wing doors, do the following to reduce the amount of poisonous exhaust fumes that could enter into the vehicle:
CD
-Close all windows and the sliding/tilting roof.
-Switch off air reclrculatlon mode.
-Open all vents In the dash panel.
-Switch the blowers to the highest set-ting.
The vehicle length and height are different when the wing doors or tailgate are open.
A wARNING
Moving loads can severely impair the vehi-cle's stability and driving safety which could cause accidents and severe Injuries.
• Secure objects properly to prevent them from sliding.
• Use suitable straps when securing heavy objects.
• Engage the rear seat backrests securely In
Page 131 of 486
Additional information and warnings:
• Airbag system =:.page 87
• Lights =:.page 106
• Transporting =:.page 125
• Towing a trailer=> page 139
• Luggage net, California =>page 192
• Wheels and tyres =>page 367
A WARNING
When the vehicle is not in use or is not being supervised, always lock the doors and tail-gate to reduce the risk of severe or fatal inju-ries.
• Never leave children unattended, especial-ly when the tailgate is open. Children could make their way into the luggage compart-ment, close the tailgate and be unable to get out. This can cause severe or fatal injuries.
• Never let children play in or around the ve-hicle.
• Do not travel with people in the luggage compartment.
A WARNING
Objects that are not secured, or are secured Incorrectly, can cause serious injuries in the event of a sudden driving or braking manoeu-vre or accident. This applies particularly if objects are struck by the alrbag when activa-ted and then flung through the vehicle interi-or. To reduce the risk of accidents, please ob-serve the following guidelines:
• Always stow all objects In the vehicle se· curely. Always stow luggage and heavy ob-jects in the luggage compartment.
• Always use suitable straps to prevent lug-gage from being thrown through the vehicle Interior and entering the deployment zones of
A WARNING (Continued)
the curtain alrbag, the combined curtain and side airbag or the front airbag In the event of a sudden driving or braking manoeuvre.
• Always keep stowage compartments closed while the vehicle is In motion.
• Do not stow any hard, heavy or sharp ob· jects loose in any of the vehicle's open stow-age areas, on the luggage compartment cov-er or on the dash panel.
• Remove any hard, heavy or sharp objects from items of clothing and bags Inside the vehicle and stow them securely.
A WARNING
Transporting heavy objects changes the vehi-cle's handling and increases the braking dis-tance. Heavy loads that are not properly stowed or secured in the vehicle can lead to a loss of vehicle control and can cause serious injury.
• Transporting heavy objects changes the vehicle's handling and the centre of gravity.
• The payload should be distributed as evenly as possible in the vehicle.
• Always secure heavy objects In the lug-gage compartment as far in front of the rear axle as possible.
CD
Hard objects on the shelf can chafe against the wires of the heating element in the rear window and cause damage.
m Always ensure that the venlilalion openings L!J between the rear window and the stowage area are uncovered to allow stale air to escape from the vehicle.
Page 138 of 486
Additional information and warnings:
• Lights 106
• Transporting 125
• Driving with respect for the environment 278
• Wheels and tyres 367
• Accessories, modifications, repairs and renewal of parts 394
A wARNING
When transporting heavy or bulky objects in the roof carrier, the vehicle's handling will change due to a shift in the centre of gravity and an increased susceptibility to cross-winds.
• Always secure loads properly using suita-ble and undamaged securing straps.
• Cargo that is large, heavy, bulky, long or flat will have a negative effect on the vehicle aerodynamics, centre of gravity and overall handling.
Attaching the mounts and roof carrier
r-Y'n First read and observe the introductory L-J,:.JJ information and safety warnings &. on page 137.
Your vehicle has special roof rails on the right and left for fitting the mounts. Therefore, standard roof carriers cannot be used. Volkswagen Commercial Vehicles recommends using only mounts and roof carriers that have been approved by Volkswagen Commercial Vehicles.
The mounts are the basis of a complete roof carrier system. Special fixtures must then be added to transport luggage, bicycles, skis, surfboards or boats safely on the roof. All components of this system are available at a Volkswagen Commercial Vehicles dealership.
The roof carrier system must always be installed exactly according to instructions and should be kept with the vehicle wallet.
138 I Before the journey
A WARNING (Continued)
• Avoid abrupt and sudden driving and braking manoeuvres.
• Always adapt your speed and driving style to suit visibility, weather, road and traffic con-ditions.
CD
• Always remove the roof carrier before driv-ing through an automatic car wash.
• The height of the vehicle is changed by the installation of a carrier system and the load se-cured to it. Check and compare the height of the vehicle with clearance heights, e.g. for un-derpasses and garage doors.
• The roof carrier system and its load must not obstruct you from opening and closing the sliding/tilting roof and tallgate. The roof aerial must also remain unaffected.
• When opening the tallgate, take care not to let it hit the roof load.
Driving with a fitted roof carrier will increase W air resistance and thus increase fuel con-sumption.
Incorrectly attaching the mounts and roof carrier, and using them Inappropriately, can cause the whole system to fail off the roof. This can cause accidents and injuries.
• Always observe the manufacturer's in-structions.
• Only use mounts and roof carriers when they are undamaged and fitted correctly.
• Fit mounts and roof carriers correctly.
• Check the bolts and anchorage points be-fore starting your journey and adjust as nec-essary after driving a short distance. During a long trip, check ail bolts and fasteners at each stop.
• Special fixtures for items such as bicy-cles, skis, surfboards, etc. should always be properly Installed.
• Do not carry out any alterations or repairs to the mounts and roof carrier.
W Read and observe the instructions provided L!J for the fitted roof carrier system and carry them in the vehicle at all times.
Page 140 of 486
In low temperatures, fit winter tyres to both the ve-hicle and the trailer.
Drawbar load
The drawbar load is the weight that the towing bracket exerts on the ball coupling vertically from above. The maximum permitted weight exerted by the trailer drawbar on the ball coupling of the tow-ing bracket must not exceed 100 kg.
The figures for the draw bar weights that are given on the type plate of the towing bracket are for cer-tification purposes only. The correct values for your specific model, which may be lower than these fig-ures, are given in the vehicle registration docu-ments. All data in the official vehicle documents take precedence over these data &.
In the interest of road safety, Volkswagen Commer-cial Vehicles recommends that you always trans-port the maximum drawbar load. The response of the trailer on the road will be poor if the drawbar load is too small.
The drawbar load increases the weight on the rear axle and reduces the maximum load level as a re-sult.
Vehicles with starUstop system
• If a factory-fitted towing bracket or a towing bracket retro-fitted by Volkswagen Commercial Ve-hicles is used, the Start/Stop system remains ac-tive when towing a trailer 283.
• If towing brackets that were not retrofitted by Volkswagen Commercial Vehicles are used, the StarUStop system must be switched off manually using the button in the dash panel before you start towing a trailer and must remain switched off as long as a trailer is being towed &.
Tachograph
For vehicles whose gross vehicle weight rating, in-cluding trailer exceeds 3,500 kg, and those used commercially to transport goods, use of a tacho-graph is required by law. This is irrespective of whether the vehicle or the trailer or both are used for commercial transportation of goods.
Additional information and warnings:
• Exterior views 5
• Lights 106
• Tachograph 172
• Braking, stopping and parking 269
• Driving with respect for the environment 278
• Wheels and tyres 367
• Accessories, modifications, repairs and renewal of parts 394
140 Before the journey
• Maximum permitted trailer weights =>page 450
• Maximum permitted gross combination weight rating =>page 450
A WARNING
it is dangerous to transport people In a trailer and it may also be illegal.
A WARNING
Improper use of the towing bracket can cause Injury and accidents.
• Only use the towing bracket if it Is fitted properly and Is not damaged.
• Do not carry out any alterations or repairs to the towing bracket.
• To reduce the risk of Injury In rear-end col· lis ions, and to pedestrians and cyclists when the vehicle Is parked, always remove the ball coupling when a trailer Is not being used.
• Never Install a weight-distributing or load-balancing towing bracket to the vehicle. The vehicle Is not constructed for these kinds of towing brackets. The towing bracket can fall, causing the trailer to tear loose from the vehl· cl e.
A WARNING
Towing a trailer and transporting heavy or bulky Items can change the way the vehicle's handling. This can lead to accidents.
• Always secure loads properly using suita-ble and undamaged securing straps.
• Always adapt your speed and driving style to suit visibility, weather, road and traffic con-ditions.
• Trailers with a high centre of gravity are more likely to tip over than trailers with a low centre of gravity.
• Avoid abrupt and sudden driving and braking manoeuvres.
• Take special care when overtaking.
• Reduce your speed Immediately if the trailer shows even the slightest sign of snak-Ing.
• Never drive faster than 80 km/h (50 m ph) when towing a trailer or 100 km/h (62 mph) In exceptional cases. This also applies to coun-tries where higher speeds are permitted. AI· ways obey speed limits. In some areas speed limits for vehicles that are towing trailers are lower than for vehicles without trailers. .,.