2010 SUZUKI SX4 parking brake
[x] Cancel search: parking brakePage 11 of 297
ILLUSTRATED TABLE OF CONTENTS
80J23-03E
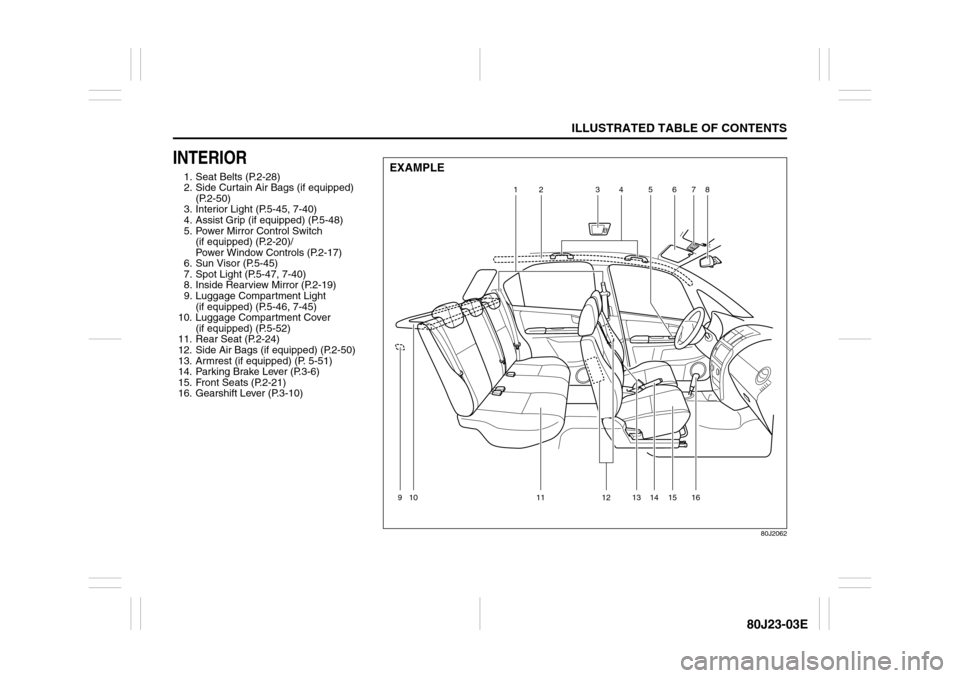
INTERIOR1. Seat Belts (P.2-28)
2. Side Curtain Air Bags (if equipped)
(P.2-50)
3. Interior Light (P.5-45, 7-40)
4. Assist Grip (if equipped) (P.5-48)
5. Power Mirror Control Switch
(if equipped) (P.2-20)/
Power Window Controls (P.2-17)
6. Sun Visor (P.5-45)
7. Spot Light (P.5-47, 7-40)
8. Inside Rearview Mirror (P.2-19)
9. Luggage Compartment Light
(if equipped) (P.5-46, 7-45)
10. Luggage Compartment Cover
(if equipped) (P.5-52)
11. Rear Seat (P.2-24)
12. Side Air Bags (if equipped) (P.2-50)
13. Armrest (if equipped) (P. 5-51)
14. Parking Brake Lever (P.3-6)
15. Front Seats (P.2-21)
16. Gearshift Lever (P.3-10)
80J2062
1
4
2
5
3
6
10
11
14
13 15
16
12
7
8
9EXAMPLE
Page 78 of 297
2-61BEFORE DRIVING
80J23-03E
Refer to “Tire Pressure Monitoring System”
in the “OPERATING YOUR VEHICLE” sec-
tion for additional details on the tire pres-
sure monitoring system. Refer to “Tires” in
the “INSPECTION AND MAINTENANCE”
section for information on maintaining
proper tire pressure.
Brake System Warning Light
65D477
This light comes on briefly when the igni-
tion switch is turned to the “ON” position.
The light also comes on under the follow-
ing conditions: 1) when the parking brake
is engaged and 2) when the fluid in the
brake fluid reservoir falls below the speci-
fied level. The light should go out after fully
releasing the parking brake, if the fluid
level in the brake fluid reservoir is ade-
quate.
If this light and the ABS warning light stay
on, or come on simultaneously when driv-
ing, then there may be something wrong
with both the rear brake proportioning
valve function and anti-lock function of the
ABS.
If the brake system warning light comes on
while you are driving the vehicle, it may
mean that there is something wrong with
the vehicle’s brake system. If this happens,
you should:
WARNING
If the low tire pressure warning light
comes on and stays on, reduce your
speed and avoid abrupt steering and
braking. Stop in a safe place as soon
as possible and check your tires.
If you have a flat tire, replace it with
the spare tire. Refer to “Jacking
Instructions” in the “EMERGENCY
SERVICE” section. Refer to
“Replacing Tires and/or Wheels”
for instructions on how to restore
normal operation of the tire pres-
sure monitoring system after you
have had a flat tire.
If one or more of your tires is
under-inflated, adjust the inflation
pressure in all of your tires to the
recommended inflation pressure as
soon as possible.
Be aware that driving on a signifi-
cantly under-inflated tire can cause
the tire to overheat and can lead to
tire failure, and may affect steering
control and brake effectiveness. This
could lead to an accident, resulting in
severe injury or death.
Page 79 of 297

2-62
BEFORE DRIVING
80J23-03E
1) Pull off the road and stop carefully.
2) Test the brakes by carefully starting and
stopping on the shoulder of the road.
3) If you determine that it is safe, drive
cautiously at low speed to the nearest
dealer for repairs,
or
4) Have the vehicle towed to the nearest
dealer for repairs.NOTE:
Because the disc brake system is self-
adjusting, the fluid level will drop as the
brake pads become worn.
Replenishing the brake fluid reservoir is
considered normal periodic maintenance.
Anti-Lock Brake System (ABS)
Warning Light
65D529
When the ignition switch is turned to the
“ON” position, the light comes on briefly so
you can check that the light is working. If
the light stays on, or comes on when driv-
ing, there may be something wrong with
the ABS.
If the ABS light and the brake system
warning light stay on, or come on simulta-
neously when driving, then there may be
something wrong with both the rear brake
proportioning valve function and anti-lock
function of the ABS.
If one of these happens, have the system
inspected by your SUZUKI dealer. If the
ABS becomes inoperative, the brake sys-
tem will function as an ordinary brake sys-
tem that has no ABS.For details of the ABS, refer to “Anti-Lock
Brake System (ABS)” in the “OPERATING
YOUR VEHICLE” section.
SLIP Indicator Light (if equipped)
52KM133
ESP
® is a registered trademark of Daimler
AG.
This light blinks 5 times per second when
one of the ESP
® systems other than ABS
is activated. If this light blinks, drive care-
fully.
When the ignition switch is turned to the
“ON” position, the light comes on briefly so
you can check that the light is working. If
the light stays on, or comes on when driv-
ing and remains on, there may be some-
thing wrong with the ESP
® systems (other
than ABS). You should have the system
inspected by an authorized SUZUKI
dealer.
WARNING
Remember that stopping distance
may be longer, you may have to push
harder on the pedal, and the pedal
may go down farther than normal.
WARNING
If any of the following conditions
occur, you should immediately ask
your SUZUKI dealer to inspect the
brake system.
If the brake system warning light
does not go out after the parking
brake has been fully released.
If the brake system warning light
does not come on when the igni-
tion switch is turned to the “ON”
position.
If the brake system warning light
comes on at any time during vehi-
cle operation.
Page 85 of 297
2-68
BEFORE DRIVING
80J23-03E
intelligent All Wheel Drive (i-AWD)
LOCK Indicator Light (if equipped)
79J100
When the ignition switch is turned to the
“ON” position, this light comes on briefly so
you can check that the light is working.
The light comes on when the 2WD/i-AWD
switch is changed to the “i-AWD LOCK”
mode from the “i-AWD AUTO” mode.
If the light and the “i-AWD AUTO” indicator
light stay on or come on simultaneously
when driving, there may be something
wrong with the i-AWD system. Have the
system inspected by an authorized
SUZUKI dealer.
NOTE:
When the vehicle speed is increased,
the “i-AWD LOCK” mode will be changed
to the “i-AWD AUTO” mode automati-
cally. The “i-AWD AUTO” indicator light
will come on and stay on.
When the ignition switch is turned to the
“OFF” position, the “i-AWD LOCK” mode
is canceled.For details of the “i-AWD LOCK” mode,
refer to “Using the 2WD/i-AWD Switch” in
the “OPERATING YOUR VEHICLE” sec-
tion.
Daytime Running Light (D.R.L.) Indi-
cator Light (if equipped)
60B245
With the D.R.L. system, the headlights
light, but are dimmer than the low beam,
when the following three conditions are all
met. Whenever the D.R.L. system is oper-
ating, the D.R.L. indicator light remains on.
Conditions for D.R.L. system operation
1) The engine is running.
2) The parking brake is released.
3) The headlights are off.
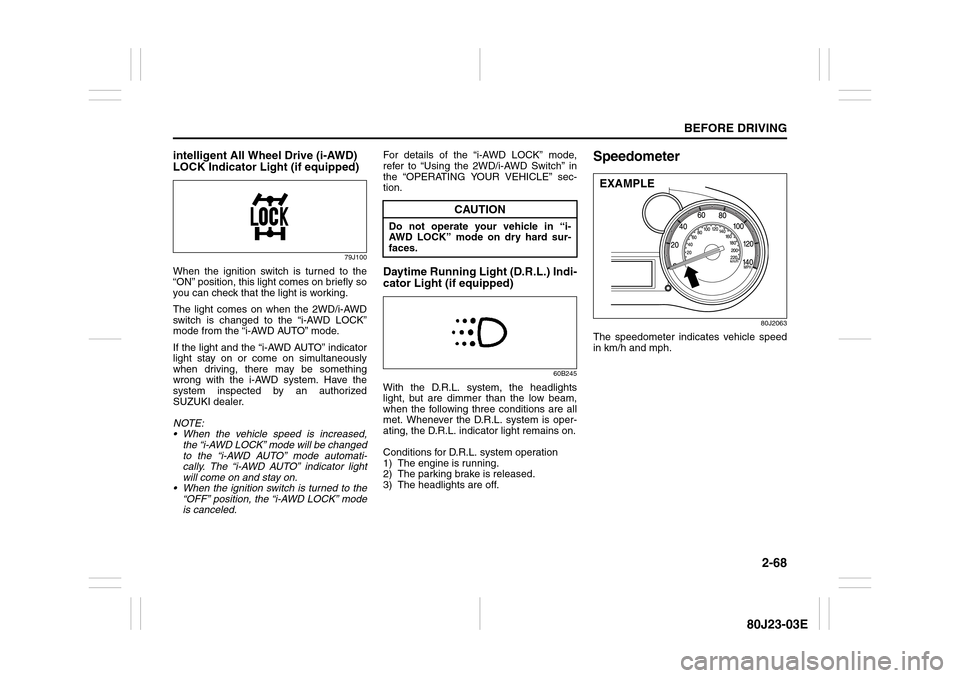
Speedometer
80J2063
The speedometer indicates vehicle speed
in km/h and mph.
CAUTION
Do not operate your vehicle in “i-
AWD LOCK” mode on dry hard sur-
faces.
EXAMPLE
Page 93 of 297
2-76
BEFORE DRIVING
80J23-03E
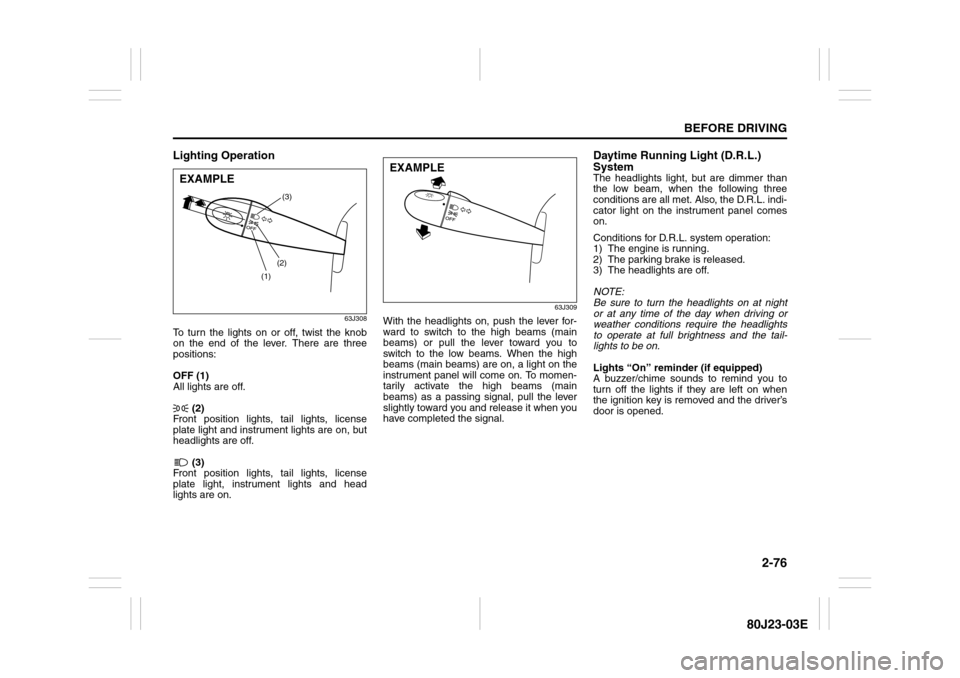
Lighting Operation
63J308
To turn the lights on or off, twist the knob
on the end of the lever. There are three
positions:
OFF (1)
All lights are off.
(2)
Front position lights, tail lights, license
plate light and instrument lights are on, but
headlights are off.
(3)
Front position lights, tail lights, license
plate light, instrument lights and head
lights are on.
63J309
With the headlights on, push the lever for-
ward to switch to the high beams (main
beams) or pull the lever toward you to
switch to the low beams. When the high
beams (main beams) are on, a light on the
instrument panel will come on. To momen-
tarily activate the high beams (main
beams) as a passing signal, pull the lever
slightly toward you and release it when you
have completed the signal.
Daytime Running Light (D.R.L.)
SystemThe headlights light, but are dimmer than
the low beam, when the following three
conditions are all met. Also, the D.R.L. indi-
cator light on the instrument panel comes
on.
Conditions for D.R.L. system operation:
1) The engine is running.
2) The parking brake is released.
3) The headlights are off.
NOTE:
Be sure to turn the headlights on at night
or at any time of the day when driving or
weather conditions require the headlights
to operate at full brightness and the tail-
lights to be on.
Lights “On” reminder (if equipped)
A buzzer/chime sounds to remind you to
turn off the lights if they are left on when
the ignition key is removed and the driver’s
door is opened.
(1)(2)(3)
EXAMPLE
EXAMPLE
Page 101 of 297

OPERATING YOUR VEHICLE
3
80J23-03E
60G408
OPERATING YOUR VEHICLEExhaust Gas Warning ......................................................... 3-1
Daily Inspection Checklist .................................................. 3-1
Ignition Switch ..................................................................... 3-2
Parking Brake Lever ........................................................... 3-6
Pedals ................................................................................... 3-7
Starting the Engine ............................................................. 3-8
Engine Block Heater (if equipped) ..................................... 3-9
Using the Transaxle ............................................................ 3-10
Using the 2WD/i-AWD (intelligent All Wheel Drive)
Switch (if equipped) ............................................................ 3-16
Cruise Control (if equipped) ............................................... 3-18
Braking ................................................................................. 3-20
Electronic Stability Program (ESP
®) (if equipped) ........... 3-23
Tire Pressure Monitoring System (TPMS) ........................ 3-26
Page 103 of 297
3-2
OPERATING YOUR VEHICLE
80J23-03E
12)Check all gauges.
13)Make sure that the BRAKE light turns
off when the parking brake is released.
Once a week, or each time you fill your fuel
tank, perform the following under-hood
checks:
1) Engine oil level
2) Coolant level
3) Brake fluid level
4) Power steering (if equipped) fluid level
5) Windshield washer fluid level
6) Hood latch operation
Pull the hood release handle inside the
vehicle. Make sure that you cannot
open the hood all the way without
releasing the secondary latch. Be sure
to close the hood securely after check-
ing for proper latch operation. See the
item “All latches, hinges and locks” of
“CHASSIS AND BODY” in the “Periodic
Maintenance Schedule” section in the
“INSPECTION AND MAINTENANCE”
section for lubrication schedule.Once a month, or each time you fill your
fuel tank, check the tire pressure using a
tire pressure gauge. Also check the tire
pressure of the spare tire.
Ignition Switch
65D611
WARNING
Make sure the hood is fully closed
and latched before driving. If it is not,
it can fly up unexpectedly during
driving, obstructing your view and
resulting in an accident.
WARNING
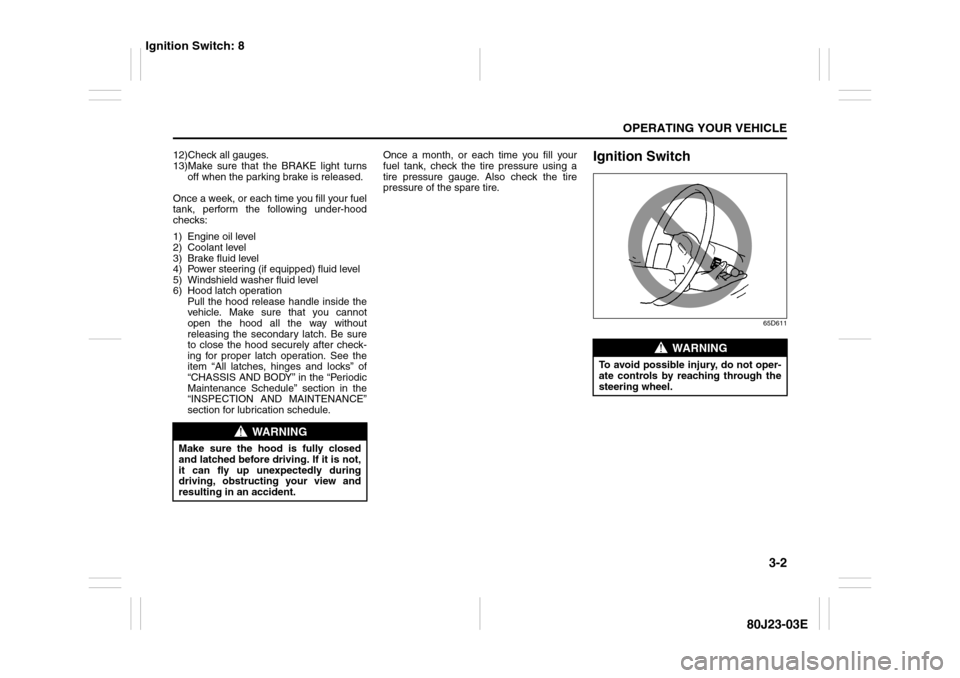
To avoid possible injury, do not oper-
ate controls by reaching through the
steering wheel.
Ignition Switch: 8
Page 107 of 297
3-6
OPERATING YOUR VEHICLE
80J23-03E
81A297S
Parking Brake Lever
52D122
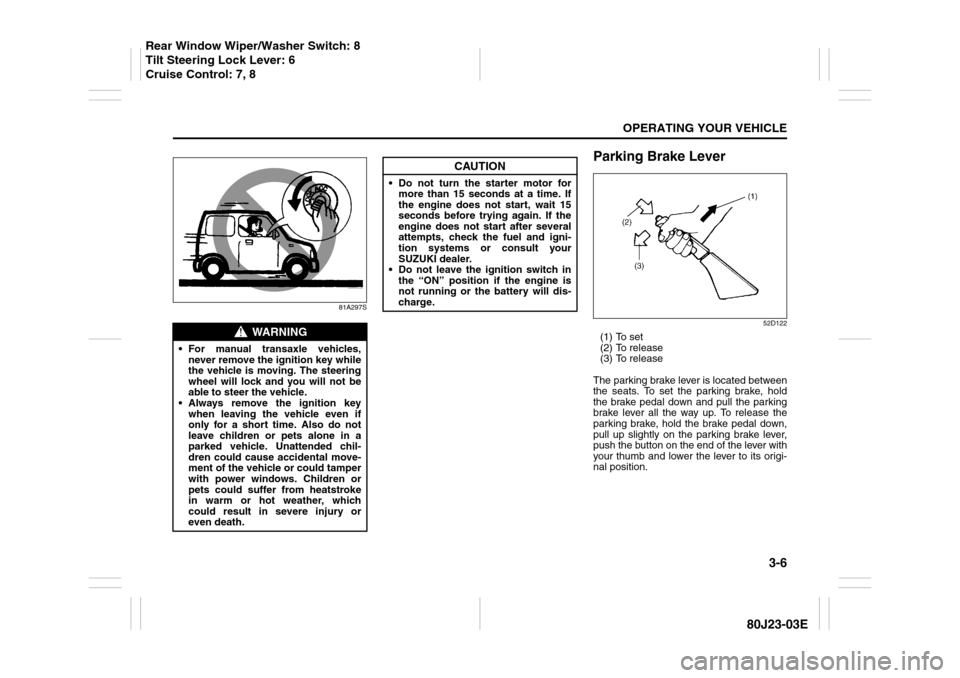
(1) To set
(2) To release
(3) To release
The parking brake lever is located between
the seats. To set the parking brake, hold
the brake pedal down and pull the parking
brake lever all the way up. To release the
parking brake, hold the brake pedal down,
pull up slightly on the parking brake lever,
push the button on the end of the lever with
your thumb and lower the lever to its origi-
nal position.
WARNING
For manual transaxle vehicles,
never remove the ignition key while
the vehicle is moving. The steering
wheel will lock and you will not be
able to steer the vehicle.
Always remove the ignition key
when leaving the vehicle even if
only for a short time. Also do not
leave children or pets alone in a
parked vehicle. Unattended chil-
dren could cause accidental move-
ment of the vehicle or could tamper
with power windows. Children or
pets could suffer from heatstroke
in warm or hot weather, which
could result in severe injury or
even death.
CAUTION
Do not turn the starter motor for
more than 15 seconds at a time. If
the engine does not start, wait 15
seconds before trying again. If the
engine does not start after several
attempts, check the fuel and igni-
tion systems or consult your
SUZUKI dealer.
Do not leave the ignition switch in
the “ON” position if the engine is
not running or the battery will dis-
charge.
Rear Window Wiper/Washer Switch: 8
Tilt Steering Lock Lever: 6
Cruise Control: 7, 8