2010 SUZUKI SX4 headlight
[x] Cancel search: headlightPage 24 of 297

2-7BEFORE DRIVING
80J23-03E
NOTE:
The maximum operating distance of the
remote controller is about 5 m (16 ft.),
but this can vary depending on the sur-
roundings, especially near other trans-
mitting devices such as radio towers or
CB (Citizen’s Band) radios.
The door locks cannot be operated with
the remote controller if the ignition switch
is in a position other than “LOCK”, or the
ignition key is inserted in the ignition
switch, or if any door is open.
If any door is open, you cannot lock the
door by operating the remote controller,
however unlock the door.
You cannot lock the door unless all of the
door are closed completely.
If you lose one of the remote controllers,
ask your SUZUKI dealer as soon as pos-
sible for a replacement. Be sure to have
your dealer program the new remote
controller code in your vehicle’s memory
so that the old code is erased, or per-
form the programming procedure your-
self according to the instructions in this
section.“PANIC” button (3) function
This function is to get the attention of oth-
ers.
Press the “PANIC” button (3) for more than
1 second. The headlights and taillights will
blink for about 30 seconds. Also, the horn
will sound intermittently for about 30 sec-
onds at the same time.
To cancel the “PANIC” mode, press any
button (PANIC, LOCK or UNLOCK) on the
remote controller. You can also insert the
key in the ignition switch and turn to the
“ON” position to cancel the “PANIC” mode.
NOTE:
The “PANIC” button function will not acti-
vate when the key is in the ignition switch.Keyless unlocking/locking using the
request switches
SX4
80JC054
SX4 SEDAN
56KN008
(1)
EXAMPLE
(1)
EXAMPLE
Door Locks: 3, 5, 8
Page 31 of 297

2-14
BEFORE DRIVING
80J23-03E
The turn signal lights will flash once when
the doors are locked.
When the doors are unlocked:
The turn signal lights will flash twice.
If the interior light switch is in the
“DOOR” position, the interior light will
turn on for about 15 seconds and then
fade out. If you insert the key into the
ignition switch during this time, the light
will start to fade out immediately.
Be sure the doors are locked after you
operate the “LOCK” button (1).
If no door is opened within about 30 sec-
onds after the “UNLOCK” button (2) is
operated, the doors will automatically lock
again.
NOTE:
The maximum operating distance of the
keyless entry system transmitter is about
5 m (16 ft.), but this can vary depending
on the surroundings, especially near
other transmitting devices such as radio
towers or CB (Citizen’s Band) radios.
The door locks cannot be operated with
the transmitter, if the ignition key is
inserted in the ignition switch.
If you lose one of the transmitters, ask
your SUZUKI dealer as soon as possible
for a replacement. Be sure to have your
dealer program the new transmitter code
in your vehicle’s memory so that the old
code is erased, or perform the program-
ming procedure yourself according to the
instructions in this section.“PANIC” button (3) function
This function is to get the attention of oth-
ers.
Press the “PANIC” button (3) for more than
1 second. The headlights and taillights will
blink for about 30 seconds. Also, the horn
will sound intermittently for about 30 sec-
onds at the same time.
To cancel the “PANIC” mode, press any
button (PANIC, LOCK or UNLOCK) on the
transmitter. You can also insert the key in
the ignition switch and turn to the “ON”
position to cancel the “PANIC” mode.
NOTE:
The “PANIC” button function will not acti-
vate when the key is in the ignition switch.Replacement of the battery
If the transmitter becomes unreliable,
replace the battery.
To replace the battery of the transmitter:
52D210
1) Put the edge of a coin or a flat blade
screwdriver in the slot of the transmitter
and pry it open.
CAUTION
The transmitter is a sensitive elec-
tronic instrument. To avoid damaging
the transmitter:
Do not expose it to impacts, mois-
ture or high temperature such as by
leaving it on the dashboard under
direct sunlight.
Keep the transmitter away from
magnetic objects such as a televi-
sion.
Head Restraints: 3
Seat Belts and Child Restraint Systems: 3
Page 36 of 297

2-19BEFORE DRIVING
80J23-03E
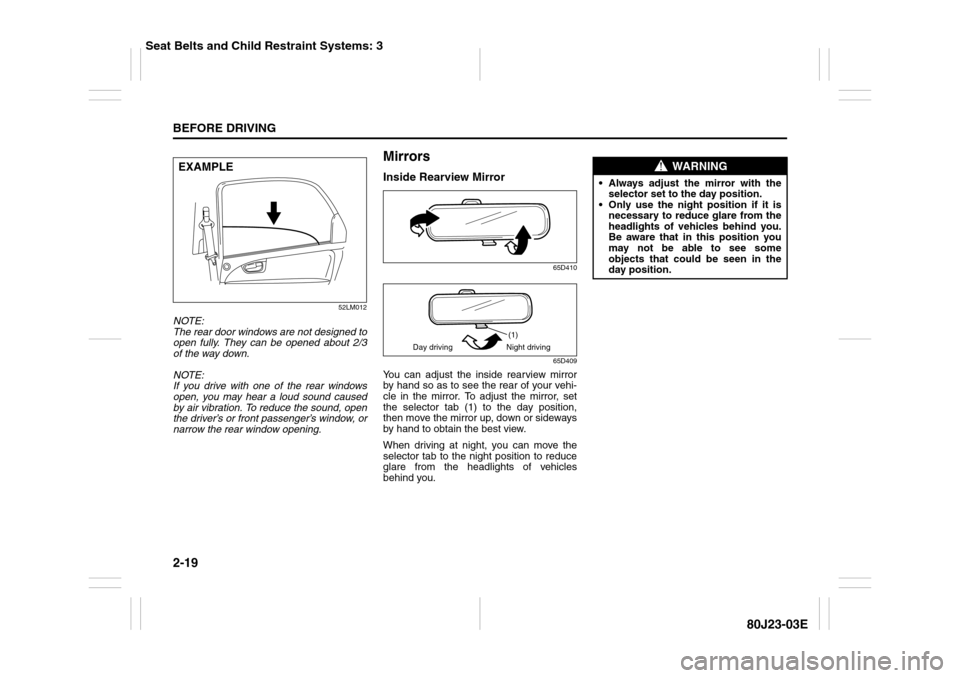
52LM012
NOTE:
The rear door windows are not designed to
open fully. They can be opened about 2/3
of the way down.
NOTE:
If you drive with one of the rear windows
open, you may hear a loud sound caused
by air vibration. To reduce the sound, open
the driver’s or front passenger’s window, or
narrow the rear window opening.
MirrorsInside Rearview Mirror
65D410
65D409
You can adjust the inside rearview mirror
by hand so as to see the rear of your vehi-
cle in the mirror. To adjust the mirror, set
the selector tab (1) to the day position,
then move the mirror up, down or sideways
by hand to obtain the best view.
When driving at night, you can move the
selector tab to the night position to reduce
glare from the headlights of vehicles
behind you.
EXAMPLE
(1)
Day driving Night driving
WARNING
Always adjust the mirror with the
selector set to the day position.
Only use the night position if it is
necessary to reduce glare from the
headlights of vehicles behind you.
Be aware that in this position you
may not be able to see some
objects that could be seen in the
day position.
Seat Belts and Child Restraint Systems: 3
Page 84 of 297

2-67BEFORE DRIVING
80J23-03E
Illumination Indicator Light
64J045
This indicator light comes on while the
position lights, tail light and/or the head-
lights are on.Turn Signal Indicators
50G055
When you turn on the left or right turn sig-
nals, the corresponding green arrow on the
instrument panel will flash along with the
respective turn signal lights.
When you turn on the hazard warning
switch, both arrows will flash along with all
of the turn signal lights.
High Beam Indicator Light
50G056
This indicator comes on when headlight
high beams are turned on.intelligent All Wheel Drive (i-AWD)
AUTO Indicator Light (if equipped)
79J040
When the ignition switch is turned to the
“ON” position, the light comes on briefly so
you can check that the light is working.
When the 2WD/i-AWD switch is in the “i-
AWD AUTO” mode with the ignition switch
in the “ON” position, the light comes on
and stays on.
If the light and the “i-AWD LOCK” indicator
light stay on or come on simultaneously
when driving, there may be something
wrong with the i-AWD system. Have thesystem inspected by an authorized
SUZUKI dealer.
If the oil temperature of the parts for i-AWD
system is high, this light will blink. The “i-
AWD AUTO” or “i-AWD LOCK” mode will
be changed to the “2WD” mode automati-
cally to prevent a damage of the parts for i-
AWD system.
NOTE:
If you restart the engine, the light will stop
blinking temporarily.
For details, refer to “Using the 2WD/i-AWD
Switch” in the “OPERATING YOUR VEHI-
CLE” section.
NOTE:
When the vehicle speed is increased, the
“i-AWD LOCK” mode will be changed to
the “i-AWD AUTO” mode automatically.
The “i-AWD AUTO” indicator light will come
on and stay on.
Page 85 of 297

2-68
BEFORE DRIVING
80J23-03E
intelligent All Wheel Drive (i-AWD)
LOCK Indicator Light (if equipped)
79J100
When the ignition switch is turned to the
“ON” position, this light comes on briefly so
you can check that the light is working.
The light comes on when the 2WD/i-AWD
switch is changed to the “i-AWD LOCK”
mode from the “i-AWD AUTO” mode.
If the light and the “i-AWD AUTO” indicator
light stay on or come on simultaneously
when driving, there may be something
wrong with the i-AWD system. Have the
system inspected by an authorized
SUZUKI dealer.
NOTE:
When the vehicle speed is increased,
the “i-AWD LOCK” mode will be changed
to the “i-AWD AUTO” mode automati-
cally. The “i-AWD AUTO” indicator light
will come on and stay on.
When the ignition switch is turned to the
“OFF” position, the “i-AWD LOCK” mode
is canceled.For details of the “i-AWD LOCK” mode,
refer to “Using the 2WD/i-AWD Switch” in
the “OPERATING YOUR VEHICLE” sec-
tion.
Daytime Running Light (D.R.L.) Indi-
cator Light (if equipped)
60B245
With the D.R.L. system, the headlights
light, but are dimmer than the low beam,
when the following three conditions are all
met. Whenever the D.R.L. system is oper-
ating, the D.R.L. indicator light remains on.
Conditions for D.R.L. system operation
1) The engine is running.
2) The parking brake is released.
3) The headlights are off.
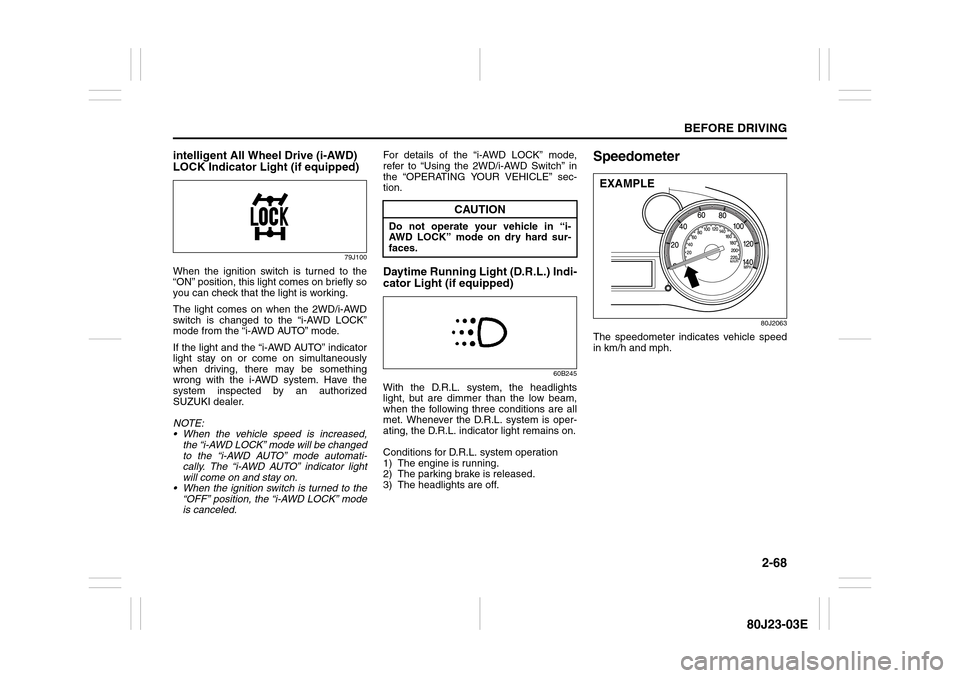
Speedometer
80J2063
The speedometer indicates vehicle speed
in km/h and mph.
CAUTION
Do not operate your vehicle in “i-
AWD LOCK” mode on dry hard sur-
faces.
EXAMPLE
Page 91 of 297

2-74
BEFORE DRIVING
80J23-03E
Odometer / Illumination Control Setting
When the ignition switch is in the “ON”
position, the display (D) shows the odome-
ter.
If you turn the indicator selector knob (2)
clockwise or counterclockwise, the display
will change to the illumination control set-
ting.
Odometer
The odometer records the total distance
the vehicle has been driven.Illumination control setting
When the ignition switch is turned to the
“ON” position, the instrument panel lights
come on.
Your vehicle has a system to automatically
dim the brightness of the instrument panel
lights when the position lights or headlights
are on.
You can change the brightness of the
instrument panel lights regardless of
whether the position lights or headlights
are off or on.
To increase the brightness of the instru-
ment panel lights, turn the indicator selec-
tor knob (1) clockwise.
To reduce the brightness of the instrument
panel lights, turn the indicator selector
knob (1) counterclockwise.
80JM039
CAUTION
Keep track of your odometer reading
and check the maintenance schedule
regularly for required services.
Increased wear or damage to certain
parts can result from failure to per-
form required services at the proper
mileage intervals.
(Brightest)
(Initial setting)
(Dimmest)
Page 92 of 297

2-75BEFORE DRIVING
80J23-03E
NOTE:
If you push the indicator selector knob or
do not turn the knob for more than 5 sec-
onds while activating the illumination
control, the illumination control will be
canceled automatically and the display
(D) will show the odometer indication.
You can change the brightness when the
position lights or headlights are on even
if the ignition switch is in the “ACC” or
“LOCK” position.
When you reconnect the negative (–) ter-
minal to the battery, the brightness of the
instrument panel lights will be reinitial-
ized. Readjust the brightness according
to your preference.
NOTE:
If you select the lowest brightness level
when the position lights or headlights are
on, the instrument panel lights other than
meter lights are turned off.
Clock (if equipped)
When the ignition switch is in the “ON”
position, the display (E) shows the time.To change the time indication:
1) Push the trip meter selector knob (1)
and the indicator selector knob (2)
together.
2) To change the hour indication, turn the
indicator selector knob (2) left or right
repeatedly when the hour indication
flashes. To change the hour indication
quickly, turn and hold the indicator
selector knob (2). To set the hour indi-
cation, push the the indicator selector
knob (2) and the minute indication will
flash.
3) To change the minute indication, turn
the indicator selector knob (2) left or
right repeatedly when the minute indi-
cation flashes. To change the minute
indication quickly, turn and hold the
indicator selector knob (2). To set the
minute indication, push the indicator
selector knob (2).
NOTE:
When you reconnect the negative (–) ter-
minal to the battery, the clock indication will
be reinitialized. Change the indication
again to your preference.
Lighting Control Lever
65D611
WARNING
If you attempt to adjust the display
while driving, you could lose control
of the vehicle.
Do not attempt to adjust the display
while driving.
WARNING
If you attempt to adjust the display
while driving, you could lose control
of the vehicle.
Do not attempt to adjust the display
while driving.
WARNING
To avoid possible injury, do not oper-
ate controls by reaching through the
steering wheel.
Page 93 of 297

2-76
BEFORE DRIVING
80J23-03E
Lighting Operation
63J308
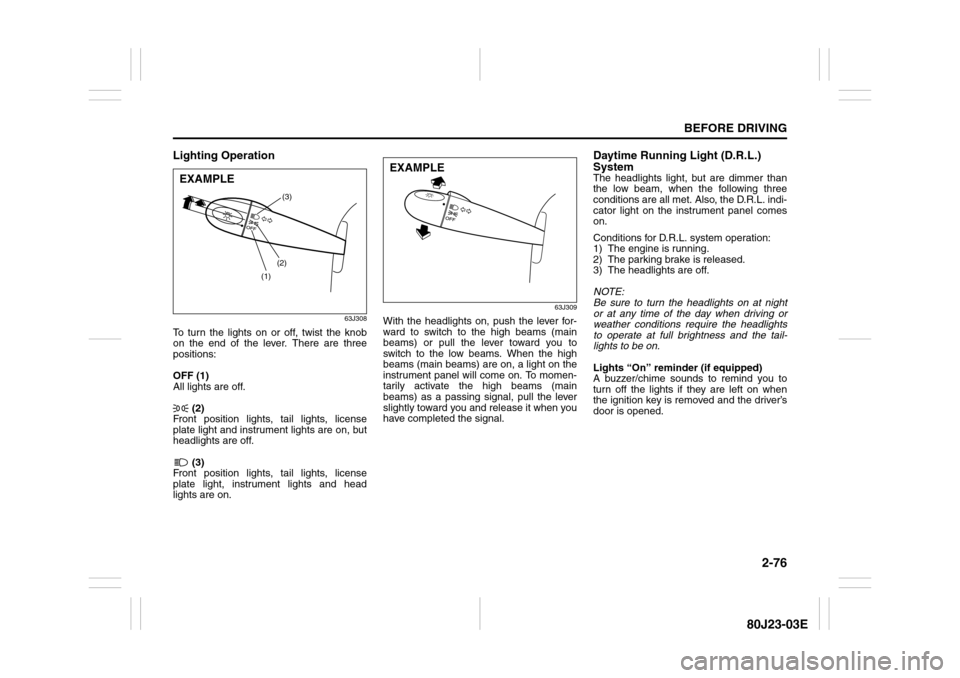
To turn the lights on or off, twist the knob
on the end of the lever. There are three
positions:
OFF (1)
All lights are off.
(2)
Front position lights, tail lights, license
plate light and instrument lights are on, but
headlights are off.
(3)
Front position lights, tail lights, license
plate light, instrument lights and head
lights are on.
63J309
With the headlights on, push the lever for-
ward to switch to the high beams (main
beams) or pull the lever toward you to
switch to the low beams. When the high
beams (main beams) are on, a light on the
instrument panel will come on. To momen-
tarily activate the high beams (main
beams) as a passing signal, pull the lever
slightly toward you and release it when you
have completed the signal.
Daytime Running Light (D.R.L.)
SystemThe headlights light, but are dimmer than
the low beam, when the following three
conditions are all met. Also, the D.R.L. indi-
cator light on the instrument panel comes
on.
Conditions for D.R.L. system operation:
1) The engine is running.
2) The parking brake is released.
3) The headlights are off.
NOTE:
Be sure to turn the headlights on at night
or at any time of the day when driving or
weather conditions require the headlights
to operate at full brightness and the tail-
lights to be on.
Lights “On” reminder (if equipped)
A buzzer/chime sounds to remind you to
turn off the lights if they are left on when
the ignition key is removed and the driver’s
door is opened.
(1)(2)(3)
EXAMPLE
EXAMPLE