2010 SUZUKI SX4 ECU
[x] Cancel search: ECUPage 98 of 297
2-81BEFORE DRIVING
80J23-03E
Tilt Steering Lock Lever
(if equipped)
63J026
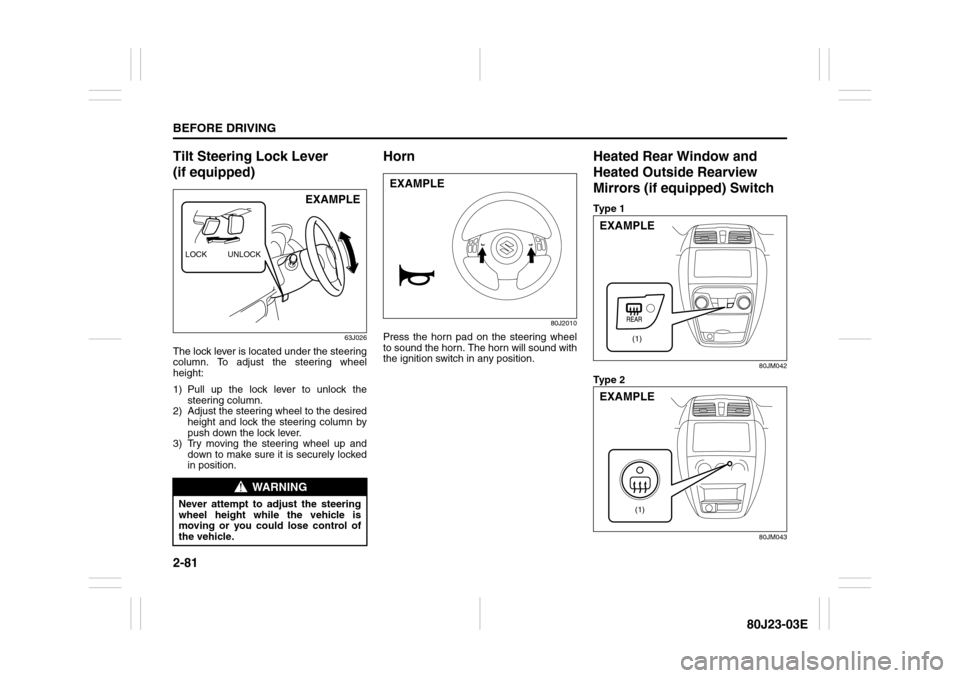
The lock lever is located under the steering
column. To adjust the steering wheel
height:
1) Pull up the lock lever to unlock the
steering column.
2) Adjust the steering wheel to the desired
height and lock the steering column by
push down the lock lever.
3) Try moving the steering wheel up and
down to make sure it is securely locked
in position.
Horn
80J2010
Press the horn pad on the steering wheel
to sound the horn. The horn will sound with
the ignition switch in any position.
Heated Rear Window and
Heated Outside Rearview
Mirrors (if equipped) SwitchTy p e 1
80JM042
Ty p e 2
80JM043
WARNING
Never attempt to adjust the steering
wheel height while the vehicle is
moving or you could lose control of
the vehicle.LOCK UNLOCK
EXAMPLE
EXAMPLE
(1)
EXAMPLE
(1)
EXAMPLE
Page 103 of 297
3-2
OPERATING YOUR VEHICLE
80J23-03E
12)Check all gauges.
13)Make sure that the BRAKE light turns
off when the parking brake is released.
Once a week, or each time you fill your fuel
tank, perform the following under-hood
checks:
1) Engine oil level
2) Coolant level
3) Brake fluid level
4) Power steering (if equipped) fluid level
5) Windshield washer fluid level
6) Hood latch operation
Pull the hood release handle inside the
vehicle. Make sure that you cannot
open the hood all the way without
releasing the secondary latch. Be sure
to close the hood securely after check-
ing for proper latch operation. See the
item “All latches, hinges and locks” of
“CHASSIS AND BODY” in the “Periodic
Maintenance Schedule” section in the
“INSPECTION AND MAINTENANCE”
section for lubrication schedule.Once a month, or each time you fill your
fuel tank, check the tire pressure using a
tire pressure gauge. Also check the tire
pressure of the spare tire.
Ignition Switch
65D611
WARNING
Make sure the hood is fully closed
and latched before driving. If it is not,
it can fly up unexpectedly during
driving, obstructing your view and
resulting in an accident.
WARNING
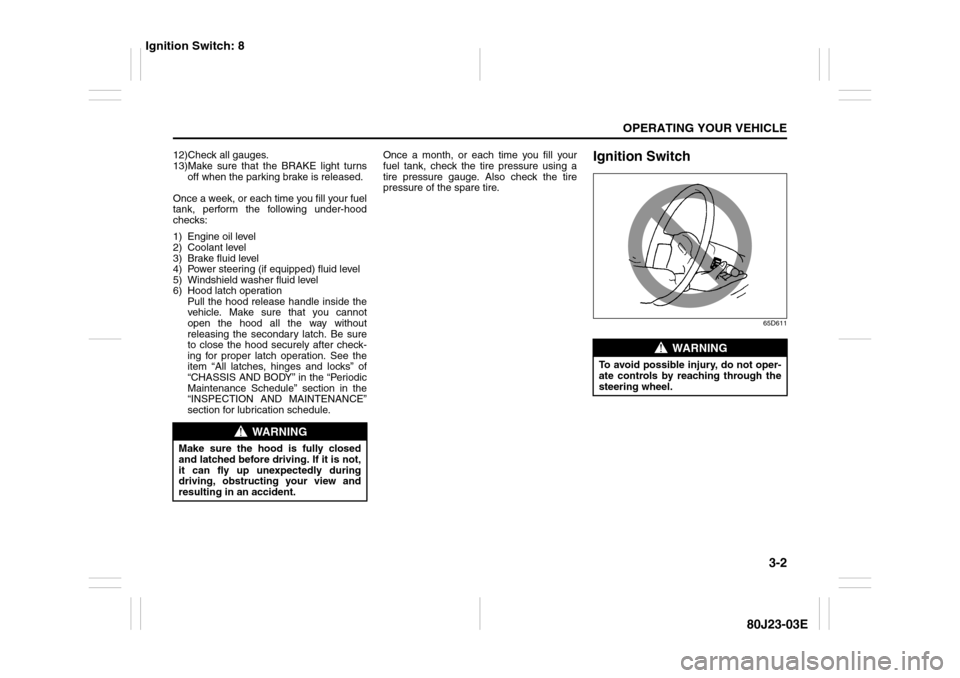
To avoid possible injury, do not oper-
ate controls by reaching through the
steering wheel.
Ignition Switch: 8
Page 108 of 297
3-7OPERATING YOUR VEHICLE
80J23-03E
For CVT vehicles, always set the parking
brake before moving the gearshift lever to
the “P” (Park) position. If you park on an
incline and shift into “P” before you set the
parking brake, the weight of the vehicle
may make it difficult to shift out of “P” when
you are ready to drive the vehicle. When
preparing to drive the vehicle, move the
gearshift lever out of the “P” position before
releasing the parking brake.
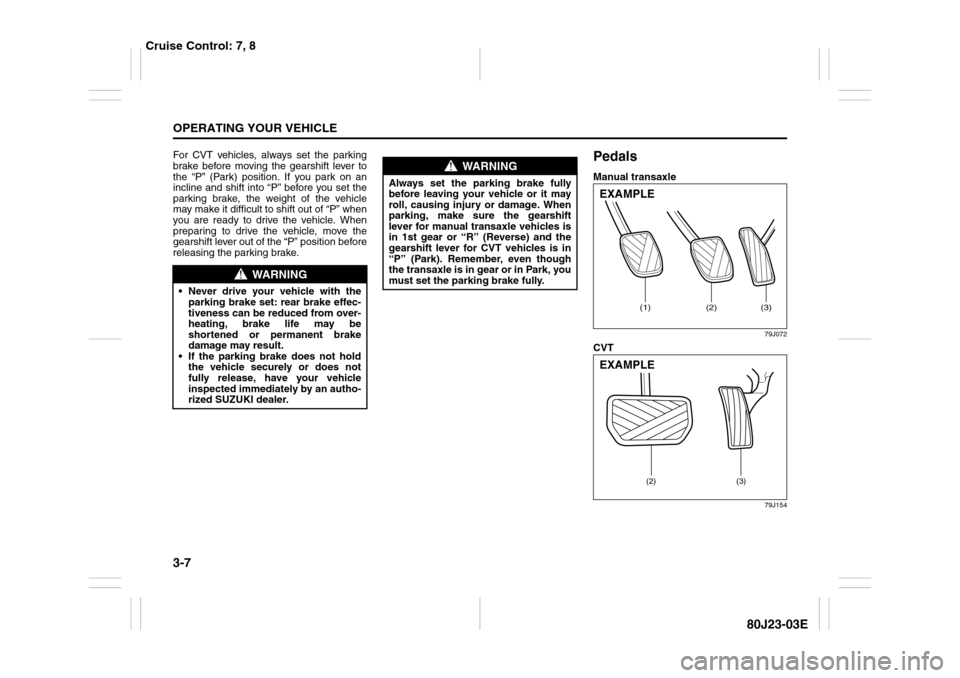
PedalsManual transaxle
79J072
CVT
79J154
WARNING
Never drive your vehicle with the
parking brake set: rear brake effec-
tiveness can be reduced from over-
heating, brake life may be
shortened or permanent brake
damage may result.
If the parking brake does not hold
the vehicle securely or does not
fully release, have your vehicle
inspected immediately by an autho-
rized SUZUKI dealer.
WARNING
Always set the parking brake fully
before leaving your vehicle or it may
roll, causing injury or damage. When
parking, make sure the gearshift
lever for manual transaxle vehicles is
in 1st gear or “R” (Reverse) and the
gearshift lever for CVT vehicles is in
“P” (Park). Remember, even though
the transaxle is in gear or in Park, you
must set the parking brake fully.
(1)
(2)
(3)
EXAMPLE
(2) (3)
EXAMPLE
Cruise Control: 7, 8
Page 110 of 297
3-9OPERATING YOUR VEHICLE
80J23-03E
Starting a Cold EngineWith your foot off the accelerator pedal,
crank the engine by turning the ignition key
to “START”. Release the key when the
engine starts.
If the engine does not start after 15 sec-
onds of cranking, wait about 15 seconds,
then press down the accelerator pedal to
1/3 of its travel and try cranking the engine
again. Release the key and accelerator
pedal when the engine starts.
If the engine still does not start, try holding
the accelerator pedal all the way to the
floor while cranking. This should clear the
engine if it is flooded.
If you are unable to start the engine using
this procedure, consult your SUZUKI
dealer.Starting a Warm EngineUse the same procedure as for “Starting a
Cold Engine”.
Engine Block Heater
(if equipped)
80J2064
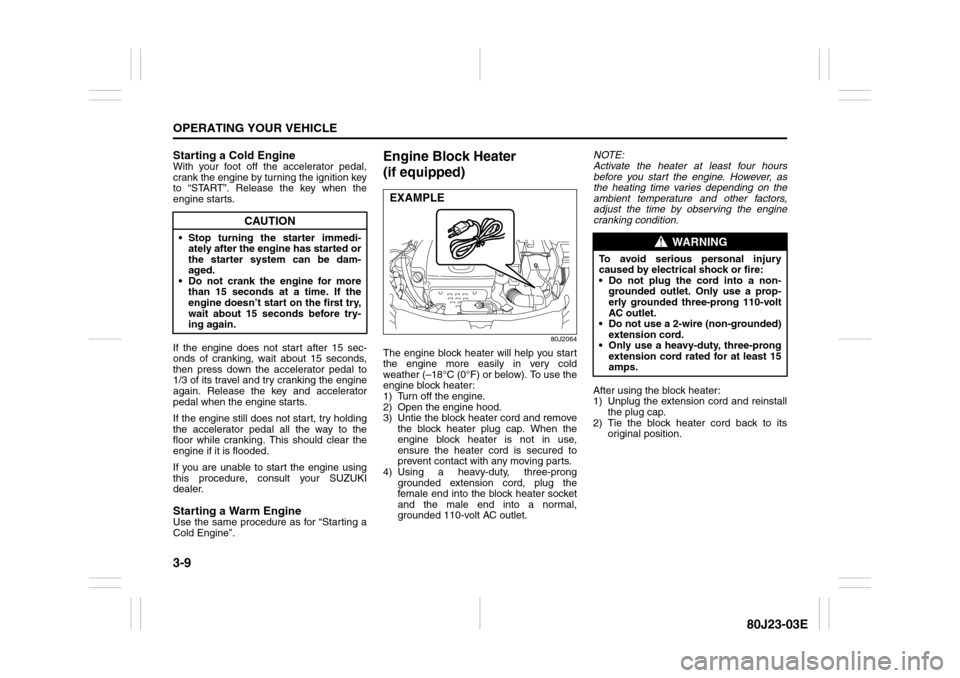
The engine block heater will help you start
the engine more easily in very cold
weather (–18°C (0°F) or below). To use the
engine block heater:
1) Turn off the engine.
2) Open the engine hood.
3) Untie the block heater cord and remove
the block heater plug cap. When the
engine block heater is not in use,
ensure the heater cord is secured to
prevent contact with any moving parts.
4) Using a heavy-duty, three-prong
grounded extension cord, plug the
female end into the block heater socket
and the male end into a normal,
grounded 110-volt AC outlet.NOTE:
Activate the heater at least four hours
before you start the engine. However, as
the heating time varies depending on the
ambient temperature and other factors,
adjust the time by observing the engine
cranking condition.
After using the block heater:
1) Unplug the extension cord and reinstall
the plug cap.
2) Tie the block heater cord back to its
original position.
CAUTION
Stop turning the starter immedi-
ately after the engine has started or
the starter system can be dam-
aged.
Do not crank the engine for more
than 15 seconds at a time. If the
engine doesn’t start on the first try,
wait about 15 seconds before try-
ing again.
EXAMPLE
WARNING
To avoid serious personal injury
caused by electrical shock or fire:
Do not plug the cord into a non-
grounded outlet. Only use a prop-
erly grounded three-prong 110-volt
AC outlet.
Do not use a 2-wire (non-grounded)
extension cord.
Only use a heavy-duty, three-prong
extension cord rated for at least 15
amps.
Page 111 of 297
3-10
OPERATING YOUR VEHICLE
80J23-03E
3) Close the engine hood securely before
starting the engine.
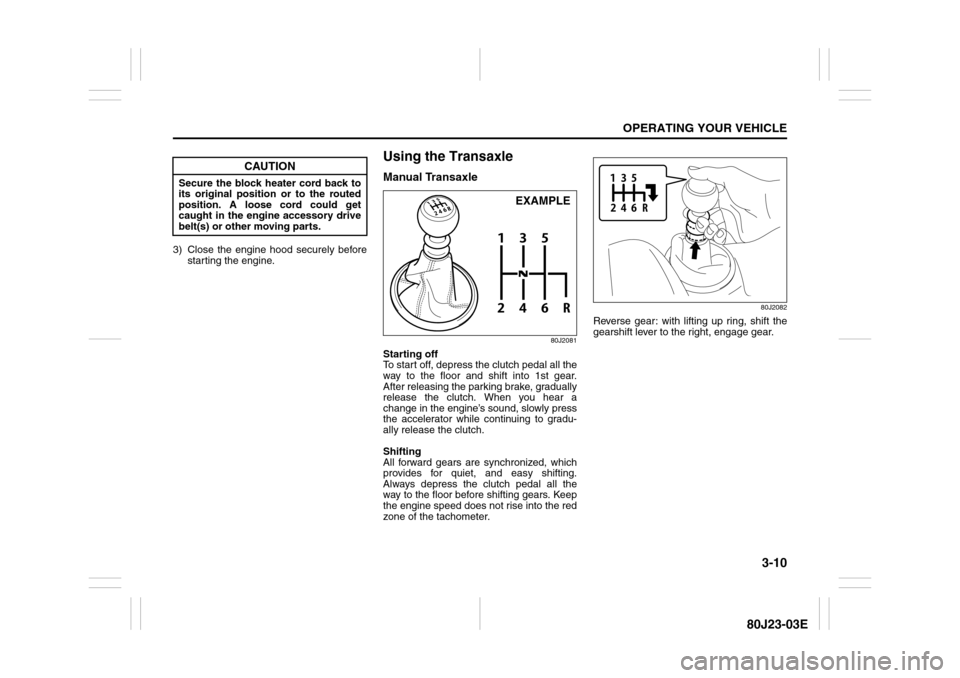
Using the TransaxleManual Transaxle
80J2081
Starting off
To start off, depress the clutch pedal all the
way to the floor and shift into 1st gear.
After releasing the parking brake, gradually
release the clutch. When you hear a
change in the engine’s sound, slowly press
the accelerator while continuing to gradu-
ally release the clutch.
Shifting
All forward gears are synchronized, which
provides for quiet, and easy shifting.
Always depress the clutch pedal all the
way to the floor before shifting gears. Keep
the engine speed does not rise into the red
zone of the tachometer.
80J2082
Reverse gear: with lifting up ring, shift the
gearshift lever to the right, engage gear.
CAUTION
Secure the block heater cord back to
its original position or to the routed
position. A loose cord could get
caught in the engine accessory drive
belt(s) or other moving parts.
EXAMPLE
Page 186 of 297
5-45OTHER CONTROLS AND EQUIPMENT
80J23-03E
80JS024
3) Continue to lift up the hood until it is
high enough to support with the prop
rod.
To close the engine hood:
1) Lift the hood up slightly and remove the
prop rod from the hole. Put the prop rod
back to the holding clip.
2) Lower the hood close to the bumper,
then let it drop down. Make sure the
hood is securely latched after closing.
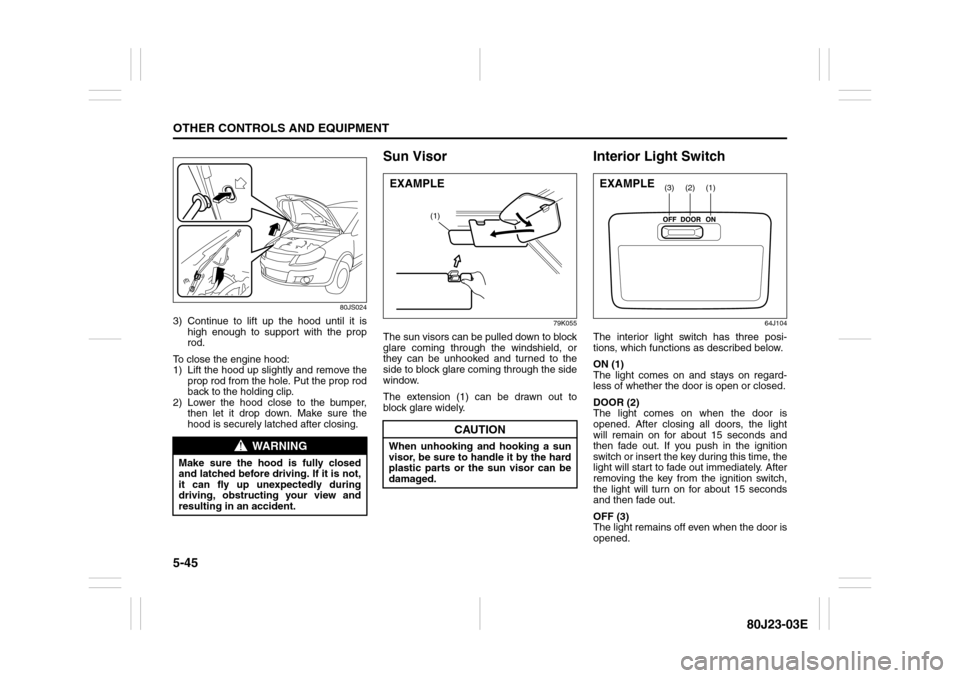
Sun Visor
79K055
The sun visors can be pulled down to block
glare coming through the windshield, or
they can be unhooked and turned to the
side to block glare coming through the side
window.
The extension (1) can be drawn out to
block glare widely.
Interior Light Switch
64J104
The interior light switch has three posi-
tions, which functions as described below.
ON (1)
The light comes on and stays on regard-
less of whether the door is open or closed.
DOOR (2)
The light comes on when the door is
opened. After closing all doors, the light
will remain on for about 15 seconds and
then fade out. If you push in the ignition
switch or insert the key during this time, the
light will start to fade out immediately. After
removing the key from the ignition switch,
the light will turn on for about 15 seconds
and then fade out.
OFF (3)
The light remains off even when the door is
opened.
WARNING
Make sure the hood is fully closed
and latched before driving. If it is not,
it can fly up unexpectedly during
driving, obstructing your view and
resulting in an accident.
CAUTION
When unhooking and hooking a sun
visor, be sure to handle it by the hard
plastic parts or the sun visor can be
damaged.
(1)
EXAMPLE
(1)
(2)
(3)
EXAMPLE
Page 190 of 297
5-49OTHER CONTROLS AND EQUIPMENT
80J23-03E
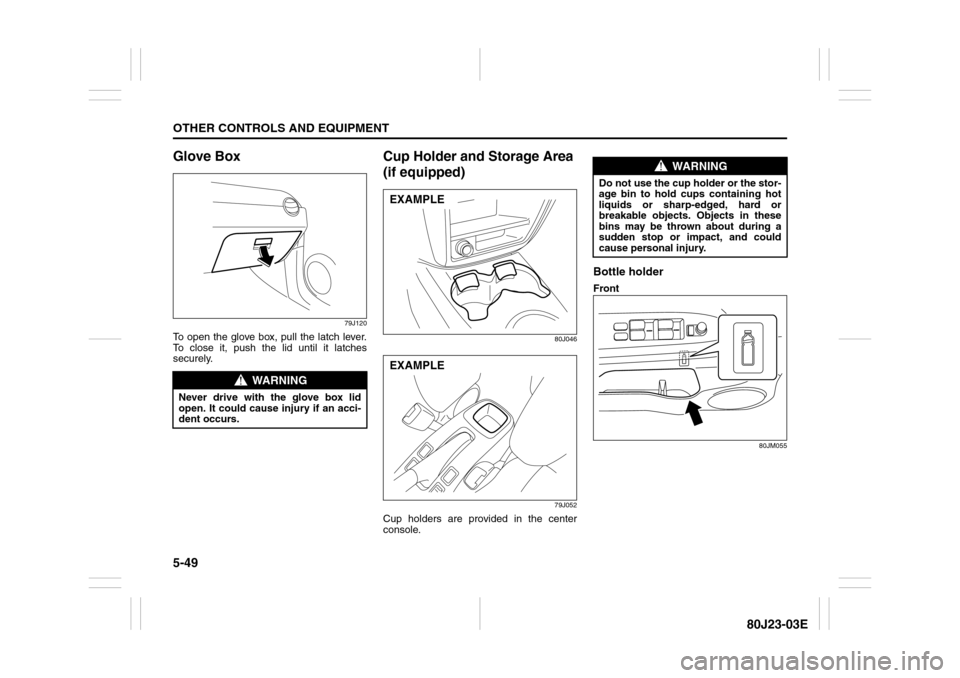
Glove Box
79J120
To open the glove box, pull the latch lever.
To close it, push the lid until it latches
securely.
Cup Holder and Storage Area
(if equipped)
80J046
79J052
Cup holders are provided in the center
console.
Bottle holderFront
80JM055
WARNING
Never drive with the glove box lid
open. It could cause injury if an acci-
dent occurs.
EXAMPLEEXAMPLE
WARNING
Do not use the cup holder or the stor-
age bin to hold cups containing hot
liquids or sharp-edged, hard or
breakable objects. Objects in these
bins may be thrown about during a
sudden stop or impact, and could
cause personal injury.
Page 196 of 297
5-55OTHER CONTROLS AND EQUIPMENT
80J23-03E
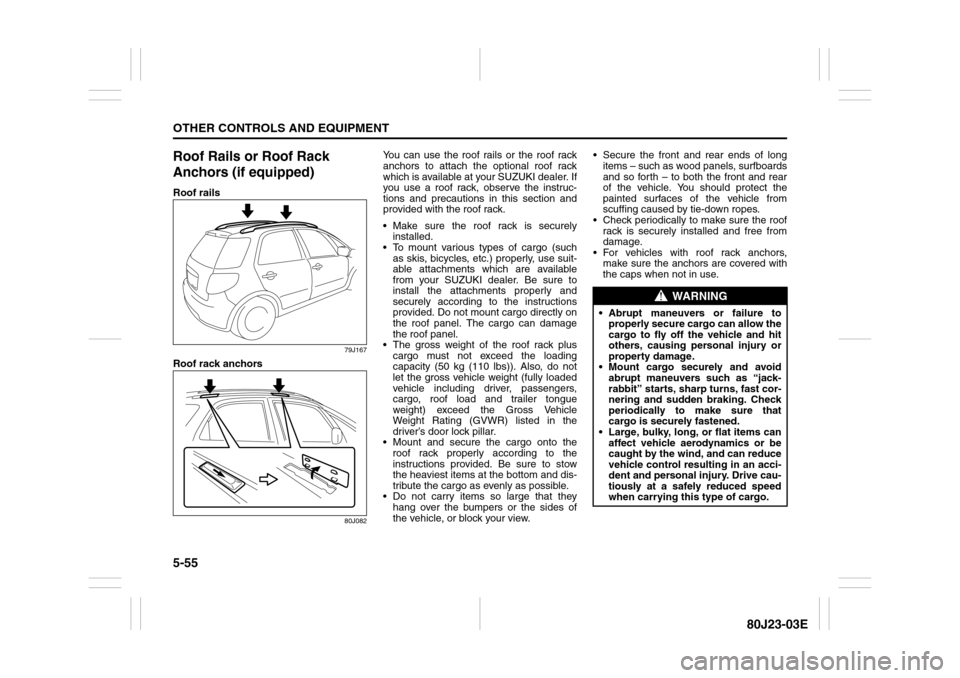
Roof Rails or Roof Rack
Anchors (if equipped)Roof rails
79J167
Roof rack anchors
80J082
You can use the roof rails or the roof rack
anchors to attach the optional roof rack
which is available at your SUZUKI dealer. If
you use a roof rack, observe the instruc-
tions and precautions in this section and
provided with the roof rack.
Make sure the roof rack is securely
installed.
To mount various types of cargo (such
as skis, bicycles, etc.) properly, use suit-
able attachments which are available
from your SUZUKI dealer. Be sure to
install the attachments properly and
securely according to the instructions
provided. Do not mount cargo directly on
the roof panel. The cargo can damage
the roof panel.
The gross weight of the roof rack plus
cargo must not exceed the loading
capacity (50 kg (110 lbs)). Also, do not
let the gross vehicle weight (fully loaded
vehicle including driver, passengers,
cargo, roof load and trailer tongue
weight) exceed the Gross Vehicle
Weight Rating (GVWR) listed in the
driver’s door lock pillar.
Mount and secure the cargo onto the
roof rack properly according to the
instructions provided. Be sure to stow
the heaviest items at the bottom and dis-
tribute the cargo as evenly as possible.
Do not carry items so large that they
hang over the bumpers or the sides of
the vehicle, or block your view. Secure the front and rear ends of long
items – such as wood panels, surfboards
and so forth – to both the front and rear
of the vehicle. You should protect the
painted surfaces of the vehicle from
scuffing caused by tie-down ropes.
Check periodically to make sure the roof
rack is securely installed and free from
damage.
For vehicles with roof rack anchors,
make sure the anchors are covered with
the caps when not in use.
WARNING
Abrupt maneuvers or failure to
properly secure cargo can allow the
cargo to fly off the vehicle and hit
others, causing personal injury or
property damage.
Mount cargo securely and avoid
abrupt maneuvers such as “jack-
rabbit” starts, sharp turns, fast cor-
nering and sudden braking. Check
periodically to make sure that
cargo is securely fastened.
Large, bulky, long, or flat items can
affect vehicle aerodynamics or be
caught by the wind, and can reduce
vehicle control resulting in an acci-
dent and personal injury. Drive cau-
tiously at a safely reduced speed
when carrying this type of cargo.