2010 SUZUKI SX4 ECO mode
[x] Cancel search: ECO modePage 173 of 297
5-32
OTHER CONTROLS AND EQUIPMENT
80J23-03E
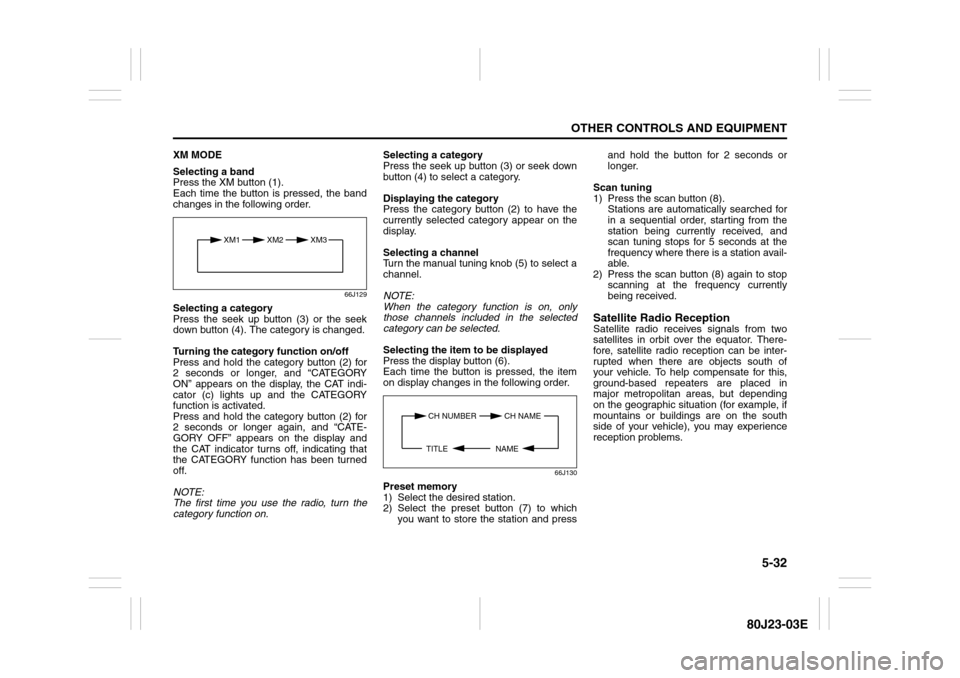
XM MODE
Selecting a band
Press the XM button (1).
Each time the button is pressed, the band
changes in the following order.
66J129
Selecting a category
Press the seek up button (3) or the seek
down button (4). The category is changed.
Turning the category function on/off
Press and hold the category button (2) for
2 seconds or longer, and “CATEGORY
ON” appears on the display, the CAT indi-
cator (c) lights up and the CATEGORY
function is activated.
Press and hold the category button (2) for
2 seconds or longer again, and “CATE-
GORY OFF” appears on the display and
the CAT indicator turns off, indicating that
the CATEGORY function has been turned
off.
NOTE:
The first time you use the radio, turn the
category function on.Selecting a category
Press the seek up button (3) or seek down
button (4) to select a category.
Displaying the category
Press the category button (2) to have the
currently selected category appear on the
display.
Selecting a channel
Turn the manual tuning knob (5) to select a
channel.
NOTE:
When the category function is on, only
those channels included in the selected
category can be selected.
Selecting the item to be displayed
Press the display button (6).
Each time the button is pressed, the item
on display changes in the following order.
66J130
Preset memory
1) Select the desired station.
2) Select the preset button (7) to which
you want to store the station and pressand hold the button for 2 seconds or
longer.
Scan tuning
1) Press the scan button (8).
Stations are automatically searched for
in a sequential order, starting from the
station being currently received, and
scan tuning stops for 5 seconds at the
frequency where there is a station avail-
able.
2) Press the scan button (8) again to stop
scanning at the frequency currently
being received.
Satellite Radio ReceptionSatellite radio receives signals from two
satellites in orbit over the equator. There-
fore, satellite radio reception can be inter-
rupted when there are objects south of
your vehicle. To help compensate for this,
ground-based repeaters are placed in
major metropolitan areas, but depending
on the geographic situation (for example, if
mountains or buildings are on the south
side of your vehicle), you may experience
reception problems.
XM1 XM2
XM3
CH NUMBER CH NAME
NAME TITLE
Page 176 of 297
5-35OTHER CONTROLS AND EQUIPMENT
80J23-03E
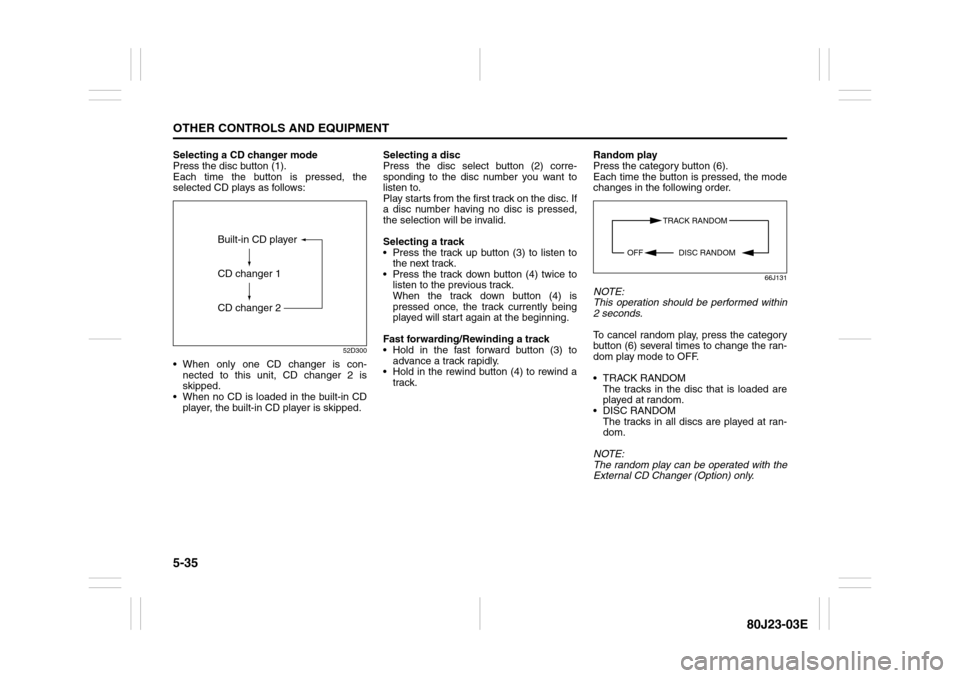
Selecting a CD changer mode
Press the disc button (1).
Each time the button is pressed, the
selected CD plays as follows:
52D300
When only one CD changer is con-
nected to this unit, CD changer 2 is
skipped.
When no CD is loaded in the built-in CD
player, the built-in CD player is skipped.Selecting a disc
Press the disc select button (2) corre-
sponding to the disc number you want to
listen to.
Play starts from the first track on the disc. If
a disc number having no disc is pressed,
the selection will be invalid.
Selecting a track
Press the track up button (3) to listen to
the next track.
Press the track down button (4) twice to
listen to the previous track.
When the track down button (4) is
pressed once, the track currently being
played will start again at the beginning.
Fast forwarding/Rewinding a track
Hold in the fast forward button (3) to
advance a track rapidly.
Hold in the rewind button (4) to rewind a
track.Random play
Press the category button (6).
Each time the button is pressed, the mode
changes in the following order.
66J131
NOTE:
This operation should be performed within
2 seconds.
To cancel random play, press the category
button (6) several times to change the ran-
dom play mode to OFF.
TRACK RANDOM
The tracks in the disc that is loaded are
played at random.
DISC RANDOM
The tracks in all discs are played at ran-
dom.
NOTE:
The random play can be operated with the
External CD Changer (Option) only.
Built-in CD player
CD changer 1
CD changer 2
TRACK RANDOM
DISC RANDOM OFF
Page 177 of 297
5-36
OTHER CONTROLS AND EQUIPMENT
80J23-03E
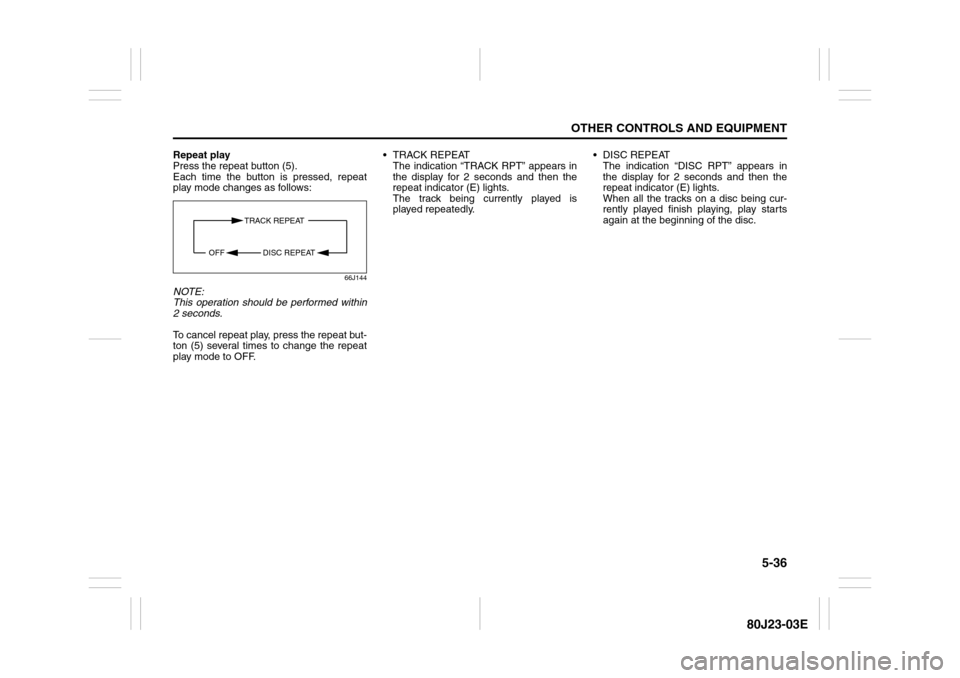
Repeat play
Press the repeat button (5).
Each time the button is pressed, repeat
play mode changes as follows:
66J144
NOTE:
This operation should be performed within
2 seconds.
To cancel repeat play, press the repeat but-
ton (5) several times to change the repeat
play mode to OFF. TRACK REPEAT
The indication “TRACK RPT” appears in
the display for 2 seconds and then the
repeat indicator (E) lights.
The track being currently played is
played repeatedly. DISC REPEAT
The indication “DISC RPT” appears in
the display for 2 seconds and then the
repeat indicator (E) lights.
When all the tracks on a disc being cur-
rently played finish playing, play starts
again at the beginning of the disc.
TRACK REPEAT
DISC REPEAT OFF
Page 181 of 297
5-40
OTHER CONTROLS AND EQUIPMENT
80J23-03E
66J124
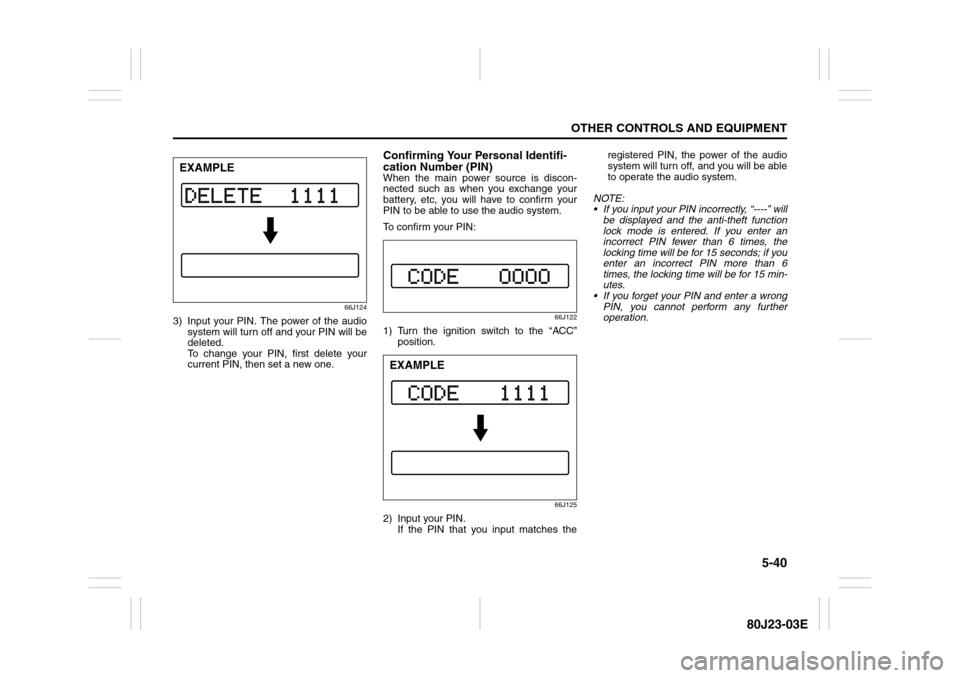
3) Input your PIN. The power of the audio
system will turn off and your PIN will be
deleted.
To change your PIN, first delete your
current PIN, then set a new one.
Confirming Your Personal Identifi-
cation Number (PIN)When the main power source is discon-
nected such as when you exchange your
battery, etc, you will have to confirm your
PIN to be able to use the audio system.
To confirm your PIN:
66J122
1) Turn the ignition switch to the “ACC”
position.
66J125
2) Input your PIN.
If the PIN that you input matches theregistered PIN, the power of the audio
system will turn off, and you will be able
to operate the audio system.
NOTE:
If you input your PIN incorrectly, “----” will
be displayed and the anti-theft function
lock mode is entered. If you enter an
incorrect PIN fewer than 6 times, the
locking time will be for 15 seconds; if you
enter an incorrect PIN more than 6
times, the locking time will be for 15 min-
utes.
If you forget your PIN and enter a wrong
PIN, you cannot perform any further
operation.
EXAMPLE
EXAMPLE
Page 201 of 297
6-2
VEHICLE LOADING AND TOWING
80J23-03E
Trailer Towing
54G639
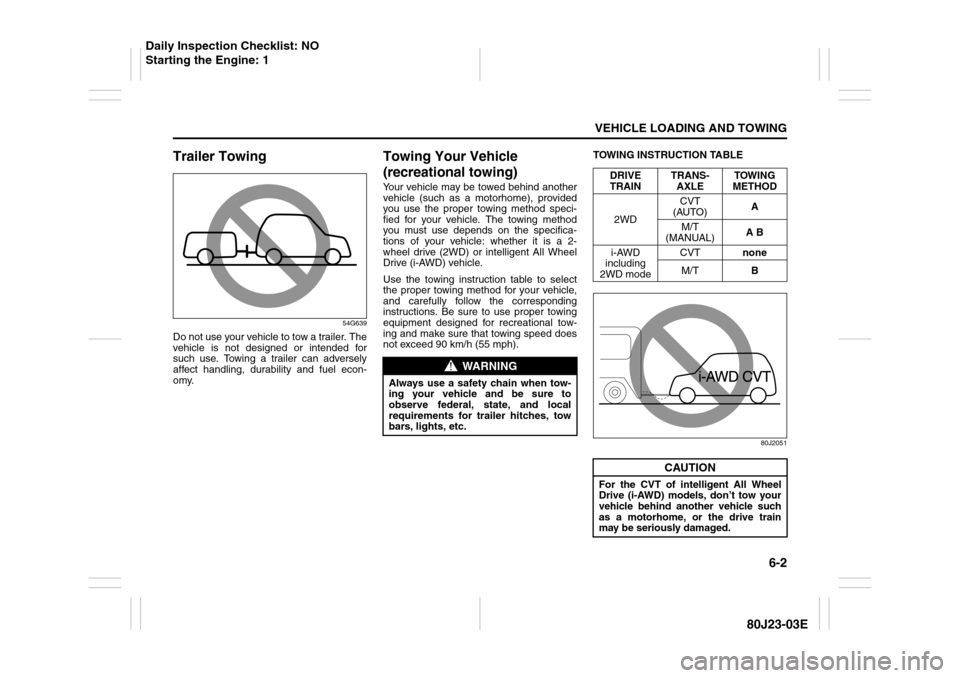
Do not use your vehicle to tow a trailer. The
vehicle is not designed or intended for
such use. Towing a trailer can adversely
affect handling, durability and fuel econ-
omy.
Towing Your Vehicle
(recreational towing)Your vehicle may be towed behind another
vehicle (such as a motorhome), provided
you use the proper towing method speci-
fied for your vehicle. The towing method
you must use depends on the specifica-
tions of your vehicle: whether it is a 2-
wheel drive (2WD) or intelligent All Wheel
Drive (i-AWD) vehicle.
Use the towing instruction table to select
the proper towing method for your vehicle,
and carefully follow the corresponding
instructions. Be sure to use proper towing
equipment designed for recreational tow-
ing and make sure that towing speed does
not exceed 90 km/h (55 mph).TOWING INSTRUCTION TABLE
80J2051
WARNING
Always use a safety chain when tow-
ing your vehicle and be sure to
observe federal, state, and local
requirements for trailer hitches, tow
bars, lights, etc.
DRIVE
TRAINTRANS-
AXLETOWING
METHOD
2WDCVT
(AUTO)A
M/T
(MANUAL)A B
i-AWD
including
2WD modeCVTnone
M/TB
CAUTION
For the CVT of intelligent All Wheel
Drive (i-AWD) models, don’t tow your
vehicle behind another vehicle such
as a motorhome, or the drive train
may be seriously damaged.
Daily Inspection Checklist: NO
Starting the Engine: 1
Page 223 of 297
7-18
INSPECTION AND MAINTENANCE
80J23-03E
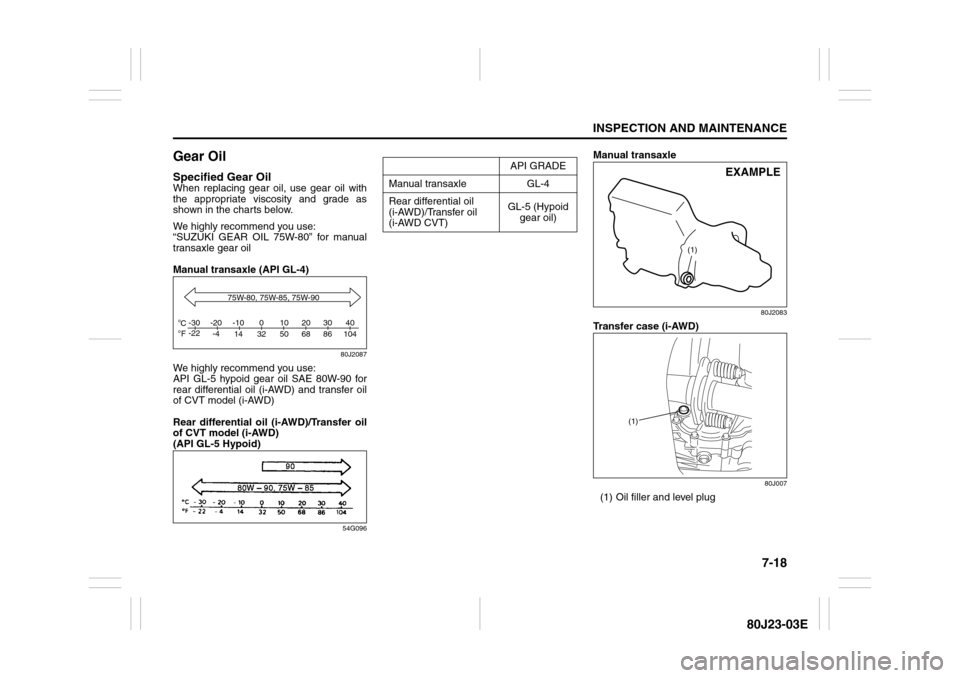
Gear OilSpecified Gear OilWhen replacing gear oil, use gear oil with
the appropriate viscosity and grade as
shown in the charts below.
We highly recommend you use:
“SUZUKI GEAR OIL 75W-80” for manual
transaxle gear oil
Manual transaxle (API GL-4)
80J2087
We highly recommend you use:
API GL-5 hypoid gear oil SAE 80W-90 for
rear differential oil (i-AWD) and transfer oil
of CVT model (i-AWD)
Rear differential oil (i-AWD)/Transfer oil
of CVT model (i-AWD)
(API GL-5 Hypoid)
54G096
Manual transaxle
80J2083
Transfer case (i-AWD)
80J007
(1) Oil filler and level plug
C
Fo o-30
-22-20
-4-10
14 32 50 68 86 104010203040
75W-80, 75W-85, 75W-90
API GRADE
Manual transaxle GL-4
Rear differential oil
(i-AWD)/Transfer oil
(i-AWD CVT)GL-5 (Hypoid
gear oil)
(1)
EXAMPLE
(1)
Page 229 of 297
7-24
INSPECTION AND MAINTENANCE
80J23-03E
Power Steering (if equipped)
54G225
(1) UPPER
(2) LOWER
Check the steering box case, vane pump
and hose connections for leaks or damage.Power Steering FluidCheck the fluid level by looking at the res-
ervoir in the engine compartment when the
fluid is cold (about room temperature).
Check that the fluid level is between the (1)
and (2) lines. If the fluid level is near the (2)
line, fill it up to the (1) line with an auto-
matic transaxle fluid equivalent to ATF
DEXRON
®-II (Esso JWS 2326) or
DEXRON®-III. Do not overfill.
TiresFor safe operation of your vehicle, it is
important that the tires be the correct
type and size, in good condition, and
properly inflated. Be sure to follow the
requirements and recommendations in
this section.
Tire Sidewall Labeling
Useful information about a tire is
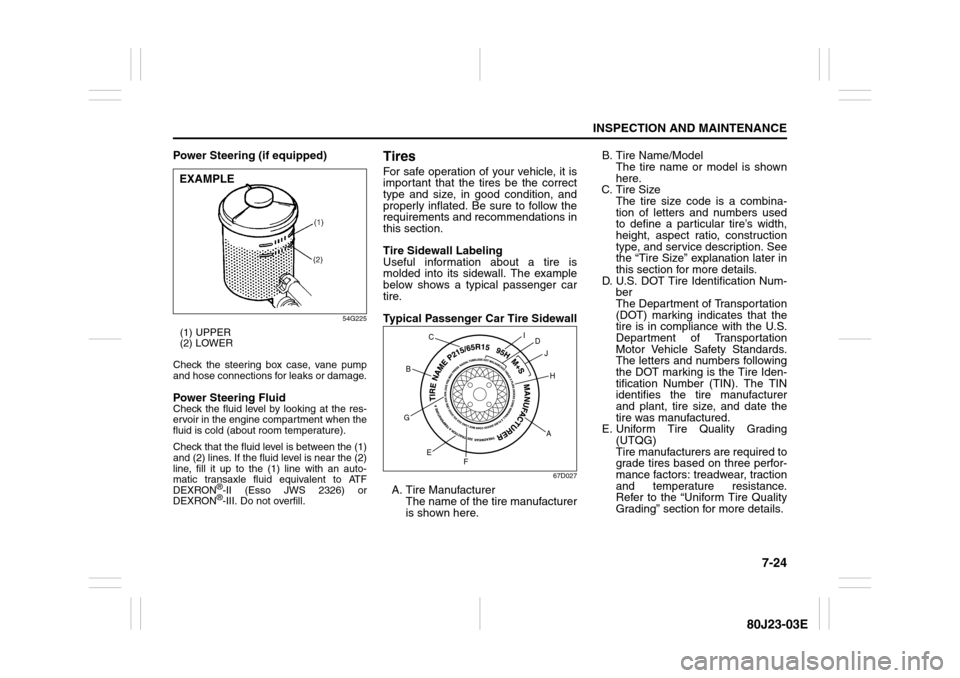
molded into its sidewall. The example
below shows a typical passenger car
tire.
Typical Passenger Car Tire Sidewall
67D027
A. Tire Manufacturer
The name of the tire manufacturer
is shown here.B. Tire Name/Model
The tire name or model is shown
here.
C. Tire Size
The tire size code is a combina-
tion of letters and numbers used
to define a particular tire’s width,
height, aspect ratio, construction
type, and service description. See
the “Tire Size” explanation later in
this section for more details.
D. U.S. DOT Tire Identification Num-
ber
The Department of Transportation
(DOT) marking indicates that the
tire is in compliance with the U.S.
Department of Transportation
Motor Vehicle Safety Standards.
The letters and numbers following
the DOT marking is the Tire Iden-
tification Number (TIN). The TIN
identifies the tire manufacturer
and plant, tire size, and date the
tire was manufactured.
E. Uniform Tire Quality Grading
(UTQG)
Tire manufacturers are required to
grade tires based on three perfor-
mance factors: treadwear, traction
and temperature resistance.
Refer to the “Uniform Tire Quality
Grading” section for more details.
EXAMPLE
AH B
G
E
FD
J I
C
Page 236 of 297
7-31INSPECTION AND MAINTENANCE
80J23-03E
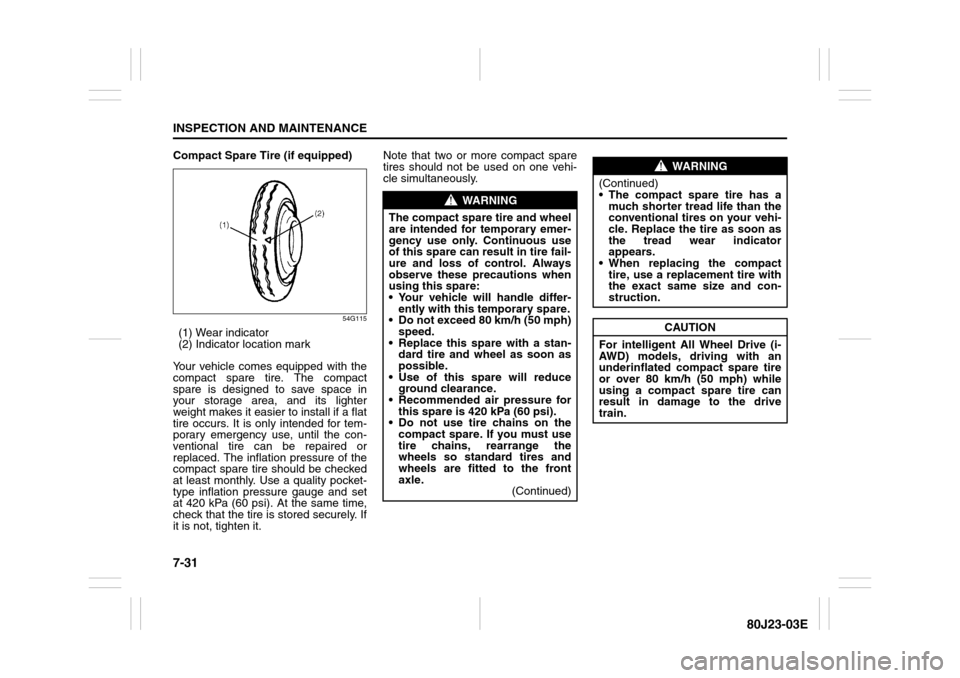
Compact Spare Tire (if equipped)
54G115
(1) Wear indicator
(2) Indicator location mark
Your vehicle comes equipped with the
compact spare tire. The compact
spare is designed to save space in
your storage area, and its lighter
weight makes it easier to install if a flat
tire occurs. It is only intended for tem-
porary emergency use, until the con-
ventional tire can be repaired or
replaced. The inflation pressure of the
compact spare tire should be checked
at least monthly. Use a quality pocket-
type inflation pressure gauge and set
at 420 kPa (60 psi). At the same time,
check that the tire is stored securely. If
it is not, tighten it.Note that two or more compact spare
tires should not be used on one vehi-
cle simultaneously.
WARNING
The compact spare tire and wheel
are intended for temporary emer-
gency use only. Continuous use
of this spare can result in tire fail-
ure and loss of control. Always
observe these precautions when
using this spare:
Your vehicle will handle differ-
ently with this temporary spare.
Do not exceed 80 km/h (50 mph)
speed.
Replace this spare with a stan-
dard tire and wheel as soon as
possible.
Use of this spare will reduce
ground clearance.
Recommended air pressure for
this spare is 420 kPa (60 psi).
Do not use tire chains on the
compact spare. If you must use
tire chains, rearrange the
wheels so standard tires and
wheels are fitted to the front
axle.
(Continued)
WARNING
(Continued)
The compact spare tire has a
much shorter tread life than the
conventional tires on your vehi-
cle. Replace the tire as soon as
the tread wear indicator
appears.
When replacing the compact
tire, use a replacement tire with
the exact same size and con-
struction.
CAUTION
For intelligent All Wheel Drive (i-
AWD) models, driving with an
underinflated compact spare tire
or over 80 km/h (50 mph) while
using a compact spare tire can
result in damage to the drive
train.