2010 SUZUKI SX4 ECO mode
[x] Cancel search: ECO modePage 125 of 297
3-24
OPERATING YOUR VEHICLE
80J23-03E
The ESP
® has the following three systems:
Stability Control SystemThe vehicle stability control system helps
provide integrated control of systems such
as anti-lock brakes, traction control, engine
control, etc. This system automatically
controls the brakes and engine to help pre-
vent the vehicle from skidding when cor-
nering on a slippery road surface or when
turning the steering wheel abruptly.Traction Control SystemThe traction control system automatically
helps prevent the spinning of wheels when
the vehicle is started or accelerated on
slippery road surfaces. The system oper-
ates only if it senses that some of the
wheels are spinning or beginning to lose
traction. When this happens, the system
operates the front or rear brakes and
reduces engine power to limit wheel spin.
NOTE:
You may hear a clicking sound in the
engine compartment for a few seconds
when you start the engine or just after the
vehicle begins to move. This means that
the above systems are in the self-check
mode. This sound does not indicate a mal-
function.
Anti-Lock Braking System (ABS)ABS will help you avoid skidding by elec-
tronically controlling braking pressure. It
will also help you maintain steering control
when braking on slippery surfaces or when
braking hard. The ABS works automati-
cally, so you do not have to use any special
braking technique. Just push the brake
pedal down without pumping. The ABS will
operate whenever it senses that wheels
are locking up. You may feel the brake
pedal pulsate while the ABS is operating.
(For more information on ABS, see “Brak-
ing” in the “OPERATING YOUR VEHICLE”
section.)
NOTE:
If the ABS system is activated, you may
hear a clunking noise and/or feel pulsating
in the brake pedal. This is normal and indi-
cates that the brake fluid pressure is being
controlled properly.
WARNING
The ESP
® may not work properly if
tires or wheels other than those
specified in the Owner’s Manual are
used. When replacing tires or
wheels, use only the size and type
specified in this Owner’s Manual.
The ESP® may not work properly if
tires are not inflated to the recom-
mended tire inflation pressure.
The ESP® may not work properly if
tires are fitted with tire chains.
The ESP® may not work properly if
the tires are excessively worn. Be
sure to replace tires when the tread
wear indicators in the grooves
appear on the tread surface.
The ESP® is not a substitute for
winter tires or tire chains on a snow
covered road.
WARNING
The ESP
® may not work properly if
engine related parts such as the
muffler are not equivalent to stan-
dard equipment or are extremely
deteriorated.
Do not modify the vehicle’s sus-
pension since the ESP
® may not
operate correctly.
Page 128 of 297

3-27OPERATING YOUR VEHICLE
80J23-03E
WARNING
(Continued)
Driving on a significantly under-
inflated tire causes the tire to over-
heat and can lead to tire failure.
Under-inflation also reduces fuel effi-
ciency and tire tread life, and may
affect the vehicle’s handling and
stopping ability.
Please note that the TPMS is not a
substitute for proper tire mainte-
nance, and it is the driver’s responsi-
bility to maintain correct tire
pressure, even if under-inflation has
not reached the level to trigger illumi-
nation of the TPMS low tire pressure
telltale.
WARNING
The tire pressure monitoring system
is not a substitute for regular tire
pressure inspections. Check tire
inflation pressures monthly when
cold and set to the recommended
inflation pressure as specified on the
vehicle’s tire information placard and
in the owner’s manual. Refer to
“Tires” in the “INSPECTION AND
MAINTENANCE” section.
WARNING
If the low tire pressure warning light
does not come on when the ignition
is turned to the “ON” position, or
comes on and blinks while driving
there may be a problem with the tire
pressure monitoring system. Have
your vehicle inspected by an autho-
rized SUZUKI dealer. Even if the light
turns off after blinking, indicating
that the monitoring system has
recovered, make sure to have an
authorized SUZUKI dealer check the
system.
WARNING
The load rating of your tires is
reduced at lower inflation pressures.
If your tires become even moderately
under-inflated, the vehicle load may
exceed the load rating of the tires,
which can lead to tire failure. The low
tire pressure warning light will not
alert you of this condition. The warn-
ing light will only come on when one
or more of your tires become signifi-
cantly under-inflated. Check and
adjust your tire inflation pressure at
least once a month. Refer to “Tires”
in the “INSPECTION AND MAINTE-
NANCE” section.
WARNING
If the low tire pressure warning light
comes on and stays on, reduce your
speed and avoid abrupt steering and
braking. Stop in a safe place as soon
as possible and check your tires.
If you have a flat tire, replace it with
the spare tire. Refer to “Jacking
Instructions” in the “EMERGENCY
SERVICE” section. Refer to
“Replacing Tires and/or Wheels”
for instructions on how to restore
normal operation of the tire pres-
sure monitoring system after you
have had a flat tire.
If one or more of your tires is
under-inflated adjust the inflation
pressure in all of your tires to the
recommended inflation pressure as
soon as possible.
Be aware that driving on a signifi-
cantly under-inflated tire can cause
the tire to overheat and can lead to
tire failure, and may affect steering
control and brake effectiveness. This
could lead to an accident, resulting in
severe injury or death.
Page 144 of 297
5-3OTHER CONTROLS AND EQUIPMENT
80J23-03E
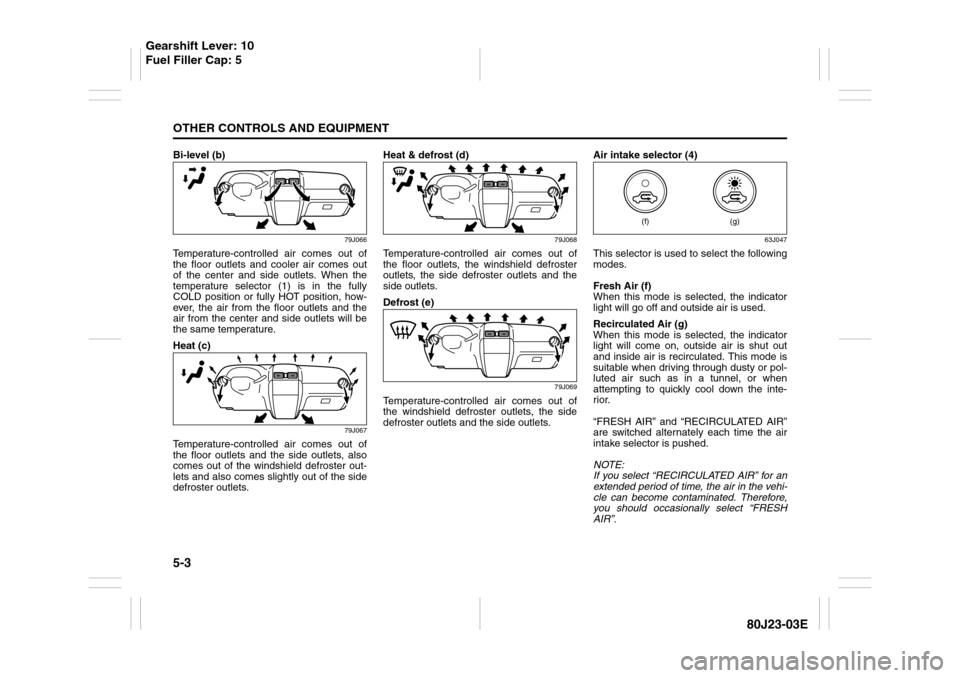
Bi-level (b)
79J066
Temperature-controlled air comes out of
the floor outlets and cooler air comes out
of the center and side outlets. When the
temperature selector (1) is in the fully
COLD position or fully HOT position, how-
ever, the air from the floor outlets and the
air from the center and side outlets will be
the same temperature.
Heat (c)
79J067
Temperature-controlled air comes out of
the floor outlets and the side outlets, also
comes out of the windshield defroster out-
lets and also comes slightly out of the side
defroster outlets.Heat & defrost (d)
79J068
Temperature-controlled air comes out of
the floor outlets, the windshield defroster
outlets, the side defroster outlets and the
side outlets.
Defrost (e)
79J069
Temperature-controlled air comes out of
the windshield defroster outlets, the side
defroster outlets and the side outlets.Air intake selector (4)
63J047
This selector is used to select the following
modes.
Fresh Air (f)
When this mode is selected, the indicator
light will go off and outside air is used.
Recirculated Air (g)
When this mode is selected, the indicator
light will come on, outside air is shut out
and inside air is recirculated. This mode is
suitable when driving through dusty or pol-
luted air such as in a tunnel, or when
attempting to quickly cool down the inte-
rior.
“FRESH AIR” and “RECIRCULATED AIR”
are switched alternately each time the air
intake selector is pushed.
NOTE:
If you select “RECIRCULATED AIR” for an
extended period of time, the air in the vehi-
cle can become contaminated. Therefore,
you should occasionally select “FRESH
AIR”.
(g)
(f)
Gearshift Lever: 10
Fuel Filler Cap: 5
Page 147 of 297
5-6
OTHER CONTROLS AND EQUIPMENT
80J23-03E
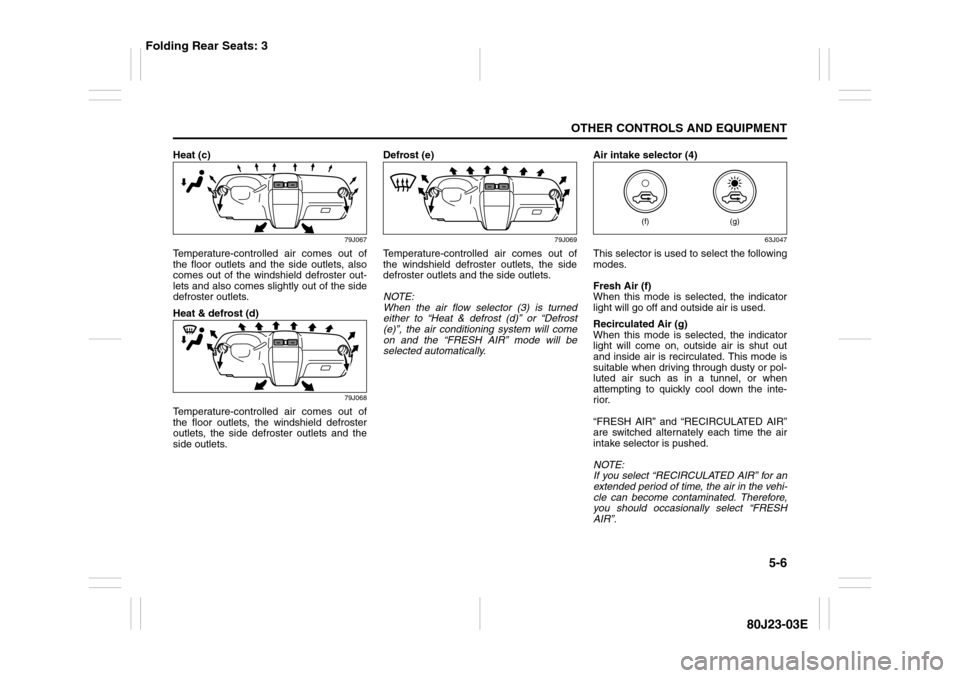
Heat (c)
79J067
Temperature-controlled air comes out of
the floor outlets and the side outlets, also
comes out of the windshield defroster out-
lets and also comes slightly out of the side
defroster outlets.
Heat & defrost (d)
79J068
Temperature-controlled air comes out of
the floor outlets, the windshield defroster
outlets, the side defroster outlets and the
side outlets.Defrost (e)
79J069
Temperature-controlled air comes out of
the windshield defroster outlets, the side
defroster outlets and the side outlets.
NOTE:
When the air flow selector (3) is turned
either to “Heat & defrost (d)” or “Defrost
(e)”, the air conditioning system will come
on and the “FRESH AIR” mode will be
selected automatically.Air intake selector (4)
63J047
This selector is used to select the following
modes.
Fresh Air (f)
When this mode is selected, the indicator
light will go off and outside air is used.
Recirculated Air (g)
When this mode is selected, the indicator
light will come on, outside air is shut out
and inside air is recirculated. This mode is
suitable when driving through dusty or pol-
luted air such as in a tunnel, or when
attempting to quickly cool down the inte-
rior.
“FRESH AIR” and “RECIRCULATED AIR”
are switched alternately each time the air
intake selector is pushed.
NOTE:
If you select “RECIRCULATED AIR” for an
extended period of time, the air in the vehi-
cle can become contaminated. Therefore,
you should occasionally select “FRESH
AIR”.
(g)
(f)
Folding Rear Seats: 3
Page 152 of 297
5-11OTHER CONTROLS AND EQUIPMENT
80J23-03E
“FRESH AIR” and “RECIRCULATED AIR”
are selected alternately each time the air
intake selector is pushed.
NOTE:
If you select “RECIRCULATED AIR” for an
extended period of time, the air in the vehi-
cle can become contaminated. Therefore,
you should occasionally select “FRESH
AIR”.Air flow selector (4)
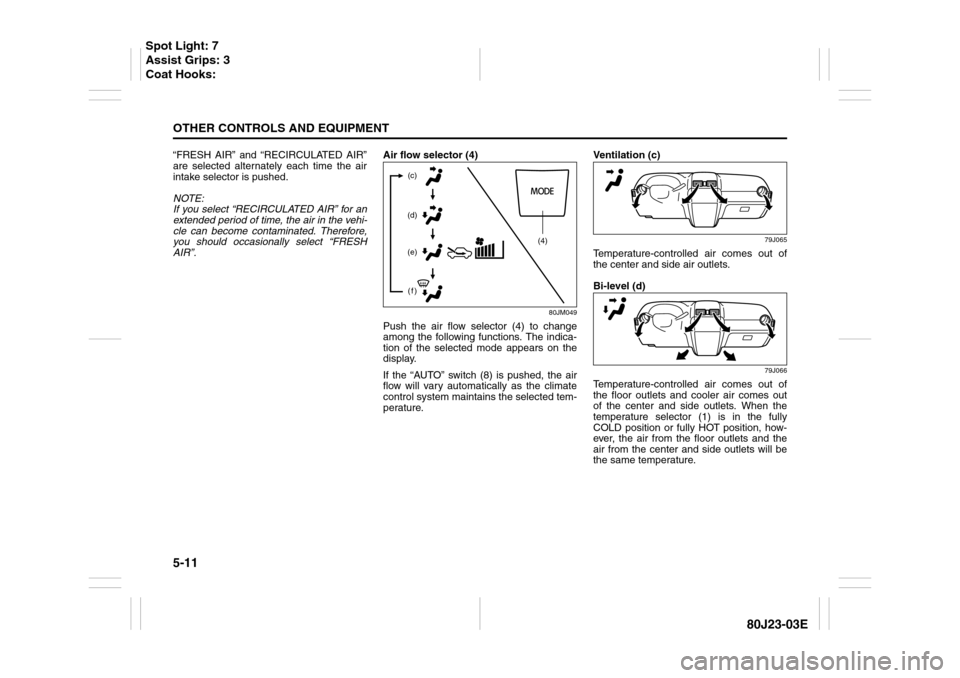
80JM049
Push the air flow selector (4) to change
among the following functions. The indica-
tion of the selected mode appears on the
display.
If the “AUTO” switch (8) is pushed, the air
flow will vary automatically as the climate
control system maintains the selected tem-
perature.Ventilation (c)
79J065
Temperature-controlled air comes out of
the center and side air outlets.
Bi-level (d)
79J066
Temperature-controlled air comes out of
the floor outlets and cooler air comes out
of the center and side outlets. When the
temperature selector (1) is in the fully
COLD position or fully HOT position, how-
ever, the air from the floor outlets and the
air from the center and side outlets will be
the same temperature.
(4) (c)
(d)
(e)
(f)
Spot Light: 7
Assist Grips: 3
Coat Hooks:
Page 160 of 297

5-19OTHER CONTROLS AND EQUIPMENT
80J23-03E
Turning power on/off
Press the power on/off knob (1).
The unit starts in the function mode it was
in when the power was turned off last.
Adjusting the volume
Turn the volume control knob (1).
Turning it clockwise increases the volume;
turning it counterclockwise decreases the
volume.
NOTE:
While driving, adjust the volume to an
extent that sound and/or noise coming
from outside the car can be heard.Adjusting bass/treble/balance/fader
1) Press the tone/balance/fader control
knob (2).
Each time it is pressed, sound adjust-
ment is changed as follows:
66J224
2) Turn the tone/balance/fader control
knob (2) to adjust the sound.Adjusting the AVC (Auto volume con-
trol)
The Automatic Volume Control (AVC) func-
tion automatically adjusts (increases/
decreases) the sound volume in accor-
dance with vehicle speed. The AVC control
is provided with three selectable levels
(LEVEL OFF, 1, 2, 3). The range of volume
adjustment increases together with the
LEVEL number,
1) Press the tone/balance/fader control
knob (2) until the AVC adjustment mode
is selected.
2) Turn the tone/balance/fader control
knob (2) to select the desired AVC
adjustment level. (Initial setting: LEVEL
2)
Adjusting the contrast of the display
1) Press the tone/balance/fader/control
knob (2) and preset button 5 (3), preset
button 6 (4) simultaneously.
2) To adjust the contrast of the display,
turn the power on/off knob (1).
Cancel the dimmer condition
Each time you press the power on/off knob
(1) for two seconds with the lighting switch
on, the background brightness of the audio
display will switch between normal and
dimmed.
Bass adjustment (BASS 0)
Treble adjustment (TREBLE 0)
Balance adjustment (BALANCE 0)
Fader adjustment (FADER 0)
AVC adjustment (AVC LEVEL 2)
Original mode
Page 168 of 297
5-27OTHER CONTROLS AND EQUIPMENT
80J23-03E
Ejecting all the CDs
Press the CD eject button (4) for 2 seconds
or longer. All the CDs will be ejected from
the unit in a sequential manner.
Please prepare a location where
removed CDs can be stored.
If you leave the ejected CD without
removing it, it will be drawn into the unit
automatically after about 15 seconds.
(Auto reload function)
The buck up eject mechanism:
This function allows you to eject the CD
loaded in the unit with the unit turned off
only by pressing the CD eject button (4).Listening to a CD
1) When a CD is inserted, it is automati-
cally played back.
When a CD is already inside the unit,
press the disc button (5) to play back
the CD. When a CD is inside the unit,
the CD indicator (A) is lit on the display
unit.
2) If you want to play another CD, select it
with the disc select buttons (2).
Play starts from the point on the disc
that the unit played last (Last position
memory).
Selecting a track
Press the track up button (6) to listen to
the next track.
Press the track down button (7) twice to
listen to the previous track.
When the track down button (7) is
pressed once, the track being currently
played will return to the beginning.
Fast forwarding/Rewinding a track
Hold in the fast forward button (6) to
advance a track rapidly.
Hold in the rewind button (7) to rewind a
track.Repeat play
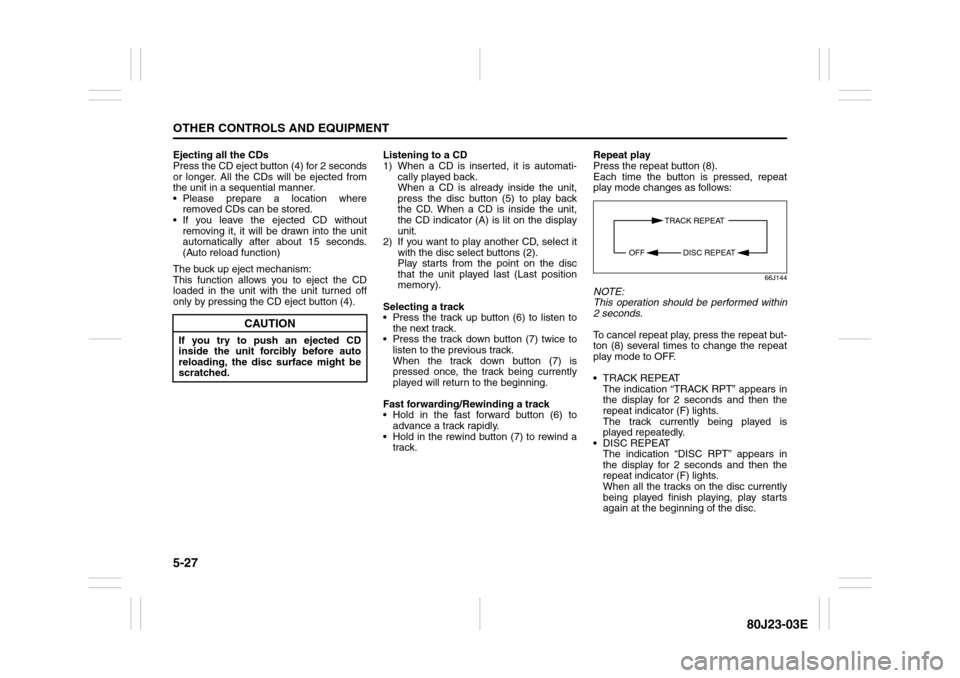
Press the repeat button (8).
Each time the button is pressed, repeat
play mode changes as follows:
66J144
NOTE:
This operation should be performed within
2 seconds.
To cancel repeat play, press the repeat but-
ton (8) several times to change the repeat
play mode to OFF.
TRACK REPEAT
The indication “TRACK RPT” appears in
the display for 2 seconds and then the
repeat indicator (F) lights.
The track currently being played is
played repeatedly.
DISC REPEAT
The indication “DISC RPT” appears in
the display for 2 seconds and then the
repeat indicator (F) lights.
When all the tracks on the disc currently
being played finish playing, play starts
again at the beginning of the disc.
CAUTION
If you try to push an ejected CD
inside the unit forcibly before auto
reloading, the disc surface might be
scratched.
TRACK REPEAT
DISC REPEAT OFF
Page 171 of 297
5-30
OTHER CONTROLS AND EQUIPMENT
80J23-03E
Maximum number of files in one folder:
255
Maximum depth of trees: 8
Maximum number of folders: 255
(Root folder is included.)
MP3/WMA MODE
Selecting a folder
Turn the sound control knob (1) to select a
folder.
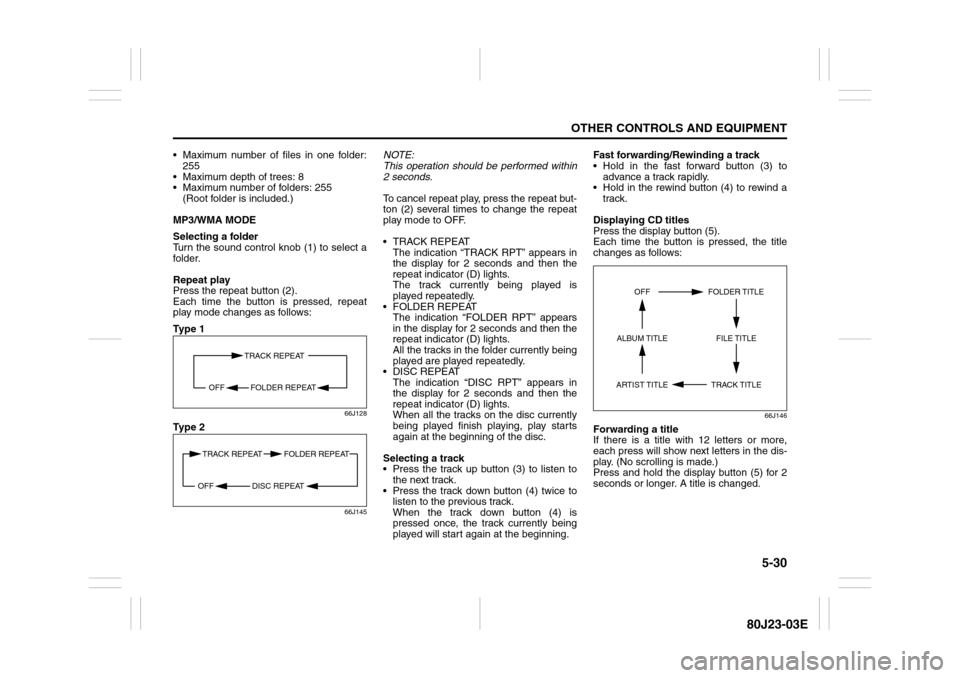
Repeat play
Press the repeat button (2).
Each time the button is pressed, repeat
play mode changes as follows:
Ty p e 1
66J128
Ty p e 2
66J145
NOTE:
This operation should be performed within
2 seconds.
To cancel repeat play, press the repeat but-
ton (2) several times to change the repeat
play mode to OFF.
TRACK REPEAT
The indication “TRACK RPT” appears in
the display for 2 seconds and then the
repeat indicator (D) lights.
The track currently being played is
played repeatedly.
FOLDER REPEAT
The indication “FOLDER RPT” appears
in the display for 2 seconds and then the
repeat indicator (D) lights.
All the tracks in the folder currently being
played are played repeatedly.
DISC REPEAT
The indication “DISC RPT” appears in
the display for 2 seconds and then the
repeat indicator (D) lights.
When all the tracks on the disc currently
being played finish playing, play starts
again at the beginning of the disc.
Selecting a track
Press the track up button (3) to listen to
the next track.
Press the track down button (4) twice to
listen to the previous track.
When the track down button (4) is
pressed once, the track currently being
played will start again at the beginning.Fast forwarding/Rewinding a track
Hold in the fast forward button (3) to
advance a track rapidly.
Hold in the rewind button (4) to rewind a
track.
Displaying CD titles
Press the display button (5).
Each time the button is pressed, the title
changes as follows:
66J146
Forwarding a title
If there is a title with 12 letters or more,
each press will show next letters in the dis-
play. (No scrolling is made.)
Press and hold the display button (5) for 2
seconds or longer. A title is changed.
TRACK REPEAT
FOLDER REPEAT OFF
TRACK REPEAT FOLDER REPEAT
DISC REPEAT OFF
TRACK TITLE FOLDER TITLE
ARTIST TITLEOFF
FILE TITLE ALBUM TITLE