Page 128 of 297

3-27OPERATING YOUR VEHICLE
80J23-03E
WARNING
(Continued)
Driving on a significantly under-
inflated tire causes the tire to over-
heat and can lead to tire failure.
Under-inflation also reduces fuel effi-
ciency and tire tread life, and may
affect the vehicle’s handling and
stopping ability.
Please note that the TPMS is not a
substitute for proper tire mainte-
nance, and it is the driver’s responsi-
bility to maintain correct tire
pressure, even if under-inflation has
not reached the level to trigger illumi-
nation of the TPMS low tire pressure
telltale.
WARNING
The tire pressure monitoring system
is not a substitute for regular tire
pressure inspections. Check tire
inflation pressures monthly when
cold and set to the recommended
inflation pressure as specified on the
vehicle’s tire information placard and
in the owner’s manual. Refer to
“Tires” in the “INSPECTION AND
MAINTENANCE” section.
WARNING
If the low tire pressure warning light
does not come on when the ignition
is turned to the “ON” position, or
comes on and blinks while driving
there may be a problem with the tire
pressure monitoring system. Have
your vehicle inspected by an autho-
rized SUZUKI dealer. Even if the light
turns off after blinking, indicating
that the monitoring system has
recovered, make sure to have an
authorized SUZUKI dealer check the
system.
WARNING
The load rating of your tires is
reduced at lower inflation pressures.
If your tires become even moderately
under-inflated, the vehicle load may
exceed the load rating of the tires,
which can lead to tire failure. The low
tire pressure warning light will not
alert you of this condition. The warn-
ing light will only come on when one
or more of your tires become signifi-
cantly under-inflated. Check and
adjust your tire inflation pressure at
least once a month. Refer to “Tires”
in the “INSPECTION AND MAINTE-
NANCE” section.
WARNING
If the low tire pressure warning light
comes on and stays on, reduce your
speed and avoid abrupt steering and
braking. Stop in a safe place as soon
as possible and check your tires.
If you have a flat tire, replace it with
the spare tire. Refer to “Jacking
Instructions” in the “EMERGENCY
SERVICE” section. Refer to
“Replacing Tires and/or Wheels”
for instructions on how to restore
normal operation of the tire pres-
sure monitoring system after you
have had a flat tire.
If one or more of your tires is
under-inflated adjust the inflation
pressure in all of your tires to the
recommended inflation pressure as
soon as possible.
Be aware that driving on a signifi-
cantly under-inflated tire can cause
the tire to overheat and can lead to
tire failure, and may affect steering
control and brake effectiveness. This
could lead to an accident, resulting in
severe injury or death.
Page 167 of 297

5-26
OTHER CONTROLS AND EQUIPMENT
80J23-03E
NOTE:
About Single CDs (8 cm CDs)
Since the unit is not compatible with a
single CD, do not load it into the unit.
Keep in mind the fact that a single CD
cannot be played even using a single CD
adaptor for the unit.
When a single CD is loaded into the unit
accidentally, it will be ejected immedi-
ately. Please be sure to remove it.
If you forcefully try to push it into the unit
without removing it, the CD cannot be
ejected. This will result in a damage to
the mechanism. Please never do this.Loading one CD
1) Press the load button (1), then press
one of the disc select buttons (2) that
corresponds to the slot into which you
want to load a CD.
66J143
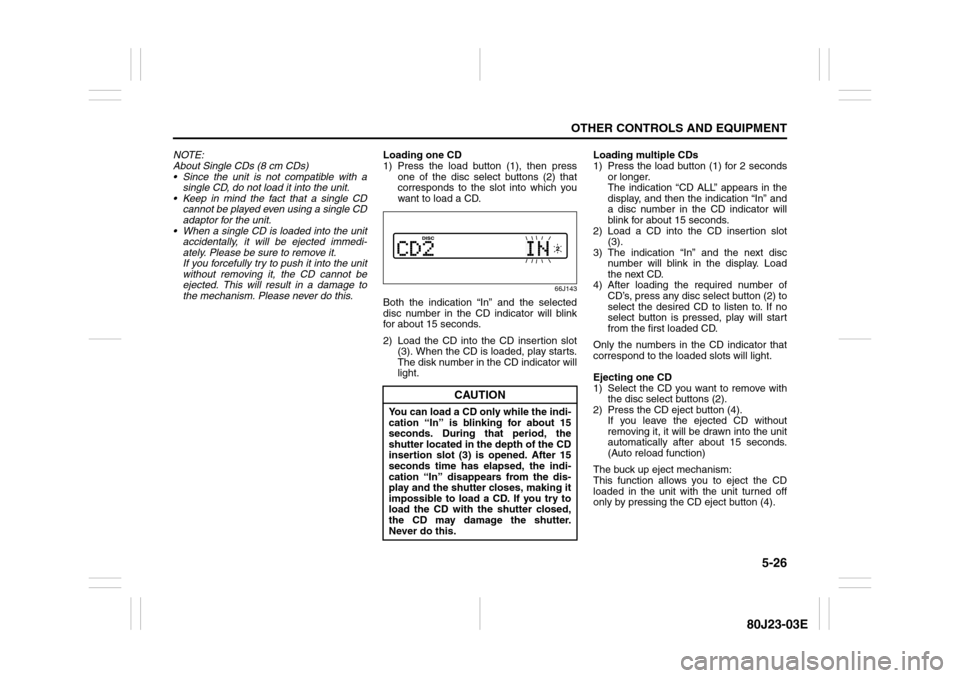
Both the indication “In” and the selected
disc number in the CD indicator will blink
for about 15 seconds.
2) Load the CD into the CD insertion slot
(3). When the CD is loaded, play starts.
The disk number in the CD indicator will
light.Loading multiple CDs
1) Press the load button (1) for 2 seconds
or longer.
The indication “CD ALL” appears in the
display, and then the indication “In” and
a disc number in the CD indicator will
blink for about 15 seconds.
2) Load a CD into the CD insertion slot
(3).
3) The indication “In” and the next disc
number will blink in the display. Load
the next CD.
4) After loading the required number of
CD’s, press any disc select button (2) to
select the desired CD to listen to. If no
select button is pressed, play will start
from the first loaded CD.
Only the numbers in the CD indicator that
correspond to the loaded slots will light.
Ejecting one CD
1) Select the CD you want to remove with
the disc select buttons (2).
2) Press the CD eject button (4).
If you leave the ejected CD without
removing it, it will be drawn into the unit
automatically after about 15 seconds.
(Auto reload function)
The buck up eject mechanism:
This function allows you to eject the CD
loaded in the unit with the unit turned off
only by pressing the CD eject button (4).
CAUTION
You can load a CD only while the indi-
cation “In” is blinking for about 15
seconds. During that period, the
shutter located in the depth of the CD
insertion slot (3) is opened. After 15
seconds time has elapsed, the indi-
cation “In” disappears from the dis-
play and the shutter closes, making it
impossible to load a CD. If you try to
load the CD with the shutter closed,
the CD may damage the shutter.
Never do this.
Page 245 of 297

7-40
INSPECTION AND MAINTENANCE
80J23-03E
Bulb ReplacementNOTE:
If it is difficult to replace headlight bulbs or
position light bulbs due to under-hood
components trust this job to your dealer.
Center Interior Light (if equipped)
60G115
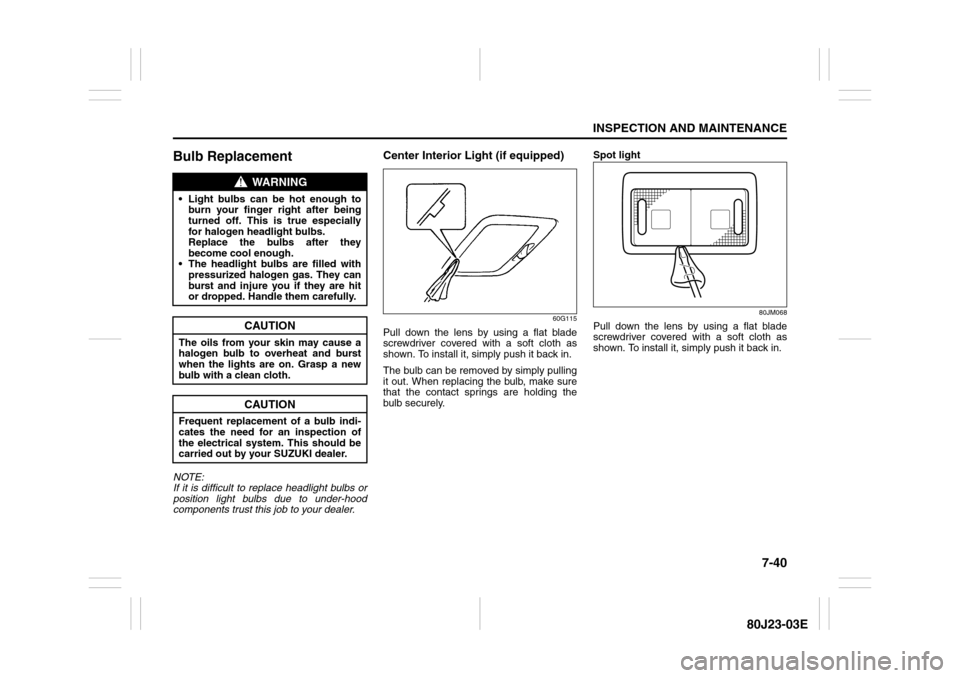
Pull down the lens by using a flat blade
screwdriver covered with a soft cloth as
shown. To install it, simply push it back in.
The bulb can be removed by simply pulling
it out. When replacing the bulb, make sure
that the contact springs are holding the
bulb securely.Spot light
80JM068
Pull down the lens by using a flat blade
screwdriver covered with a soft cloth as
shown. To install it, simply push it back in.
WARNING
Light bulbs can be hot enough to
burn your finger right after being
turned off. This is true especially
for halogen headlight bulbs.
Replace the bulbs after they
become cool enough.
The headlight bulbs are filled with
pressurized halogen gas. They can
burst and injure you if they are hit
or dropped. Handle them carefully.
CAUTION
The oils from your skin may cause a
halogen bulb to overheat and burst
when the lights are on. Grasp a new
bulb with a clean cloth.
CAUTION
Frequent replacement of a bulb indi-
cates the need for an inspection of
the electrical system. This should be
carried out by your SUZUKI dealer.