2010 SUBARU FORESTER radio
[x] Cancel search: radioPage 186 of 402
!Skip channel selection
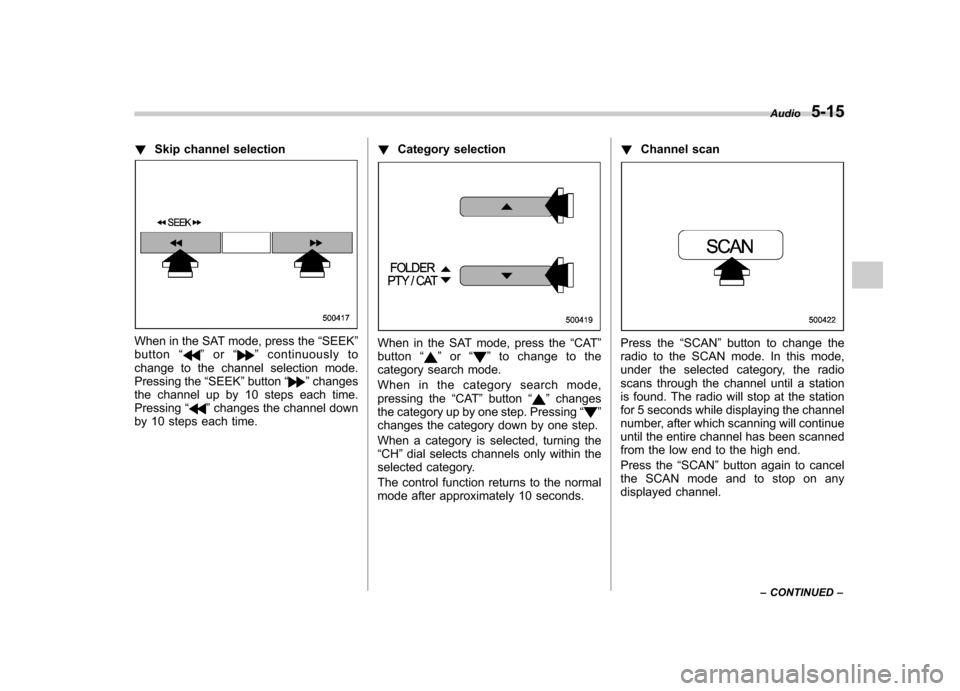
When in the SAT mode, press the “SEEK ”
button “”or “”continuously to
change to the channel selection mode.
Pressing the “SEEK ”button “
”changes
the channel up by 10 steps each time. Pressing “
”changes the channel down
by 10 steps each time. !
Category selection
When in the SAT mode, press the “CAT ”
button “”or “”to change to the
category search mode.
When in the category search mode,
pressing the “CAT ”button “
”changes
the category up by one step. Pressing “”
changes the category down by one step.
When a category is selected, turning the “ CH ”dial selects channels only within the
selected category.
The control function returns to the normal
mode after approximately 10 seconds. !
Channel scan
Press the “SCAN ”button to change the
radio to the SCAN mode. In this mode,
under the selected category, the radio
scans through the channel until a station
is found. The radio will stop at the station
for 5 seconds while displaying the channel
number, after which scanning will continue
until the entire channel has been scanned
from the low end to the high end.
Press the “SCAN ”button again to cancel
the SCAN mode and to stop on any
displayed channel. Audio
5-15
– CONTINUED –
Page 187 of 402
5-16Audio
& Channel preset
! How to preset channels
1. Press the “SAT ”button to select SAT1,
SAT2 and SAT3 reception.
2. Select the desired channel.
3. Press one of the preset buttons for
more than 1.5 seconds to store the
channel. If the button is pressed for less
than 1.5 seconds, the preceding selection
will remain in memory. NOTE
If the connection between the radio and
battery is broken for any reason such
as vehicle maintenance or radio re-
moval, all channels stored in the preset
buttons are cleared. If this occurs, it is
necessary to reset the preset buttons. !
Selecting preset channels
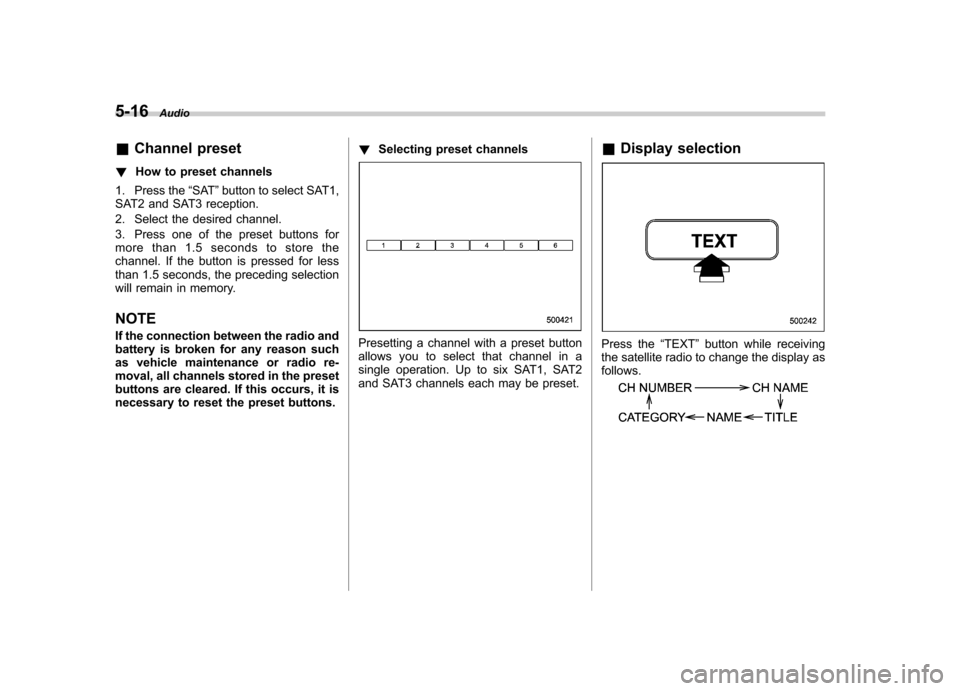
Presetting a channel with a preset button
allows you to select that channel in a
single operation. Up to six SAT1, SAT2
and SAT3 channels each may be preset. &
Display selectionPress the “TEXT ”button while receiving
the satellite radio to change the display as follows.
Page 188 of 402
CD player operation NOTE .Make sure to always insert a disc
with the label side up. If a disc is
inserted with the label side down, the
player displays “CHECK DISC ”. Refer
to “When the following messages are
displayed ”F 5-25.
. If a disc is inserted during a radio
broadcast, the disc will interrupt thebroadcast.. After the last song finishes, the disc
will automatically return to track 1 (the
first track on the disc) and will auto-
matically play back. . The player is designed to be able to
play music CD-Rs and music CD-RWs,
but it may not be able to play certainones.. CDs (i.e., 8 cm/3 inch CDs) are not
supported, and if inserted, they will be
immediately ejected.. A file (track) that is protected by a
WMA copyright cannot be played, and
the player will skip to the next file(track). &
How to insert a CD (type A)
Hold a disc with a finger in the center hole
while gripping the edge of the disc, then
insert it in to the slot (with the label side
up) and the player will automatically pull
the disc into position. NOTE
DO NOT INSERT TWO DISCS INTO THE
DISC INSERTION SLOT AT THE SAMETIME. & How to insert a CD(s) (type B)
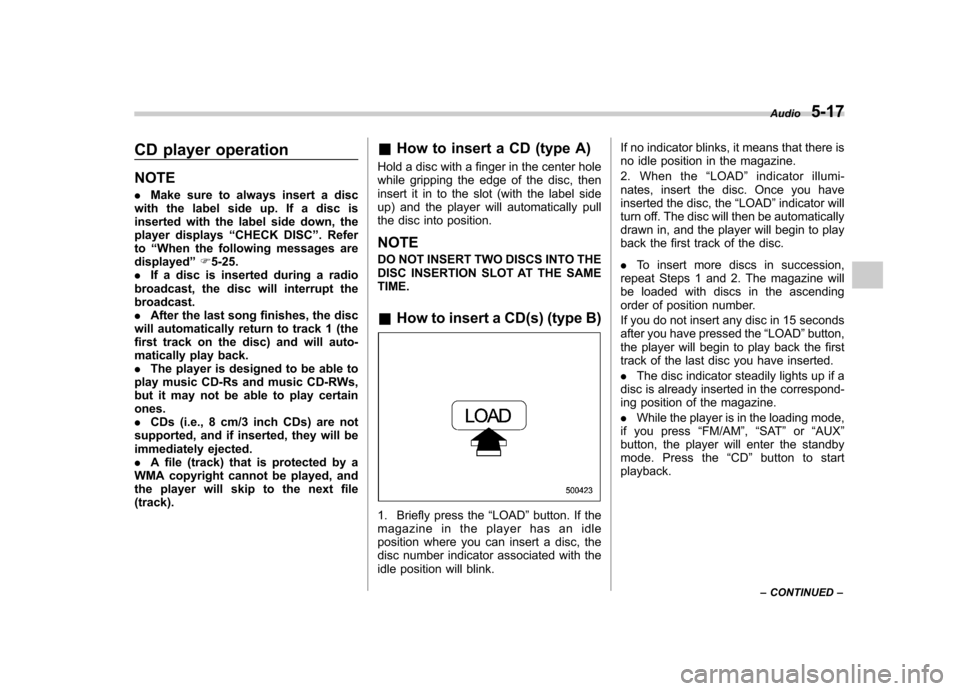
1. Briefly press the “LOAD ”button. If the
magazine in the player has an idle
position where you can insert a disc, the
disc number indicator associated with the
idle position will blink. If no indicator blinks, it means that there is
no idle position in the magazine.
2. When the
“LOAD ”indicator illumi-
nates, insert the disc. Once you have
inserted the disc, the “LOAD ”indicator will
turn off. The disc will then be automatically
drawn in, and the player will begin to play
back the first track of the disc. . To insert more discs in succession,
repeat Steps 1 and 2. The magazine will
be loaded with discs in the ascending
order of position number.
If you do not insert any disc in 15 seconds
after you have pressed the “LOAD ”button,
the player will begin to play back the first
track of the last disc you have inserted. . The disc indicator steadily lights up if a
disc is already inserted in the correspond-
ing position of the magazine. . While the player is in the loading mode,
if you press “FM/AM ”, “SAT ”or “AUX ”
button, the player will enter the standby
mode. Press the “CD ”button to start
playback. Audio
5-17
– CONTINUED –
Page 193 of 402
5-22Audio
format CD is playing. . The “F-RDM ”indication refers to the
random playback in the folder. It ran-
domly repeats the tracks in the folder. It
is possible to select the function when
an MP3/WMA format track is playing.. The “D-RDM ”indication refers to the
random playback of a disc. It randomly
repeats the tracks in the CD. It is
possible to select the function when
an MP3/WMA format track is playing.
To cancel the random playback mode,
press the “RPT ”button again and select
CANCEL. The “RDM ”indication will turn off, and the
normal playback mode will be resumed. NOTE
Random playback will be cancelled if
you perform any of the following steps. . Press the “RPT ”button and select
CANCEL . Press the “
”button
. Press the disc select button
. Press the “SCAN ”button
. Press the “LOAD ”button when
there is free space in the CD magazine &
Scan
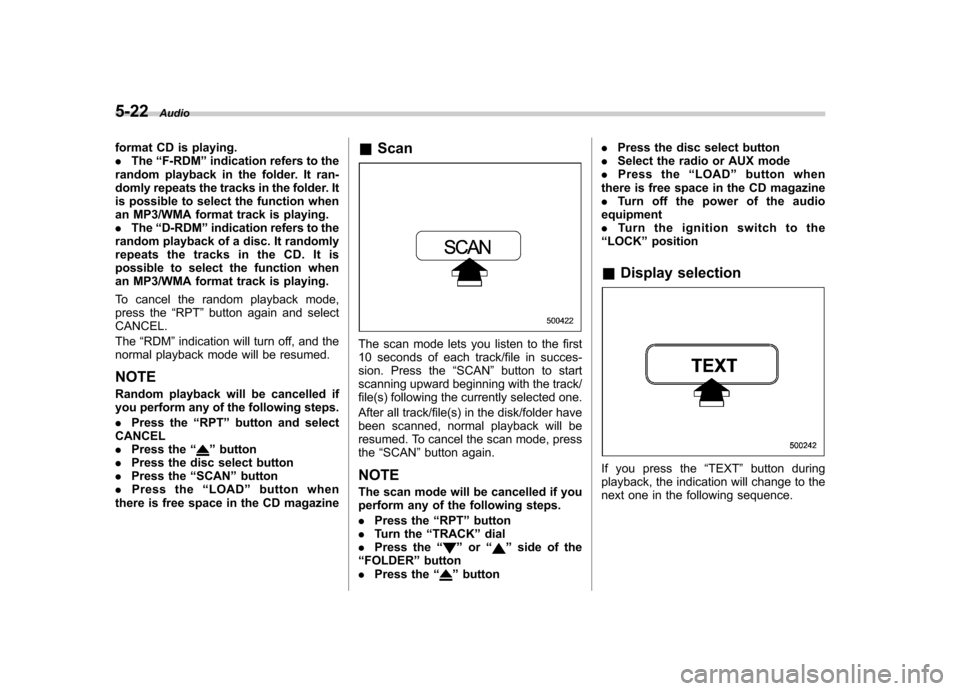
The scan mode lets you listen to the first
10 seconds of each track/file in succes-
sion. Press the “SCAN ”button to start
scanning upward beginning with the track/
file(s) following the currently selected one.
After all track/file(s) in the disk/folder have
been scanned, normal playback will be
resumed. To cancel the scan mode, pressthe “SCAN ”button again.
NOTE
The scan mode will be cancelled if you
perform any of the following steps. . Press the “RPT ”button
. Turn the “TRACK ”dial
. Press the “
”or “”side of the
“ FOLDER ”button
. Press the “
”button .
Press the disc select button
. Select the radio or AUX mode
. Press the “LOAD ”button when
there is free space in the CD magazine . Turn off the power of the audio
equipment. Turntheignitionswitchtothe
“ LOCK ”position
& Display selection
If you press the “TEXT ”button during
playback, the indication will change to the
next one in the following sequence.
Page 199 of 402
5-28Audio
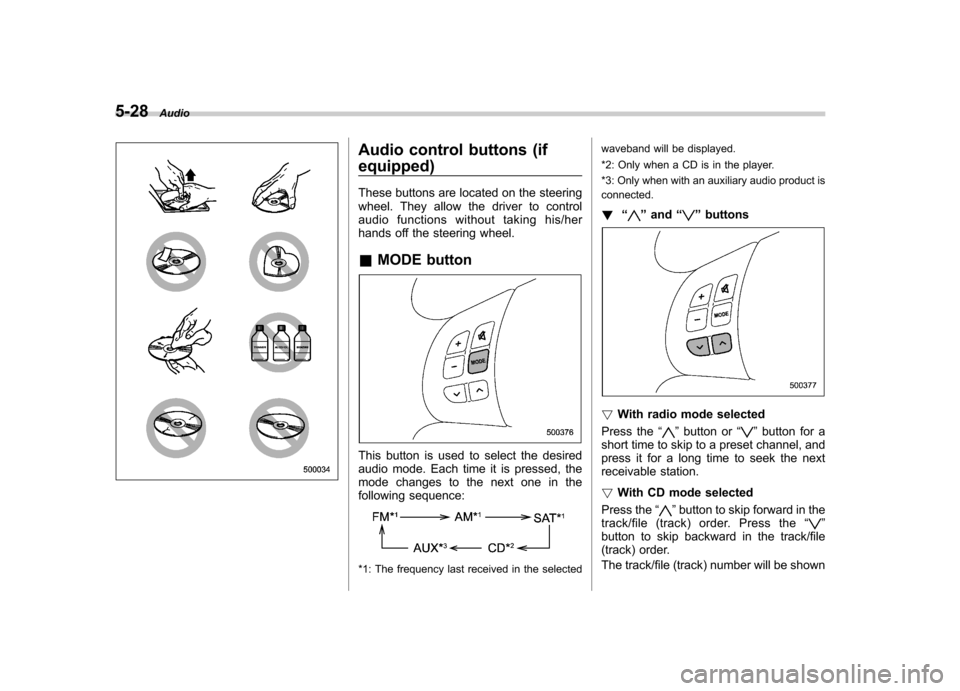
Audio control buttons (if equipped)
These buttons are located on the steering
wheel. They allow the driver to control
audio functions without taking his/her
hands off the steering wheel. &MODE button
This button is used to select the desired
audio mode. Each time it is pressed, the
mode changes to the next one in the
following sequence:
*1: The frequency last received in the selected waveband will be displayed.
*2: Only when a CD is in the player.
*3: Only when with an auxiliary audio product is connected.
! “
”and “”buttons
! With radio mode selected
Press the “
”button or “”button for a
short time to skip to a preset channel, and
press it for a long time to seek the next
receivable station. ! With CD mode selected
Press the “
”button to skip forward in the
track/file (track) order. Press the “”
button to skip backward in the track/file
(track) order.
The track/file (track) number will be shown
Page 261 of 402

8-6Driving tips
On-pavement and off-road driving
WARNING
. In a rollover crash, an unbelted
person is significantly more
likely to die than a person wear-
ing a seat belt. You the driver and
all your passengers should fas-
ten the seatbelts before starting
to drive in order to minimize the
chance of serious injury or death.
. Do not make sharp turns and
quick maneuvers unless abso-
lutely unavoidable. Such actions
are dangerous as you may lose
control, possibly resulting in a
rollover which could cause death
or serious injury.
. Always maintain a safe driving
speed according to the road and
weather conditions in order to
avoid having an accident on a
sharp turn, during sudden brak-
ing or under other similar condi-tions.
. Whenever strong crosswinds are
present, slow down sufficiently
to maintain control of your vehi-
cle. Remember that your vehicle, with its higher profile and center
of gravity, is more likely to be
affected by crosswinds than or-
dinary passenger cars.
. Always use the utmost care in
driving –overconfidence be-
cause you are driving an All-
Wheel Drive model could easily
lead to a serious accident.
Your vehicle is classified as a utility
vehicle. Utility vehicles feature a higher
ground clearance which enables them to
be used for wide applications including off-
road driving. But please keep in mind that
your vehicle is neither a conventional off-
road vehicle nor an all-terrain vehicle. A
higher center of gravity in relation to the
tread width as compared with ordinary
passenger cars makes vehicles of this
type more likely to roll over. In reality, utility
vehicles have a significantly higher roll-
over rate than other types of vehicles. The
high ground clearance of this vehicle is a
real advantage, giving you a better view of
the road and allowing you to anticipate
problems earlier. However, remember that
your utility vehicle is not designed for high-
speed cornering comparable to ordinary
passenger cars and that your vehicle
could roll over if you make a sharp turn
at high speed. If you do take your SUBARU off-road, certain common sense
precautions such as those in the following
list should be taken. .
Make certain that you and all of your
passengers are wearing seatbelts.. Carry some emergency equipment,
such as a towing rope or chain, a shovel,
wheel blocks, first aid kit and cell phone or
citizens band radio. . Drive carefully. Do not take unneces-
sary risks by driving in dangerous areas or
over rough terrain. . Slow down and employ extra caution at
all times. When driving off-road, you will
not have the benefit of marked traffic
lanes, banked curves, traffic signs and
the like. . Do not drive across steep slopes.
Instead, drive either straight up or straight
down the slopes. A vehicle can much
more easily tip over sideways than it can
end over end. Avoid driving straight up or
down slopes that are too steep. . Avoid sharp turning maneuvers, espe-
cially at higher speeds.. Do not grip the inside or spokes of the
steering wheel. A bad bump could jerk the
wheel and injure your hands. Instead drive
with your fingers and thumbs on the
outside of the rim. . If driving through water, such as when
Page 378 of 402

&Glossary of tire terminology
. Accessory weight
The combined weight (in excess of
those standard items which may be
replaced) of automatic transmis-
sion, power steering, power brakes,
power windows, power seats, radio,
and heater, to the extent that these
items are available as factory-in-
stalled equipment (whether in-
stalled or not). . Bead
The part of the tire that is made of
steel wires, wrapped or reinforced
by ply cords and that is shaped to fit
the rim. . Bead separation
A breakdown of the bond between
components in the bead. . Bias ply tire
A pneumatic tire in which the ply
cords that extend to the beads are
laid at alternate angles substantially
less than 90 degrees to the center-
line of the tread. . Carcass
The tire structure, except tread and sidewall rubber which, when in-
flated, bears the load.
. Chunking
The breaking away of pieces of the
tread or sidewall.. Cold tire pressure
The pressure in a tire that has been
driven less than 1 mile or has been
standing for three hours or more.. Cord
The strands forming the plies in the tire. . Cord separation
The parting of cords from adjacent
rubber compounds.. Cracking
Any parting within the tread, side-
wall, or inner liner of the tire
extending to cord material. . Curb weight
The weight of a motor vehicle with
standard equipment including the
maximum capacity of fuel, oil and
coolant, and if so equipped, air
conditioning and additional weight
optional engine. .
Extra load tire
A tire designed to operate at higher
loads and higher inflation pressure
than the corresponding standardtire. . Groove
The space between two adjacent
tread ribs.. Innerliner
The layer(s) forming the inside sur-
face of a tubeless tire that contains
the inflating medium within the tire. . Innerliner separation
The parting of the innerliner from
cord material in the carcass.. Intended outboard sidewall
(1) The sidewall that contains a
whitewall, bears white lettering
or bears manufacturer, brand,
and/or model name molding that
is higher or deeper than the
same molding on the other side-
wall of the tire, or (2) The outward facing sidewall
of an asymmetrical tire that has
a particular side that must al-
ways face outward when mount-
Consumer information and Reporting safety defects
13-7
– CONTINUED –
Page 391 of 402

14-2Index
A
ABS (Anti-lock Brake System) ..................................... 7-23
Warning light ................................................. 3-16, 7-23
Accessories ....................................................... 5-4, 11-46
Accessory power outlet ................................................. 6-9
Active head restraint ..................................................... 1-5
Air cleaner element ................................................... 11-15
Air conditioner Automatic climate control system ............................. 4-10
Manual climate control system ................................... 4-7
Air filtration system ..................................................... 4-13
Airflow selection Automatic climate control system ......................... 4-2, 4-9
Manual climate control system ............................. 4-2, 4-4
Alarm system ............................................................ 2-14
All-Wheel Drive warning light ....................................... 3-18
Aluminum wheel ....................................................... 11-37
Cleaning ............................................................... 10-3
Antenna system ........................................................... 5-2
Anti-lock Brake System (ABS) ..................................... 7-23
Arming the system ..................................................... 2-15
Armrest ....................................................................... 1-7
Ashtray ..................................................................... 6-11
AT OIL TEMP warning light ......................................... 3-14
Audio Antenna system ....................................................... 5-2
Auxiliary input jack ................................................. 5-25
CD player operation ............................................... 5-17
Control button ........................................................ 5-28
FM/AM radio operation ........................................... 5-10
Power and sound controls ......................................... 5-7 Satellite radio operations
......................................... 5-13
Set ........................................................................ 5-4XM
TMsatellite radio reception ................................... 5-2
Auto-dimming mirror/compass .............................. 3-32, 3-34
Automatic climate control system ................................... 4-8
Automatic headlight beam leveler ................................. 3-27
Warning light .......................................................... 3-18
Automatic transmission ............................................... 7-15
Capacities ............................................................. 12-4
Fluid ................................................................... 11-20
MANUAL mode ...................................................... 7-19
Oil temperature warning light (AT OIL TEMP) ............. 3-14
Select lever ........................................................... 7-16
Shift lock function ................................................... 7-17
Shift lock release .................................................... 7-17
SPORT mode ........................................................ 7-20
Automatic/Emergency Locking Retractor (A/ELR) ........... 1-12
Auxiliary input jack ...................................................... 5-25
BBattery .................................................................... 11-43
Drainage prevention function ..................................... 2-5
Jump starting ......................................................... 9-10
Replacement (remote engine start transmitter) ........... 7-12
Replacement (remote keyless entry system) .............. 2-10
Booster seat .............................................................. 1-29
Bottle holder ............................................................... 6-9
Brake
Assist .................................................................... 7-22
Booster ....................................................... 7-22, 11-26
Fluid ................................................................... 11-24