2010 SUBARU FORESTER change time
[x] Cancel search: change timePage 182 of 402

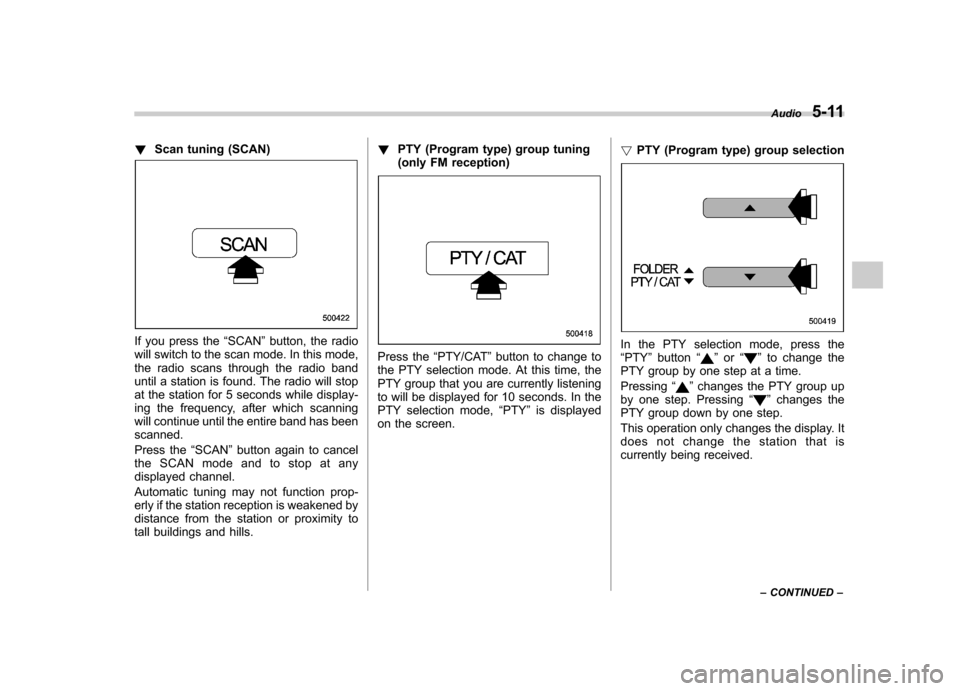
!Scan tuning (SCAN)
If you press the “SCAN ”button, the radio
will switch to the scan mode. In this mode,
the radio scans through the radio band
until a station is found. The radio will stop
at the station for 5 seconds while display-
ing the frequency, after which scanning
will continue until the entire band has beenscanned.
Press the “SCAN ”button again to cancel
the SCAN mode and to stop at any
displayed channel.
Automatic tuning may not function prop-
erly if the station reception is weakened by
distance from the station or proximity to
tall buildings and hills. !
PTY (Program type) group tuning
(only FM reception)
Press the “PTY/CAT ”button to change to
the PTY selection mode. At this time, the
PTY group that you are currently listening
to will be displayed for 10 seconds. In the
PTY selection mode, “PTY ”is displayed
on the screen. !
PTY (Program type) group selectionIn the PTY selection mode, press the “PTY ”button “”or “”to change the
PTY group by one step at a time. Pressing “
”changes the PTY group up
by one step. Pressing “”changes the
PTY group down by one step.
This operation only changes the display. It
does not change the station that is
currently being received. Audio
5-11
– CONTINUED –
Page 186 of 402

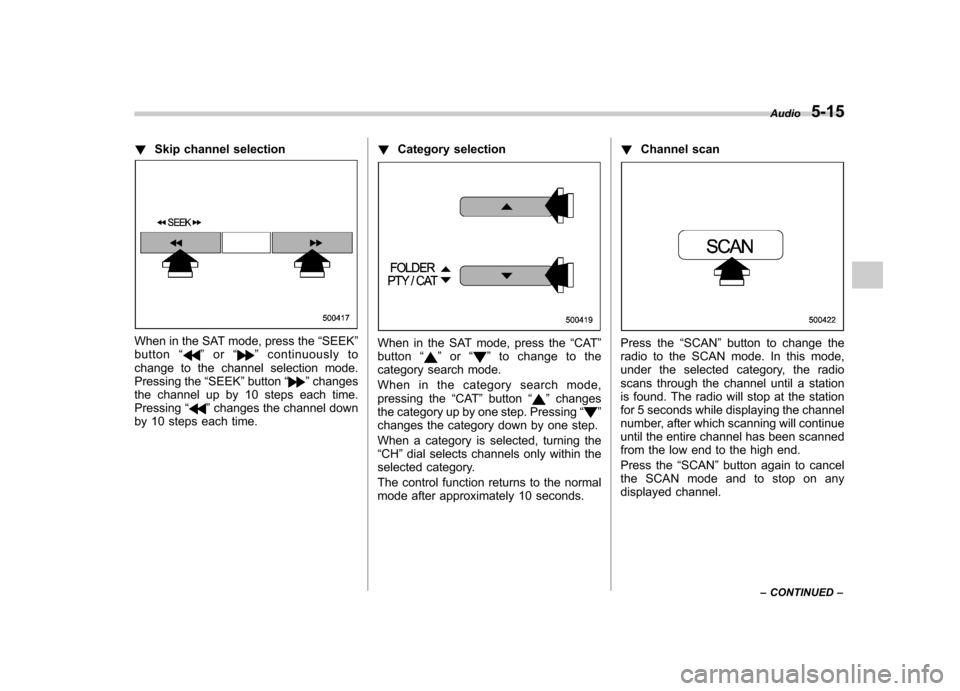
!Skip channel selection
When in the SAT mode, press the “SEEK ”
button “”or “”continuously to
change to the channel selection mode.
Pressing the “SEEK ”button “
”changes
the channel up by 10 steps each time. Pressing “
”changes the channel down
by 10 steps each time. !
Category selection
When in the SAT mode, press the “CAT ”
button “”or “”to change to the
category search mode.
When in the category search mode,
pressing the “CAT ”button “
”changes
the category up by one step. Pressing “”
changes the category down by one step.
When a category is selected, turning the “ CH ”dial selects channels only within the
selected category.
The control function returns to the normal
mode after approximately 10 seconds. !
Channel scan
Press the “SCAN ”button to change the
radio to the SCAN mode. In this mode,
under the selected category, the radio
scans through the channel until a station
is found. The radio will stop at the station
for 5 seconds while displaying the channel
number, after which scanning will continue
until the entire channel has been scanned
from the low end to the high end.
Press the “SCAN ”button again to cancel
the SCAN mode and to stop on any
displayed channel. Audio
5-15
– CONTINUED –
Page 192 of 402

&Repeating
To repeat a track/file (track), briefly press the “RPT ”button while the track/file (track)
is playing.
Each time you briefly press the button, the
mode changes in the following se-quences.
Type A audio:
Type B audio:
NOTE . The “RPT ”indication refers to the
repeat playback of a single track. It
repeats the track that is playing.. The “F-RPT ”indication refers to the
repeat playback of a folder. It repeats
the all of the tracks in the folder. It is
possible to select the function when
the MP3/WMA format track is playing.. The “D-RPT ”indication refers to the
repeat playback of a disc. It repeats the
tracks on the CD. It is only possible to
select this function for type B audio.
To cancel the track/file (track) repeat-play
mode, briefly press the “RPT ”button
twice. The “RPT ”indication will turn off,
and the normal playback mode will beresumed.
NOTE
The repeat-play mode will be cancelled
if you perform any of the followingsteps. . Press the “RPT ”button and select
CANCEL . Press the “
”button
. Press the disc select button
. Press the “SCAN ”button
. Press the “LOAD ”button when
there is free space in the CD magazine &
Random playback
To playback a track/file(s) at random,
press the “RPT ”button for 0.5 second or
longer while the track/file is playing.
Each time you press the button, the mode
changes in the following sequences.
NOTE . The “RDM ”indication refers to the
random playback of the tracks. It
randomly repeats the tracks on the
CD. It is possible to select the function
when formats other than the MP3/WMA Audio
5-21
– CONTINUED –
Page 199 of 402

5-28Audio
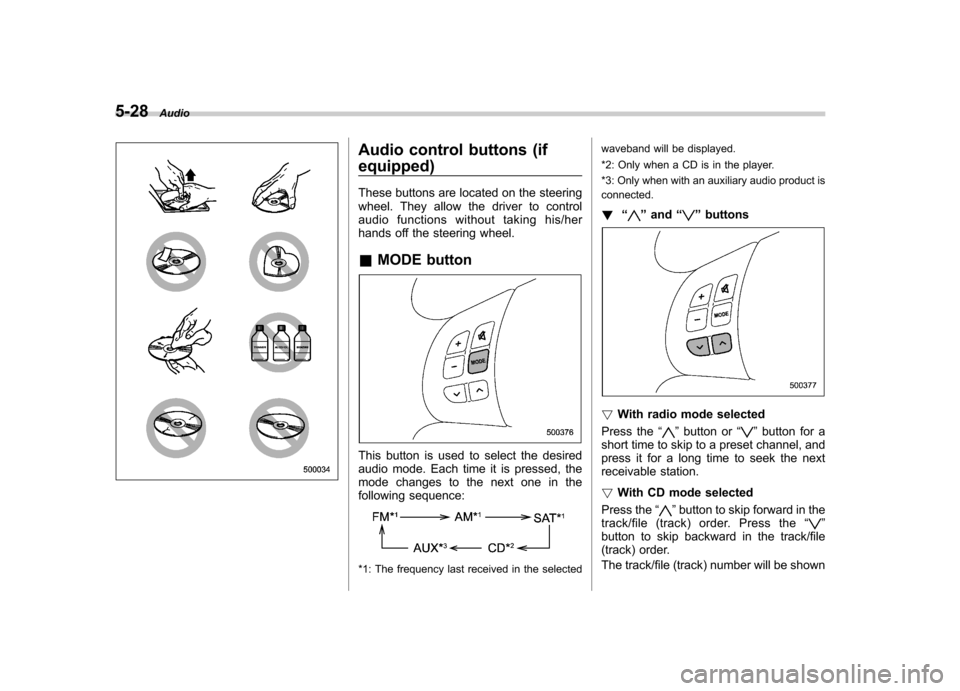
Audio control buttons (if equipped)
These buttons are located on the steering
wheel. They allow the driver to control
audio functions without taking his/her
hands off the steering wheel. &MODE button
This button is used to select the desired
audio mode. Each time it is pressed, the
mode changes to the next one in the
following sequence:
*1: The frequency last received in the selected waveband will be displayed.
*2: Only when a CD is in the player.
*3: Only when with an auxiliary audio product is connected.
! “
”and “”buttons
! With radio mode selected
Press the “
”button or “”button for a
short time to skip to a preset channel, and
press it for a long time to seek the next
receivable station. ! With CD mode selected
Press the “
”button to skip forward in the
track/file (track) order. Press the “”
button to skip backward in the track/file
(track) order.
The track/file (track) number will be shown
Page 203 of 402

6-2Interior equipment
Interior lights
When leaving your vehicle, make sure the
light is turned off to avoid battery dis-charge. &Dome light
Type A
Type B
1) ON
2) DOOR
3) OFF
The dome light switch has the following
three positions. ON: The light remains on continuously.
OFF: The light remains off.
DOOR: The dome light illuminates auto-
matically in the following cases. . Any of the doors or the rear gate is
opened.. The doors or the rear gate are un-
locked using the remote keyless entry
transmitter. . The ignition switch is turned from the
“ Acc ”position to the “LOCK ”position. The automatically illuminated dome light
remains on for several seconds and then
gradually turns off after all doors and the
rear gate are closed.
While the light is illuminated, if any of the
following operations are performed, the
dome light turns off immediately. .
The ignition switch is turned from the
“ LOCK ”position to the “Acc ”or “ON ”
position.. All doors and the rear gate are locked
using the remote keyless entry transmitter.
The setting of the period for which the light
remains on (OFF delay timer) can be
changed as follows. . Models with genuine SUBARU navi-
gation system:
The setting can be changed using the
navigation monitor. For details, please
refer to the Owner ’s Manual supplement
for the navigation system. Also, the setting
can be changed by a SUBARU dealer.
Contact your SUBARU dealer for details. . Models without genuine SUBARU
navigation system:
The setting can be changed by a
SUBARU dealer. Contact your SUBARU
dealer for details.
Page 205 of 402

6-4Interior equipment
illuminate when only the rear gate is opened.) .The doors are unlocked using the
remote keyless entry transmitter.. The ignition switch is turned from the
“ Acc ”position to the “LOCK ”position.
The automatically illuminated map lights
remain on for several seconds and then
gradually turn off after all doors are
closed. While the lights are on, if any of
the following operations are performed,
the map lights turn off immediately. . The ignition switch is turned from the
“ LOCK ”position to the “Acc ”or “ON ”
position.. All doors and the rear gate are locked
using the remote keyless entry transmitter.
The setting of the period for which the
lights remain on (OFF delay timer) can be
changed as follows. . Models with genuine SUBARU navi-
gation system:
The setting can be changed using the
navigation monitor. For details, please
refer to the Owner ’s Manual supplement
for the navigation system. Also, the setting
can be changed by a SUBARU dealer.
Contact your SUBARU dealer for details. .
Models without genuine SUBARU
navigation system:
The setting can be changed by a
SUBARU dealer. Contact your SUBARU
dealer for details. Sun visors
To block out glare, swing down the visors.
To use the sun visor at a side window,
swing it down and move it sideways.
Page 229 of 402

7-12Starting and operating
feature programming can be adjusted
using the following procedure.
1. Open the driver ’s door (the driver ’s
door must remain opened throughout the
entire process).
2. Insert the key into the vehicle ’s ignition
switch and turn to the “ON ”position.
3. Locate the small black programming
button behind the fuse box cover, on the
driver ’s side left under the dashboard
panel.
4. Press and hold the black programming
button for 10 to 15 seconds. The horn will
honk and the turn signal lights will flash
three times to indicate that the system has
entered programming mode. At this point
you can proceed to either step 5 or step 6.
5. To program a remote transmitter:
press and release the “
”button on each
transmitter. The horn will honk and the
turn signal lights will flash one time to
indicate a successful transmitter learn
each time the “
”button is pressed. You
can program up to eight transmitters.
6. To toggle the Horn Confirmation chirps
ON/OFF: press and release the brake to
toggle the feature. The horn will chirp and
the turn signal lights will flash one time to
indicate Confirmation Horn Chirps are“ OFF ”. The horn will honk and the turn
signal lights will flash 2 times to indicate
Confirmation Horn Chirps are “ON ”. Pressing the brake pedal repeatedly will
toggle the feature ON or OFF each time.
7. To exit the remote transmitter and
feature programming mode, turn the igni-
tion switch to the
“LOCK ”position, remove
the key from the ignition switch and test
operation of the remote transmitter(s) and
horn confirmation feature.
& System maintenance
! Changing the remote control bat-teries
CAUTION
. Do not let dust, oil or water get on
or in the remote engine start
transmitter when replacing the
battery.
. Be careful not to damage the
printed circuit board in the re-
mote engine start transmitter
when replacing the battery.
. Be careful not to allow children to
touch the battery and any re-
moved parts; children could
swallow them.
. There is a danger of explosion if
an incorrect replacement battery
is used. Replace only with the
same or equivalent type of bat- tery.
. Batteries should not be exposed
to excessive heat such as sun-
shine, fire or the like.
The two 3-volt lithium batteries (modelCR-1220 ) supplied in your remote control
should last approximately 3 years, de-
pending on usage. When the batteries
begin to weaken, you will notice a
decrease in range (distance from the
vehicle that your remote control operates).
Follow the instructions below to change
the remote control batteries.
Page 253 of 402

7-36Starting and operating
& To turn off the cruise control
There are two ways to turn off the cruise control: . Push the “CRUISE ”main switch button
again.. Turn the ignition switch to the “Acc ”or
“ LOCK ”position (but only when the
vehicle is completely stopped). & To change the cruising speed
! To increase the speed (by button)
Push the “RES/ACC ”button and hold it
until the vehicle reaches the desired
speed. Then, release the button. The
vehicle speed at that moment will be
memorized and treated as the new setspeed. When the difference between the actual
vehicle speed and the set speed is less
than 4 mph (6.8 km/h), the set speed can
be increased 1 mph (1.6 km/h) each time
by pressing the
“RES/ACC ”button quickly.
! To increase the speed (by accel-
erator pedal)
1. Depress the accelerator pedal to
accelerate the vehicle to the desiredspeed.
2. Push the “SET/COAST ”button once.
Now the desired speed is set and the
vehicle will keep running at that speed
without depressing the accelerator pedal.
NOTE
If the difference between the actual
vehiclespeedwhenthebuttonis
pushed and the speed last time you
set is less than 4 mph (6.8 km/h), the
vehicle speed will be lowered by 1 mph
(1.6 km/h). This occurs because the
cruise control system unit regards this
operation as that intended to decrease
the vehicle speed. !
To decrease the speed (by button)
Push the “SET/COAST ”button and hold it
until the vehicle reaches the desired
speed. Then, release the button. The
vehicle speed at that moment will be
memorized and treated as the new setspeed.
When the difference between the actual
vehicle speed and the set speed is less
than 4 mph (6.8 km/h), the set speed can
be lowered 1 mph (1.6 km/h) each time by
pressing the “SET/COAST ”button quickly.