2010 NISSAN VERSA HATCHBACK ECO mode
[x] Cancel search: ECO modePage 9 of 28
7
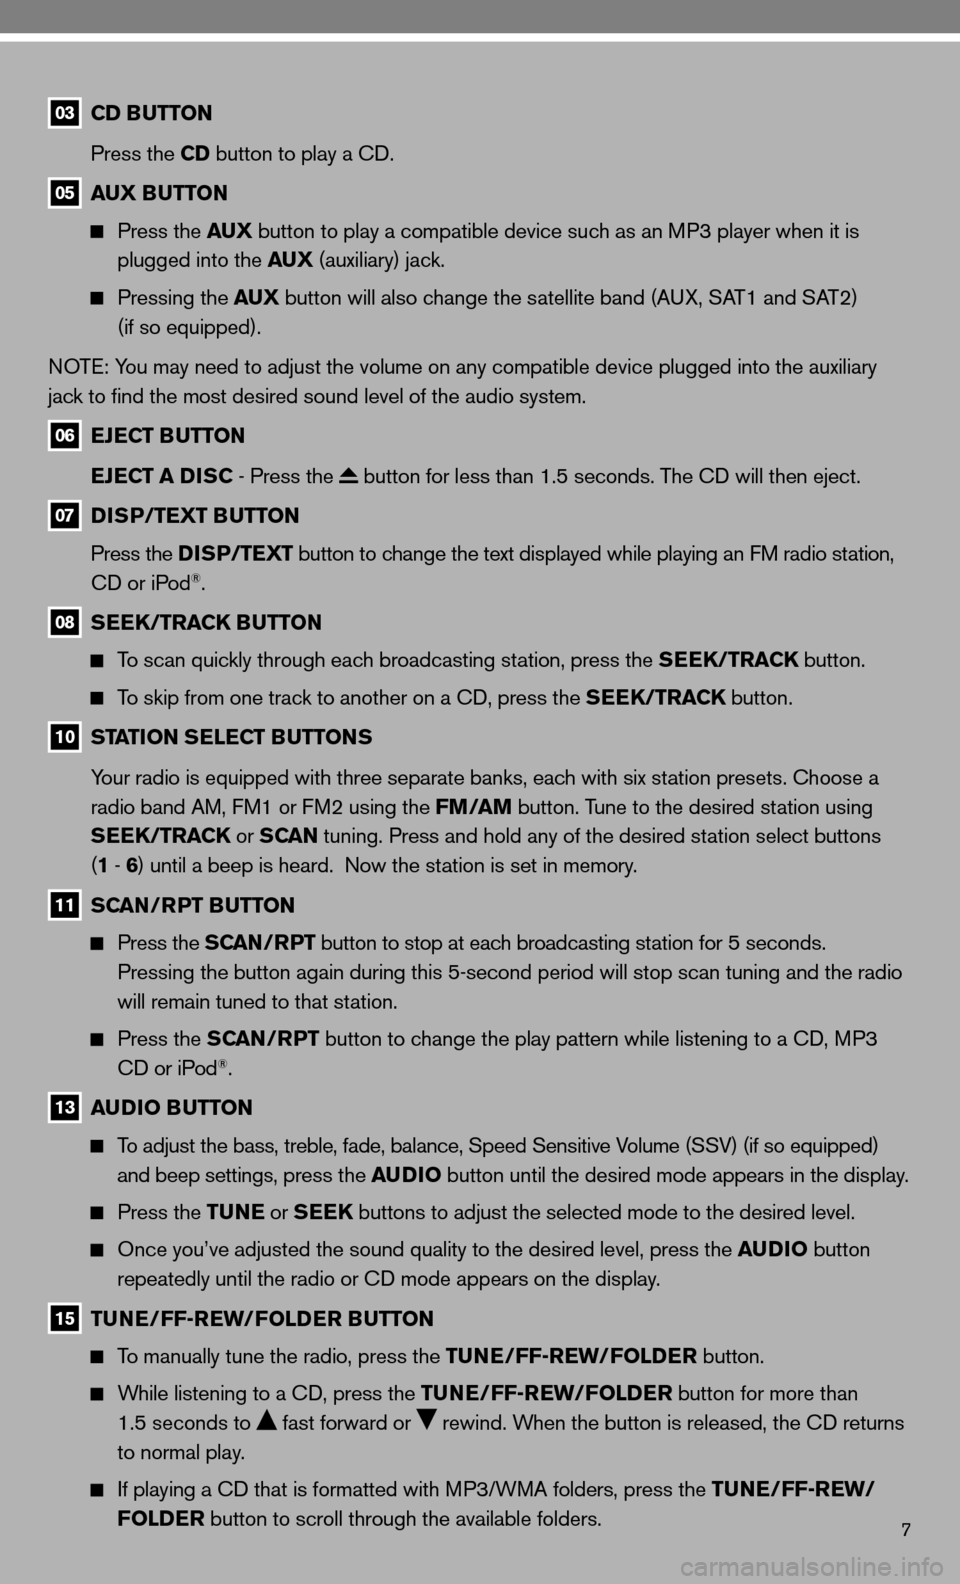
03 CD BUTTON
Press the CD button to play a cd.
05 AUX BUTTON
Press the AUX button to play a compatible device such as an MP3 player when it is
plugged into the AUX (auxiliary) jack.
Pressing the AUX button will also change the satellite band (A uX, SAT1 and SAT2)
(if so equipped).
n OT e: You may need to adjust the volume on any compatible device plugged into the auxiliary
jack to find the most desired sound level of the audio system.
06 EJECT BUTTON
EJECT A DISC - Press the
button for less than 1.5 seconds. The cd will then eject.
07 DISP/TEXT BUTTON
Press the DISP/TEXT button to change the text displayed while playing an fM radio station,
cd or iPod
®.
08 SEEK/TRACK BUTTON
To scan quickly through each broadcasting station, press the SEEK/TRACK button.
To skip from one track to another on a cd, press the SEEK/TRACK button.
10 STATION SELECT BUTTONS
Your radio is equipped with three separate banks, each with six station presets. choose a
radio band AM, f M1 or fM2 using the FM/AM button. Tune to the desired station using
SEEK/TRACK or S CAN tuning. Press and hold any of the desired station select buttons
(1 - 6 ) until a beep is heard. now the station is set in memory.
11 SCAN/RPT BUTTON
Press the SCAN/RPT button to stop at each broadcasting station for 5 seconds.
Pressing the button again during this 5-second period will stop scan tuning and the radio
will remain tuned to that station.
Press the SCAN/RPT button to change the play pattern while listening to a cd, MP3
cd or iPod®.
13 AUDIO BUTTON
To adjust the bass, treble, fade, balance, Speed Sensitive Volume (SSV) (if so equipped)
and beep settings, press the AUDIO button until the desired mode appears in the display.
Press the TUNE or SEEK buttons to adjust the selected mode to the desired level.
Once you’ve adjusted the sound quality to the desired level, press th\
e AUDIO button
repeatedly until the radio or cd mode appears on the display.
15 TUNE/FF-REW/FOLDER BUTTON
To manually tune the radio, press the TUNE/FF-REW/FOLDER button.
While listening to a cd, press the TUNE/FF-REW/FOLDER button for more than
1.5 seconds to
fast forward or rewind. When the button is released, the cd returns
to normal play.
if playing a cd that is formatted with MP3/WMA folders, press the TUNE/FF-REW/
FOLDER button to scroll through the available folders.
Page 10 of 28
8
iPod® PLAYER OPERATION (if so equipped)
The iPod
® outlet connector is located on the center console. connect the cable to the iPod®
connector and then connect the other end of the cable to your iPod®. Your vehicle is equipped
with the specialized cable for connecting the iPod® to your vehicle’s audio unit. if compatible, the
battery of your iPod® will charge while connected to the vehicle.
PLAYING AN iPod
®
The interface for iPod® operation shown on the vehicle’s display is similar to the iPod® interface.
The iPod® can only be operated by the vehicle audio controls while connected.
04 iPOD® BUTTON
Press the iPod® button to switch to the iPod® mode.
09 iPOD® MENU BUTTON
Press the iPod® MENU button to show the interface for iPod® operation on the audio display.
TUNE/FF-REW/FOLDER BUTTON
When the TUNE/FF-REW/FOLDER button is pressed for more than 1.5 seconds, the
iPod® will play while fast forwarding or rewinding. When the button is released, the iPod®
will return to normal play.
When the TUNE/FF-REW/FOLDER button is pressed for less than 1.5 seconds while
the iPod® is playing, the next track or the beginning of the current track on the iPod® will
be played.
SCAN/RPT BUTTON
Press the SCAN/RPT button to change the iPod® play pattern.
DISP/TEXT
Press the DISP/TEXT button to change the displayed program information (Album Title,
Artist name, Song Title, normal Mode, Podcast) while a program is playing.
12 ENTER AND 14 BACK BUTTONS
Press the ENTER button while the top menu is displayed to show program details on the
audio display. use the SEEK button to scroll through the choices and press the ENTER
button to make a selection. Press the BACK button to return to the previous display.
*XM
® Satellite Radio is only available on vehicles equipped with optional XM® Satellite
subscription service.
CLOCK SET/ADJUSTMENT
Pressing the CLOCK button displays the clock with the radio on or off.
To set the clock:
1. Press and hold the CLOCK button until the clock display starts to flash.
2. Press the SEEK/TRACK button to adjust the hours.
3. Press the TUNE/FF-REW/FOLDER button to adjust the minutes.
4. Press the CLOCK button again to exit the clock set mode.
Page 11 of 28
9
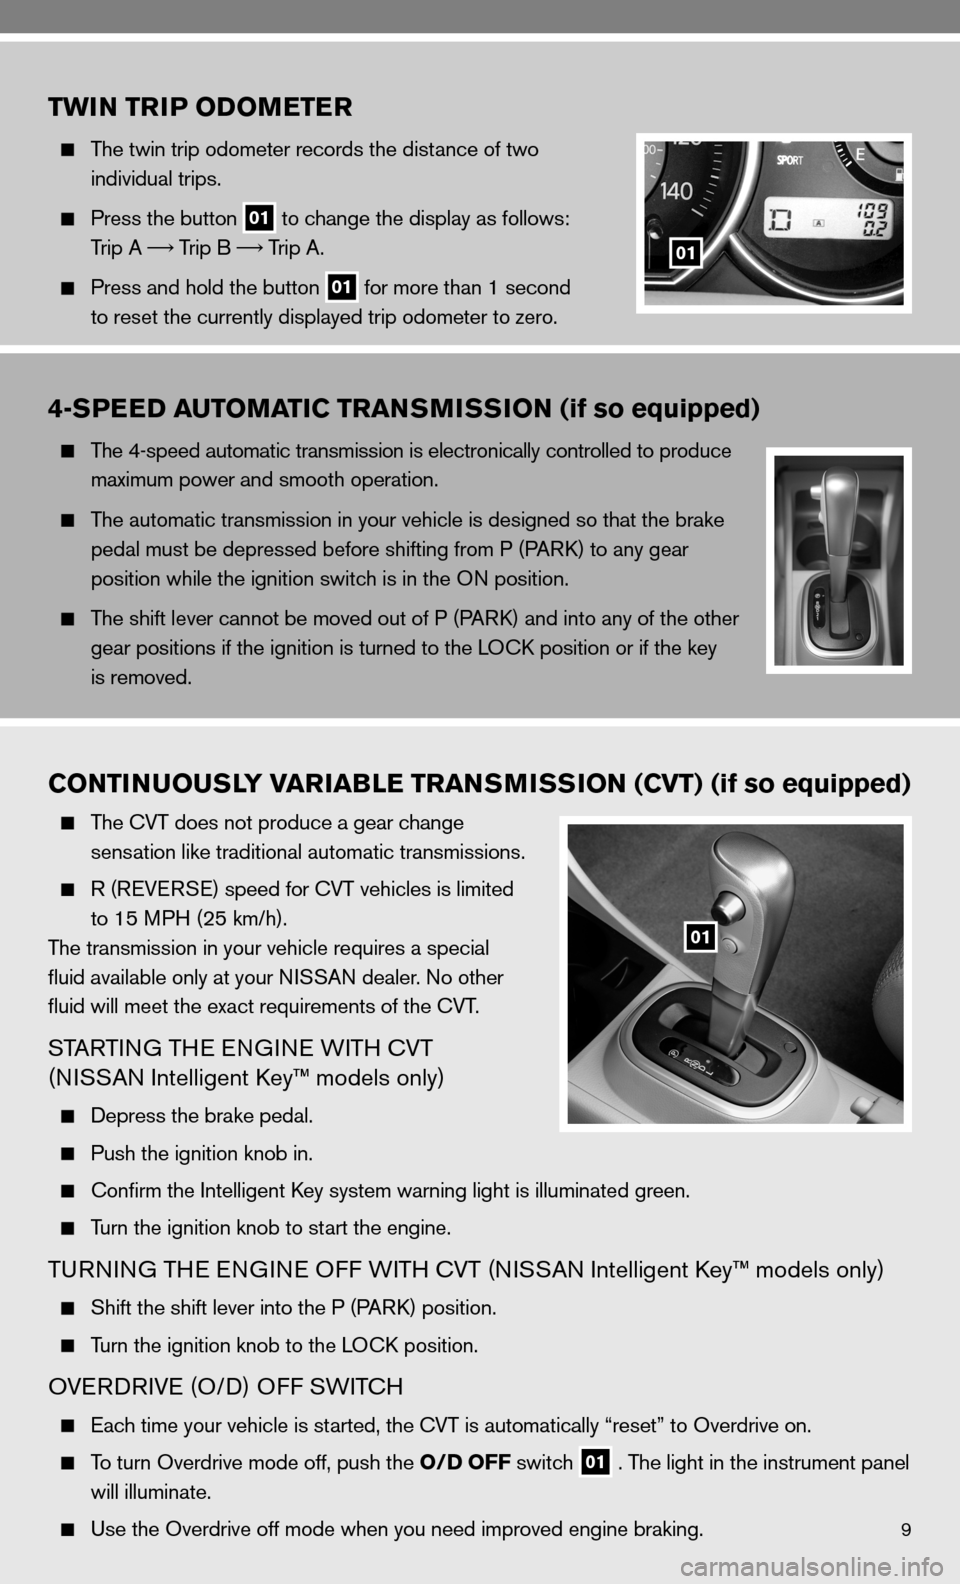
TWIN TRIP ODOMETER
The twin trip odometer records the distance of two
individual trips.
Press the button
01 to change the display as follows:
Trip A
Trip B
Trip A.
Press and hold the button
01 for more than 1 second
to reset the currently displayed trip odometer to zero.
01
4-SPEED AUTOMATIC TRANSMISSION (if so equipped)
The 4-speed automatic transmission is electronically controlled to produce
maximum power and smooth operation.
The automatic transmission in your vehicle is designed so that the brake
pedal must be depressed before shifting from P (P ARk) to any gear
position while the ignition switch is in the O n position.
The shift lever cannot be moved out of P (P ARk) and into any of the other
gear positions if the ignition is turned to the LO ck position or if the key
is removed.
CONTINUOUSLY VARIABLE TRANSMISSION (CVT) (if so equipped)
The cVT does not produce a gear change
sensation like traditional automatic transmissions.
R (ReVe RSe) speed for cVT vehicles is limited
to 15 MPH (25 km/h).
The transmission in your vehicle requires a special
fluid available only at your ni SSAn dealer. no other
fluid will meet the exact requirements of the cVT.
STARTin G THe enGine W iTH cVT
(ni SSAn intelligent k ey™ models only)
depress the brake pedal.
Push the ignition knob in.
confirm the intelligent k ey system warning light is illuminated green.
Turn the ignition knob to start the engine.
Tu Rnin G TH e enGine O ff WiTH cVT (ni SSAn intelligent k ey™ models only)
Shift the shift lever into the P (P ARk) position.
Turn the ignition knob to the LO ck position.
OVeRd RiVe (O/ d) Off SW iTc H
each time your vehicle is started, the cVT is automatically “reset” to Overdrive on.
To turn Overdrive mode off, push the O/D OFF switch
01 . The light in the instrument panel
will illuminate.
use the Overdrive off mode when you need improved engine braking.
01
Page 16 of 28
14
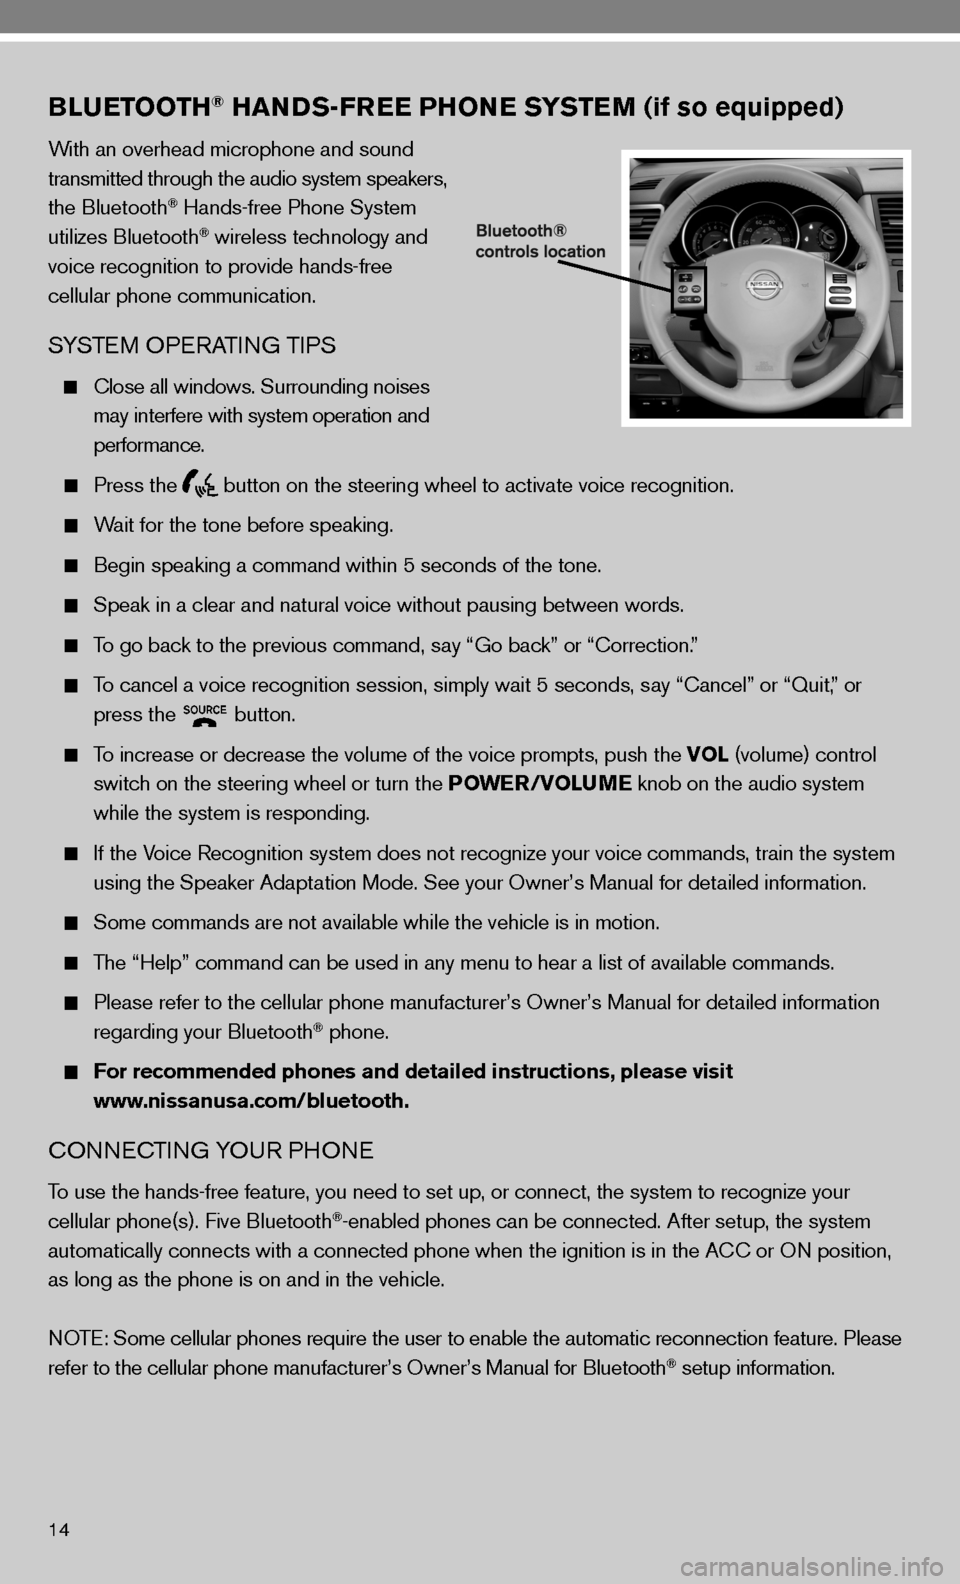
BLUETOOTH® HANDS-FREE PHONE SYSTEM (if so equipped)
With an overhead microphone and sound
transmitted through the audio system speakers,
the Bluetooth
® Hands-free Phone System
utilizes Bluetooth® wireless technology and
voice recognition to provide hands-free
cellular phone communication.
SYSTe M OPeRATin G TiPS
close all windows. Surrounding noises
may interfere with system operation and
performance.
Press the
button on the steering wheel to activate voice recognition.
Wait for the tone before speaking.
Begin speaking a command within 5 seconds of the tone.
Speak in a clear and natural voice without pausing between words.
To go back to the previous command, say “Go back” or “correction.”
To cancel a voice recognition session, simply wait 5 seconds, say “cancel” or “Quit,” or
press the
button.
To increase or decrease the volume of the voice prompts, push the VOL (volume) control
switch on the steering wheel or turn the POWER/VOLUME knob on the audio system
while the system is responding.
if the Voice Recognition system does not recognize your voice commands, train th\
e system
using the Speaker Adaptation Mode. See your Owner’s Manual for detailed information.
Some commands are not available while the vehicle is in motion.
The “Help” command can be used in any menu to hear a list of availa\
ble commands.
Please refer to the cellular phone manufacturer’s Owner’s Manual for detailed information
regarding your Bluetooth® phone.
For recommended phones and detailed instructions, please visit
www.nissanusa.com/bluetooth.
cO nnec Tin G YO uR PHO ne
To use the hands-free feature, you need to set up, or connect, the system to recognize your
cellular phone(s). five Bluetooth®-enabled phones can be connected. After setup, the system
automatically connects with a connected phone when the ignition is in th\
e A cc or On position,
as long as the phone is on and in the vehicle.
n OTe: Some cellular phones require the user to enable the automatic reconnec\
tion feature. Please
refer to the cellular phone manufacturer’s Owner’s Manual for Blue\
tooth
® setup information.
Page 17 of 28
15
cOnnecTinG PROcedu Re
n OTe: The vehicle must be stationary when connecting the phone.
1. Press the
button on the steering wheel. The system announces the available commands.
2. Say “connect Phone.”
3. The system acknowledges the previous command and announces the next set of available
commands. Say “Add phone.”
4. initiate connecting from the phone.
The connecting procedure varies according to each cellular phone model. for detailed
connecting instructions and a list of compatible phones, please visit
www.nissanusa.com/bluetooth.
When prompted for a Passkey code, enter “1234” from the handset. (The Passkey code is
assigned by ni SSAn and cannot be changed.)
5. Say a name for the phone when the system asks you to provide one. You can give the phone
a name of your choice.
MAkin G A PHO ne cALL
1. Press the
button.
2. After the tone, do one of the following:
Say “call.” After the system responds, say the name of the person in the phonebook.
Say “ call Phone number.” After waiting for the tone, say [number]. for example, say
“call Phone number.” After waiting for the tone, say “123-456-7891.”
Say “Redial” to redial the previous phone number.
Say “ call Phone number.” After the system responds, say “Special number” to dial more
than 10 digits or special characters.
You can say all the digits of a 7- or 10-digit phone number at one time.
f or a 10-digit number, saying the phone number in groups of 3, 3 and 4 digits may improve
recognition for some speakers. To use this group dialing method, say only the first 3 digits
of the phone number. After the system recognizes the number, it will request the next 3
digits and finally the last 4 digits.
i f a phone number is incorrectly recognized, you can try entering the phone number again
using the 3–3–4 group dialing procedure by saying “correction.”
When you have finished speaking the phone number wait for the system to repeat it back to
you, then say “dial.”
ReceiVin G/endin G A PHO ne cALL
When you receive a phone call, a ring tone sounds through the audio syste\
m.
To accept the call, press the
button. To reject the call, press the
button.
To hang up the phone at the end of a call or to disconnect during call pl\
acement, press
the
button.