2010 NISSAN TITAN maintenance
[x] Cancel search: maintenancePage 2 of 407

Welcome to the growing family of new NISSAN
owners. This vehicle is delivered to you with
confidence. It was produced using the latest
techniques and strict quality control.
This manual was prepared to help you under-
stand the operation and maintenance of your
vehicle so that you may enjoy many miles (kilome-
ters) of driving pleasure. Please read through this
manual before operating your vehicle.
A separate Warranty Information Booklet
explains details about the warranties cov-
ering your vehicle. The “NISSAN Service
and Maintenance Guide” explains details
about maintaining and servicing your ve-
hicle. Additionally, a separate Customer
Care/Lemon Law Booklet (U.S. only) will
explain how to resolve any concerns you
may have with your vehicle, as well as
clarify your rights under your state’s lemon
law.
Your NISSAN dealership knows your vehicle
best. When you require any service or have any
questions, they will be glad to assist you with the
extensive resources available to them.Before driving your vehicle, please read this
Owner’s Manual carefully. This will ensure famil-
iarity with controls and maintenance require-
ments, assisting you in the safe operation of your
vehicle.
Page 104 of 407

Door open warning
This warning illuminates when a door has been
opened and the engine is running.
Low fuel warning
This warning illuminates when the fuel level in the
fuel tank is getting low. Refuel as soon as it is
convenient, preferably before the fuel gauge
reaches E (Empty) .There will be a small re-
serve of fuel in the tank when the fuel
gauge needle reaches E (Empty) .
Low windshield washer fluid warning
This warning illuminates when the windshield
washer fluid is at a low level. Add windshield
washer fluid as necessary. See “Window washer
fluid” in the “Maintenance and do-it-yourself”
section of this manual.
Parking brake warning
This warning illuminates when the parking brake
is set and the vehicle is driven.
Cruise main switch indicator (if so
equipped)
This indicator illuminates when the cruise control
main switch is pushed. The indicator turns off
when the main switch is pushed again. When the
cruise main switch indicator illuminates, the
cruise control system is operational. Cruise set switch indicator (if so equipped)
This indicator illuminates while the vehicle speed
is controlled by the cruise control system. If the
indicator blinks while the engine is running, it may
indicate the cruise control system is not function-
ing properly. Have the system checked by a
NISSAN dealer.
Transfer 4LO position indicator (
Page 170 of 407

HOW TO USE THE TRIP BUTTON
When the TRIP button is pressed, the following
modes will display on the screen.
Warning message (if any)→TRIP 1 →TRIP 2 →
FUEL ECONOMY →MAINTENANCE →Audio
or OFF →TRIP 1
Each trip display tracks an independent trip and
displays the following: ● Elapsed Time - Journey time since the last
reset up to a maximum of 99 hours and 59
minutes.
● Driving Distance - Distance driven (mile or
km) since the last reset. ●
Average Speed - Average speed driven
(MPH or km/h) since the last reset.
Resetting trip 1 and trip 2
Each trip screen can be reset to 0. Press the TRIP
button to select the TRIP screen to be reset.
● Select the “Reset” key on screen by press-
ing the ENTER button, or
● Press the TRIP button for more than approxi-
mately 1.5 seconds.
Fuel economy
Press the TRIP button to display Average Fuel
Economy and Distance To Empty.
Average fuel economy (MPG or L/100 km)
The Average Fuel Economy is calculated based
on fuel consumption since the last reset. The
display is updated every 30 seconds and 1/3
mile (500 m) . After a reset or connecting the
battery cables, the display will show (**.*) .
Page 171 of 407

Resetting fuel economy
The average fuel economy calculation can be
reset to 0. Press the TRIP button repeatedly until
the FUEL ECONOMY menu is shown, then ei-
ther:● Select the “Reset” key on screen by press-
ing the ENTER button, or
● Press the TRIP button for more than approxi-
mately 1.5 seconds.
Distance to empty (MI or km)
The Distance To Empty (DTE) mode provides you
with an estimation of the distance that can be
driven before refueling. The DTE is constantly
calculated based on the amount of fuel in the fuel
tank and the actual fuel consumption. The display
is updated every 30 seconds. When the fuel level
is low, the DTE display will change to (*) .
NOTE: ● If the amount of fuel added while the ignition
switch is in the OFF position is small, the
display just before the ignition switch is
placed in the OFF position may continue to
be displayed.
● When driving uphill or rounding curves, the
fuel in the tank shifts, which may momentarily
change the display.
Maintenance items
Press the TRIP button to display maintenance
information or set maintenance intervals for the
following:
● Engine Oil
● Tire Rotation
● Tire Pressure (if so equipped)
For setting the Tire Pressure display, refer to “Tire
pressure information” later in this section. Changing the maintenance interval
Select the “Engine Oil” or “Tire Rotation” key
using the joystick and press the ENTER button to
display the screen to change the maintenance
interval.
Select the “Maintenance Schedule” key using the
joystick and move the joystick to right or left to set
the maintenance interval.
Page 172 of 407

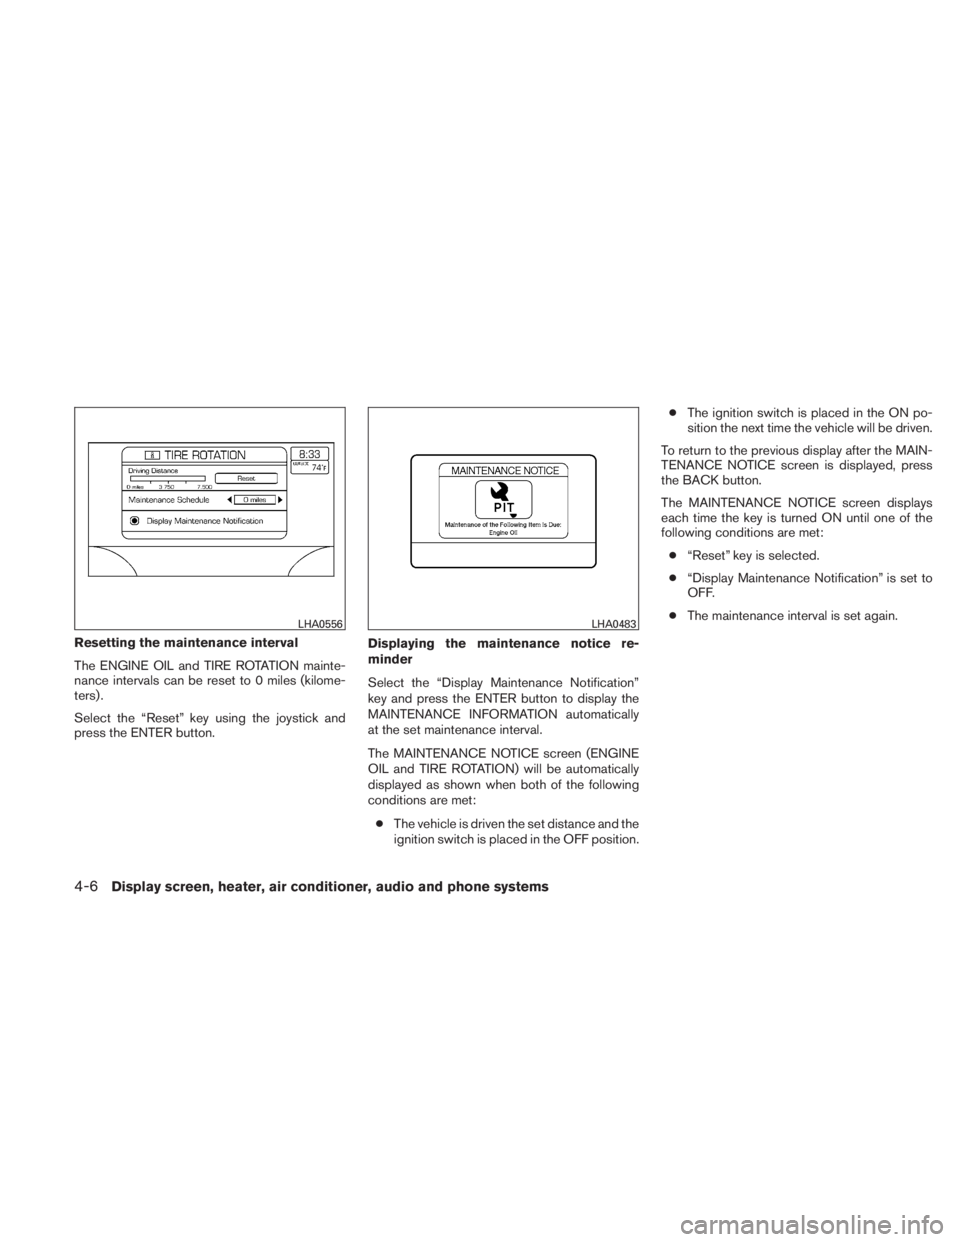
Resetting the maintenance interval
The ENGINE OIL and TIRE ROTATION mainte-
nance intervals can be reset to 0 miles (kilome-
ters) .
Select the “Reset” key using the joystick and
press the ENTER button.Displaying the maintenance notice re-
minder
Select the “Display Maintenance Notification”
key and press the ENTER button to display the
MAINTENANCE INFORMATION automatically
at the set maintenance interval.
The MAINTENANCE NOTICE screen (ENGINE
OIL and TIRE ROTATION) will be automatically
displayed as shown when both of the following
conditions are met:
● The vehicle is driven the set distance and the
ignition switch is placed in the OFF position. ●
The ignition switch is placed in the ON po-
sition the next time the vehicle will be driven.
To return to the previous display after the MAIN-
TENANCE NOTICE screen is displayed, press
the BACK button.
The MAINTENANCE NOTICE screen displays
each time the key is turned ON until one of the
following conditions are met: ● “Reset” key is selected.
● “Display Maintenance Notification” is set to
OFF.
● The maintenance interval is set again.
Page 173 of 407

Tire pressure information
To display tire pressure information, press the
TRIP button repeatedly until the MAINTENANCE
screen is displayed. Select the “Tire Pressure”
key using the joystick and press the ENTER but-
ton.
Pressure indication in ** psi on the screen indi-
cates that the pressure is being measured. After
a few driving trips, the pressure for each tire will
be displayed randomly.
The order of tire pressure figures displayed on
the screen does not correspond with the actual
order of the tire position.Tire pressure rises and falls depending on the
heat caused by the vehicle’s operation and the
outside temperature.
In case of low tire pressure, a message is dis-
played on the screen:
LOW PRESSURE — Check All Tires.
Page 229 of 407

Use the “≥10” button to input numbers greater
than or equal to 10. Up to three digits can be
inputted when selecting the chapter/title/track
number.
The subsequent actuation of numeric buttons will
continuously shift the previously input number to
the “left”.
The chapter/title/track number will be automati-
cally selected (if valid, based on media content) if
3 seconds expire without any keypad inputs.
The operator can cancel the input
chapter/title/track number by actuating the
CLEAR control prior to the expiration of the
3-second timer.
These functions can be used only for the DVD
discs which correspond to them.
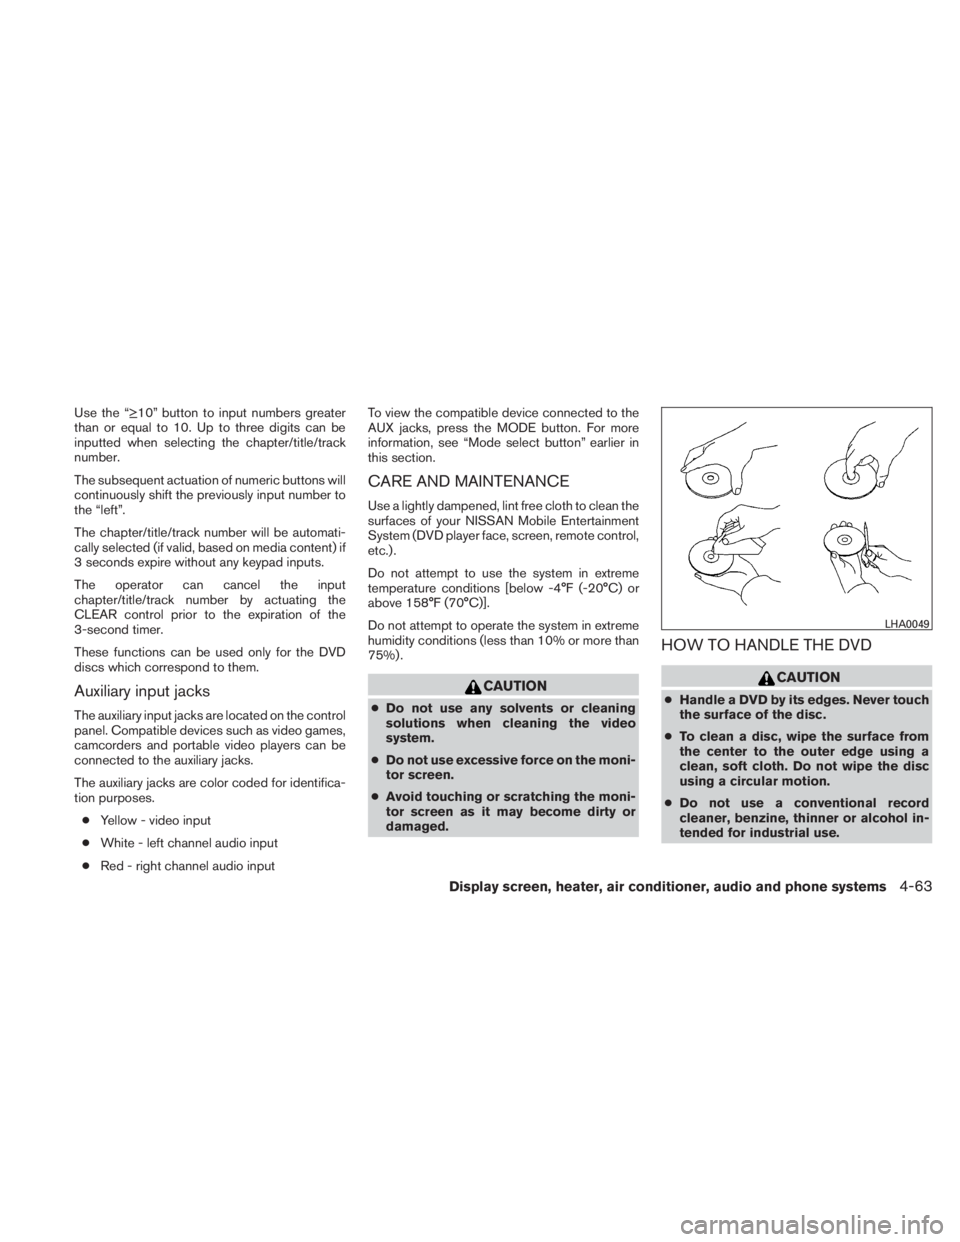
Auxiliary input jacks
The auxiliary input jacks are located on the control
panel. Compatible devices such as video games,
camcorders and portable video players can be
connected to the auxiliary jacks.
The auxiliary jacks are color coded for identifica-
tion purposes.● Yellow - video input
● White - left channel audio input
● Red - right channel audio input To view the compatible device connected to the
AUX jacks, press the MODE button. For more
information, see “Mode select button” earlier in
this section.
CARE AND MAINTENANCE
Use a lightly dampened, lint free cloth to clean the
surfaces of your NISSAN Mobile Entertainment
System (DVD player face, screen, remote control,
etc.) .
Do not attempt to use the system in extreme
temperature conditions [below -4°F (-20°C) or
above 158°F (70°C)].
Do not attempt to operate the system in extreme
humidity conditions (less than 10% or more than
75%) .
Page 252 of 407

Please note that the TPMS is not a substitute for
proper tire maintenance, and it is the driver’s
responsibility to maintain correct tire pressure,
even if under-inflation has not reached the level to
trigger illumination of the TPMS low tire pressure
telltale.
Your vehicle has also been equipped with a
TPMS malfunction indicator to indicate when the
system is not operating properly. The TPMS mal-
function indicator is combined with the low tire
pressure telltale. When the system detects a
malfunction, the telltale will flash for approxi-
mately one minute and then remain continuously
illuminated. This sequence will continue upon
subsequent vehicle start-ups as long as the mal-
function exists. When the malfunction indicator is
illuminated, the system may not be able to detect
or signal low tire pressure as intended. TPMS
malfunctions may occur for a variety of reasons,
including the installation of replacement or alter-
nate tires or wheels on the vehicle that prevent
the TPMS from functioning properly. Always
check the TPMS malfunction telltale after replac-
ing one or more tires or wheels on your vehicle to
ensure that the replacement or alternate tires and
wheels allow the TPMS to continue to function
properly.Additional information:
● The TPMS does not monitor the tire
pressure of the spare tire.
● The TPMS will activate only when the vehicle
is driven at speeds above 16 MPH (25
km/h) . Also, this system may not detect a
sudden drop in tire pressure (for example a
flat tire while driving) .
● The low tire pressure warning light does not
automatically turn off when the tire pressure
is adjusted. After all 4 tires are is inflated to
the recommended pressure, the vehicle
must be driven at speeds above 16 MPH (25
km/h) to activate the TPMS and turn off the
low tire pressure warning light. Use a tire
pressure gauge to check the tire pressure.
● Tire pressure rises and falls depending on
the heat caused by the vehicle’s operation
and the outside temperature. Low outside
temperature can lower the temperature of
the air inside the tire which can cause a
lower tire inflation pressure. This may cause
the low tire pressure warning light to illumi-
nate. If the warning light illuminates in low
ambient temperature, check the tire pres-
sure for all four tires. ●
You can also check the pressure of all tires
(except the spare tire) on the display screen.
The order of the tire pressure figures dis-
played on the screen does not correspond
with the actual order of the tire position. See
“Tire pressure information” in the “Display
screen, heater, air conditioner, audio and
phone systems” section.
● The Tire and Loading Information label (also
referred to as the vehicle placard or tire
inflation pressure label) is located in the
driver’s door opening.
For additional information, see “Low tire pressure
warning light” in the “Instruments and controls”
section, “Tire Pressure Monitoring System
(TPMS)” in the “In case of emergency” section.
5-4Starting and driving