Page 5 of 438

NISSAN CARES...
Both NISSAN and your NISSAN dealer are dedicated to serving all your automotive needs. Your satisfaction with your vehicle and your NISSAN dealer are
our primary concerns. Your NISSAN dealer is always available to assist you with all your automobile sales and service needs.
However, if there is something that your NISSAN
dealer cannot assist you with or you would like to
provide NISSAN directly with comments or
questions, please contact the NISSAN Con-
sumer Affairs Department using our toll-free
number:
For U.S. customers1-800-NISSAN-1
(1-800-647-7261)
For Canadian customers 1-800-387-0122 The Consumer Affairs Department will ask for the
following information:
– Your name, address, and telephone number
– Vehicle identification number (attached to the
top of the instrument panel on the driver’s
side)
– Date of purchase
– Current odometer reading
– Your NISSAN dealer’s name
– Your comments or questions
OR You can write to NISSAN with the information at:
For U.S. customers
Nissan North America, Inc.
Consumer Affairs Department
P.O. Box 685003
Franklin, TN 37068-5003
For Canadian customers Nissan Canada Inc.
5290 Orbitor Drive
Mississauga, Ontario L4W 4Z5
We appreciate your interest in NISSAN and thank you for buying a quality NISSAN vehicle.
NISSAN CUSTOMER CARE PROGRAM
Page 15 of 438
1. Vents (P. 4-18)
2. Headlight/fog light (if so equipped)/turnsignal switch (P. 2-28) 3. Steering wheel switch for audio control
(if so equipped)/Bluetooth� Hands-free
Phone System (if so equipped)
(P. 4-96, P. 4-92, P. 4-107)
4. Meters and gauges (P. 2-3) 5. Driver supplemental air bag/horn
(P. 1-42, P. 2-33)
6. Cruise control main/set switch
(P. 5-19)
7. Windshield wiper and washer switch
(P. 2-26)
8. Ignition switch (P. 5-7)
9. Hazard warning flasher switch (P. 2-33)
10. Front passenger air bag status light
(P. 1-51)
11. Front passenger supplemental air bag
(P. 1-42)
12. Glove box (P. 2-39)
13. Navigation system* (if so equipped)
(P. 4-2)
14. Covered storage box (P. 2-40)
15. Heater and air conditioner (automatic)
(P. 4-27)
16. Heater and air conditioner (manual)
(P. 4-19)
17. Shift selector (P. 5-11)
18. Audio system controls (if so equipped)/
Storage (if so equipped)
(P. 4-30, P.2-40)
19. Tilt/telescopic steering wheel controls
(P. 3-27)
Page 79 of 438
1. Vents (P. 4-18)
2. Headlight/fog light (if so equipped)/turnsignal switch (P. 2-28) 3. Steering wheel switch for audio control
(if so equipped)/Bluetooth� Hands-free
Phone System (if so equipped)
(P. 4-96, P. 4-92, P. 4-107)
4. Meters and gauges (P. 2-3) 5. Driver supplemental air bag/horn
(P. 1-42, P. 2-33)
6. Cruise control main/set switch
(P. 5-19)
7. Windshield wiper and washer switch
(P. 2-26)
8. Ignition switch (P. 5-7)
9. Hazard warning flasher switch (P. 2-33)
10. Front passenger air bag status light
(P. 1-51)
11. Front passenger supplemental air bag
(P. 1-42)
12. Glove box (P. 2-39)
13. Navigation system* (if so equipped)
(P. 4-2)
14. Covered storage box (P. 2-40)
15. Heater and air conditioner (automatic)
(P. 4-27)
16. Heater and air conditioner (manual)
(P. 4-19)
17. Shift selector (P. 5-11)
18. Audio system controls (if so equipped)/
Storage (if so equipped)
(P. 4-30, P.2-40)
19. Tilt/telescopic steering wheel controls
(P. 3-27)
Page 112 of 438
The power outlets are for powering electrical
accessories such as cellular telephones. They
are rated at 12 volt, 120W (10A) maximum. The
console outlet is powered directly by the vehi-
cle’s battery.
Page 128 of 438

NOTE:
When programming a garage door opener,
etc., it is advised to unplug the device dur-
ing the “cycling” process to prevent pos-
sible damage to the garage door opener
components.
OPERATING THE HOMELINK�
UNIVERSAL TRANSCEIVER
The HomeLink�Universal Transceiver (once pro-
grammed) may now be used to activate the ga-
rage door, etc. To operate, simply press the ap-
propriate programmed HomeLink� Universal
Transceiver button. The red indicator light will
illuminate while the signal is being transmitted.
PROGRAMMING TROUBLE-
DIAGNOSIS
If the HomeLink� does not quickly learn the hand-
held transmitter information:
● replace the hand-held transmitter batteries
with new batteries.
● position the hand-held transmitter with its
battery area facing away from the
HomeLink� surface.
● press and hold both the HomeLink� and
hand-held transmitter buttons without inter-
ruption. ●
position the hand-held transmitter1-3
inches (26 - 76 mm) away from the
HomeLink� surface. Hold the transmitter in
that position for up to 15 seconds. If
HomeLink� is not programmed within that
time, try holding the transmitter in another
position – keeping the indicator light in view
at all times.
If you continue to have programming difficulties,
please contact the NISSAN Consumer Affairs
Department. The phone numbers are located in
the Foreword of this manual.
CLEARING THE PROGRAMMED
INFORMATION
Individual buttons cannot be cleared. However,
to clear all programming, press and hold the two
outside buttons and release when the indicator
light begins to flash (approximately 20 seconds) .
ROLLING CODE PROGRAMMING
Rolling code garage door openers (or other roll-
ing code devices) which are “code protected”
and manufactured after 1996, may be deter-
mined by the following: ● Reference the garage door opener Owner’s
Manual for verification. ●
The hand-held transmitter appears to pro-
gram the HomeLink� Universal Transceiver
but does not activate the garage door.
● Press and hold the trained HomeLink� but-
ton. If the garage door opener has the rolling
code feature, the HomeLink� indicator light
will flash rapidly, then remain on after 2 sec-
onds.
To program the HomeLink� Universal Transceiver
to a garage door opener with the rolling code
feature, follow these instructions after completing
the “Programming HomeLink�” (the aid of a sec-
ond person may make the following procedures
quicker and easier) .
1. Locate the training button on the garage door opener motor unit. Exact location and
color of the button may vary by garage door
opener brand. If there is difficulty locating
the training button, reference the garage
door opener Owner’s Manual.
2. Press the training button on the garage door opener motor unit (which may activate a
training light) .
Instruments and controls2-51
Page 136 of 438

CAUTION
●Be sure to carry the Intelligent Key with
you when operating the vehicle.
● Never leave the Intelligent Key in the
vehicle when you leave the vehicle.
The Intelligent Key is always communicating with
the vehicle as it receives radio waves. The Intel-
ligent Key transmits weak radio waves. Environ-
mental conditions may interfere with the opera-
tion of the Intelligent Key under the following
operating conditions: ● When operating near a location where
strong radio waves are transmitted, such as
a TV tower, power station and broadcasting
station.
● When in possession of wireless equipment,
such as a cellular telephone, transceiver,
and CB radio.
● When the Intelligent Key is in contact with or
covered by metallic materials.
● When any type of radio wave remote control
is used nearby.
● When the Intelligent Key is placed near an
electric appliance such as a personal com-
puter. ●
When the vehicle is parked near a parking
meter.
In such cases, correct the operating conditions
before using the Intelligent Key function or use
the mechanical key.
Although the life of the battery varies depending
on the operating conditions, the battery’s life is
approximately 2 years. If the battery is dis-
charged, replace it with a new one.
When the Intelligent Key battery is almost dis-
charged, insert the Intelligent Key into the Intelli-
gent Key port to start the engine. Replace the
discharged battery with a new one as soon as
possible. For more details, see “Push-button ig-
nition switch” in the “Starting and driving” sec-
tion.
Since the Intelligent Key is continuously receiving
radio waves, if the key is left near equipment
which transmits strong radio waves, such as sig-
nals from a TV and personal computer, the bat-
tery life may become shorter.
For information regarding replacement of a bat-
tery, see “Battery replacement” in the “Mainte-
nance and do-it-yourself” section.
As many as 4 Intelligent Keys can be registered
and used with one vehicle. For information about
the purchase and use of additional Intelligent
Keys, contact a NISSAN dealer.
Page 161 of 438
4 Monitor, climate, audio, phone and voice
recognition systems
Control panel buttons — color screen with
Navigation System (if so equipped)..................4-2
How to use the touch screen ....................4-3
How to select menus on the screen ..............4-5
How to use the INFO button .....................4-5
How to use the SETTING button .................4-6
Page 173 of 438

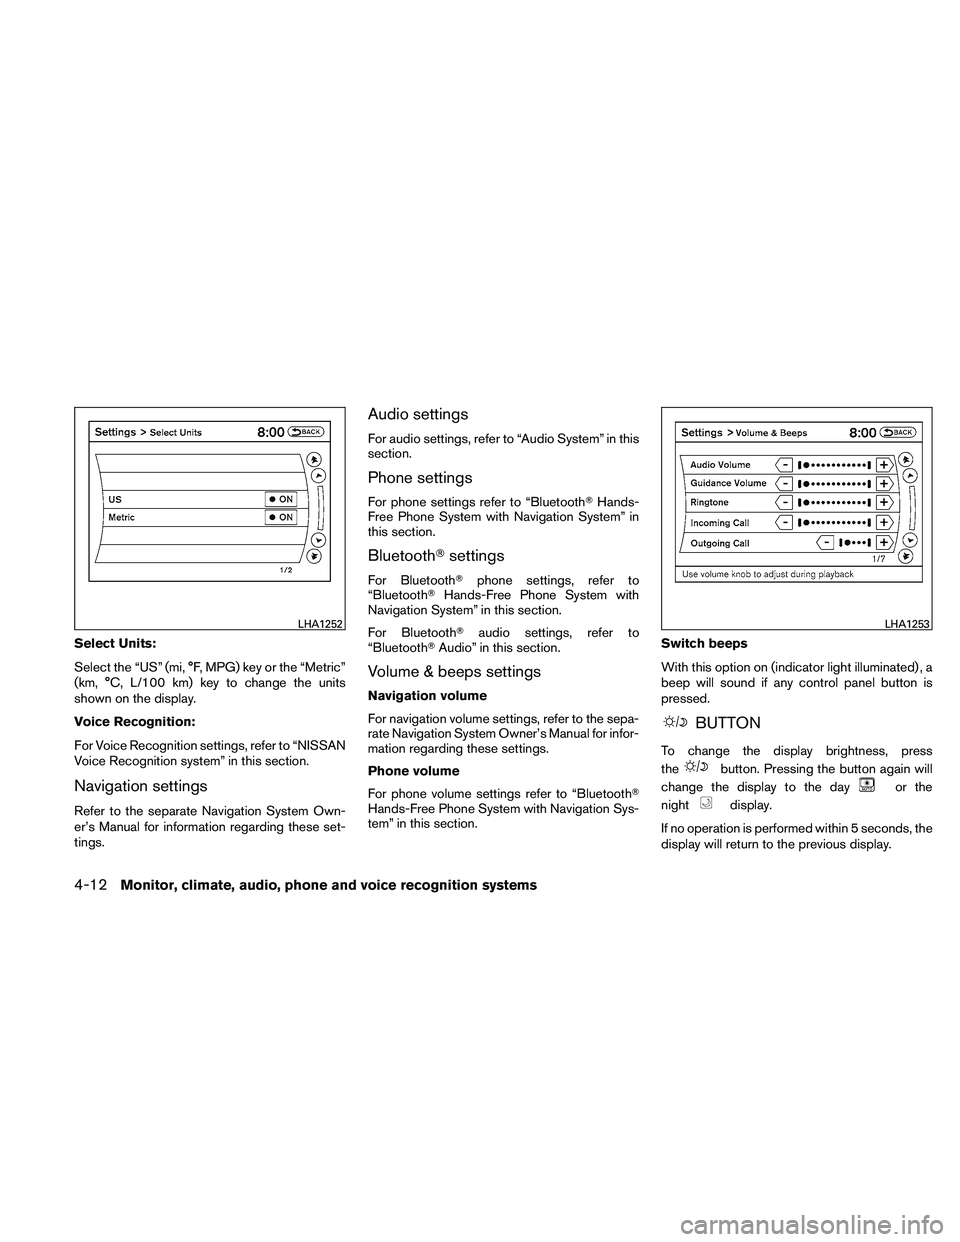
Select Units:
Select the “US” (mi, °F, MPG) key or the “Metric”
(km, °C, L/100 km) key to change the units
shown on the display.
Voice Recognition:
For Voice Recognition settings, refer to “NISSAN
Voice Recognition system” in this section.
Navigation settings
Refer to the separate Navigation System Own-
er’s Manual for information regarding these set-
tings.
Audio settings
For audio settings, refer to “Audio System” in this
section.
Phone settings
For phone settings refer to “Bluetooth�Hands-
Free Phone System with Navigation System” in
this section.
Bluetooth� settings
For Bluetooth� phone settings, refer to
“Bluetooth� Hands-Free Phone System with
Navigation System” in this section.
For Bluetooth� audio settings, refer to
“Bluetooth� Audio” in this section.
Volume & beeps settings
Navigation volume
For navigation volume settings, refer to the sepa-
rate Navigation System Owner’s Manual for infor-
mation regarding these settings.
Phone volume
For phone volume settings refer to “Bluetooth�
Hands-Free Phone System with Navigation Sys-
tem” in this section. Switch beeps
With this option on (indicator light illuminated) , a
beep will sound if any control panel button is
pressed.