Page 96 of 438
Exterior Temperature mode
The exterior temperature mode can be selected
to provide you with the temperature outside of
your vehicle.Setting mode
The setting mode allows you to set reminders or
preferences for alerts, maintenance intervals or
language displays.
In the setting mode screen press
Page 172 of 438

Speed Sensing Wiper Interval:Select to turn
on or turn off the wiper interval adjusted automati-
cally according to the vehicle speed.
Selective Door Unlock: When this item is
turned on, only the driver’s door is unlocked first
after the door unlock operation. When the door
handle request switch on the driver’s or front
passenger’s side door is pushed to be unlocked,
only the corresponding door is unlocked first. All
the doors can be unlocked if the door unlock
operation is performed again within one minute.
When this item is turned to off, all the doors will
be unlocked after the door unlock operation is
performed once.
Intelligent Key Lock / Unlock: Select to turn
on or turn off the door lock/unlock function by
pushing the door handle request switch.
Return All Settings to Default: Select to
change all the comfort and convenience systems
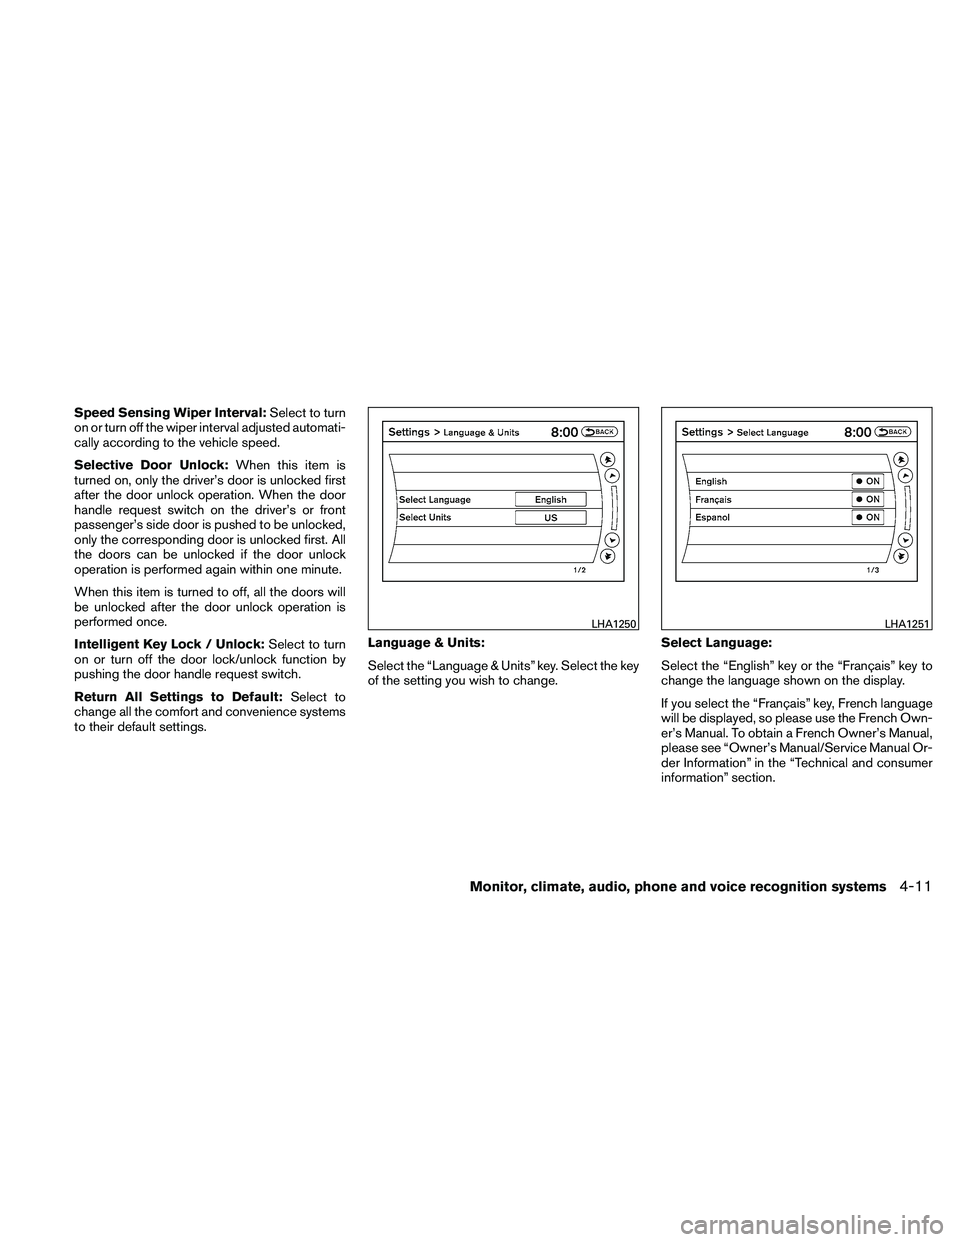
to their default settings. Language & Units:
Select the “Language & Units” key. Select the key
of the setting you wish to change.
Select Language:
Select the “English” key or the “Français” key to
change the language shown on the display.
If you select the “Français” key, French language
will be displayed, so please use the French Own-
er’s Manual. To obtain a French Owner’s Manual,
please see “Owner’s Manual/Service Manual Or-
der Information” in the “Technical and consumer
information” section.
Page 228 of 438

●Angle Mark (DVD-VIDEO)
When this item is turned on, an angle mark
will be shown on the bottom of the screen if
the scene can be seen from a different angle.
● Menu Skip (DVD-VIDEO)
DVD menus are automatically configured
and the contents will be played directly
when the “Menu Skip” key is turned on. Note
that some discs may not be played directly
even if this item is turned on.
● CM Skip (DVD-VIDEO)
Select the “CM Skip” key to choose the
setting time for CM backward and forward
operations. Use the “+” or “-” key to choose
a setting time of 15, 30 or 60 seconds.
● DRC (DVD-VIDEO, DVD-VR)
DRC (Dynamic Range Compression) auto-
matically adjusts the soundtrack volume
level to maintain a more even sound to the
speakers.
● DVD Language (DVD-VIDEO, VIDEO CD)
Select the “DVD Language” key to open the
number entry screen. Input the number cor-
responding to the preferred language and
select the “OK” key. The DVD top menu
language will be changed to the one speci-
fied. ●
Display
Adjust the image quality of the screen by
selecting the preferred adjustment items.
● Audio
Choose the preferred language for the au-
dio.
● Subtitle (DVD-VIDEO, DVD-VR)
Choose the preferred language for the sub-
titles.
● Display Mode (DVD-VIDEO, VIDEO CD,
DVD-VR)
Choose from the “Full”, “Wide”, “Normal” or
“Cinema” mode.
● Title List (DVD-VR)
Choose the preferred title from the list.
● Play Mode
Choose the preferred play mode.
● PG/PL Mode (DVD-VR)
Choose from the “PG” or “PL” mode.
USB INTERFACE (models without
Navigation System) (if so equipped)
Connecting a device to the USB input
jack
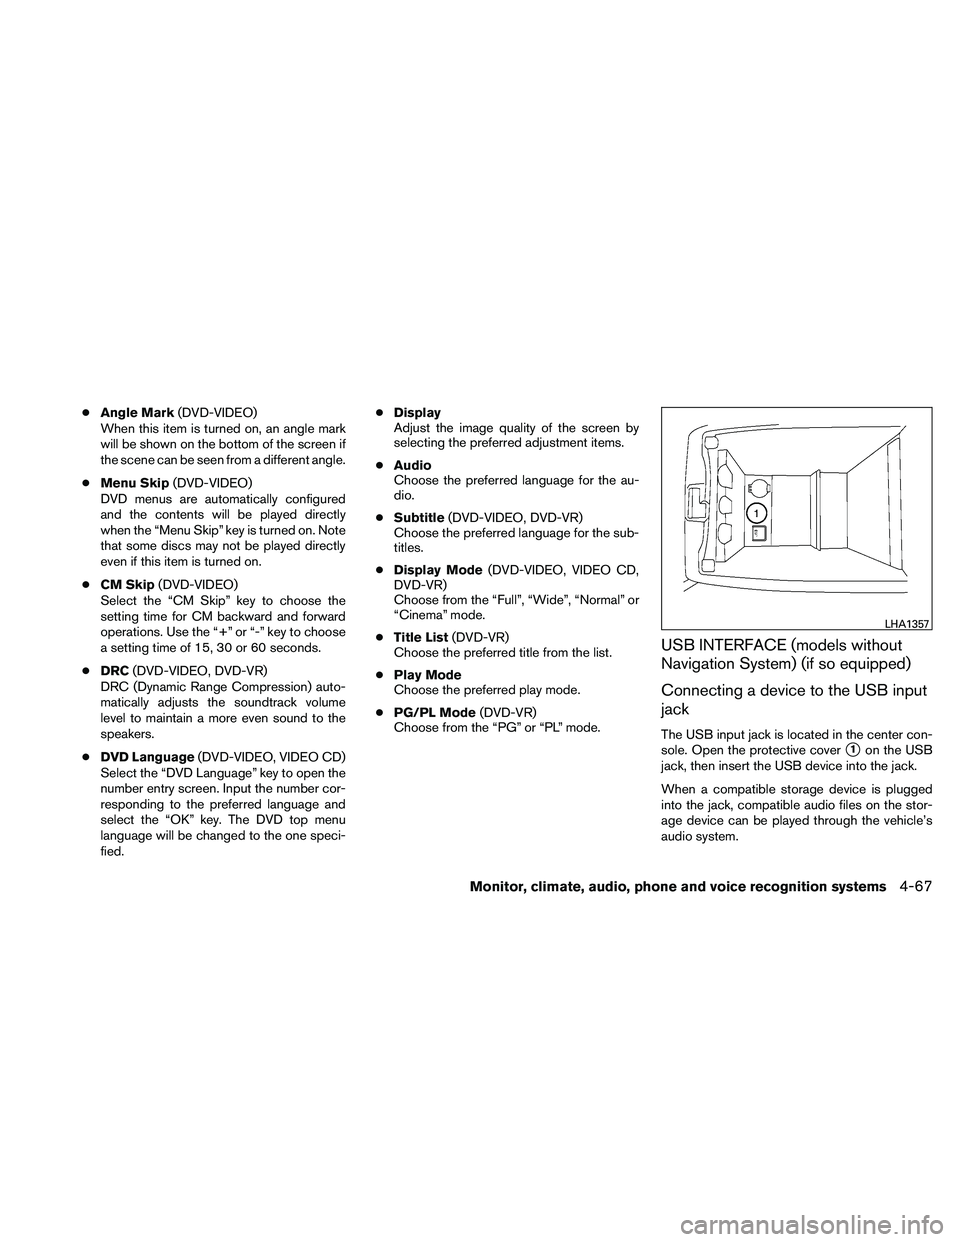
The USB input jack is located in the center con-
sole. Open the protective cover
�1on the USB
jack, then insert the USB device into the jack.
When a compatible storage device is plugged
into the jack, compatible audio files on the stor-
age device can be played through the vehicle’s
audio system.
Page 234 of 438

●10 Key Search
Select the “10 Key Search” key to open the
number entry screen. Input the number you
want to search for and the specified file or
folder will be played.
● Display
Adjust the image quality of the screen.
● DRC
DRC (Dynamic Range Compression) auto-
matically adjusts the soundtrack volume
level to maintain a more even sound to the
speakers.
● Audio
Choose the preferred language of the audio.
● Subtitle
Choose the preferred language of the sub-
titles.
● Display Mode
Choose between the “Normal”, “Wide”,
“Cinema” or “Full” display modes.
iPod�* PLAYER OPERATION
WITHOUT NAVIGATION SYSTEM (if
so equipped)
Connecting iPod�
To connect an iPod� to the vehicle so that the
iPod� can be controlled with the audio system
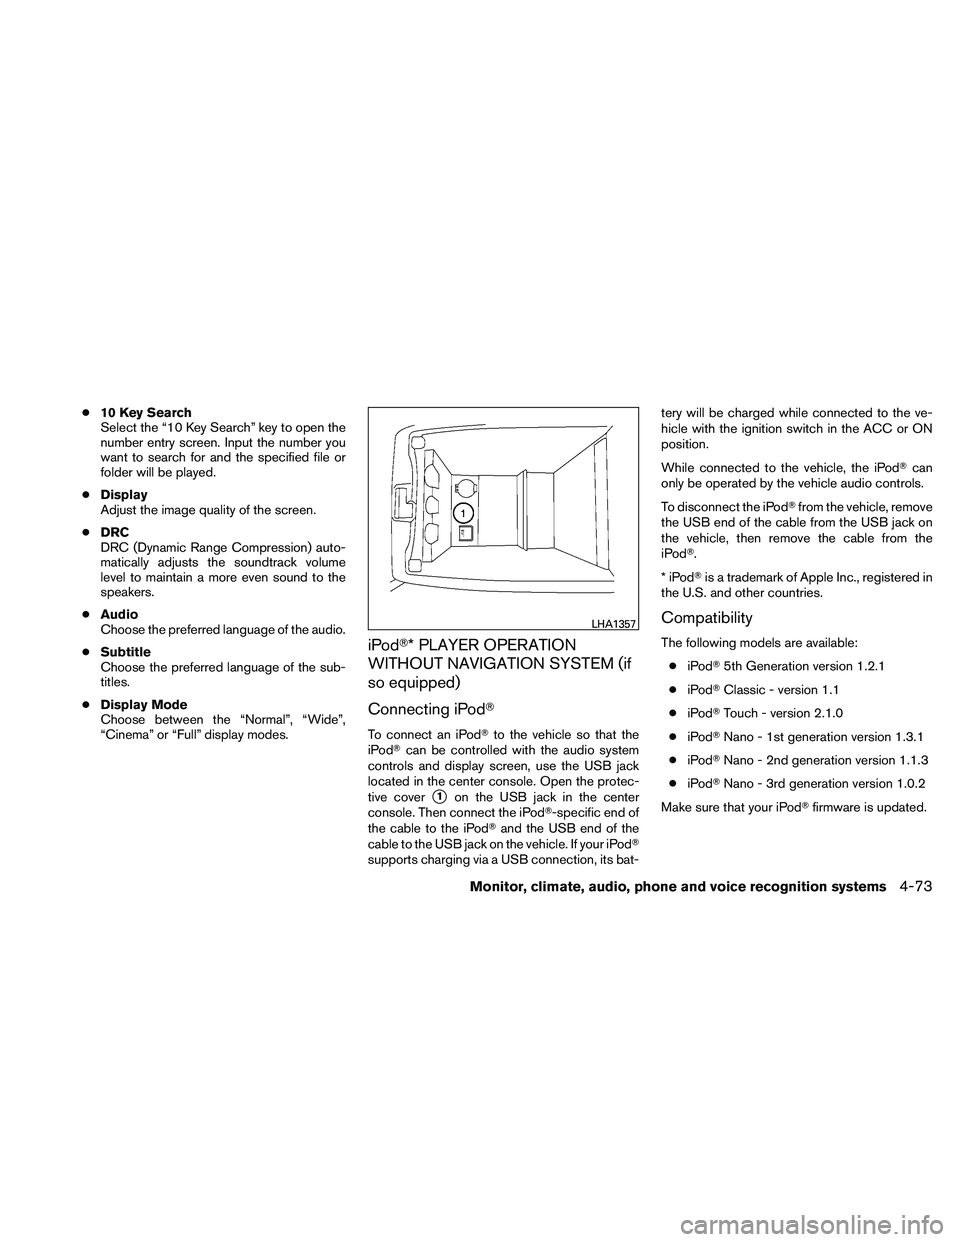
controls and display screen, use the USB jack
located in the center console. Open the protec-
tive cover
�1on the USB jack in the center
console. Then connect the iPod�-specific end of
the cable to the iPod� and the USB end of the
cable to the USB jack on the vehicle. If your iPod�
supports charging via a USB connection, its bat- tery will be charged while connected to the ve-
hicle with the ignition switch in the ACC or ON
position.
While connected to the vehicle, the iPod�
can
only be operated by the vehicle audio controls.
To disconnect the iPod� from the vehicle, remove
the USB end of the cable from the USB jack on
the vehicle, then remove the cable from the
iPod�.
*iPod �is a trademark of Apple Inc., registered in
the U.S. and other countries.
Compatibility
The following models are available:
● iPod� 5th Generation version 1.2.1
● iPod� Classic - version 1.1
● iPod� Touch - version 2.1.0
● iPod� Nano - 1st generation version 1.3.1
● iPod� Nano - 2nd generation version 1.1.3
● iPod� Nano - 3rd generation version 1.0.2
Make sure that your iPod� firmware is updated.