Page 15 of 438
1. Vents (P. 4-18)
2. Headlight/fog light (if so equipped)/turnsignal switch (P. 2-28) 3. Steering wheel switch for audio control
(if so equipped)/Bluetooth� Hands-free
Phone System (if so equipped)
(P. 4-96, P. 4-92, P. 4-107)
4. Meters and gauges (P. 2-3) 5. Driver supplemental air bag/horn
(P. 1-42, P. 2-33)
6. Cruise control main/set switch
(P. 5-19)
7. Windshield wiper and washer switch
(P. 2-26)
8. Ignition switch (P. 5-7)
9. Hazard warning flasher switch (P. 2-33)
10. Front passenger air bag status light
(P. 1-51)
11. Front passenger supplemental air bag
(P. 1-42)
12. Glove box (P. 2-39)
13. Navigation system* (if so equipped)
(P. 4-2)
14. Covered storage box (P. 2-40)
15. Heater and air conditioner (automatic)
(P. 4-27)
16. Heater and air conditioner (manual)
(P. 4-19)
17. Shift selector (P. 5-11)
18. Audio system controls (if so equipped)/
Storage (if so equipped)
(P. 4-30, P.2-40)
19. Tilt/telescopic steering wheel controls
(P. 3-27)
Page 79 of 438
1. Vents (P. 4-18)
2. Headlight/fog light (if so equipped)/turnsignal switch (P. 2-28) 3. Steering wheel switch for audio control
(if so equipped)/Bluetooth� Hands-free
Phone System (if so equipped)
(P. 4-96, P. 4-92, P. 4-107)
4. Meters and gauges (P. 2-3) 5. Driver supplemental air bag/horn
(P. 1-42, P. 2-33)
6. Cruise control main/set switch
(P. 5-19)
7. Windshield wiper and washer switch
(P. 2-26)
8. Ignition switch (P. 5-7)
9. Hazard warning flasher switch (P. 2-33)
10. Front passenger air bag status light
(P. 1-51)
11. Front passenger supplemental air bag
(P. 1-42)
12. Glove box (P. 2-39)
13. Navigation system* (if so equipped)
(P. 4-2)
14. Covered storage box (P. 2-40)
15. Heater and air conditioner (automatic)
(P. 4-27)
16. Heater and air conditioner (manual)
(P. 4-19)
17. Shift selector (P. 5-11)
18. Audio system controls (if so equipped)/
Storage (if so equipped)
(P. 4-30, P.2-40)
19. Tilt/telescopic steering wheel controls
(P. 3-27)
Page 105 of 438
NOTE:
The top and bottom few rows of wires on
the rear window are not part of the rear
window defroster system. These wires
make up the antenna for the audio system.
XENON HEADLIGHTS (if so
equipped)
Page 147 of 438

CAUTION
Listed below are conditions or occur-
rences which will damage the Intelligent
Key:
●Do not allow the Intelligent Key, which
contains electrical components, to
come into contact with water or salt
water. This could affect the system
function.
● Do not drop the Intelligent Key.
● Do not strike the Intelligent Key sharply
against another object.
● Do not change or modify the Intelligent
Key.
● Wetting may damage the Intelligent
Key. If the Intelligent Key gets wet, im-
mediately wipe until it is completely dry.
● Do not place the Intelligent Key for an
extended period in an area where tem-
peratures exceed 140°F (60°C) .
● Do not attach the Intelligent Key with a
key holder that contains a magnet.
● Do not place the Intelligent Key near
equipment that produces a magnetic
field, such as a TV, audio equipment and
personal computers. If an Intelligent Key is lost or stolen, NISSAN
recommends erasing the ID code of that Intelli-
gent Key from the vehicle. This may prevent the
unauthorized use of the Intelligent Key to operate
the vehicle. For information regarding the erasing
procedure, contact a NISSAN dealer.
OPERATING RANGE
The Intelligent Key functions can only be used
when the Intelligent Key is within the specified
operating range.
When the Intelligent Key battery is discharged or
strong radio waves are present near the operat-
ing location, the Intelligent Key system’s operat-
ing range becomes narrower, and the Intelligent
Key may not function properly.
The operating range is within 33 ft (10 m) of the
vehicle.
HOW TO USE THE REMOTE
KEYLESS ENTRY FUNCTION
The remote keyless entry function can operate all
door locks using the remote keyless function of
the Intelligent Key. The remote keyless function
can operate at a distance of 33 ft (10 m) away
from the vehicle. The operating distance de-
pends upon the conditions around the vehicle.
The remote keyless entry function will not func-
tion under the following conditions:
● When the Intelligent Key is not within the
operational range.
● When the doors or the trunk are open or not
closed securely.
● When the Intelligent Key battery is dis-
charged.
Page 161 of 438
4 Monitor, climate, audio, phone and voice
recognition systems
Control panel buttons — color screen with
Navigation System (if so equipped)..................4-2
How to use the touch screen ....................4-3
How to select menus on the screen ..............4-5
How to use the INFO button .....................4-5
How to use the SETTING button .................4-6
Page 168 of 438

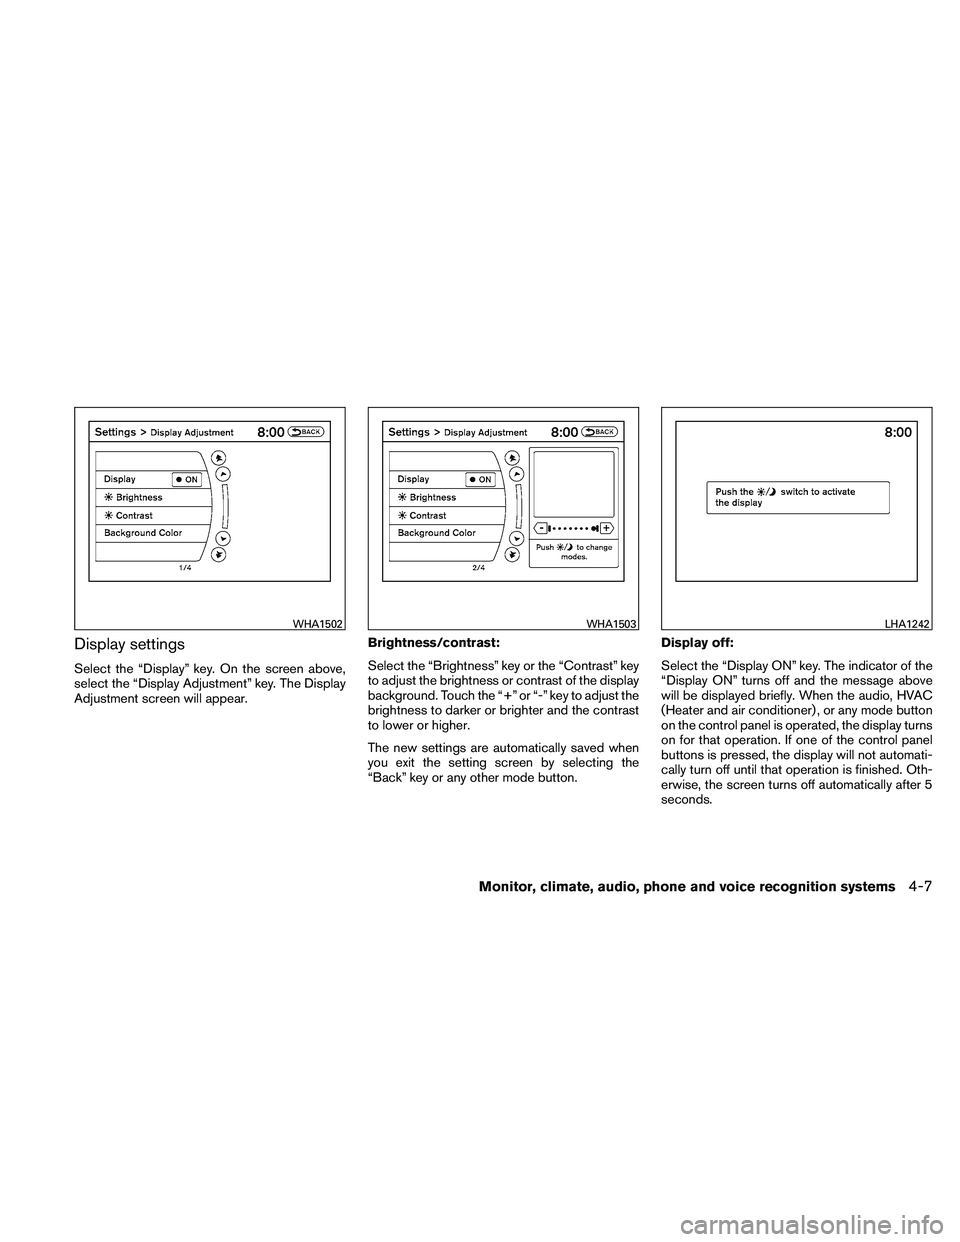
Display settings
Select the “Display” key. On the screen above,
select the “Display Adjustment” key. The Display
Adjustment screen will appear.Brightness/contrast:
Select the “Brightness” key or the “Contrast” key
to adjust the brightness or contrast of the display
background. Touch the “+” or “-” key to adjust the
brightness to darker or brighter and the contrast
to lower or higher.
The new settings are automatically saved when
you exit the setting screen by selecting the
“Back” key or any other mode button.Display off:
Select the “Display ON” key. The indicator of the
“Display ON” turns off and the message above
will be displayed briefly. When the audio, HVAC
(Heater and air conditioner) , or any mode button
on the control panel is operated, the display turns
on for that operation. If one of the control panel
buttons is pressed, the display will not automati-
cally turn off until that operation is finished. Oth-
erwise, the screen turns off automatically after 5
seconds.
Page 173 of 438

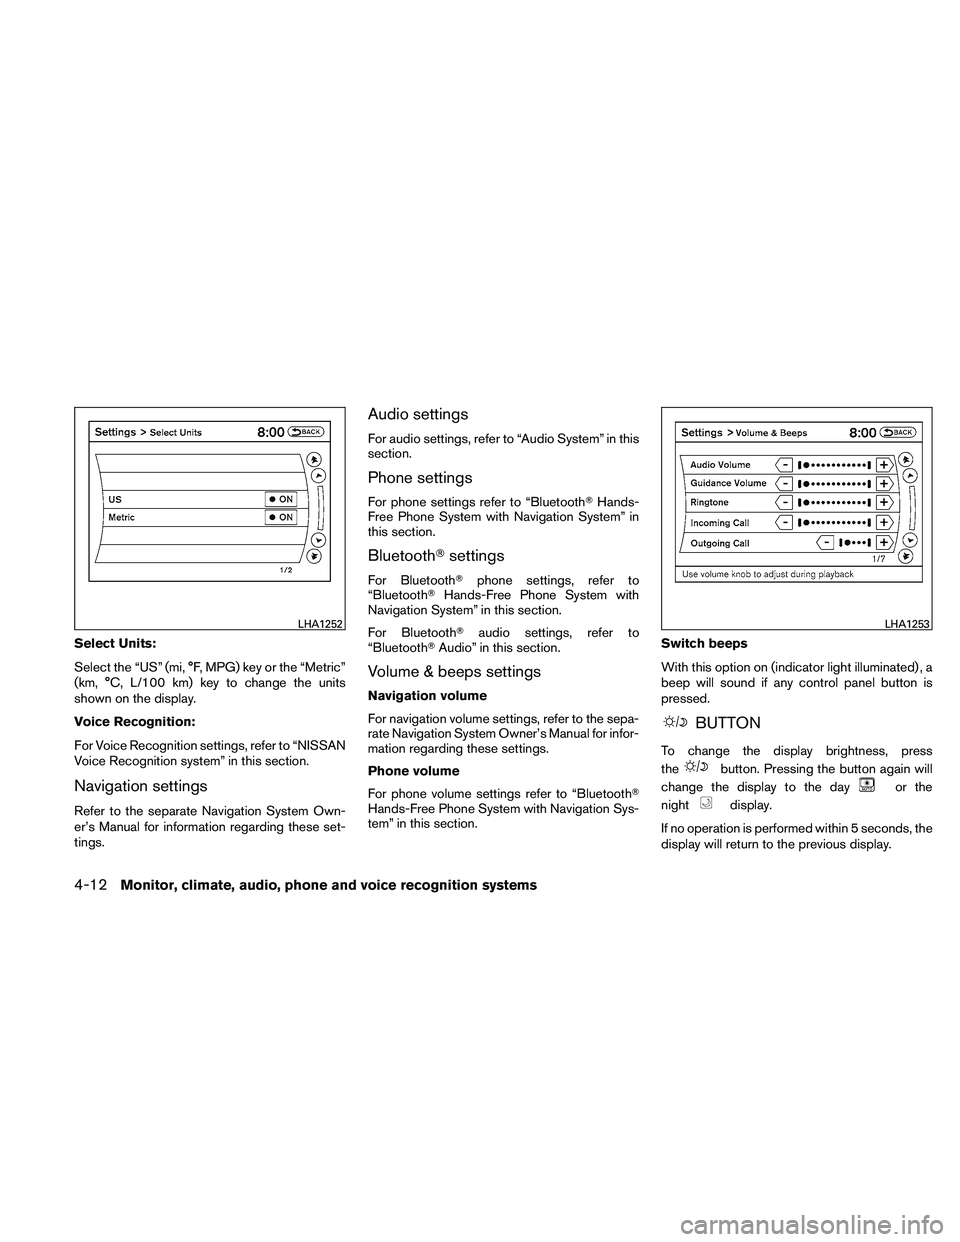
Select Units:
Select the “US” (mi, °F, MPG) key or the “Metric”
(km, °C, L/100 km) key to change the units
shown on the display.
Voice Recognition:
For Voice Recognition settings, refer to “NISSAN
Voice Recognition system” in this section.
Navigation settings
Refer to the separate Navigation System Own-
er’s Manual for information regarding these set-
tings.
Audio settings
For audio settings, refer to “Audio System” in this
section.
Phone settings
For phone settings refer to “Bluetooth�Hands-
Free Phone System with Navigation System” in
this section.
Bluetooth� settings
For Bluetooth� phone settings, refer to
“Bluetooth� Hands-Free Phone System with
Navigation System” in this section.
For Bluetooth� audio settings, refer to
“Bluetooth� Audio” in this section.
Volume & beeps settings
Navigation volume
For navigation volume settings, refer to the sepa-
rate Navigation System Owner’s Manual for infor-
mation regarding these settings.
Phone volume
For phone volume settings refer to “Bluetooth�
Hands-Free Phone System with Navigation Sys-
tem” in this section. Switch beeps
With this option on (indicator light illuminated) , a
beep will sound if any control panel button is
pressed.
Page 178 of 438

ADJUSTING THE SCREEN
The procedure for adjusting the quality of the
screen differs depending on the type of screen
present on the vehicle.
For vehicles without a touch screen (Type A):● To adjust the Brightness and Contrast,
press the ENTER button on the audio sys-
tem repeatedly until the desired setting is
displayed. Use the TUNE/SCROLL knob to
adjust the display to the desired level. ●
Do not adjust the Brightness or Contrast of
the RearView Monitor while the vehicle is
moving.
For vehicles with a touch screen (Type B): ● To adjust the Brightness, Contrast, Display
ON/OFF and Color of the RearView Moni-
tor, press the SETTING button and then
select the “Display” key with the RearView
Monitor on. When the display adjustment
screen appears, touch the “–” or “+” key on
the desired item and adjust the level.
● Do not adjust the Brightness, Contrast, and
Color of the RearView Monitor while the
vehicle is moving.
OPERATING TIPS
● When the shift selector is shifted to R (Re-
verse) , the monitor screen automatically
changes to the RearView Monitor mode.
However, the radio can be heard. ●
It may take some time until the RearView
Monitor is displayed after the shift selector
has been shifted to R (Reverse) . Objects
may be distorted momentarily until the Rear-
View Monitor screen is displayed com-
pletely. When the shift selector is returned to
a position other than R (Reverse) , it may take
some time until the screen changes. Objects
on the screen may be distorted until they are
completely displayed.
● When the temperature is extremely high or
low, the screen may not clearly display ob-
jects. This is not a malfunction.
● When strong light directly enters the cam-
era, objects may not be displayed clearly.
● Vertical lines may be seen in objects on the
screen. This is due to strong reflected light
from the bumper. This is not a malfunction.
● The screen may flicker under fluorescent
light. This is not a malfunction.
● The colors of objects on the RearView Moni-
tor may differ somewhat from those of the
actual object.
● When the contrast of objects is low at night,
pressing the SETTING button or ENTER
button may not change the brightness.