Page 169 of 438
To turn the screen on:● Press the SETTING button and select the
“Display” key and then select the “Display
ON” key, or
● Press the
Page 170 of 438
Clock Format (24h):
When this item is enabled (indicator light illumi-
nated) , the clock format will change from the
default 12-hour display to a 24-hour display.
Offset (hour):
Adjust the time by increasing or decreasing the
hours.
Offset (minute):
Adjust the time by increasing or decreasing the
minutes.
Daylight Savings Time:
When this item is enabled (indicator light illumi-
nated) , daylight savings time is on. To turn off the
daylight savings time, touch the “ON” key; the
amber indicator light will go out.Time Zone:
Select the “Time Zone” key; the Time Zone
screen will appear.
Select one of the following zones, depending on
the current location, by selecting the correct time
zone key to enable that time zone (indicator light
will illuminate for that location) .
● Pacific
● Mountain
● Central
● Eastern
● Atlantic ●
Newfoundland
● Hawaii
● Alaska
After selection/settings, select the “Back” key or
any other mode button to accept the changes.
Page 171 of 438
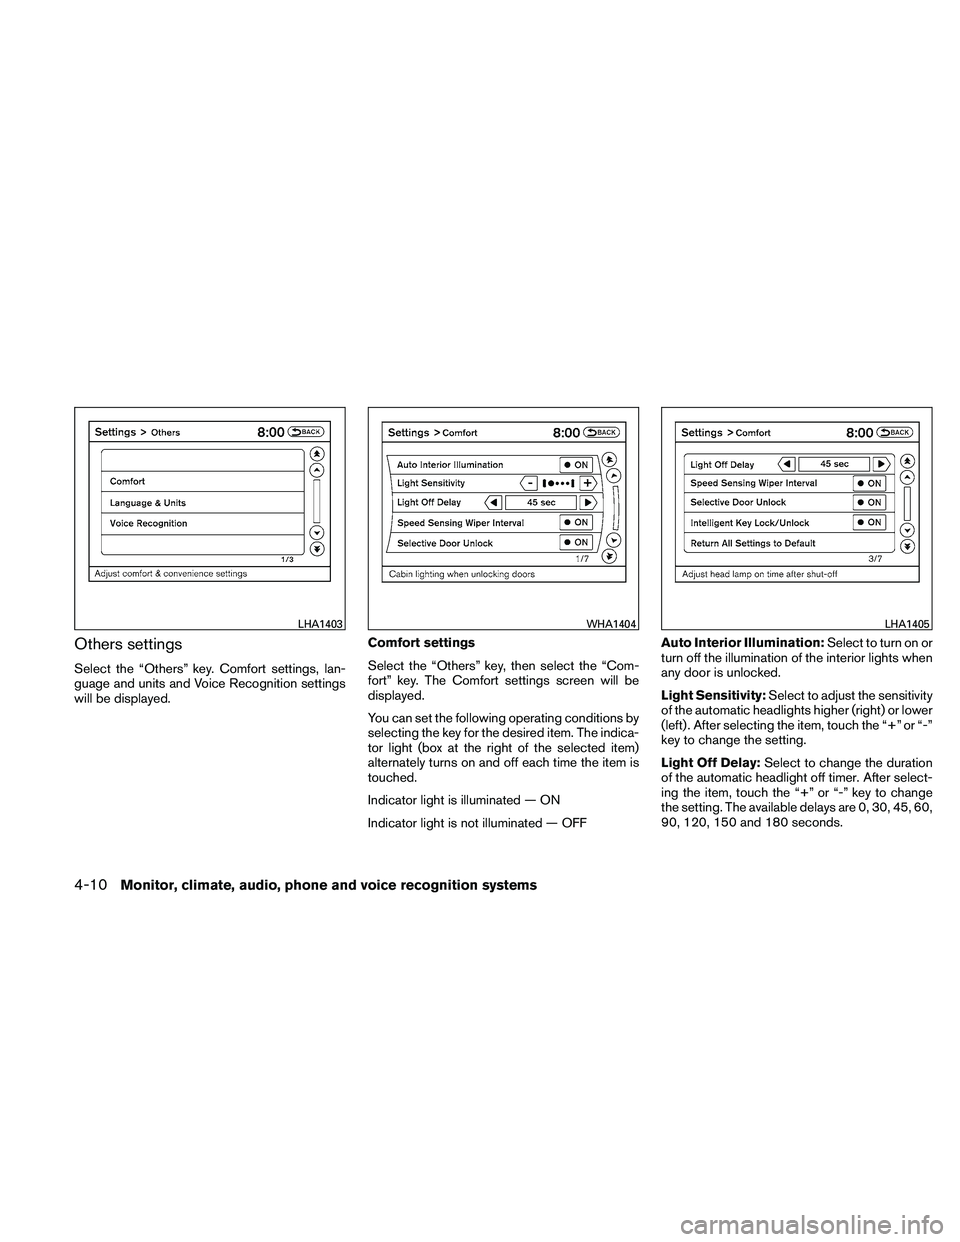
Others settings
Select the “Others” key. Comfort settings, lan-
guage and units and Voice Recognition settings
will be displayed.Comfort settings
Select the “Others” key, then select the “Com-
fort” key. The Comfort settings screen will be
displayed.
You can set the following operating conditions by
selecting the key for the desired item. The indica-
tor light (box at the right of the selected item)
alternately turns on and off each time the item is
touched.
Indicator light is illuminated — ON
Indicator light is not illuminated — OFFAuto Interior Illumination:
Select to turn on or
turn off the illumination of the interior lights when
any door is unlocked.
Light Sensitivity: Select to adjust the sensitivity
of the automatic headlights higher (right) or lower
(left) . After selecting the item, touch the “+” or “-”
key to change the setting.
Light Off Delay: Select to change the duration
of the automatic headlight off timer. After select-
ing the item, touch the “+” or “-” key to change
the setting. The available delays are 0, 30, 45, 60,
90, 120, 150 and 180 seconds.
Page 172 of 438
Speed Sensing Wiper Interval:Select to turn
on or turn off the wiper interval adjusted automati-
cally according to the vehicle speed.
Selective Door Unlock: When this item is
turned on, only the driver’s door is unlocked first
after the door unlock operation. When the door
handle request switch on the driver’s or front
passenger’s side door is pushed to be unlocked,
only the corresponding door is unlocked first. All
the doors can be unlocked if the door unlock
operation is performed again within one minute.
When this item is turned to off, all the doors will
be unlocked after the door unlock operation is
performed once.
Intelligent Key Lock / Unlock: Select to turn
on or turn off the door lock/unlock function by
pushing the door handle request switch.
Return All Settings to Default: Select to
change all the comfort and convenience systems
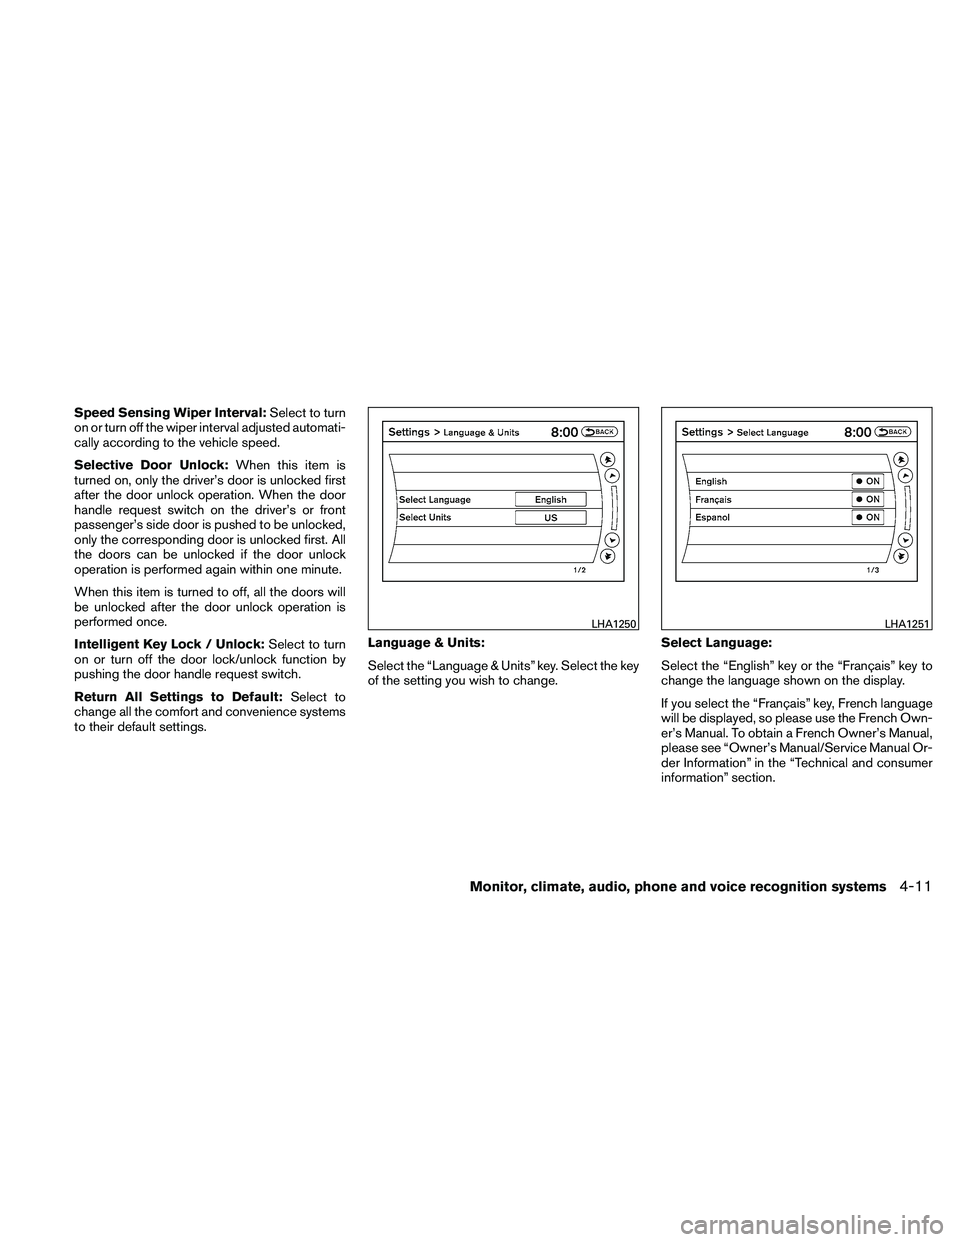
to their default settings. Language & Units:
Select the “Language & Units” key. Select the key
of the setting you wish to change.
Select Language:
Select the “English” key or the “Français” key to
change the language shown on the display.
If you select the “Français” key, French language
will be displayed, so please use the French Own-
er’s Manual. To obtain a French Owner’s Manual,
please see “Owner’s Manual/Service Manual Or-
der Information” in the “Technical and consumer
information” section.
Page 173 of 438
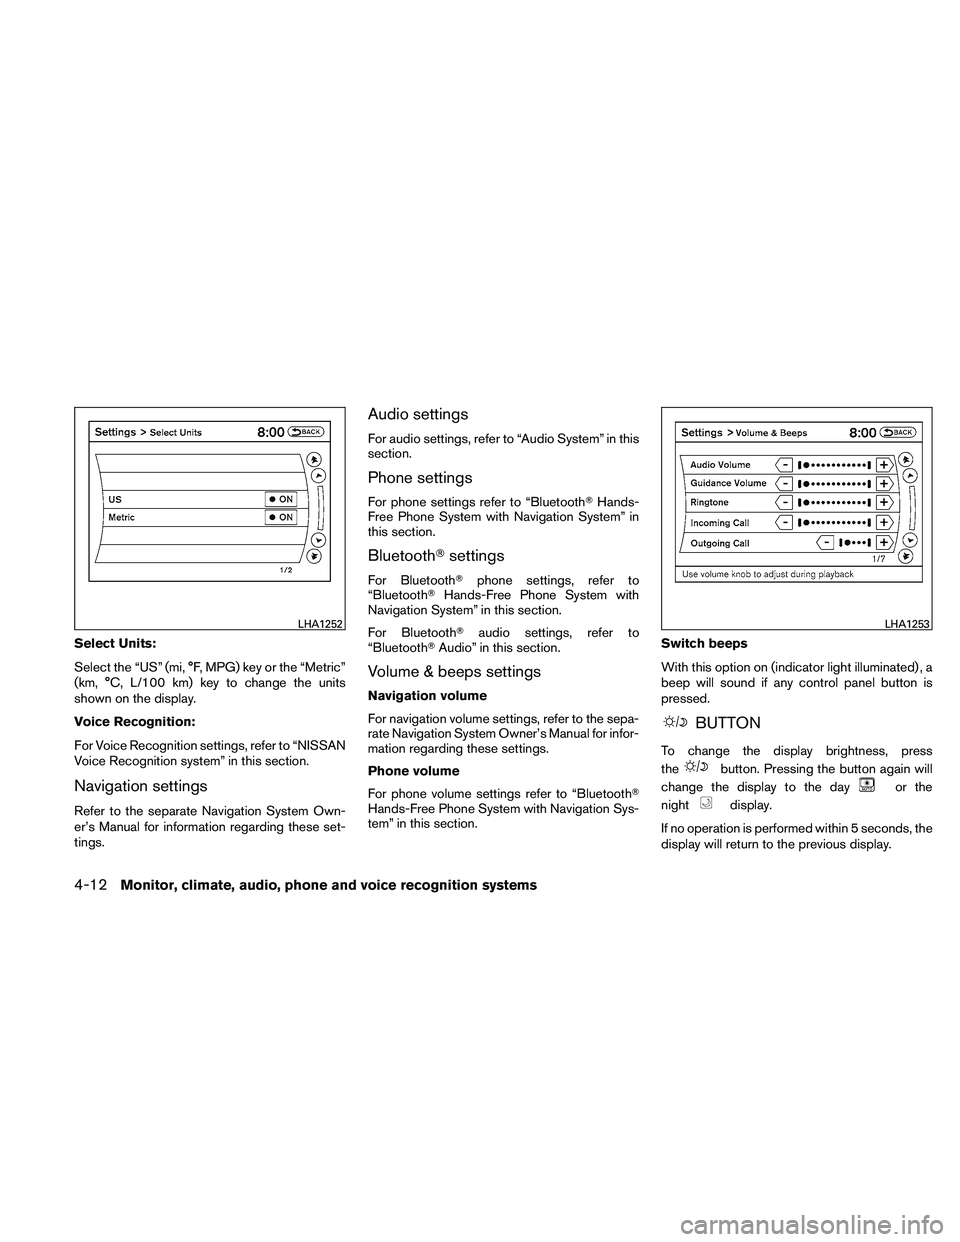
Select Units:
Select the “US” (mi, °F, MPG) key or the “Metric”
(km, °C, L/100 km) key to change the units
shown on the display.
Voice Recognition:
For Voice Recognition settings, refer to “NISSAN
Voice Recognition system” in this section.
Navigation settings
Refer to the separate Navigation System Own-
er’s Manual for information regarding these set-
tings.
Audio settings
For audio settings, refer to “Audio System” in this
section.
Phone settings
For phone settings refer to “Bluetooth�Hands-
Free Phone System with Navigation System” in
this section.
Bluetooth� settings
For Bluetooth� phone settings, refer to
“Bluetooth� Hands-Free Phone System with
Navigation System” in this section.
For Bluetooth� audio settings, refer to
“Bluetooth� Audio” in this section.
Volume & beeps settings
Navigation volume
For navigation volume settings, refer to the sepa-
rate Navigation System Owner’s Manual for infor-
mation regarding these settings.
Phone volume
For phone volume settings refer to “Bluetooth�
Hands-Free Phone System with Navigation Sys-
tem” in this section. Switch beeps
With this option on (indicator light illuminated) , a
beep will sound if any control panel button is
pressed.
Page 178 of 438

ADJUSTING THE SCREEN
The procedure for adjusting the quality of the
screen differs depending on the type of screen
present on the vehicle.
For vehicles without a touch screen (Type A):● To adjust the Brightness and Contrast,
press the ENTER button on the audio sys-
tem repeatedly until the desired setting is
displayed. Use the TUNE/SCROLL knob to
adjust the display to the desired level. ●
Do not adjust the Brightness or Contrast of
the RearView Monitor while the vehicle is
moving.
For vehicles with a touch screen (Type B): ● To adjust the Brightness, Contrast, Display
ON/OFF and Color of the RearView Moni-
tor, press the SETTING button and then
select the “Display” key with the RearView
Monitor on. When the display adjustment
screen appears, touch the “–” or “+” key on
the desired item and adjust the level.
● Do not adjust the Brightness, Contrast, and
Color of the RearView Monitor while the
vehicle is moving.
OPERATING TIPS
● When the shift selector is shifted to R (Re-
verse) , the monitor screen automatically
changes to the RearView Monitor mode.
However, the radio can be heard. ●
It may take some time until the RearView
Monitor is displayed after the shift selector
has been shifted to R (Reverse) . Objects
may be distorted momentarily until the Rear-
View Monitor screen is displayed com-
pletely. When the shift selector is returned to
a position other than R (Reverse) , it may take
some time until the screen changes. Objects
on the screen may be distorted until they are
completely displayed.
● When the temperature is extremely high or
low, the screen may not clearly display ob-
jects. This is not a malfunction.
● When strong light directly enters the cam-
era, objects may not be displayed clearly.
● Vertical lines may be seen in objects on the
screen. This is due to strong reflected light
from the bumper. This is not a malfunction.
● The screen may flicker under fluorescent
light. This is not a malfunction.
● The colors of objects on the RearView Moni-
tor may differ somewhat from those of the
actual object.
● When the contrast of objects is low at night,
pressing the SETTING button or ENTER
button may not change the brightness.
Page 217 of 438
AUDIO control knob (Bass, Treble, Balance
and Fade):
Press the AUDIO control knob to change the
mode as follows:
Bass→Treble →Balance →Fade
To adjust Bass, Treble, Balance and Fade, press
the AUDIO control knob until the desired mode
appears in the display. Turn the tuning knob to
adjust Bass and Treble to the desired level. You
can also use the tuning knob to adjust Fade and
Balance modes. Fade adjusts the sound level
between the front and rear speakers and Balance
adjusts the sound between the right and left
speakers.
Once you have adjusted the sound quality to the
desired level, press the AUDIO control knob re-
peatedly until the radio or CD display reappears.
If the control knob is not pressed for approxi-
mately 10 seconds, the radio or CD display will
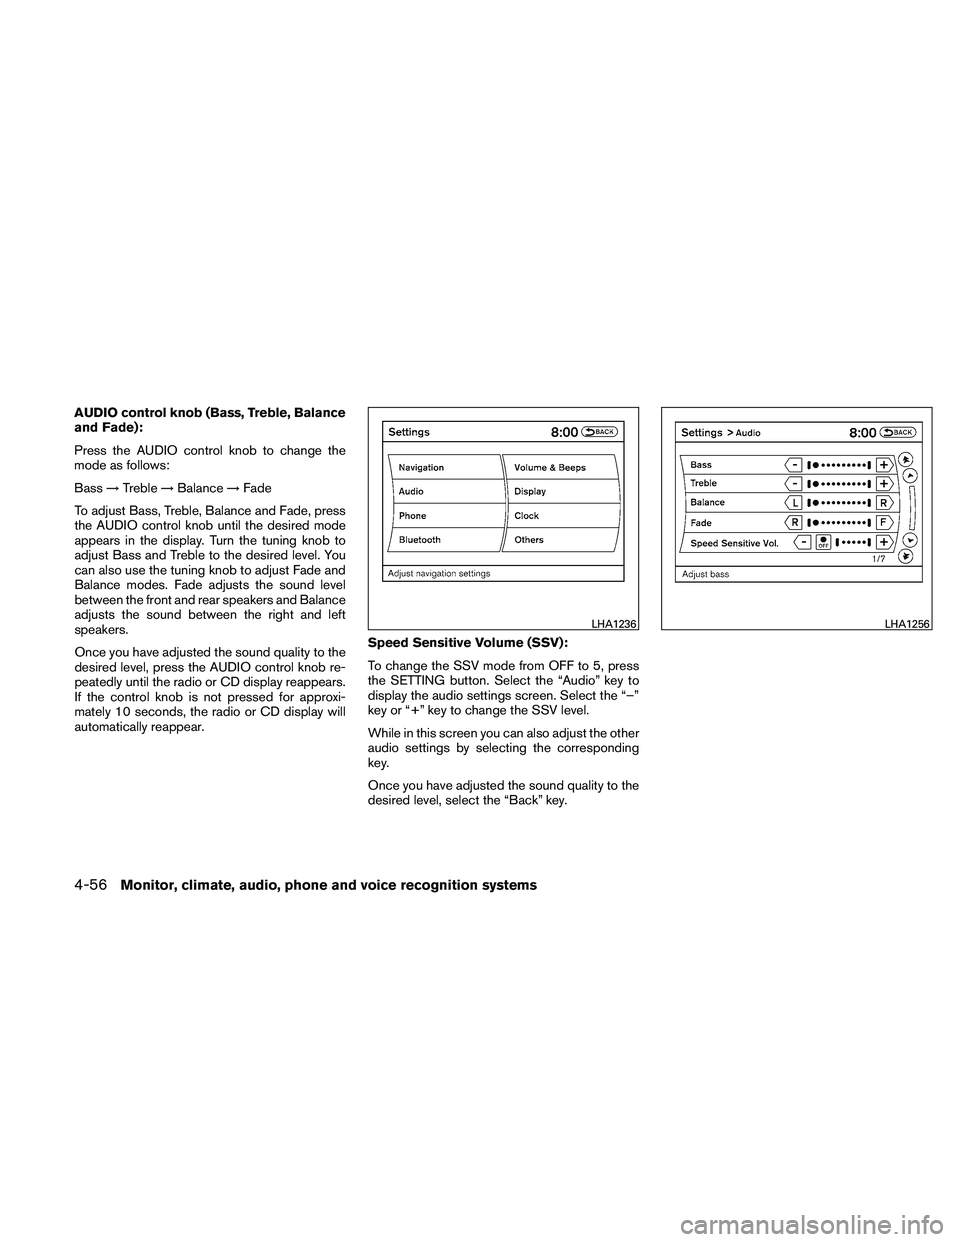
automatically reappear. Speed Sensitive Volume (SSV):
To change the SSV mode from OFF to 5, press
the SETTING button. Select the “Audio” key to
display the audio settings screen. Select the “–”
key or “+” key to change the SSV level.
While in this screen you can also adjust the other
audio settings by selecting the corresponding
key.
Once you have adjusted the sound quality to the
desired level, select the “Back” key.
Page 218 of 438
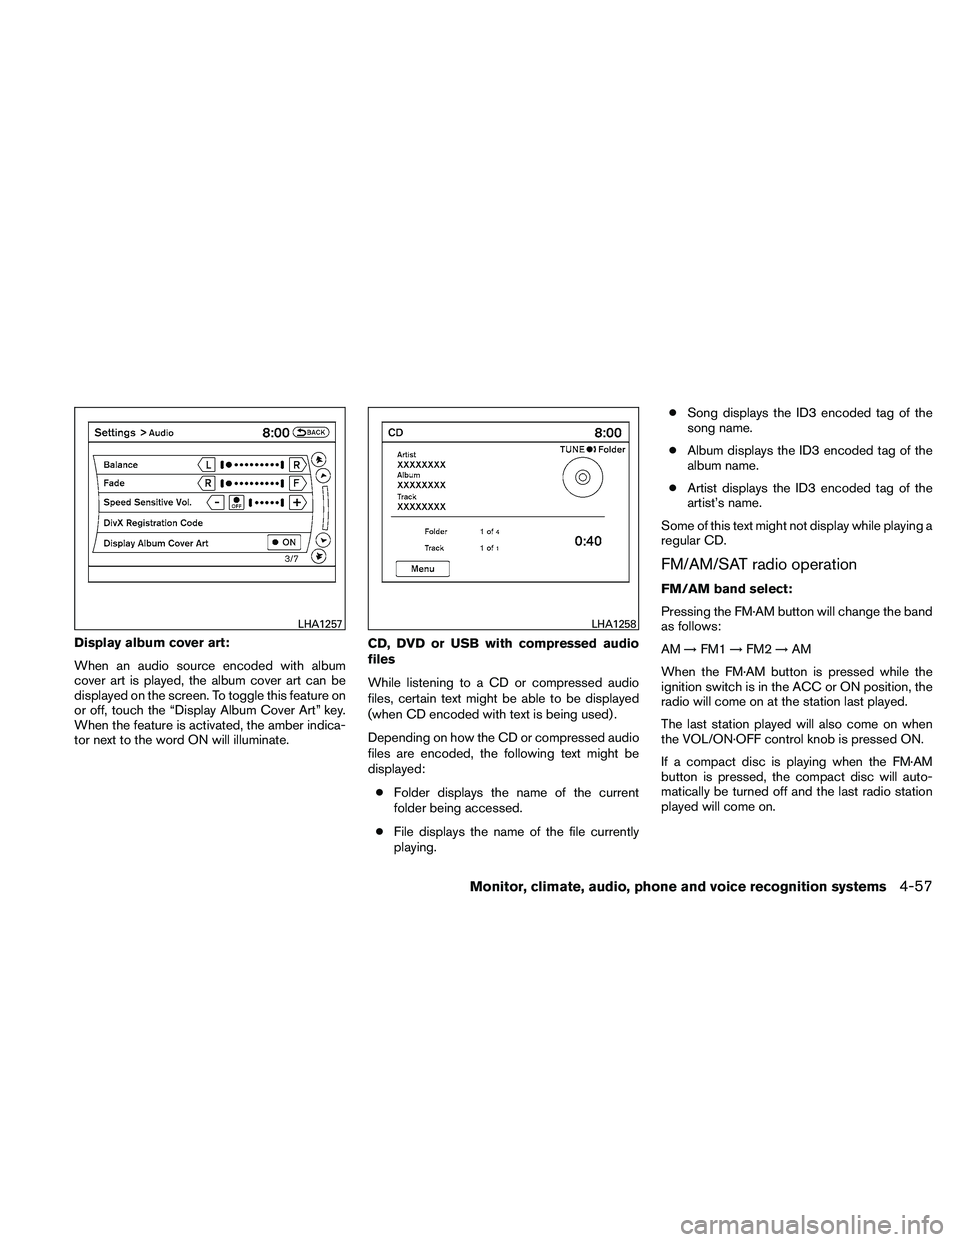
Display album cover art:
When an audio source encoded with album
cover art is played, the album cover art can be
displayed on the screen. To toggle this feature on
or off, touch the “Display Album Cover Art” key.
When the feature is activated, the amber indica-
tor next to the word ON will illuminate.CD, DVD or USB with compressed audio
files
While listening to a CD or compressed audio
files, certain text might be able to be displayed
(when CD encoded with text is being used) .
Depending on how the CD or compressed audio
files are encoded, the following text might be
displayed:
● Folder displays the name of the current
folder being accessed.
● File displays the name of the file currently
playing. ●
Song displays the ID3 encoded tag of the
song name.
● Album displays the ID3 encoded tag of the
album name.
● Artist displays the ID3 encoded tag of the
artist’s name.
Some of this text might not display while playing a
regular CD.
FM/AM/SAT radio operation
FM/AM band select:
Pressing the FM·AM button will change the band
as follows:
AM →FM1 →FM2 →AM
When the FM·AM button is pressed while the
ignition switch is in the ACC or ON position, the
radio will come on at the station last played.
The last station played will also come on when
the VOL/ON·OFF control knob is pressed ON.
If a compact disc is playing when the FM·AM
button is pressed, the compact disc will auto-
matically be turned off and the last radio station
played will come on.