Page 95 of 194
TheHealth & Medicinecategory contains:
•Hospital•Pharmacy
•Retirement / Nursing Home•Urgent care center
TheDomestic Servicescategory contains:
•Personal care services•Cleaners / Laundry
•Florist•Funeral home
•Storage•Tailor & Alteration
•Vet service
ThePersonal care servicessub-category contains:
•Barber shop•Beauty salon
•Cosmetics / Beauty•Nail salon
•Spa
Destination voice commands (if equipped)
When setting a destination by voice, press
or VOICE on the steering
wheel controls. When prompted, say “Destination” and then wait or the
system to sound two tones, and say any of the following commands:
•Home•
•Nearest POI•
•POI•POI category
•Street address•Previous destination
•Destination help
EDITING A NAVIGATION ROUTE
To edit your navigation route:
1. Press the DEST hard button on the navigation system.
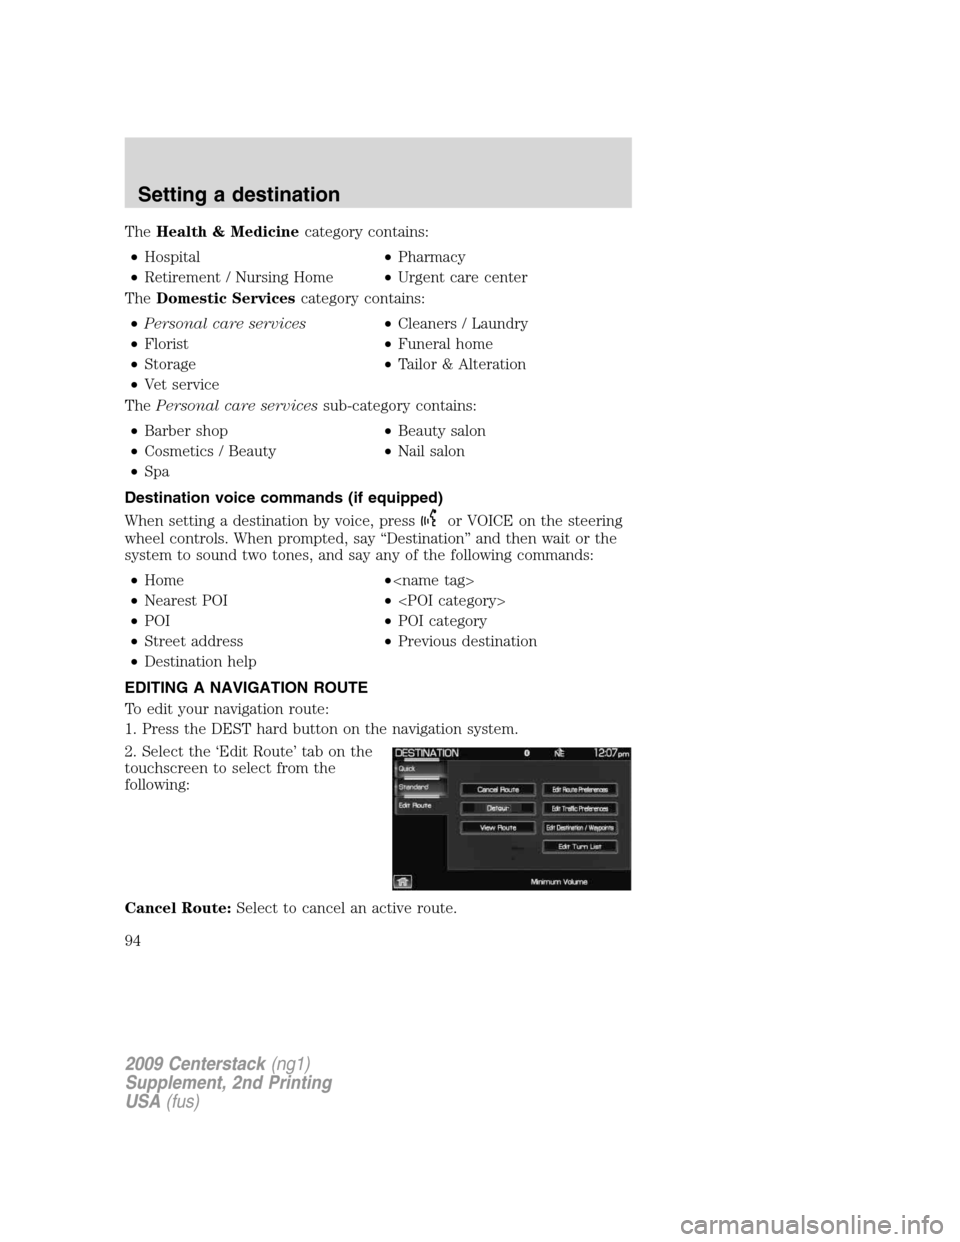
2. Select the ‘Edit Route’ tab on the
touchscreen to select from the
following:
Cancel Route:Select to cancel an active route.
2009 Centerstack(ng1)
Supplement, 2nd Printing
USA(fus)
Setting a destination
94
Page 96 of 194
Detour:Select to set an avoid area on the current route.
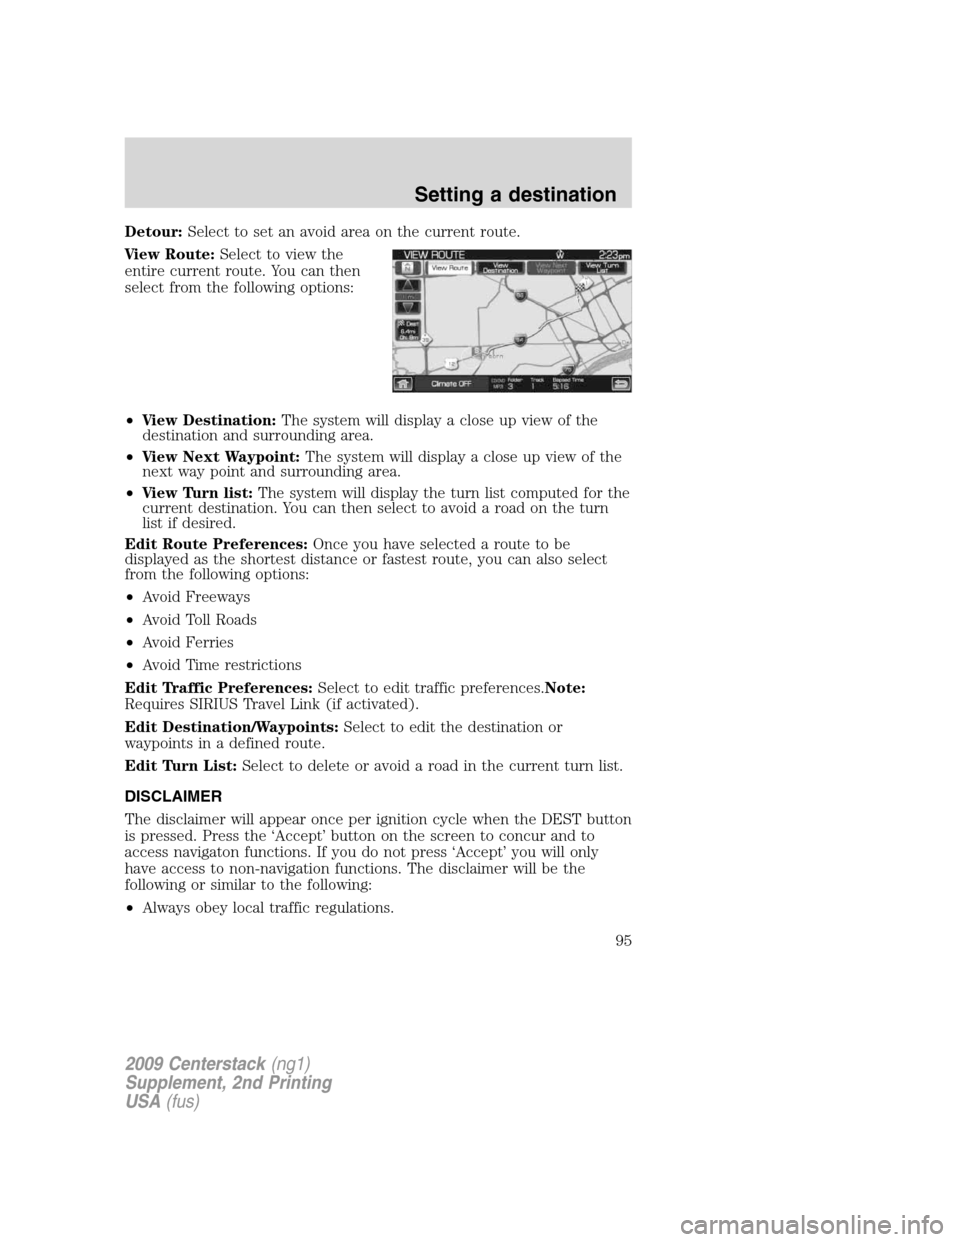
View Route:Select to view the
entire current route. You can then
select from the following options:
•View Destination:The system will display a close up view of the
destination and surrounding area.
•View Next Waypoint:The system will display a close up view of the
next way point and surrounding area.
•View Turn list:The system will display the turn list computed for the
current destination. You can then select to avoid a road on the turn
list if desired.
Edit Route Preferences:Once you have selected a route to be
displayed as the shortest distance or fastest route, you can also select
from the following options:
•Avoid Freeways
•Avoid Toll Roads
•Avoid Ferries
•Avoid Time restrictions
Edit Traffic Preferences:Select to edit traffic preferences.Note:
Requires SIRIUS Travel Link (if activated).
Edit Destination/Waypoints:Select to edit the destination or
waypoints in a defined route.
Edit Turn List:Select to delete or avoid a road in the current turn list.
DISCLAIMER
The disclaimer will appear once per ignition cycle when the DEST button
is pressed. Press the ‘Accept’ button on the screen to concur and to
access navigaton functions. If you do not press ‘Accept’ you will only
have access to non-navigation functions. The disclaimer will be the
following or similar to the following:
•Always obey local traffic regulations.
2009 Centerstack(ng1)
Supplement, 2nd Printing
USA(fus)
Setting a destination
95
Page 97 of 194
•It is recommended to program the system only when stopped.
•Some functions are unavailable while the vehicle is in motion to help
minimize distraction.
•Please refer to your Owner’s Guide for further details.
•Periodic map updates are available at an additional cost.
MAP MODE
To enter map mode:
1. Ensure that the system is on.
2. Press the MAP hard button on the navigation system. The map screen
will display.
When in MAP mode, an icon appears on the upper left side of the
screen; this is a toggle button to change the view of the map displayed.
The following methods exist for orientation of the map:
•Heading up:In this mode, the
direction of forward travel is
always the upward direction on
screen. Available for map scales up to 2.5 mi /5km. For scales above
that, the setting for Heading-Up is remembered, but the map is shown
in North-Up only. If the scale returns below this level, then the
Heading-Up setting is restored.
•North up:In this mode, the
Northern Direction is always the
upward direction on screen.
MAP SCALE
The map display scale on the map
has 12 levels, ranging from
0.02 miles to 160 miles. In MAP
mode, you can also zoom in or out,
changing the display scale by pressing on one of the arrows on the
button appearing on the left side of the screen. When in Full Screen Map
Mode, touching this button will cause the Zoom Direct buttons to appear.
The Zoom Direct buttons represent the most common scales and can be
pressed directly to show the map at the desired scale. The scale is
approximate and based on the width of the display button (A). The size
of the scale will vary based on the screen size.
A
2009 Centerstack(ng1)
Supplement, 2nd Printing
USA(fus)
Setting a destination
96
Page 101 of 194
NAVIGATION FEATURES
To access the navigation features, press NAV on the navigation system.
You can then select from the following options:
Map Prefs:Select to access/adjust
map content such as Street name,
Time to destination, Speed Limit ,
Bread crumbs, POI, Map views,
Bird’s eye view and Turn list format.
Route Prefs:Press to select
between Shortest Distance, Fastest
time when navigating a route. Also
select to avoid freeways, toll roads
ferries, etc.
Traffic Prefs:Select to have the
system color code roads according
to speed of traffic flow, or if you
would like to receive traffic alerts.
Note:Requires SIRIUS Travel Link
(if activated). SIRIUS Travel Link is
only available in the U.S.
2009 Centerstack(ng1)
Supplement, 2nd Printing
USA(fus)
Navigation route preferences
100
Page 102 of 194
You can also have the system add
special icons to the map for things
such as road work, accidents, etc.
Navigation Prefs:Select to
access/adjust guidance prompts,
average speed, fuel price display,
calibration and default settings.
Avoid Areas:Press to select
specific areas which you would like
the navigation system to avoid when
routing a destination. The system
will do its best to avoid the items
and areas that have been set. There
will be some situations where it may
be impossible to completely honor
the avoid settings. For example, if a
destination or waypoint is located in
an area that is set to avoid, the system will not be able to avoid it.
2009 Centerstack(ng1)
Supplement, 2nd Printing
USA(fus)
Navigation route preferences
101
Page 103 of 194
MAP PREFERENCES
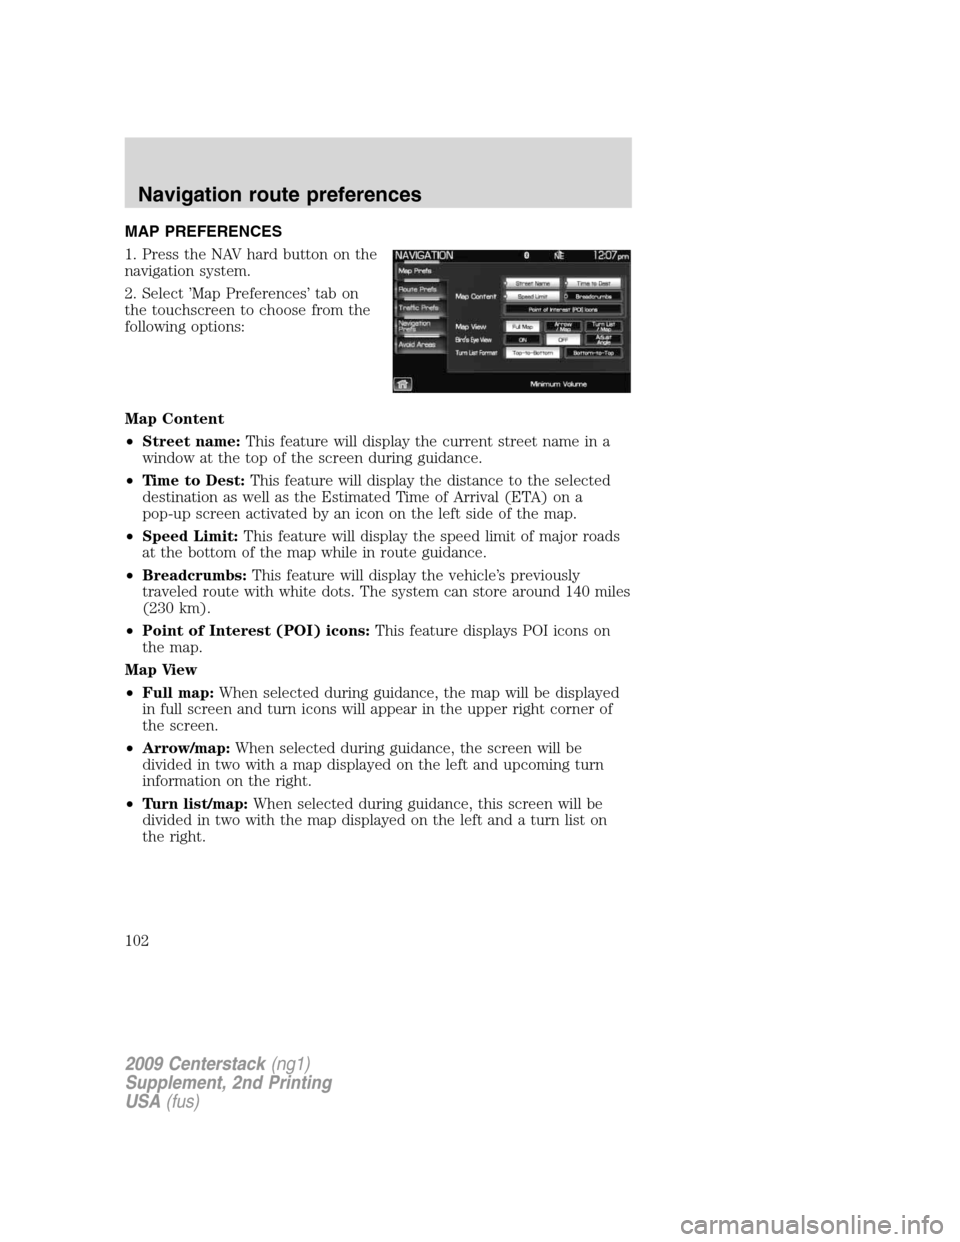
1. Press the NAV hard button on the
navigation system.
2. Select ’Map Preferences’ tab on
the touchscreen to choose from the
following options:
Map Content
•Street name:This feature will display the current street name in a
window at the top of the screen during guidance.
•Time to Dest:This feature will display the distance to the selected
destination as well as the Estimated Time of Arrival (ETA) on a
pop-up screen activated by an icon on the left side of the map.
•Speed Limit:This feature will display the speed limit of major roads
at the bottom of the map while in route guidance.
•Breadcrumbs:This feature will display the vehicle’s previously
traveled route with white dots. The system can store around 140 miles
(230 km).
•Point of Interest (POI) icons:This feature displays POI icons on
the map.
Map View
•Full map:When selected during guidance, the map will be displayed
in full screen and turn icons will appear in the upper right corner of
the screen.
•Arrow/map:When selected during guidance, the screen will be
divided in two with a map displayed on the left and upcoming turn
information on the right.
•Turn list/map:When selected during guidance, this screen will be
divided in two with the map displayed on the left and a turn list on
the right.
2009 Centerstack(ng1)
Supplement, 2nd Printing
USA(fus)
Navigation route preferences
102
Page 104 of 194
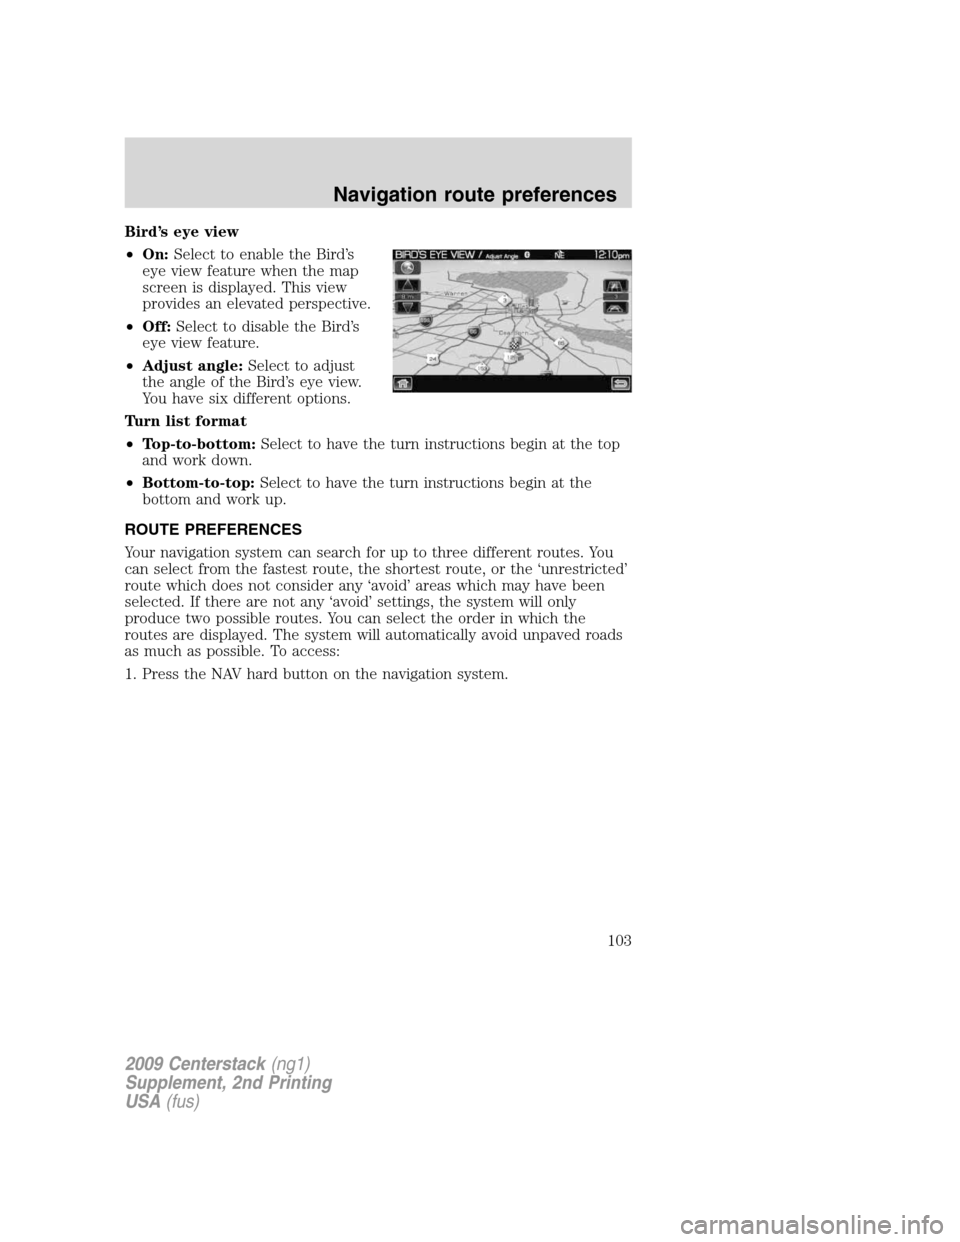
Bird’s eye view
•On:Select to enable the Bird’s
eye view feature when the map
screen is displayed. This view
provides an elevated perspective.
•Off:Select to disable the Bird’s
eye view feature.
•Adjust angle:Select to adjust
the angle of the Bird’s eye view.
You have six different options.
Turn list format
•Top-to-bottom:Select to have the turn instructions begin at the top
and work down.
•Bottom-to-top:Select to have the turn instructions begin at the
bottom and work up.
ROUTE PREFERENCES
Your navigation system can search for up to three different routes. You
can select from the fastest route, the shortest route, or the ‘unrestricted’
route which does not consider any ‘avoid’ areas which may have been
selected. If there are not any ‘avoid’ settings, the system will only
produce two possible routes. You can select the order in which the
routes are displayed. The system will automatically avoid unpaved roads
as much as possible. To access:
1. Press the NAV hard button on the navigation system.
2009 Centerstack(ng1)
Supplement, 2nd Printing
USA(fus)
Navigation route preferences
103
Page 105 of 194
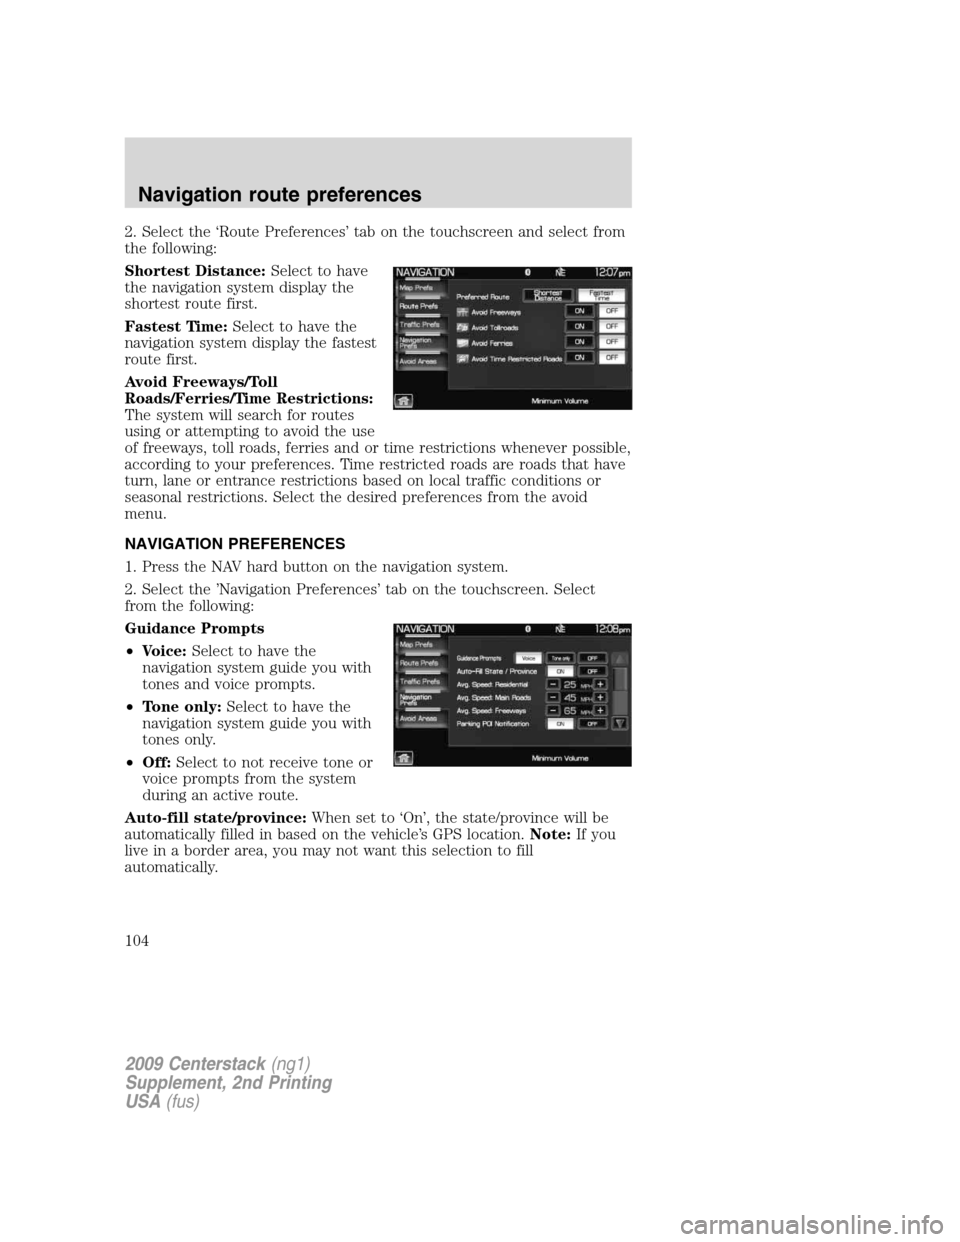
2. Select the ‘Route Preferences’ tab on the touchscreen and select from
the following:
Shortest Distance:Select to have
the navigation system display the
shortest route first.
Fastest Time:Select to have the
navigation system display the fastest
route first.
Avoid Freeways/Toll
Roads/Ferries/Time Restrictions:
The system will search for routes
using or attempting to avoid the use
of freeways, toll roads, ferries and or time restrictions whenever possible,
according to your preferences. Time restricted roads are roads that have
turn, lane or entrance restrictions based on local traffic conditions or
seasonal restrictions. Select the desired preferences from the avoid
menu.
NAVIGATION PREFERENCES
1. Press the NAV hard button on the navigation system.
2. Select the ’Navigation Preferences’ tab on the touchscreen. Select
from the following:
Guidance Prompts
•Voice:Select to have the
navigation system guide you with
tones and voice prompts.
•Tone only:Select to have the
navigation system guide you with
tones only.
•Off:Select to not receive tone or
voice prompts from the system
during an active route.
Auto-fill state/province:When set to ‘On’, the state/province will be
automatically filled in based on the vehicle’s GPS location.Note:If you
live in a border area, you may not want this selection to fill
automatically.
2009 Centerstack(ng1)
Supplement, 2nd Printing
USA(fus)
Navigation route preferences
104