2010 MERCEDES-BENZ SLS COUPE fuel type
[x] Cancel search: fuel typePage 16 of 361
Deleting an entry
........................... 139
Importing an entry from the
mobile phone to the address
book .............................................. 141
PIN
Entering ......................................... 133
Plastic trim
Cleaning ......................................... 285
Playback options ..............178, 183, 189
Postcode Entering ........................................... 95
Power windows
see Side windows
Previous destinations .......................126
Pulling away ...................................... 220R
RACE START ....................................... 226
RACETIMER (on-board computer) ....241
Radio Selecting a statio n(on-board
computer) ...................................... 235
Radio mode
Radio Data System ........................164
Switching to ................................... 158
Range
Calling up (on-board computer) .....233
RDS
Switching on/off ........................... 164
RDS (Radio Data System) .................164
Interrupting an announcement ......164
RDS-TMC traffic reports
Displaying ...................................... 120
Read-aloud function ..........................122
Automatic ...................................... 123
Read-aloud speed
Setting ............................................. 73
Rear aerofoil ...................................... 261
Rear foglamp Display message ............................ 301
Rear-view mirror
Adjusting ....................................... 207
Anti-dazzle mode (automatic) ........209
Dipping (automatic) .......................208
Dipping (manual) ........................... 208
Rear window heating ........................256Rear wing
Display message .................... 305, 306
Redials ................................................ 145
Refuelling ........................................... 266
Remote control Garage door opene r....................... 262
Programming (garage door
opener) .......................................... 262
Reserve fuel ....................................... 349
Display message ............................ 305
Fuel tank ........................................ 349
Warning lamp ................................. 312
Resetting
Factory settings ............................... 78
Restraint system
For children ..................................... 41
See SRS ........................................... 35
Rev counter ........................................ 230
Reversing camera ............................. 250
Cleaning ......................................... 284
Showing/hiding the image .............. .70
Switching on .................................. 250
Reversing lamps
Display message ............................ 301
Road
Entering ........................................... 97
Route
see Route guidance .......................234
Route browser ................................... 118
Route calculation .............................. 101
Route guidance .................................. 111
Cancel ........................................... 119
Continu e........................................ 119
Destination reached ......................115
Following a vehicle transportation ...79
Lane recommendations .................113
Off-road ......................................... 115
On-board computer .......................234
Route mode
Setting ............................................. 85
Route options
Setting ............................................. 86
Route type
Setting ............................................. 85 Index
13 BA 197 ECE RE 2010/6a; 1; 2, en-GB
sabbae uV ersion: 3.0.3.6
2010-05-07T14:19:43+02:00 - Seite 13
Page 270 of 361
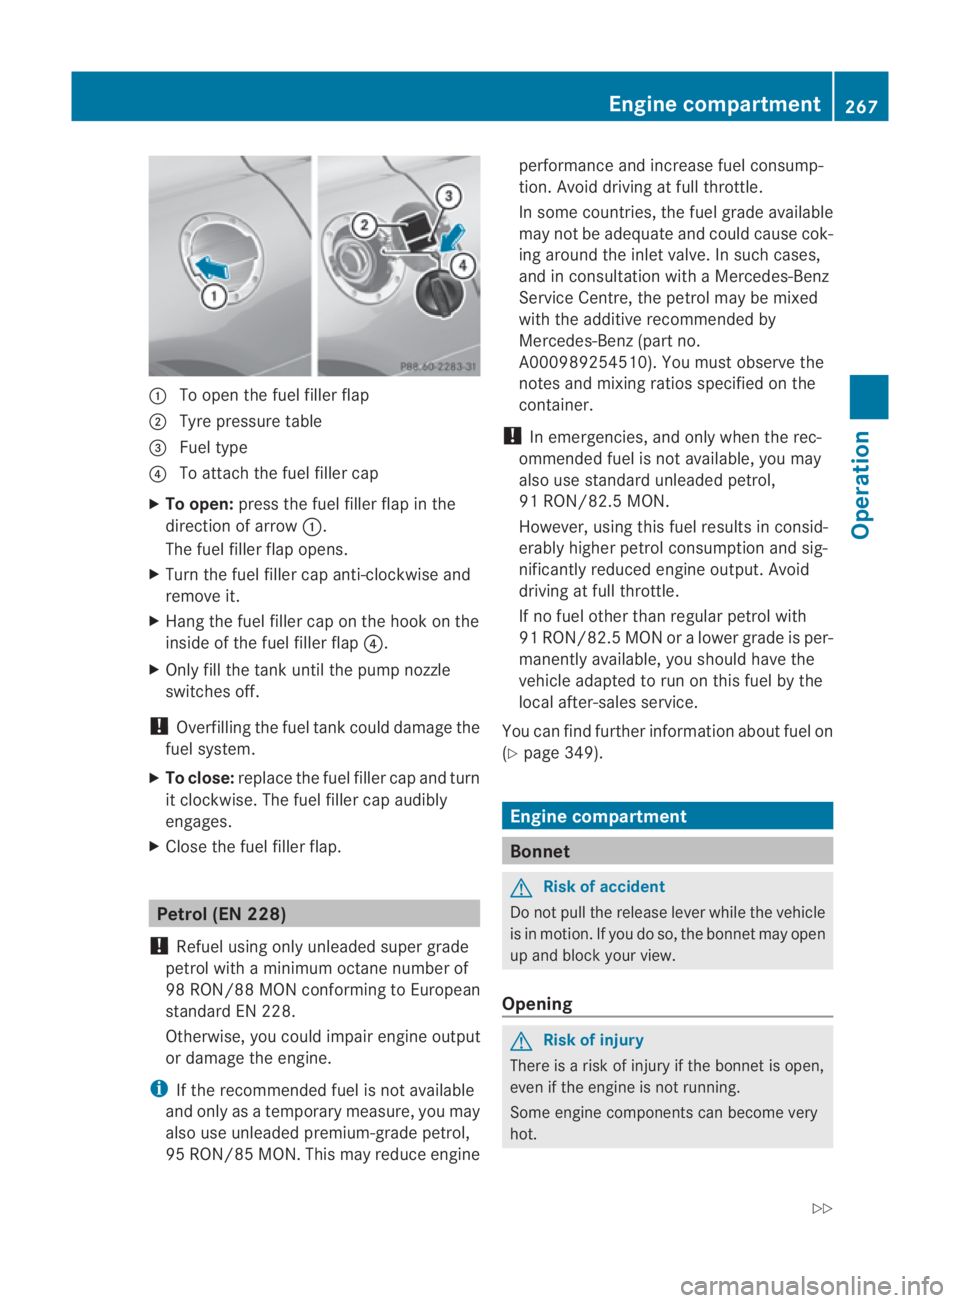
0001
To open the fuel filler flap
0002 Tyre pressure table
0015 Fuel type
0014 To attach the fuel filler cap
X To open: press the fuel filler flap in the
direction of arrow 0001.
The fuel filler flap opens.
X Turn the fuel filler cap anti-clockwise and
remove it.
X Hang the fuel filler cap on the hook on the
inside of the fuel filler flap 0014.
X Only fill the tank until the pump nozzle
switches off.
! Overfilling the fuel tank could damage the
fuel system.
X To close: replace the fuel filler cap and turn
it clockwise. The fuel filler cap audibly
engages.
X Close the fuel filler flap. Petrol (EN 228)
! Refuel using only unleaded super grade
petrol with a minimum octane number of
98 RON/88 MON conforming to European
standard EN 228.
Otherwise, you could impair engine output
or damage the engine.
i If the recommended fuel is not available
and only as a temporary measure, you may
also use unleaded premium-grade petrol,
95 RON/85 MON. This may reduce engine performance and increase fuel consump-
tion. Avoid driving at full throttle.
In some countries, the fuel grade available
may not be adequate and could cause cok-
ing around the inlet valve. In such cases,
and in consultation with
aMercedes-Benz
Service Centre, the petrol may be mixed
with the additive recommended by
Mercedes-Benz( part no.
A000989254510). You must observe the
notes and mixing ratios specified on the
container.
! In emergencies, and only when the rec-
ommended fuel is not available, you may
also use standard unleaded petrol,
91 RON/82.5 MON.
However, using this fuel results in consid-
erably higher petrol consumption and sig-
nificantly reduced engine output. Avoid
driving at full throttle.
If no fuel other than regular petrol with
91 RON/82.5 MON or a lower grade is per-
manently available, you should have the
vehicle adapted to run on this fuel by the
local after-sales service.
You can find further information about fuel on
(Y page 349). Engine compartment
Bonnet
G
Risk of accident
Do not pull the release lever while the vehicle
is in motion .Ifyou do so, the bonnet may open
up and block your view.
Opening G
Risk of injury
There is a risk of injury if the bonnet is open,
even if the engine is not running.
Some engine components can become very
hot. Engine compartment
267Operation
BA 197 ECE RE 2010/6a; 1; 2, en-GB
sabbaeu Version: 3.0.3.6 2010-05-07T14:19:43+02:00 - Seite 267 Z
Page 274 of 361
wheels which have been approved by
Mercedes-Ben
zspecifically for your vehi-
cle. These tyres have been specially adap-
ted for use with the driving safety systems,
such as ABS or ESP ®
.Ify ou use other tyres
and wheels, Mercedes-Benz cannot accept
any responsibility for damage that may
result from this. Further information about
tyres, wheels and approved combinations
can be obtained from any Mercedes-Benz
Service Centre.
If you use tyres other than those tested and
recommended for Mercedes-Benz vehi-
cles, characteristics such as handling, vehi-
cle noise emissions and fuel consumption
may be adversely affected. In addition, the
wheels may come into contact with the
body or axle components when heavily loa-
ded or when driving with snow chains. This
could result in damage to the tyres or the
vehicle.
! Retreaded tyres are neither tested nor
recommended by Mercedes-Benz, since
previous damage cannot always be detec-
ted on retreaded tyres. As a result,
Mercedes-Benz cannot guarantee vehicle
safety if retreaded tyres are fitted. Do not
fit used tyres if you have no information
about their previous usage. G
Risk of accident
Tyres, wheels or accessories which have not
been approved by Mercedes-Benz for your
vehicle or are not used as they should be, can
impair driving safety. As a result, you could
cause an accident .Before purchasing and
using them, enquire about their suitability,
legal stipulations and factory recommenda-
tions at a Mercedes-Benz Service Centre.
Modification work on the brake system and
wheels is not permitted, nor is the use of
spacer plates or brake dust shields. This inva-
lidates the General Operating Permit for the
vehicle. Notes on selecting, fitting and replacing
tyres R
Only fit tyres and wheels of the same type
and make.
R Only fit tyres of the correct size onto the
wheels.
R After fitting new tyres, run them in at mod-
erate speeds for the first 100 km as they
only reach their full performance after this
distance.
R Fit new tyres on the front wheels first if
tyres of the same size are required on the
fron tand rea rwheels.
R Replace the tyres after six years at the lat-
est, regardless of wear. This also applies to
the collapsible emergency spare wheel* 17
.
R Do not drive with tyres which have too little
tread depth, as this significantly reduces
the traction on wet roads (aquaplaning).
! Store tyres that are not being used in a
cool, dry and preferably dark place. Protect
the tyres against oil, grease, petrol and die-
sel.
Notes on regularly inspecting wheels
and tyres R
Regularly check the wheels and tyres of
your vehicle for damage (e.g. cuts, punctu-
res, tears, bulges on tyres and deformation,
cracks or severe corrosion on wheels), at
least every 14 days, as well as after driving
off-road or on rough roads. Damaged
wheels can cause a loss of tyre pressure.
R Regularly check the tyre tread depth and
the condition of the tread across the whole
width of the tyre (Y page 272). If neces-
sary, turn the front wheels to full lock in
order to inspect the inner side of the tyre
surface.
R All wheels must have a valve cap to protect
the valve against dirt and moisture. Do not
fit anything onto the valve (such as tyre
pressure monitoring systems) other than
17 Only for certain countries. Tyres and wheels
271Operation
*optional
BA 197 ECE RE 2010/6a; 1; 2, en-GB
sabbaeu
Version: 3.0.3.6 2010-05-07T14:19:43+02:00 - Seite 271 Z
Page 286 of 361
Cleaning paintwork
Scratches, corrosive deposits, areas affected
by corrosio nand damage caused by inade-
quate care canno talways be completely
repaired. In such cases, visit a qualified spe-
cialist workshop immediately, e.g. a
Mercedes-Benz Service Centre.
X Remove the following types of dirt immedi-
ately, whilst avoiding rubbin gtoo hard.
Soak:
R insect remains with insect remover
R bird droppings with water
and rinse off the treated surface after-
wards.
Remove:
R tree resin, oils, fuels and greases by rub-
bing gently with a cloth soaked in petro-
leum ether or lighter fluid
R tar stain with tar remover
R wax with silicone remover
! Do not affix:
R stickers
R films
R magnetic plates or similar items
to painted surfaces. Otherwise, you could
damage the paintwork.
Cleaning the windows X
Clean the inside and outside of the win-
dows with a damp cloth and a cleaning
product approved and recommended by
Mercedes-Benz.
! Clean the water drainage channels of the
windscreen and the rear window at regular
intervals. Under certain circumstances,
deposits such as leaves, petals and pollen
may prevent water from draining away
leading to corrosion damage. Cleaning wiper blades G
Risk of injury
Before cleaning the windscreen or wiper
blades, turn the key to position 0in the igni-
tion lock or press the Start/Stop button
repeatedly until all indicator lamps in the
instrument cluster have gone out. The wind-
screen wipers could otherwise move and
injure you.
! Only fold the windscreen wipers away
from the windscreen when vertical. Other-
wise, you will damage the bonnet.
! Do not clean the wiper blades too often
and do not rub them too hard, as this will
result in damage to the graphite coating.
This could cause wiper noise.
X Switch off the engine.
X Take your foot off the brake pedal.
X Set the windscreen wipers to posi-
tion 0014 on the combination switch.
X Press the Start/Stop button repeatedly
until the windscreen wipers start.
X When the wiper arms have reached a ver-
tical position: press the Start/Stop button.
X Fold the wiper arm away from the wind-
screen until it engages.
X Set the wiper blade at right angles to the
wiper arm.
X Clean the wiper blades carefully using a
damp cloth.
X Fold the windscreen wipers back again
before switching on the ignition.
Cleaning the headlamps X
Clean the plastic lenses of the headlamps
and rear lighting with a damp sponge and
windscreen washer fluid or cleaning cloths.
! Only use windscreen washer fluid or
cleaning cloths which are suitable for plas-
tic lamp lenses. Unsuitable windscreen
washer fluid or cleaning cloths could Care
283Operation
BA 197 ECE RE 2010/6a; 1; 2, en-GB
sabbaeu Version: 3.0.3.6 2010-05-07T14:19:43+02:00 - Seite 283 Z
Page 356 of 361

i
The values specified may differ from the
actual values depending on the tyres, load,
optional equipment and condition of the
suspension. Tyres and wheels
Please bear the following in mind
G
Risk of accident
Due to the special tyre tread in combination
with the optimised rubber compound, there is
an increased risk of aquaplaning and skidding
on a damp or wet road surface. Make sure that
ESP ®
is activated for the corresponding road
surface conditions.
Tyre grip is noticeably reduced at low outside
temperatures and low tyre operating temper-
atures. This leads to an increased risk of skid-
ding and resulting vehicle instability. Use win-
ter tyres when the outside temperature falls
below 7†.
If others use the vehicle with the high per-
formance tyres fitted, you as the vehicle
owner must point out the safety guidelines
and/or limitations to these persons.
! For safety reasons, Mercedes-Benz rec-
ommends that you only use tyres and
wheels which have been approved by
Mercedes-Benz specifically for yourv ehi-
cle. These tyres have been specially adap-
ted for use with the driving safety systems,
such as ABS or ESP ®
.Ify ou use other tyres
and wheels, Mercedes-Benz cannot accept
any responsibility for damage that may
result from this. Further information about
tyres, wheels and approved combinations
can be obtained from any Mercedes-Benz
Service Centre.
If you use tyres other than those tested and
recommended for Mercedes-Benz vehi-
cles, characteristics such as handling, vehi-
cle noise emissions and fuel consumption
may be adversely affected. In addition, the
wheels may come into contact with the
body or axle components when heavily loa- ded or when driving with snow chains. This
could result in damage to the tyres or the
vehicle.
i Further information about tyres and
wheels can be obtained from any
Mercedes-Benz Service Centre.
i You will find a table of tyre pressures on
the inside of your vehicle's fuel filler flap.
You will find further information about tyre
pressures in the "Operation" section
(Y page 272).
i Always equip the vehicle as follows:
R with tyres of the same size on a given axle
(left/right)
R with the same type of tyres (summer
tyres, winter tyres) Tyres and wheels
353Technical data
BA 197 ECE RE 2010/6a; 1; 2, en-GB
sabbaeu Version: 3.0.3.6 2010-05-07T14:19:43+02:00 - Seite 353 Z