2010 MERCEDES-BENZ GL450 ECU
[x] Cancel search: ECUPage 94 of 380
XLocking: Push release handle : back to
its original position.
XMake sure the steering wheel is securely
locked by trying to move it up and down as
well as in and out before driving off.
Steering wheel adjustment, electrical
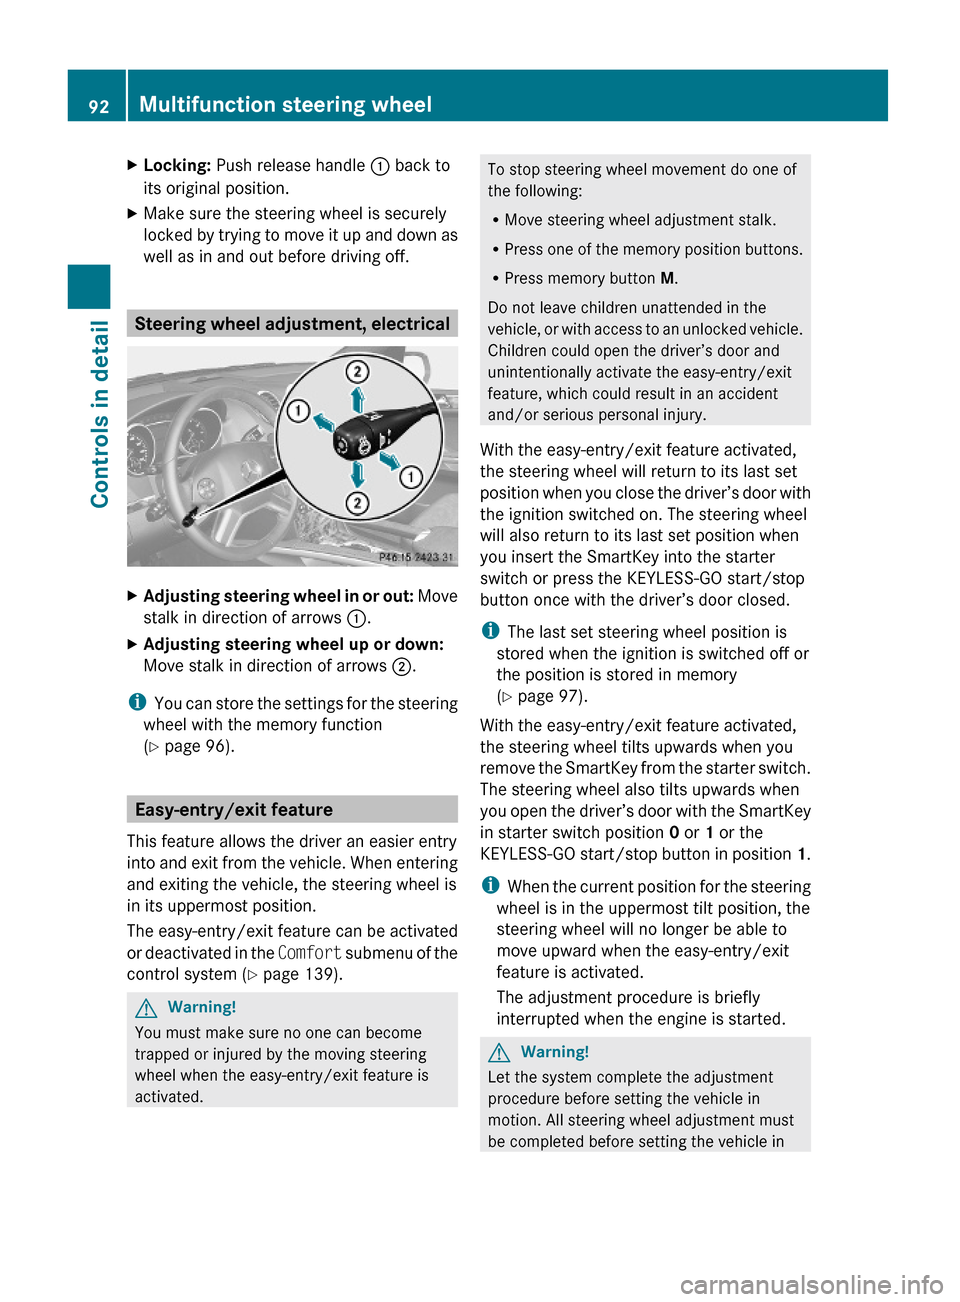
XAdjusting steering wheel in or out: Move
stalk in direction of arrows :.
XAdjusting steering wheel up or down:
Move stalk in direction of arrows ;.
iYou can store the settings for the steering
wheel with the memory function
(Y page 96).
Easy-entry/exit feature
This feature allows the driver an easier entry
into and exit from the vehicle. When entering
and exiting the vehicle, the steering wheel is
in its uppermost position.
The easy-entry/exit feature can be activated
or deactivated in the Comfort submenu of the
control system (Y page 139).
GWarning!
You must make sure no one can become
trapped or injured by the moving steering
wheel when the easy-entry/exit feature is
activated.
To stop steering wheel movement do one of
the following:
RMove steering wheel adjustment stalk.
RPress one of the memory position buttons.
RPress memory button M.
Do not leave children unattended in the
vehicle, or with access to an unlocked vehicle.
Children could open the driver’s door and
unintentionally activate the easy-entry/exit
feature, which could result in an accident
and/or serious personal injury.
With the easy-entry/exit feature activated,
the steering wheel will return to its last set
position when you close the driver’s door with
the ignition switched on. The steering wheel
will also return to its last set position when
you insert the SmartKey into the starter
switch or press the KEYLESS-GO start/stop
button once with the driver’s door closed.
iThe last set steering wheel position is
stored when the ignition is switched off or
the position is stored in memory
(Y page 97).
With the easy-entry/exit feature activated,
the steering wheel tilts upwards when you
remove the SmartKey from the starter switch.
The steering wheel also tilts upwards when
you open the driver’s door with the SmartKey
in starter switch position 0 or 1 or the
KEYLESS-GO start/stop button in position 1.
iWhen the current position for the steering
wheel is in the uppermost tilt position, the
steering wheel will no longer be able to
move upward when the easy-entry/exit
feature is activated.
The adjustment procedure is briefly
interrupted when the engine is started.
GWarning!
Let the system complete the adjustment
procedure before setting the vehicle in
motion. All steering wheel adjustment must
be completed before setting the vehicle in
92Multifunction steering wheelControls in detail
X164_AKB; 5; 31, en-USd2ureepe,Version: 2.11.8.12009-09-11T12:30:16+02:00 - Seite 92
Page 102 of 380
Vehicles with front fog lampsXSwitching on front fog lamps: Pull out the
exterior lamp switch to first stop.
The green indicator lamp N in the
exterior lamp switch comes on.
XSwitching on rear fog lamp: Pull out the
exterior lamp switch to second stop.
The rear fog lamp, the front fog lamps, the
green and the yellow indicator lamp R
in the exterior lamp switch come on.
XSwitching off front fog lamps/rear fog
lamp: Push in the exterior lamp switch to
its stop.
Vehicles without front fog lamps
XSwitching on rear fog lamp: Pull out the
exterior lamp switch to its stop.
The rear fog lamp and the yellow indicator
lamp R in the exterior lamp switch
come on.
XSwitching off rear fog lamp: Push in the
exterior lamp switch to its stop.
Locator lighting and night security
illumination
Locator lighting and night security
illumination are described in the “Control
system” section, see “Switching locator
lighting on or off” (Y page 136) and
“Switching night security illumination
(Headlamps delayed shut-off feature) on or
off” (Y page 137).
Combination switch
Turn signals
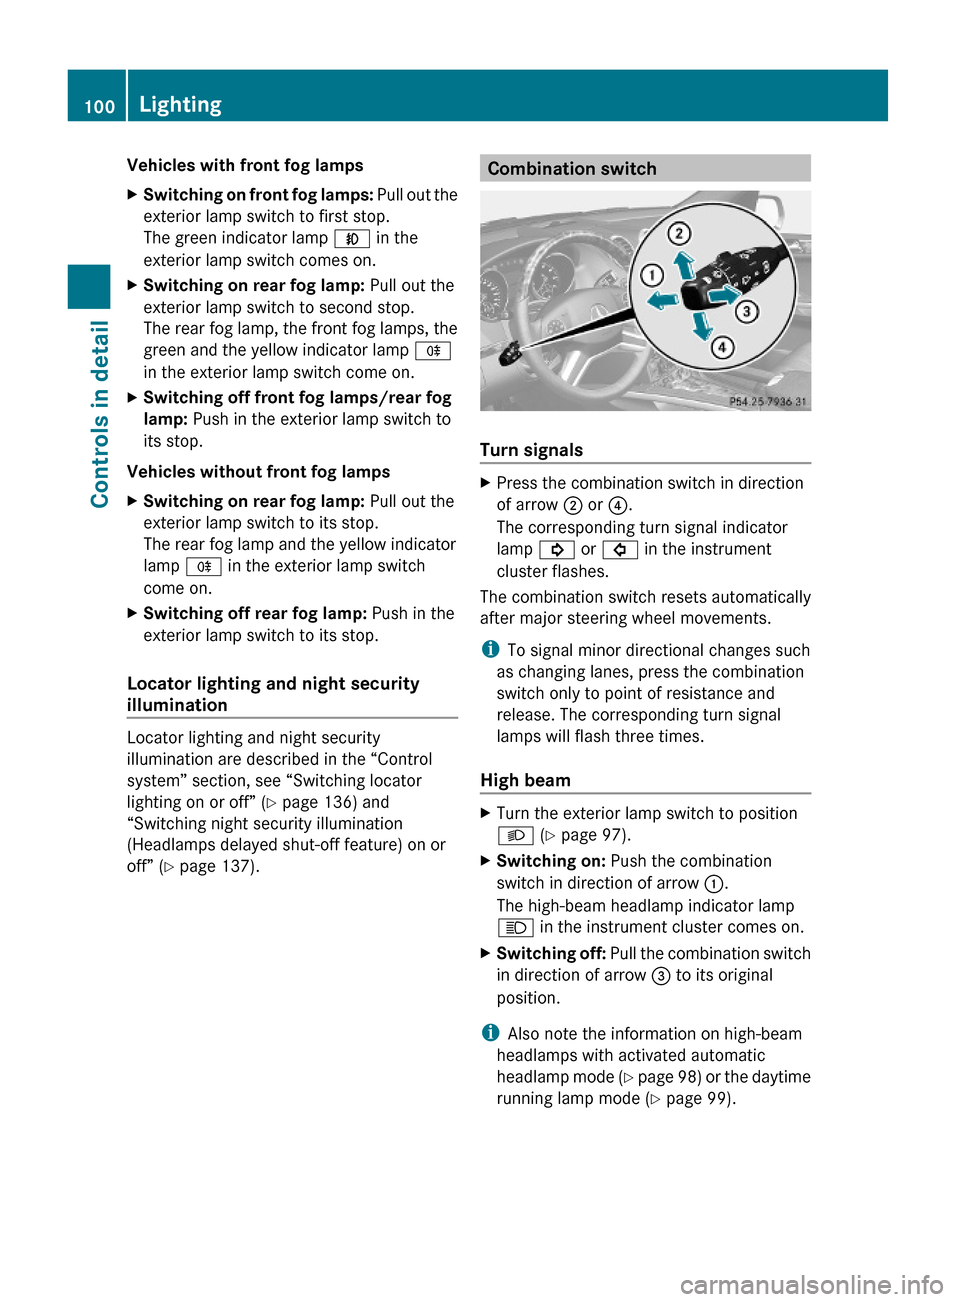
XPress the combination switch in direction
of arrow ; or ?.
The corresponding turn signal indicator
lamp ! or # in the instrument
cluster flashes.
The combination switch resets automatically
after major steering wheel movements.
iTo signal minor directional changes such
as changing lanes, press the combination
switch only to point of resistance and
release. The corresponding turn signal
lamps will flash three times.
High beam
XTurn the exterior lamp switch to position
L (Y page 97).
XSwitching on: Push the combination
switch in direction of arrow :.
The high-beam headlamp indicator lamp
K in the instrument cluster comes on.
XSwitching off: Pull the combination switch
in direction of arrow = to its original
position.
iAlso note the information on high-beam
headlamps with activated automatic
headlamp mode (Y page 98) or the daytime
running lamp mode (Y page 99).
100LightingControls in detail
X164_AKB; 5; 31, en-USd2ureepe,Version: 2.11.8.12009-09-11T12:30:16+02:00 - Seite 100
Page 119 of 380
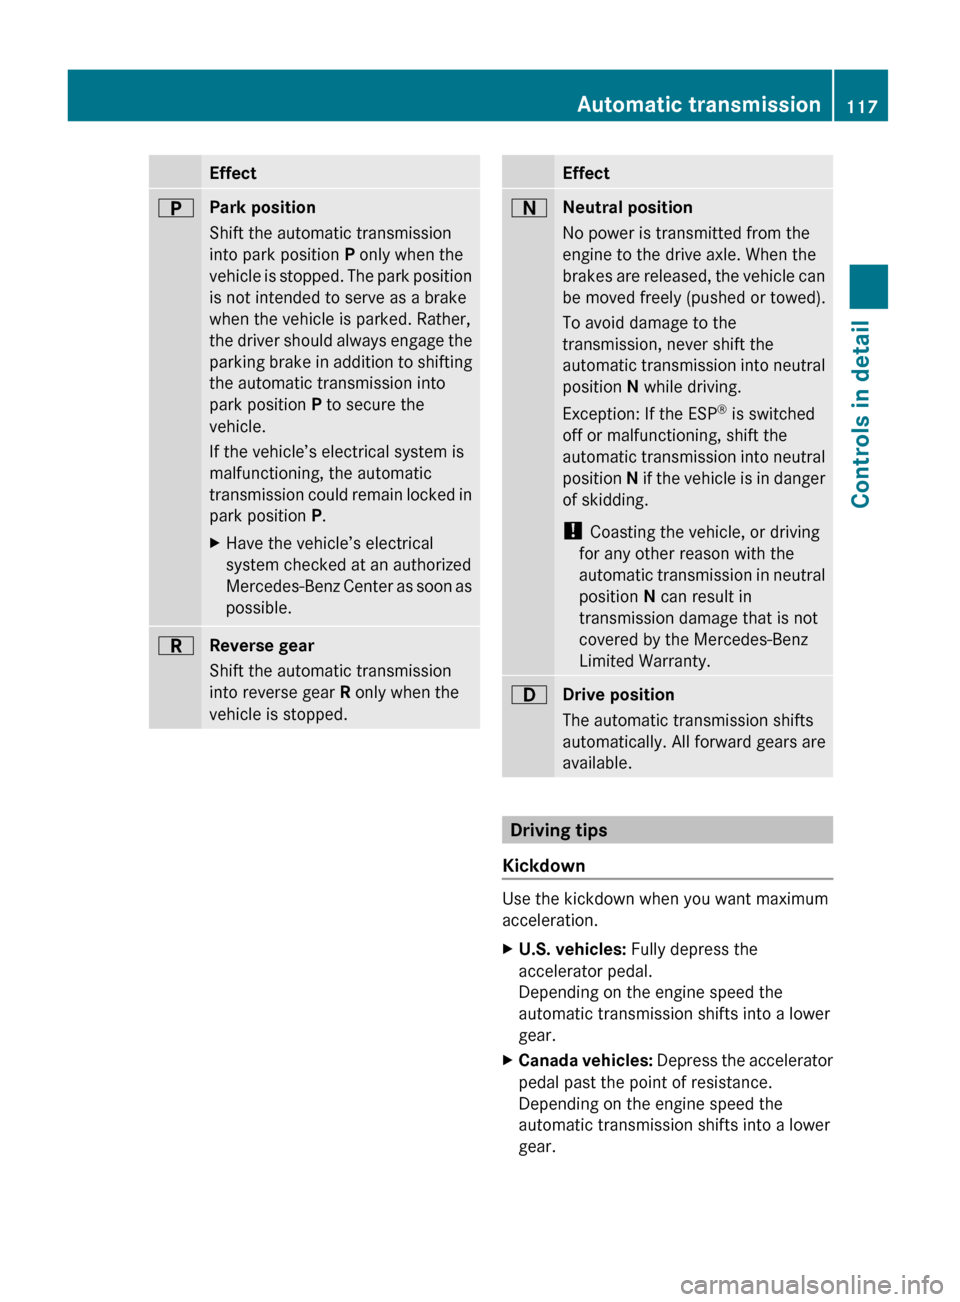
EffectBPark position
Shift the automatic transmission
into park position P only when the
vehicle is stopped. The park position
is not intended to serve as a brake
when the vehicle is parked. Rather,
the driver should always engage the
parking brake in addition to shifting
the automatic transmission into
park position P to secure the
vehicle.
If the vehicle’s electrical system is
malfunctioning, the automatic
transmission could remain locked in
park position P.XHave the vehicle’s electrical
system checked at an authorized
Mercedes-Benz Center as soon as
possible.CReverse gear
Shift the automatic transmission
into reverse gear R only when the
vehicle is stopped.EffectANeutral position
No power is transmitted from the
engine to the drive axle. When the
brakes are released, the vehicle can
be moved freely (pushed or towed).
To avoid damage to the
transmission, never shift the
automatic transmission into neutral
position N while driving.
Exception: If the ESP ®
is switched
off or malfunctioning, shift the
automatic transmission into neutral
position N if the vehicle is in danger
of skidding.
! Coasting the vehicle, or driving
for any other reason with the
automatic transmission in neutral
position N can result in
transmission damage that is not
covered by the Mercedes-Benz
Limited Warranty.7Drive position
The automatic transmission shifts
automatically. All forward gears are
available.
Driving tips
Kickdown
Use the kickdown when you want maximum
acceleration.
XU.S. vehicles: Fully depress the
accelerator pedal.
Depending on the engine speed the
automatic transmission shifts into a lower
gear.XCanada vehicles: Depress the accelerator
pedal past the point of resistance.
Depending on the engine speed the
automatic transmission shifts into a lower
gear.Automatic transmission117Controls in detailX164_AKB; 5; 31, en-USd2ureepe,Version: 2.11.8.12009-09-11T12:30:16+02:00 - Seite 117Z
Page 135 of 380
approximately 5 seconds, the Settings
menu reappears in the multifunction display.
Submenus in the Settings menu
XPress button V or U repeatedly until
the Settings menu appears in the
multifunction display.
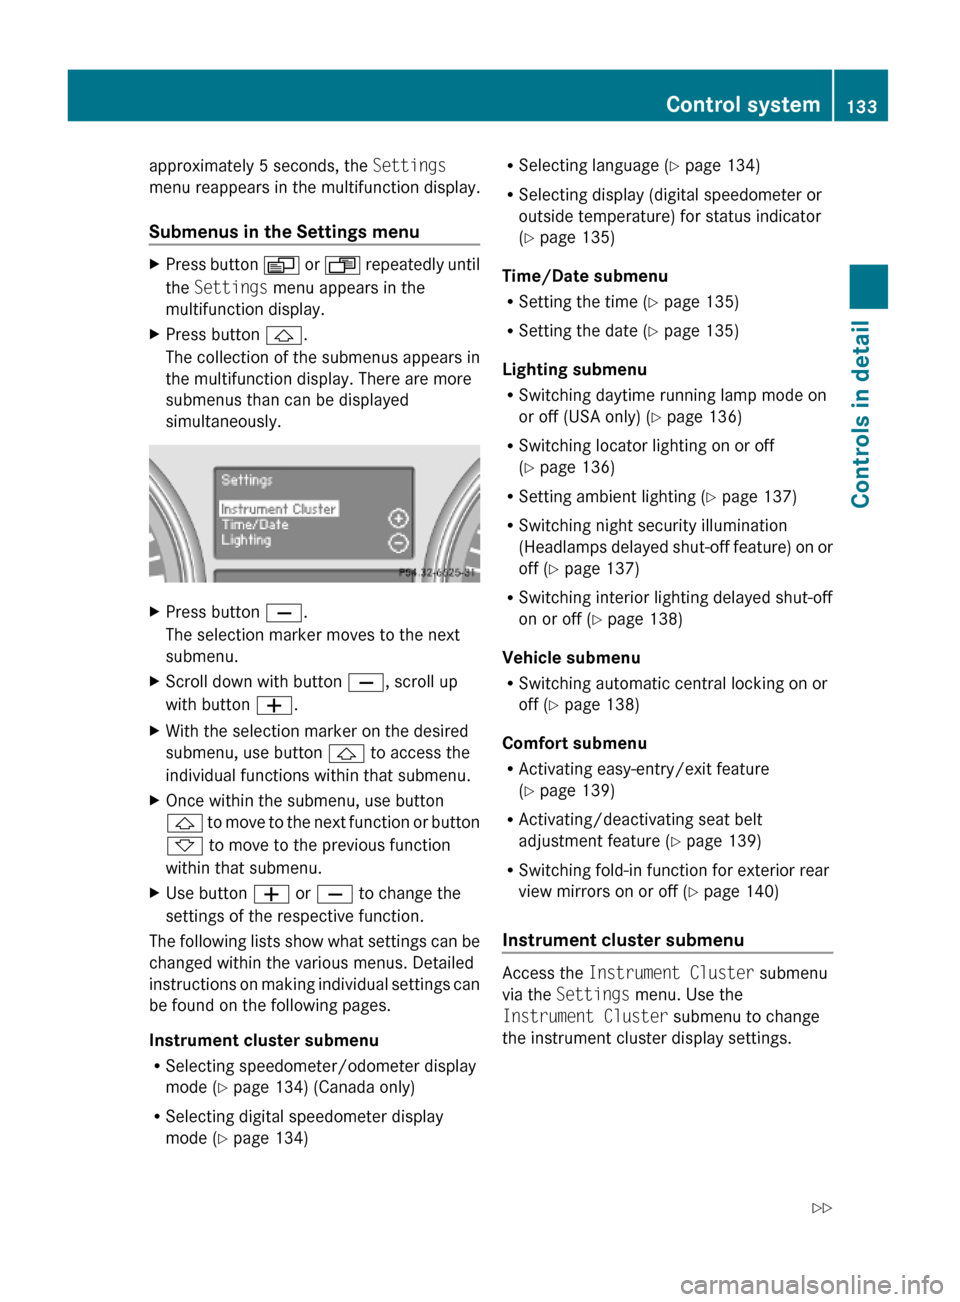
XPress button &.
The collection of the submenus appears in
the multifunction display. There are more
submenus than can be displayed
simultaneously.
XPress button X.
The selection marker moves to the next
submenu.
XScroll down with button X, scroll up
with button W.
XWith the selection marker on the desired
submenu, use button & to access the
individual functions within that submenu.
XOnce within the submenu, use button
& to move to the next function or button
* to move to the previous function
within that submenu.
XUse button W or X to change the
settings of the respective function.
The following lists show what settings can be
changed within the various menus. Detailed
instructions on making individual settings can
be found on the following pages.
Instrument cluster submenu
RSelecting speedometer/odometer display
mode (Y page 134) (Canada only)
RSelecting digital speedometer display
mode (Y page 134)
RSelecting language (Y page 134)
RSelecting display (digital speedometer or
outside temperature) for status indicator
(Y page 135)
Time/Date submenu
RSetting the time (Y page 135)
RSetting the date (Y page 135)
Lighting submenu
RSwitching daytime running lamp mode on
or off (USA only) (Y page 136)
RSwitching locator lighting on or off
(Y page 136)
RSetting ambient lighting (Y page 137)
RSwitching night security illumination
(Headlamps delayed shut-off feature) on or
off (Y page 137)
RSwitching interior lighting delayed shut-off
on or off (Y page 138)
Vehicle submenu
RSwitching automatic central locking on or
off (Y page 138)
Comfort submenu
RActivating easy-entry/exit feature
(Y page 139)
RActivating/deactivating seat belt
adjustment feature (Y page 139)
RSwitching fold-in function for exterior rear
view mirrors on or off (Y page 140)
Instrument cluster submenu
Access the Instrument Cluster submenu
via the Settings menu. Use the
Instrument Cluster submenu to change
the instrument cluster display settings.
Control system133Controls in detailX164_AKB; 5; 31, en-USd2ureepe,Version: 2.11.8.12009-09-11T12:30:16+02:00 - Seite 133Z
Page 138 of 380
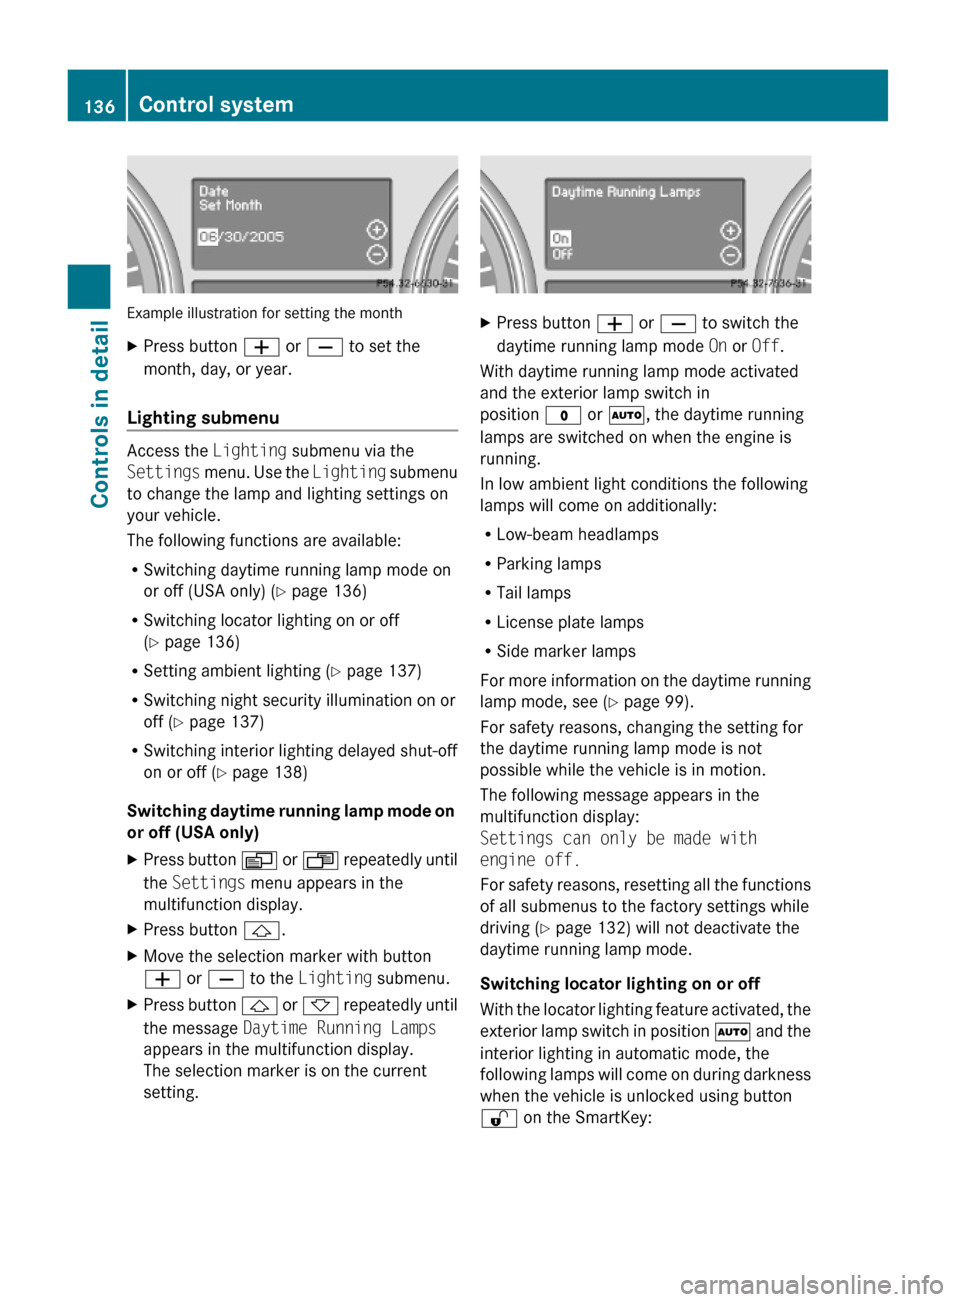
Example illustration for setting the month
XPress button W or X to set the
month, day, or year.
Lighting submenu
Access the Lighting submenu via the
Settings menu. Use the Lighting submenu
to change the lamp and lighting settings on
your vehicle.
The following functions are available:
RSwitching daytime running lamp mode on
or off (USA only) (Y page 136)
RSwitching locator lighting on or off
(Y page 136)
RSetting ambient lighting (Y page 137)
RSwitching night security illumination on or
off (Y page 137)
RSwitching interior lighting delayed shut-off
on or off (Y page 138)
Switching daytime running lamp mode on
or off (USA only)
XPress button V or U repeatedly until
the Settings menu appears in the
multifunction display.
XPress button &.XMove the selection marker with button
W or X to the Lighting submenu.
XPress button & or * repeatedly until
the message Daytime Running Lamps
appears in the multifunction display.
The selection marker is on the current
setting.
XPress button W or X to switch the
daytime running lamp mode On or Off.
With daytime running lamp mode activated
and the exterior lamp switch in
position $ or Ã, the daytime running
lamps are switched on when the engine is
running.
In low ambient light conditions the following
lamps will come on additionally:
RLow-beam headlamps
RParking lamps
RTail lamps
RLicense plate lamps
RSide marker lamps
For more information on the daytime running
lamp mode, see (Y page 99).
For safety reasons, changing the setting for
the daytime running lamp mode is not
possible while the vehicle is in motion.
The following message appears in the
multifunction display:
Settings can only be made with
engine off.
For safety reasons, resetting all the functions
of all submenus to the factory settings while
driving (Y page 132) will not deactivate the
daytime running lamp mode.
Switching locator lighting on or off
With the locator lighting feature activated, the
exterior lamp switch in position à and the
interior lighting in automatic mode, the
following lamps will come on during darkness
when the vehicle is unlocked using button
% on the SmartKey:
136Control systemControls in detail
X164_AKB; 5; 31, en-USd2ureepe,Version: 2.11.8.12009-09-11T12:30:16+02:00 - Seite 136
Page 139 of 380
RParking lamps
RTail lamps
RLicense plate lamps
RSide marker lamps
RFront fog lamps
The locator lighting goes out when the driver’s
door is opened.
If you do not open the driver’s door after
unlocking the vehicle with the SmartKey, the
lamps will go out automatically after
approximately 40 seconds.
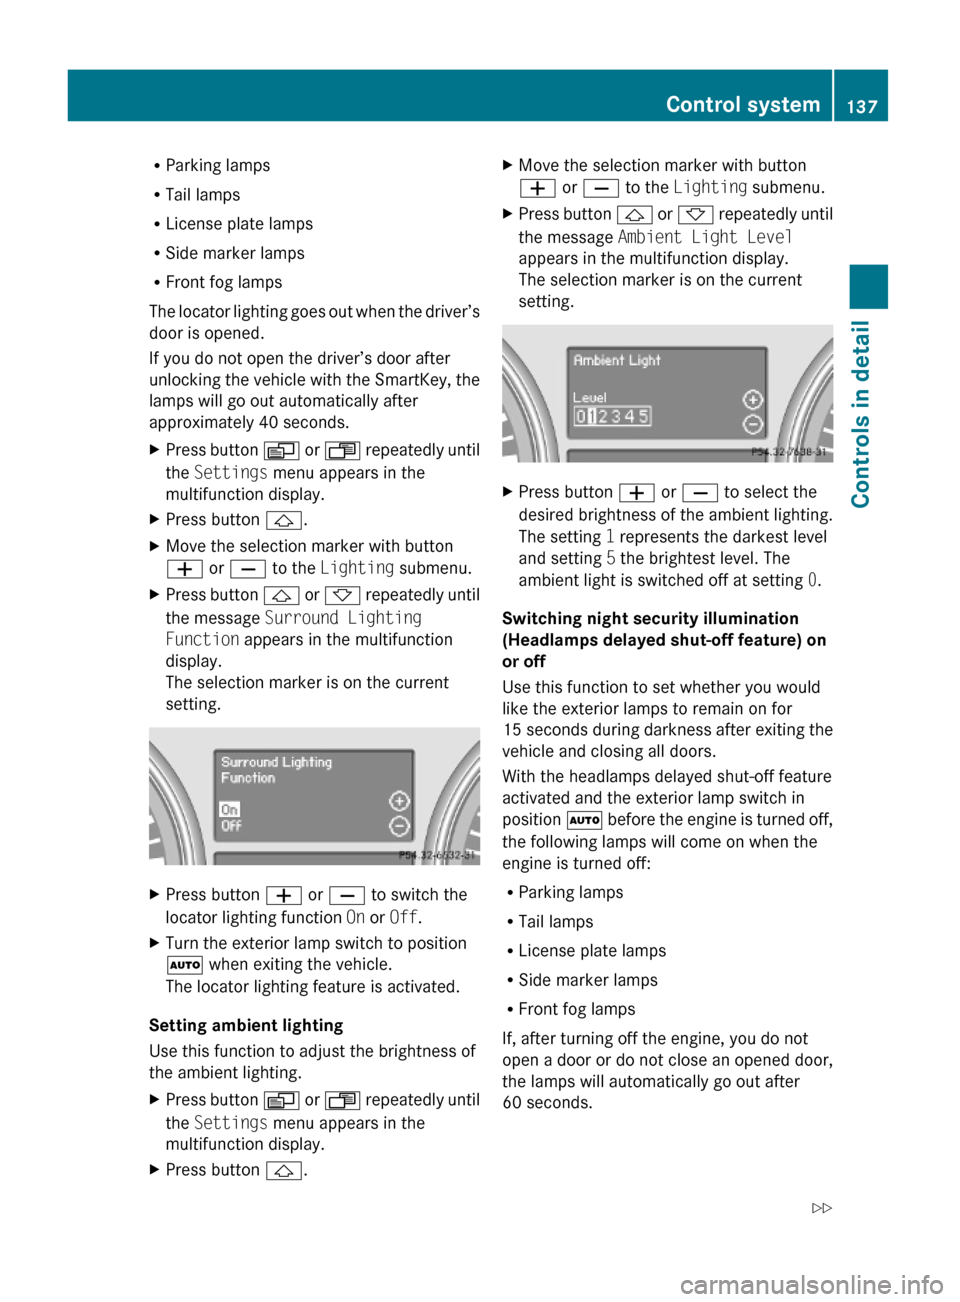
XPress button V or U repeatedly until
the Settings menu appears in the
multifunction display.
XPress button &.XMove the selection marker with button
W or X to the Lighting submenu.
XPress button & or * repeatedly until
the message Surround Lighting
Function appears in the multifunction
display.
The selection marker is on the current
setting.
XPress button W or X to switch the
locator lighting function On or Off.
XTurn the exterior lamp switch to position
à when exiting the vehicle.
The locator lighting feature is activated.
Setting ambient lighting
Use this function to adjust the brightness of
the ambient lighting.
XPress button V or U repeatedly until
the Settings menu appears in the
multifunction display.
XPress button &.XMove the selection marker with button
W or X to the Lighting submenu.
XPress button & or * repeatedly until
the message Ambient Light Level
appears in the multifunction display.
The selection marker is on the current
setting.
XPress button W or X to select the
desired brightness of the ambient lighting.
The setting 1 represents the darkest level
and setting 5 the brightest level. The
ambient light is switched off at setting 0.
Switching night security illumination
(Headlamps delayed shut-off feature) on
or off
Use this function to set whether you would
like the exterior lamps to remain on for
15 seconds during darkness after exiting the
vehicle and closing all doors.
With the headlamps delayed shut-off feature
activated and the exterior lamp switch in
position à before the engine is turned off,
the following lamps will come on when the
engine is turned off:
RParking lamps
RTail lamps
RLicense plate lamps
RSide marker lamps
RFront fog lamps
If, after turning off the engine, you do not
open a door or do not close an opened door,
the lamps will automatically go out after
60 seconds.
Control system137Controls in detailX164_AKB; 5; 31, en-USd2ureepe,Version: 2.11.8.12009-09-11T12:30:16+02:00 - Seite 137Z
Page 146 of 380
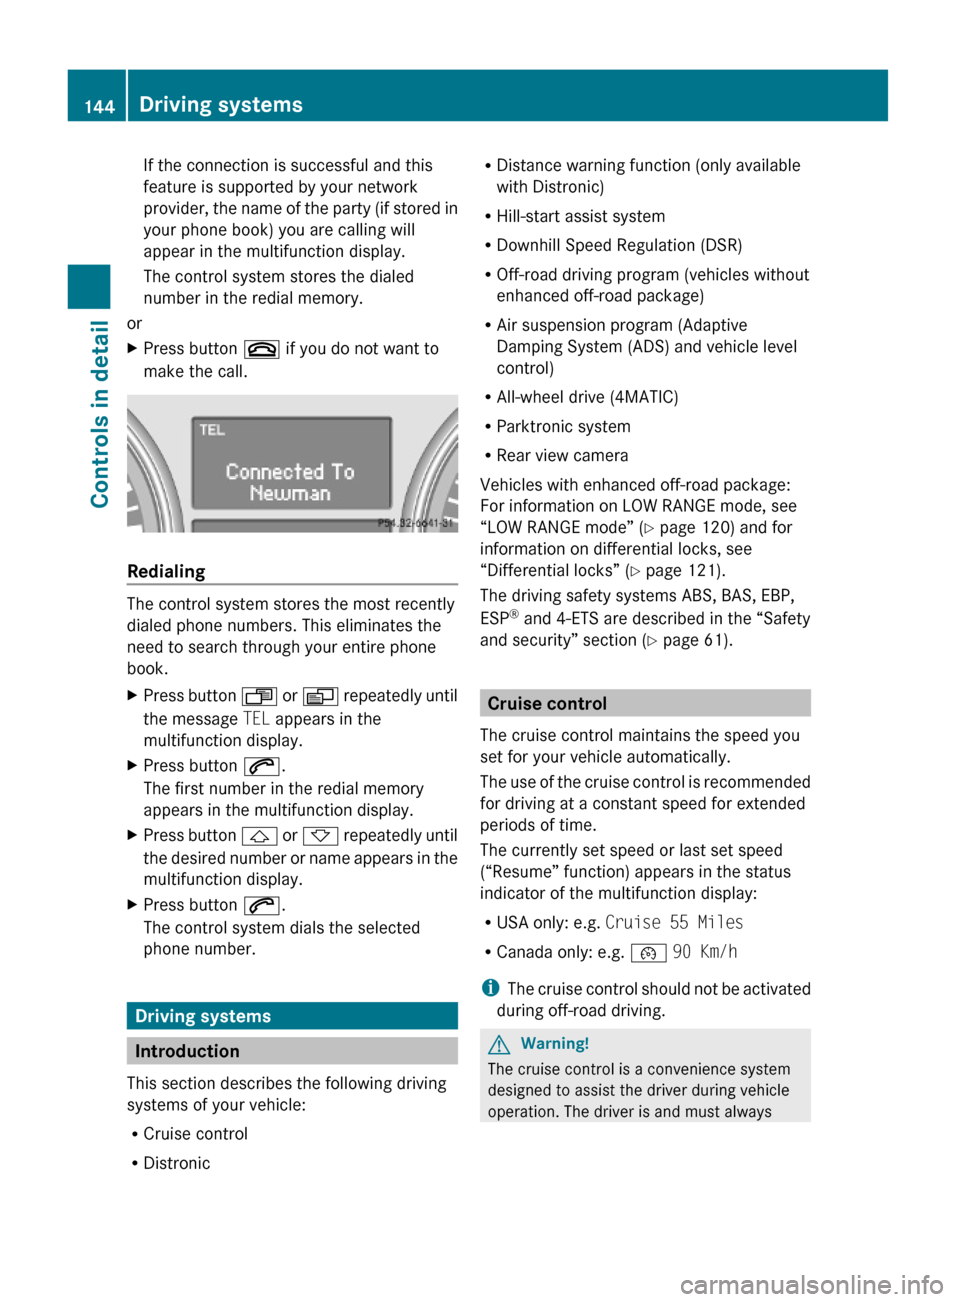
If the connection is successful and this
feature is supported by your network
provider, the name of the party (if stored in
your phone book) you are calling will
appear in the multifunction display.
The control system stores the dialed
number in the redial memory.
or
XPress button ~ if you do not want to
make the call.
Redialing
The control system stores the most recently
dialed phone numbers. This eliminates the
need to search through your entire phone
book.
XPress button U or V repeatedly until
the message TEL appears in the
multifunction display.
XPress button 6.
The first number in the redial memory
appears in the multifunction display.
XPress button & or * repeatedly until
the desired number or name appears in the
multifunction display.
XPress button 6.
The control system dials the selected
phone number.
Driving systems
Introduction
This section describes the following driving
systems of your vehicle:
RCruise control
RDistronic
RDistance warning function (only available
with Distronic)
RHill-start assist system
RDownhill Speed Regulation (DSR)
ROff-road driving program (vehicles without
enhanced off-road package)
RAir suspension program (Adaptive
Damping System (ADS) and vehicle level
control)
RAll-wheel drive (4MATIC)
RParktronic system
RRear view camera
Vehicles with enhanced off-road package:
For information on LOW RANGE mode, see
“LOW RANGE mode” (Y page 120) and for
information on differential locks, see
“Differential locks” (Y page 121).
The driving safety systems ABS, BAS, EBP,
ESP® and 4-ETS are described in the “Safety
and security” section (Y page 61).
Cruise control
The cruise control maintains the speed you
set for your vehicle automatically.
The use of the cruise control is recommended
for driving at a constant speed for extended
periods of time.
The currently set speed or last set speed
(“Resume” function) appears in the status
indicator of the multifunction display:
RUSA only: e.g. Cruise 55 Miles
RCanada only: e.g. ¯ 90 Km/h
iThe cruise control should not be activated
during off-road driving.
GWarning!
The cruise control is a convenience system
designed to assist the driver during vehicle
operation. The driver is and must always
144Driving systemsControls in detail
X164_AKB; 5; 31, en-USd2ureepe,Version: 2.11.8.12009-09-11T12:30:16+02:00 - Seite 144
Page 147 of 380
remain responsible for the vehicle’s speed
and for safe brake operation.
Only use the cruise control if the road, traffic,
and weather conditions make it advisable to
travel at a constant speed.
RThe use of the cruise control can be
dangerous on winding roads or in heavy
traffic because conditions do not allow safe
driving at a constant speed.
RThe use of the cruise control can be
dangerous on slippery roads. Rapid
changes in tire traction can result in wheel
spin and loss of control.
RDeactivate the cruise control when driving
in fog.
The “Resume” function should only be
operated if the driver is fully aware of the
previously set speed and wishes to resume
this particular preset speed.
GWarning!
When the cruise control is braking, the brake
pedal is retracted (i.e. depressed
automatically). The pedals’ range of motion
must not be impeded by any obstacles:
RDo not place any objects in the footwell.
RMake sure that the floormats and carpets
are securely in place.
RDo not rest your foot underneath the brake
pedal, as it could otherwise be trapped.
You could otherwise cause an accident and
injure yourself and/or others.
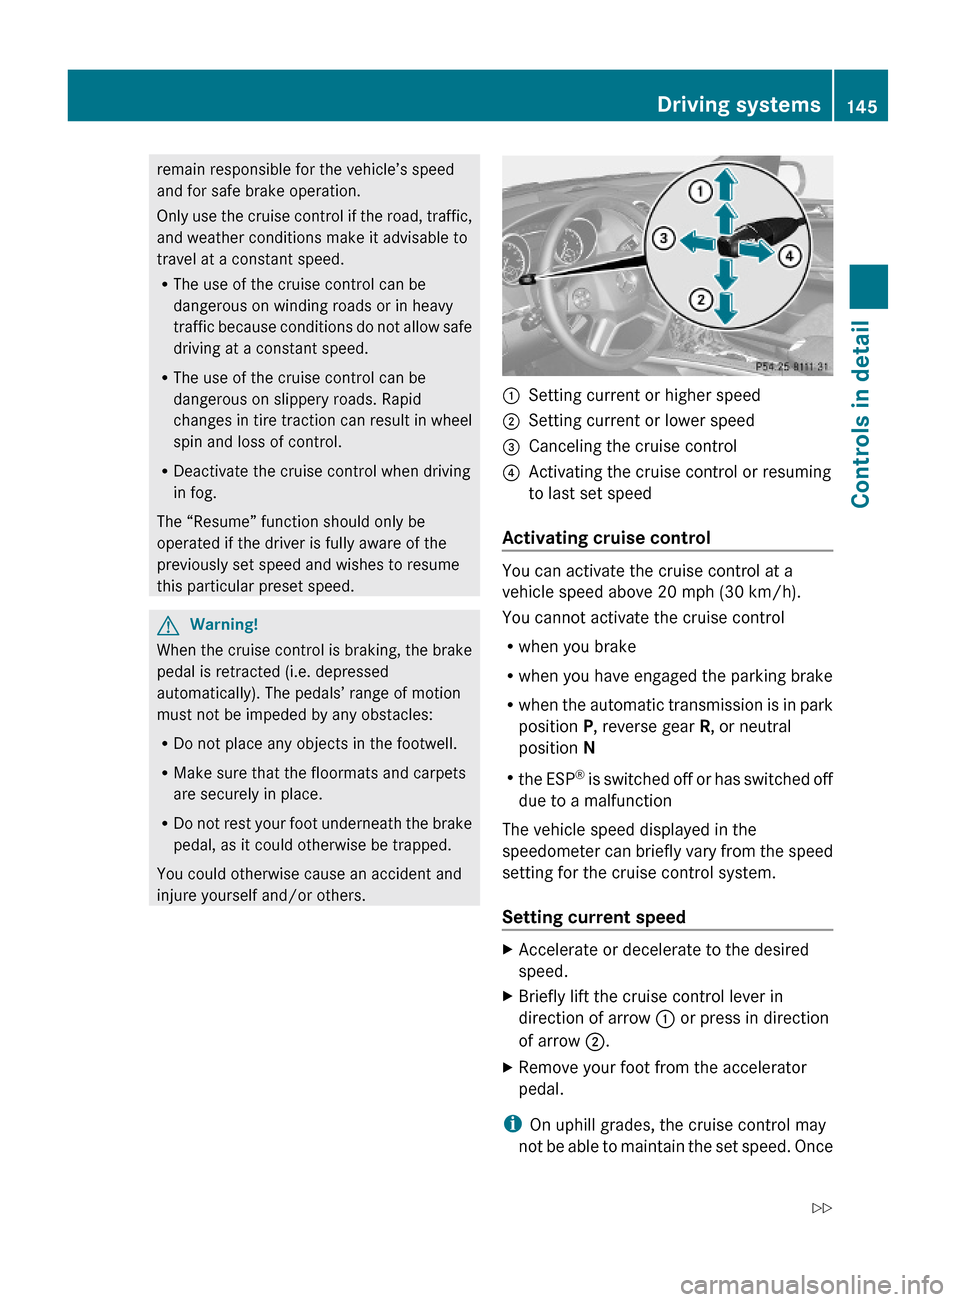
:Setting current or higher speed ;Setting current or lower speed=Canceling the cruise control?Activating the cruise control or resuming
to last set speed
Activating cruise control
You can activate the cruise control at a
vehicle speed above 20 mph (30 km/h).
You cannot activate the cruise control
Rwhen you brake
Rwhen you have engaged the parking brake
Rwhen the automatic transmission is in park
position P, reverse gear R, or neutral
position N
Rthe ESP® is switched off or has switched off
due to a malfunction
The vehicle speed displayed in the
speedometer can briefly vary from the speed
setting for the cruise control system.
Setting current speed
XAccelerate or decelerate to the desired
speed.
XBriefly lift the cruise control lever in
direction of arrow : or press in direction
of arrow ;.
XRemove your foot from the accelerator
pedal.
iOn uphill grades, the cruise control may
not be able to maintain the set speed. Once
Driving systems145Controls in detailX164_AKB; 5; 31, en-USd2ureepe,Version: 2.11.8.12009-09-11T12:30:16+02:00 - Seite 145Z