2010 MERCEDES-BENZ E63AMG light
[x] Cancel search: lightPage 141 of 372

RVehicle status message memory
(Y page 139)
RRestarting the tire pressure loss warning
system (Canada only) (Y page 233)
RChecking tire inflation pressure
electronically with the Advanced TPMS
(Y page 233)
RCalling up the maintenance service
indicator display (Y page 259)
Vehicle status message memory
Use the vehicle status message memory
function to scan malfunction and warning
messages that may be stored in the system.
Such messages appear in the multifunction
display and are based on conditions or
system status the vehicle’s system has
recorded.
GWarning!
Malfunction and warning messages are only
indicated for certain systems and are
intentionally not very detailed. The
malfunction and warning messages are
simply a reminder with respect to the
operation of certain systems. They do not
replace the owner’s and/or driver’s
responsibility to maintain the vehicle’s
operating safety. Have all required
maintenance and safety checks performed on
the vehicle. Bring the vehicle to an authorized
Mercedes-Benz Center to address the
malfunction and warning messages.
XPress button = or ; to select the
Serv. menu.
If conditions have occurred causing status
messages to be recorded, the number of
messages appears in the multifunction
display:
XPress button : or 9 to select the
messages function.
XPress button a to confirm.
The stored messages will now be displayed
in the order in which they have occurred.
For malfunction and warning messages,
see “Vehicle status messages in the
multifunction display” (Y page 272).
XUse button : or 9 to scroll through
the messages.
If you turn the SmartKey in the starter switch
to position 0 and then back to position 2, all
messages will be deleted from the message
memory.
Settings menu
Introduction
In the Sett. menu there are two functions:
The function Factory Setting
(Y page 139), with which you can reset the
settings to the original factory settings and a
collection of submenus (Y page 140) with
which you can make individual settings for
your vehicle.
Resetting to factory settings
You can reset most of the settings of the
submenus to the factory settings.
For safety reasons, the function Daytime
Running Lamps in the Lights submenu
cannot be reset while driving.
XPress button = or ; to select the
Sett. menu.
Control system139Controls in detail212_AKB; 2; 41, en-USd2ureepe,Version: 2.11.8.12009-07-17T09:14:21+02:00 - Seite 139Z
Page 142 of 372

XPress button : or 9 to select the
Factory Setting function.
XPress button a.
The function Reset All Settings?
appears in the multifunction display.
XPress button : or 9 to select Yes or
No. Select Yes if you want to reset to
factory settings.
XPress button a to confirm.
The confirmation message appears in the
multifunction display.
Submenus in the Settings menu
XPress button = or ; to select the
Sett. menu.
XPress button : or 9 to select a
submenu.
Scroll down with button :, scroll up with
button 9.
With the selection marker on the desired
submenu, use the button a to access the
individual functions within that submenu.
Once within the submenu, you can use button
9 to move to the next function or
button : to move to the previous function
within that submenu.
The following lists show what settings can be
changed within the various menus. Detailed
instructions on making individual settings can
be found on the following pages.
Instrument cluster submenu
RSelecting speedometer display mode
(Y page 141)
RPermanent display (speed display or
outside temperature) (Y page 141)
Lights submenu
RSwitching daytime running lamp mode on
or off (USA only) (Y page 141)
RSwitching Adaptive Highbeam Assist on or
off (Y page 142)
RSwitching locator lighting on or off
(Y page 142)
RSetting ambient lighting (Y page 143)
RSwitching interior lighting delayed shut-off
on or off (Y page 143)
Vehicle submenu
RSwitching automatic central locking on or
off (Y page 144)
RSwitching the radar sensors on or off
(Y page 144)
Convenience submenu
RActivating easy-entry/exit feature
(Y page 145)
RActivating/deactivating seat belt
adjustment function (Y page 145)
Instrument cluster submenu
Access the Instr. Cluster submenu via
the Sett. menu. Use the Instr. Cluster
submenu to change the instrument cluster
display settings.
The following functions are available:
RSelecting speedometer display mode
(Y page 141)
RPermanent display (speed display or
outside temperature) (Y page 141)
140Control systemControls in detail
212_AKB; 2; 41, en-USd2ureepe,Version: 2.11.8.12009-07-17T09:14:21+02:00 - Seite 140
Page 143 of 372
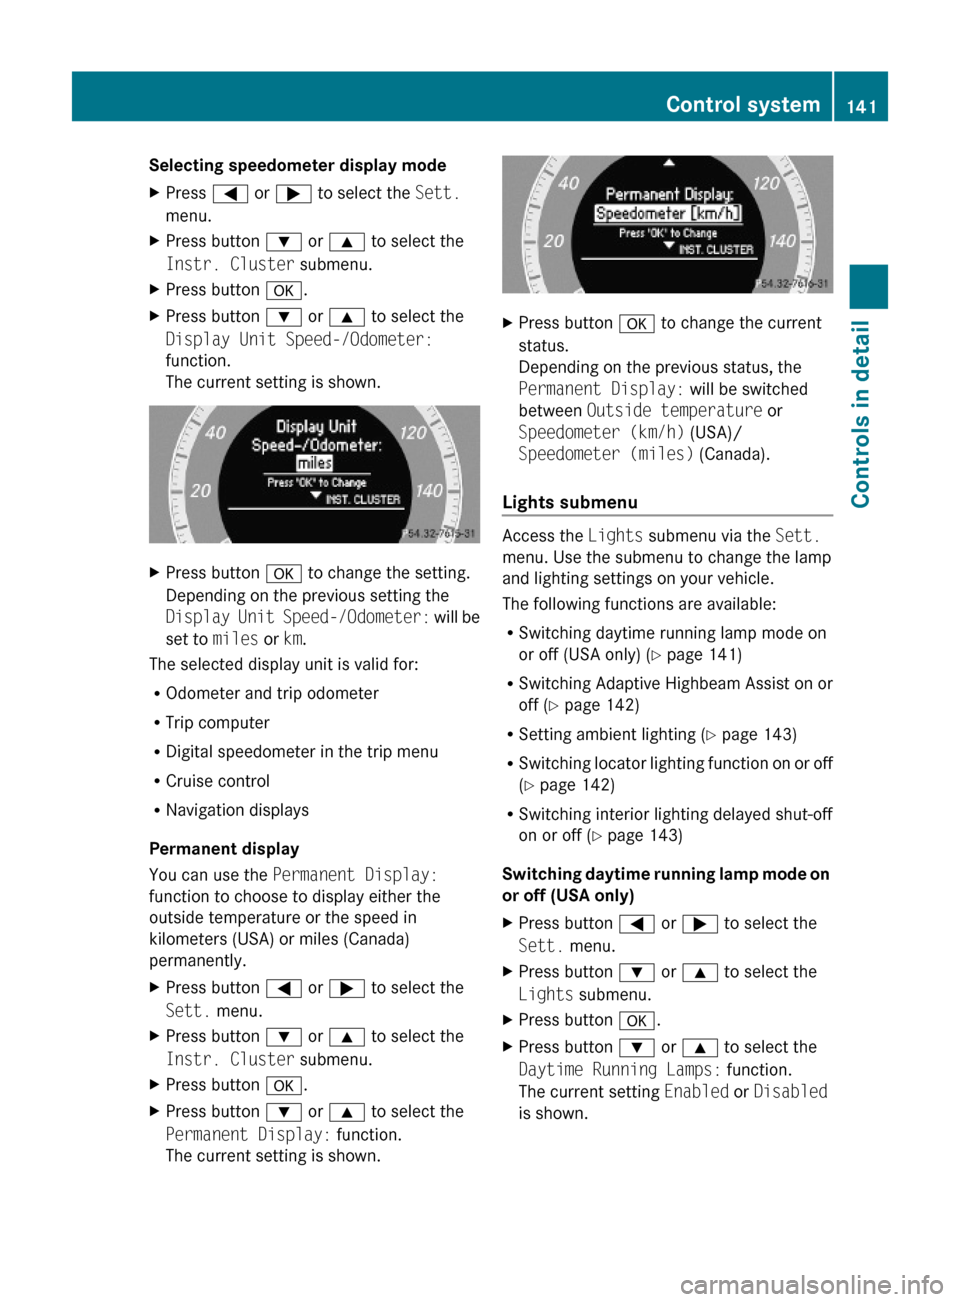
Selecting speedometer display mode XPress = or ; to select the Sett.
menu.
XPress button : or 9 to select the
Instr. Cluster submenu.
XPress button a.XPress button : or 9 to select the
Display Unit Speed-/Odometer:
function.
The current setting is shown.
XPress button a to change the setting.
Depending on the previous setting the
Display Unit Speed-/Odometer: will be
set to miles or km.
The selected display unit is valid for:
ROdometer and trip odometer
RTrip computer
RDigital speedometer in the trip menu
RCruise control
RNavigation displays
Permanent display
You can use the Permanent Display:
function to choose to display either the
outside temperature or the speed in
kilometers (USA) or miles (Canada)
permanently.
XPress button = or ; to select the
Sett. menu.
XPress button : or 9 to select the
Instr. Cluster submenu.
XPress button a.XPress button : or 9 to select the
Permanent Display: function.
The current setting is shown.
XPress button a to change the current
status.
Depending on the previous status, the
Permanent Display: will be switched
between Outside temperature or
Speedometer (km/h) (USA)/
Speedometer (miles) (Canada).
Lights submenu
Access the Lights submenu via the Sett.
menu. Use the submenu to change the lamp
and lighting settings on your vehicle.
The following functions are available:
RSwitching daytime running lamp mode on
or off (USA only) (Y page 141)
RSwitching Adaptive Highbeam Assist on or
off (Y page 142)
RSetting ambient lighting (Y page 143)
RSwitching locator lighting function on or off
(Y page 142)
RSwitching interior lighting delayed shut-off
on or off (Y page 143)
Switching daytime running lamp mode on
or off (USA only)
XPress button = or ; to select the
Sett. menu.
XPress button : or 9 to select the
Lights submenu.
XPress button a.XPress button : or 9 to select the
Daytime Running Lamps: function.
The current setting Enabled or Disabled
is shown.
Control system141Controls in detail212_AKB; 2; 41, en-USd2ureepe,Version: 2.11.8.12009-07-17T09:14:21+02:00 - Seite 141Z
Page 144 of 372

XPress button a to change the current
status.
Depending on the previous status, the
Daytime Running Lamps: mode will be
Enabled or Disabled.
With Daytime Running Lamps mode
enabled and the exterior lamp switch at
position $ or c, the daytime running
lamps are switched on when the engine is
running.
In low ambient light conditions the following
lamps will come on additionally:
RLow-beam headlamps
RParking lamps
RTail lamps
RLicense plate lamps
RSide marker lamps
For more information on the daytime running
lamp mode, see (Y page 98).
iMake sure the exterior lamp switch is set
to M or c when you switch off the
daytime running lamps while driving at
night.
For safety reasons, resetting all the functions
of all submenus to the factory settings while
driving (Y page 139) will not deactivate the
daytime running lamp mode.
The following message appears in the
multifunction display:
Cannot Be Completely Reset to
Factory Settings while Driving..
Switching Adaptive Highbeam Assist on
or off
XPress button = or ; to select the
Sett. menu.
XPress button : or 9 to select the
Lights submenu.
XPress button a.XPress button : or 9 to select the
Adaptive Highbeam Assist: function.
The current setting Enabled or Disabled
is shown.
XPress button a to change the current
status.
Depending on the previous status, the
Adaptive Highbeam Assist: function
will be Enabled or Disabled.
For more information on the Adaptive
Highbeam Assist, see (Y page 100).
Switching locator lighting on or off
With the Locator Lighting: function
activated and the exterior lamp switch in
position c
Rthe exterior lamps will come on during
darkness when the vehicle is unlocked with
the SmartKey.
The lamps will go out when the driver’s door
is opened.
If you do not open the driver’s door after
unlocking the vehicle with the SmartKey,
the lamps will go out automatically after
approximately 40 seconds.
Rthe exterior lamps will remain on for
15 seconds during darkness after exiting
the vehicle and closing all doors.
142Control systemControls in detail
212_AKB; 2; 41, en-USd2ureepe,Version: 2.11.8.12009-07-17T09:14:21+02:00 - Seite 142
Page 145 of 372
If, after turning off the engine, you do not
open or close a door, the lamps will
automatically go out after 60 seconds.
The following lamps will come on
RParking lamps
RTail lamps
RLicense plate lamps
RSide marker lamps
RFront fog lamps
XPress button = or ; to select the
Sett. menu.
XPress button : or 9 to select the
Lights submenu.
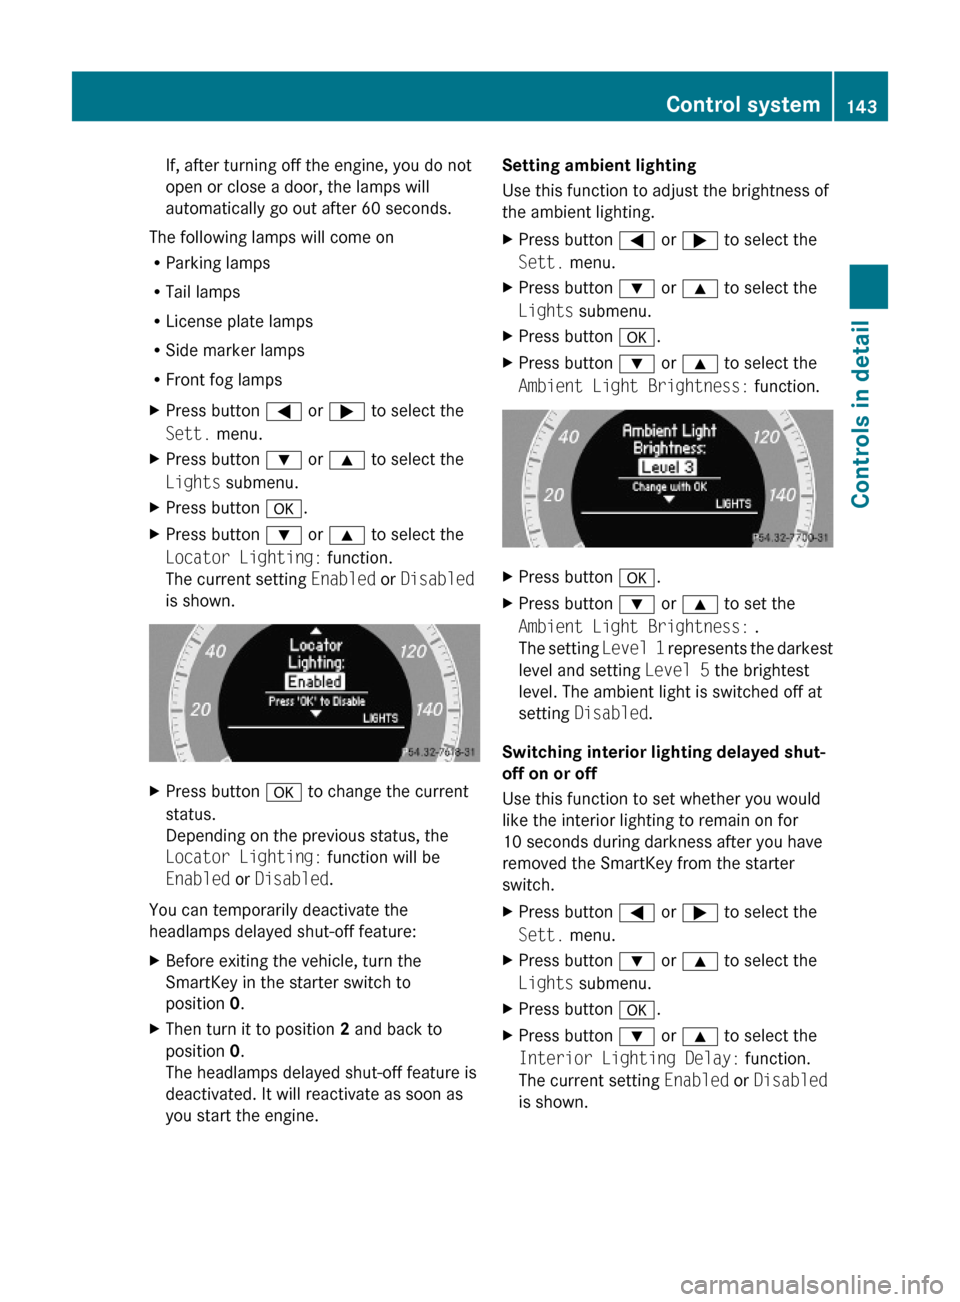
XPress button a.XPress button : or 9 to select the
Locator Lighting: function.
The current setting Enabled or Disabled
is shown.
XPress button a to change the current
status.
Depending on the previous status, the
Locator Lighting: function will be
Enabled or Disabled.
You can temporarily deactivate the
headlamps delayed shut-off feature:
XBefore exiting the vehicle, turn the
SmartKey in the starter switch to
position 0.
XThen turn it to position 2 and back to
position 0.
The headlamps delayed shut-off feature is
deactivated. It will reactivate as soon as
you start the engine.
Setting ambient lighting
Use this function to adjust the brightness of
the ambient lighting.
XPress button = or ; to select the
Sett. menu.
XPress button : or 9 to select the
Lights submenu.
XPress button a.XPress button : or 9 to select the
Ambient Light Brightness: function.
XPress button a.XPress button : or 9 to set the
Ambient Light Brightness: .
The setting Level 1 represents the darkest
level and setting Level 5 the brightest
level. The ambient light is switched off at
setting Disabled.
Switching interior lighting delayed shut-
off on or off
Use this function to set whether you would
like the interior lighting to remain on for
10 seconds during darkness after you have
removed the SmartKey from the starter
switch.
XPress button = or ; to select the
Sett. menu.
XPress button : or 9 to select the
Lights submenu.
XPress button a.XPress button : or 9 to select the
Interior Lighting Delay: function.
The current setting Enabled or Disabled
is shown.
Control system143Controls in detail212_AKB; 2; 41, en-USd2ureepe,Version: 2.11.8.12009-07-17T09:14:21+02:00 - Seite 143Z
Page 146 of 372
XPress button a to change the current
status.
Depending on the previous status, the
interior lighting delayed shut-off feature
will be Enabled or Disabled.
Vehicle submenu
Access the Vehicle submenu via the Sett.
menu. Use the Vehicle submenu to switch
the automatic central locking or the radar
sensors on or off.
Switching automatic central locking on or
off
Use this function to switch the automatic
central locking on or off. With the automatic
central locking activated, the vehicle is
locked centrally at a vehicle speed of
approximately 9 mph (15 km/h).
XPress button = or ; to select the
Sett. menu.
XPress button : or 9 to select the
Vehicle submenu.
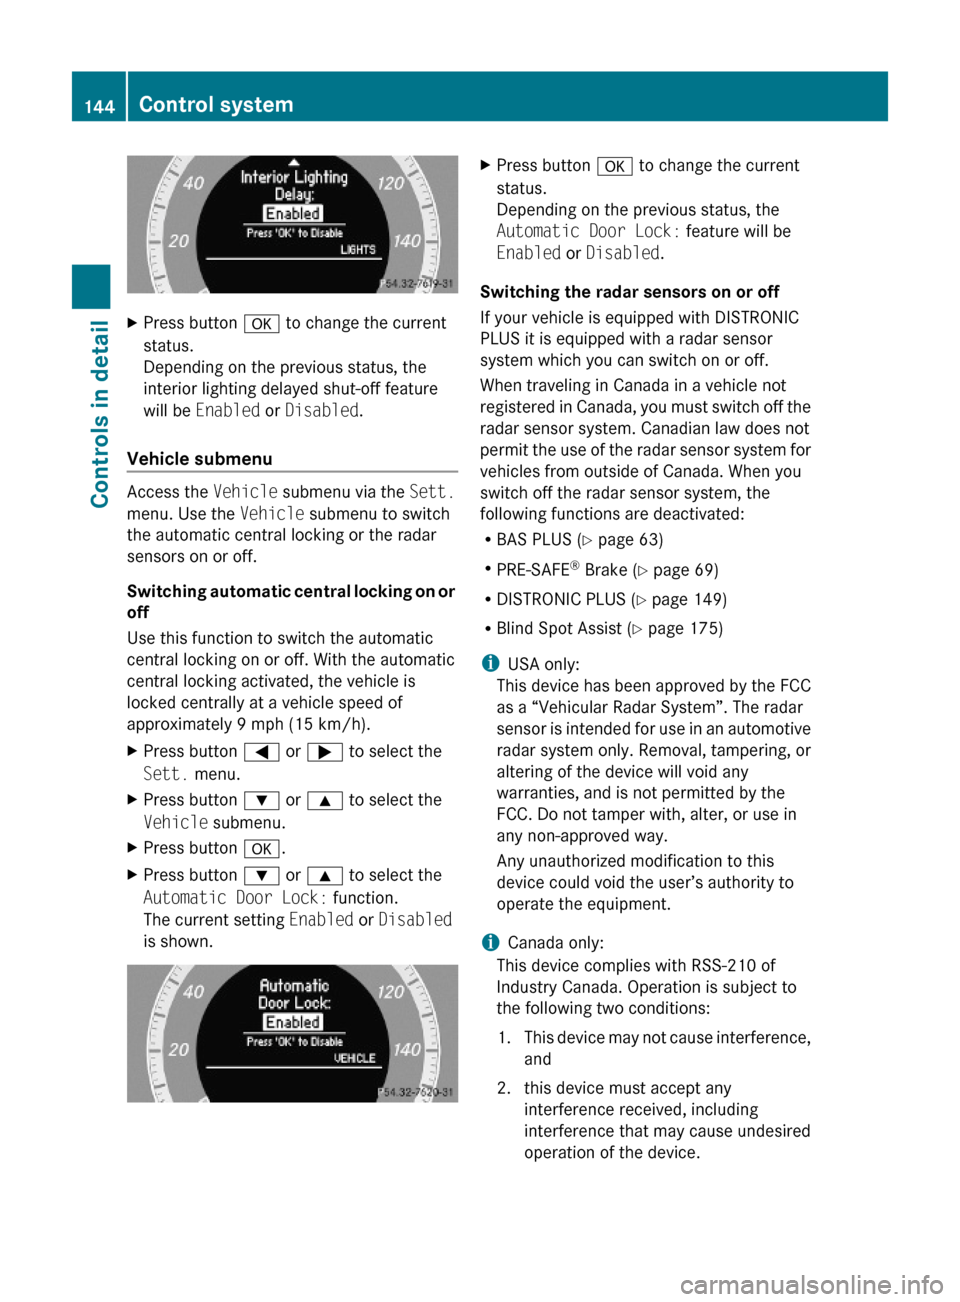
XPress button a.XPress button : or 9 to select the
Automatic Door Lock: function.
The current setting Enabled or Disabled
is shown.
XPress button a to change the current
status.
Depending on the previous status, the
Automatic Door Lock: feature will be
Enabled or Disabled.
Switching the radar sensors on or off
If your vehicle is equipped with DISTRONIC
PLUS it is equipped with a radar sensor
system which you can switch on or off.
When traveling in Canada in a vehicle not
registered in Canada, you must switch off the
radar sensor system. Canadian law does not
permit the use of the radar sensor system for
vehicles from outside of Canada. When you
switch off the radar sensor system, the
following functions are deactivated:
RBAS PLUS (Y page 63)
RPRE-SAFE® Brake (Y page 69)
RDISTRONIC PLUS (Y page 149)
RBlind Spot Assist (Y page 175)
iUSA only:
This device has been approved by the FCC
as a “Vehicular Radar System”. The radar
sensor is intended for use in an automotive
radar system only. Removal, tampering, or
altering of the device will void any
warranties, and is not permitted by the
FCC. Do not tamper with, alter, or use in
any non-approved way.
Any unauthorized modification to this
device could void the user’s authority to
operate the equipment.
iCanada only:
This device complies with RSS-210 of
Industry Canada. Operation is subject to
the following two conditions:
1.This device may not cause interference,
and
2. this device must accept any
interference received, including
interference that may cause undesired
operation of the device.
144Control systemControls in detail
212_AKB; 2; 41, en-USd2ureepe,Version: 2.11.8.12009-07-17T09:14:21+02:00 - Seite 144
Page 161 of 372
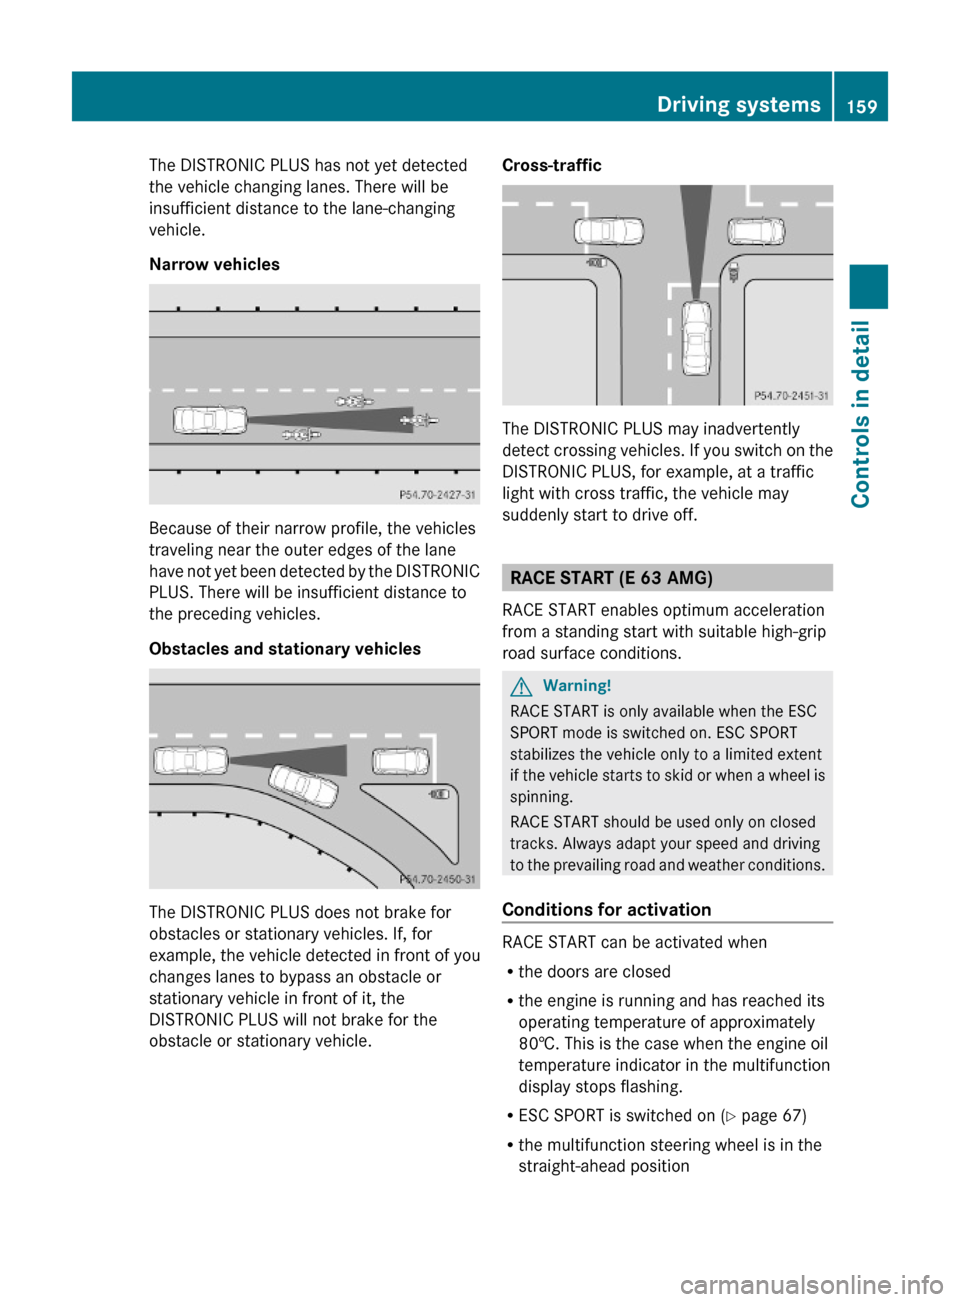
The DISTRONIC PLUS has not yet detected
the vehicle changing lanes. There will be
insufficient distance to the lane-changing
vehicle.
Narrow vehicles
Because of their narrow profile, the vehicles
traveling near the outer edges of the lane
have not yet been detected by the DISTRONIC
PLUS. There will be insufficient distance to
the preceding vehicles.
Obstacles and stationary vehicles
The DISTRONIC PLUS does not brake for
obstacles or stationary vehicles. If, for
example, the vehicle detected in front of you
changes lanes to bypass an obstacle or
stationary vehicle in front of it, the
DISTRONIC PLUS will not brake for the
obstacle or stationary vehicle.
Cross-traffic
The DISTRONIC PLUS may inadvertently
detect crossing vehicles. If you switch on the
DISTRONIC PLUS, for example, at a traffic
light with cross traffic, the vehicle may
suddenly start to drive off.
RACE START (E 63 AMG)
RACE START enables optimum acceleration
from a standing start with suitable high-grip
road surface conditions.
GWarning!
RACE START is only available when the ESC
SPORT mode is switched on. ESC SPORT
stabilizes the vehicle only to a limited extent
if the vehicle starts to skid or when a wheel is
spinning.
RACE START should be used only on closed
tracks. Always adapt your speed and driving
to the prevailing road and weather conditions.
Conditions for activation
RACE START can be activated when
Rthe doors are closed
Rthe engine is running and has reached its
operating temperature of approximately
80†. This is the case when the engine oil
temperature indicator in the multifunction
display stops flashing.
RESC SPORT is switched on (Y page 67)
Rthe multifunction steering wheel is in the
straight-ahead position
Driving systems159Controls in detail212_AKB; 2; 41, en-USd2ureepe,Version: 2.11.8.12009-07-17T09:14:21+02:00 - Seite 159Z
Page 174 of 372
The rear view camera does not relieve you of
the responsibility to be cautious. Take care
and pay careful attention. The rear view
camera may not show objects which are
Rvery close to the rear bumper
Runder the rear bumper
Rabove the trunk handle
You are responsible for safety at all times and
must continue to pay attention to the
immediate surroundings when parking and
maneuvering. This includes the area behind,
in front of, and beside the vehicle. Otherwise
you could endanger yourself and/or others.
GWarning!
The rear view camera either will not function
or will not function to its full capability if
Rthe trunk lid is open
Rit is raining very hard, snowing or foggy
Rit is night or you are parking/maneuvering
your vehicle in an area where it is very dark
Rthe camera is exposed to a very bright white
light
Rthe immediate surroundings are
illuminated with fluorescent light (the
COMAND system display can flicker)
Rthere is a sudden change in temperature,
e.g. if you drive into a heated garage from
the cold (lens condensation)
Rthe camera lens is dirty or covered
Rthe rear of your vehicle is damaged
In this case, have the position and setting
of the camera checked by a qualified
specialist workshop. Mercedes-Benz
recommends that you contact a Mercedes-
Benz Center for this purpose.
Do not use the rear view camera in these
situations. Otherwise you could injure
yourself or others and/or damage property
including your vehicle while parking/
maneuvering.
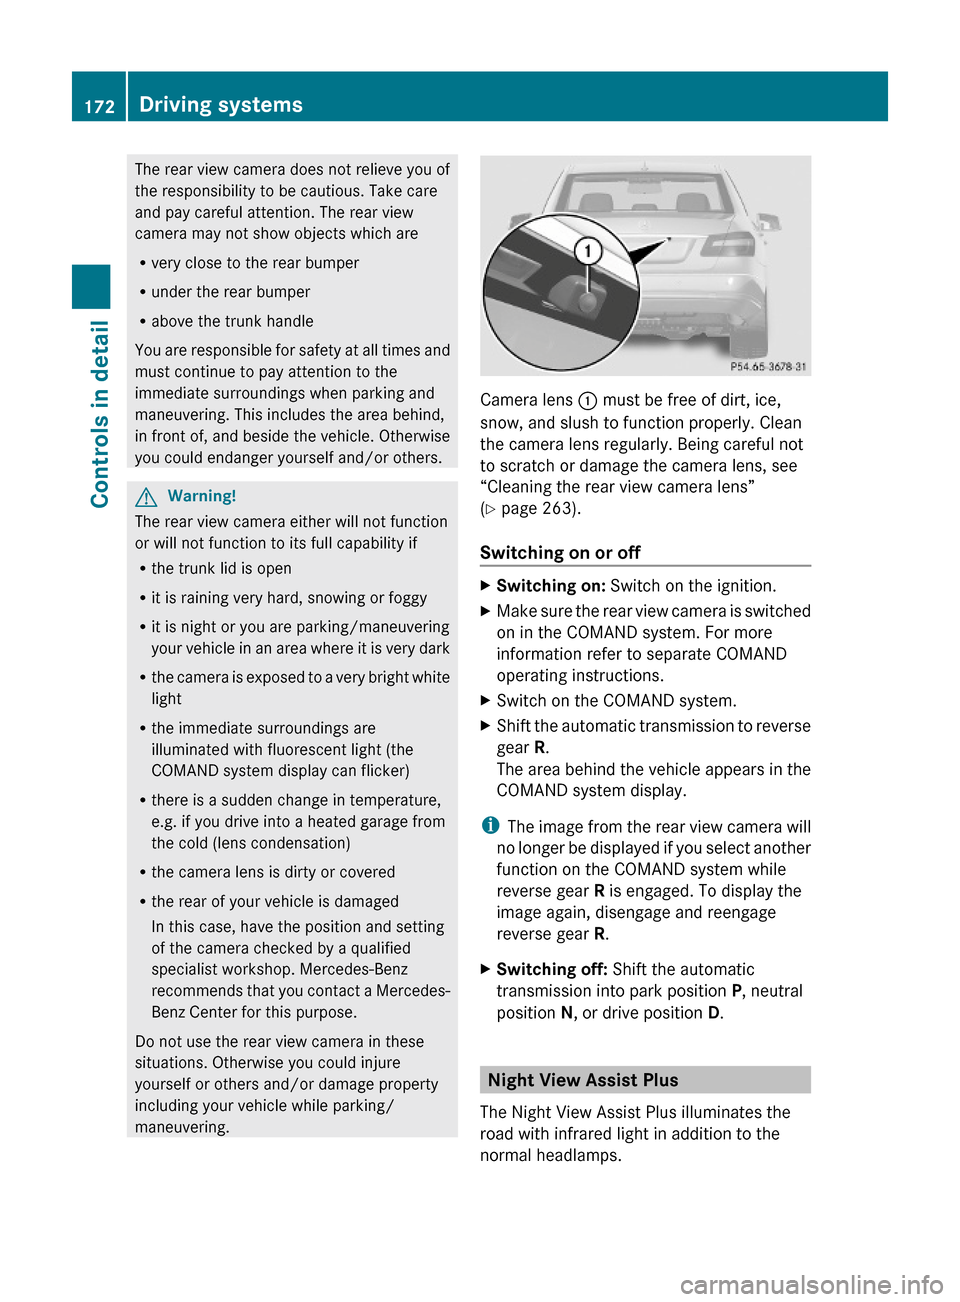
Camera lens : must be free of dirt, ice,
snow, and slush to function properly. Clean
the camera lens regularly. Being careful not
to scratch or damage the camera lens, see
“Cleaning the rear view camera lens”
(Y page 263).
Switching on or off
XSwitching on: Switch on the ignition.XMake sure the rear view camera is switched
on in the COMAND system. For more
information refer to separate COMAND
operating instructions.
XSwitch on the COMAND system.XShift the automatic transmission to reverse
gear R.
The area behind the vehicle appears in the
COMAND system display.
iThe image from the rear view camera will
no longer be displayed if you select another
function on the COMAND system while
reverse gear R is engaged. To display the
image again, disengage and reengage
reverse gear R.
XSwitching off: Shift the automatic
transmission into park position P, neutral
position N, or drive position D.
Night View Assist Plus
The Night View Assist Plus illuminates the
road with infrared light in addition to the
normal headlamps.
172Driving systemsControls in detail
212_AKB; 2; 41, en-USd2ureepe,Version: 2.11.8.12009-07-17T09:14:21+02:00 - Seite 172