2010 MERCEDES-BENZ CLS COUPE change key battery
[x] Cancel search: change key batteryPage 14 of 337

Sea
tbelt ........................................ 239
SPORT handling mode ...................243
SRS ................................................ 243
Tyr ep ressure monitor ...................246
Instrument cluster
Displays. .......................................... 26
Overview .......................................... 26
Submenu (on-board computer) ......205
Warning and indicator lamps ...........28
Intelligen tLight System
Display message ............................ 223
Setting dipped-bea mheadlamps
for driving on the right/left (on-
board computer) ............................ 207
Switching on/off (on-board com-
puter) ............................................. 207
Interior lighting
Automatic control system ..............104
Delayed switch-off (on-board
computer) ...................................... 209
Emergency lighting ........................104
Manual control ............................... 104
Reading lamp ................................. 103
Setting brightness for display/
switches (on-board computer) .......206
Setting the ambient lighting
brightness (on-board computer) ....208
Setting the ambient lighting col-
our (on-board computer) ................ 208
Interior motion sensor ........................64
ISOFIX child seat securing system ....49 J
Jack Storage location ............................ 279
Using ............................................. 285
Jump-starting ..................................... 294
see Jump-starting K
Key Changing the battery .......................71
Checking the battery .......................70
Convenience closing feature ............79
Convenience opening feature ..........79
Display message ............................ 236Malfunction ...................................... 72
Modifying the programming
.............69
Starting the engine ........................130
KEYLESS-GO
Button ............................................ 129
Convenience closing ........................79
Display message ............................ 236
Locking ............................................ 69
Starting the engine ........................130
Unlocking ......................................... 69
Keyp ositions
Key ................................................ 129
KEYLESS GO .................................. 129
Kickdown ................................... 138, 141
Kneebag ............................................... 38 L
Lane-change assistant see Active Blind Spot Assist
see Blind Spot Assist
Lane Keeping Assist
Activating/deactivating (on-
board computer) ............................ 205
Display message ............................ 228
Function/informatio n.................... 185
Lane package ..................................... 183
Lashing eyelets ................................. 252
Lights Activating/deactivating the inte-
rior lighting delayed switch-off
(on-board computer) ......................209
Active light function .......................102
Automatic headlamp mode ..............99
Cornering light function .................102
Daytime driving lights ......................99
Dipped-bea mheadlamps ................. 99
Driving abroad ................................. 98
Foglamps (extended range) ...........103
Hazard warning lamps ...................101
Ligh tswitc h..................................... 98
Main-beam headlamps ................... 100
Motorway mode ............................. 103
Rea rfoglamp ................................... 99
Setting brightness for display/
switches (on-board computer) .......206
Setting the ambient lighting
brightness (on-board computer) ....208 Index
11
Page 72 of 337

If you do not open
adoor or the boot lid within
approximately 40 seconds of unlocking the
vehicle:
R the vehicle is locked again.
R the anti-theft system is primed again.
X To lock centrally: press the&button. KEYLESS-GO
You can start, lock or unlock the vehicle using
KEYLESS-GO. To do this, you only need carry
the key with you. When you touch the surface
of the sensors on the vehicle's outside door
handles, KEYLESS-GO establishes a radio
connection between the vehicle and the key.
The distance from the door handle with which
you wish to lock or unlock the vehicle must
not be greater than 1 m.
When the engine is started and whilst you are
driving, KEYLESS-GO also checks whether a
valid key is in the vehicle by periodically
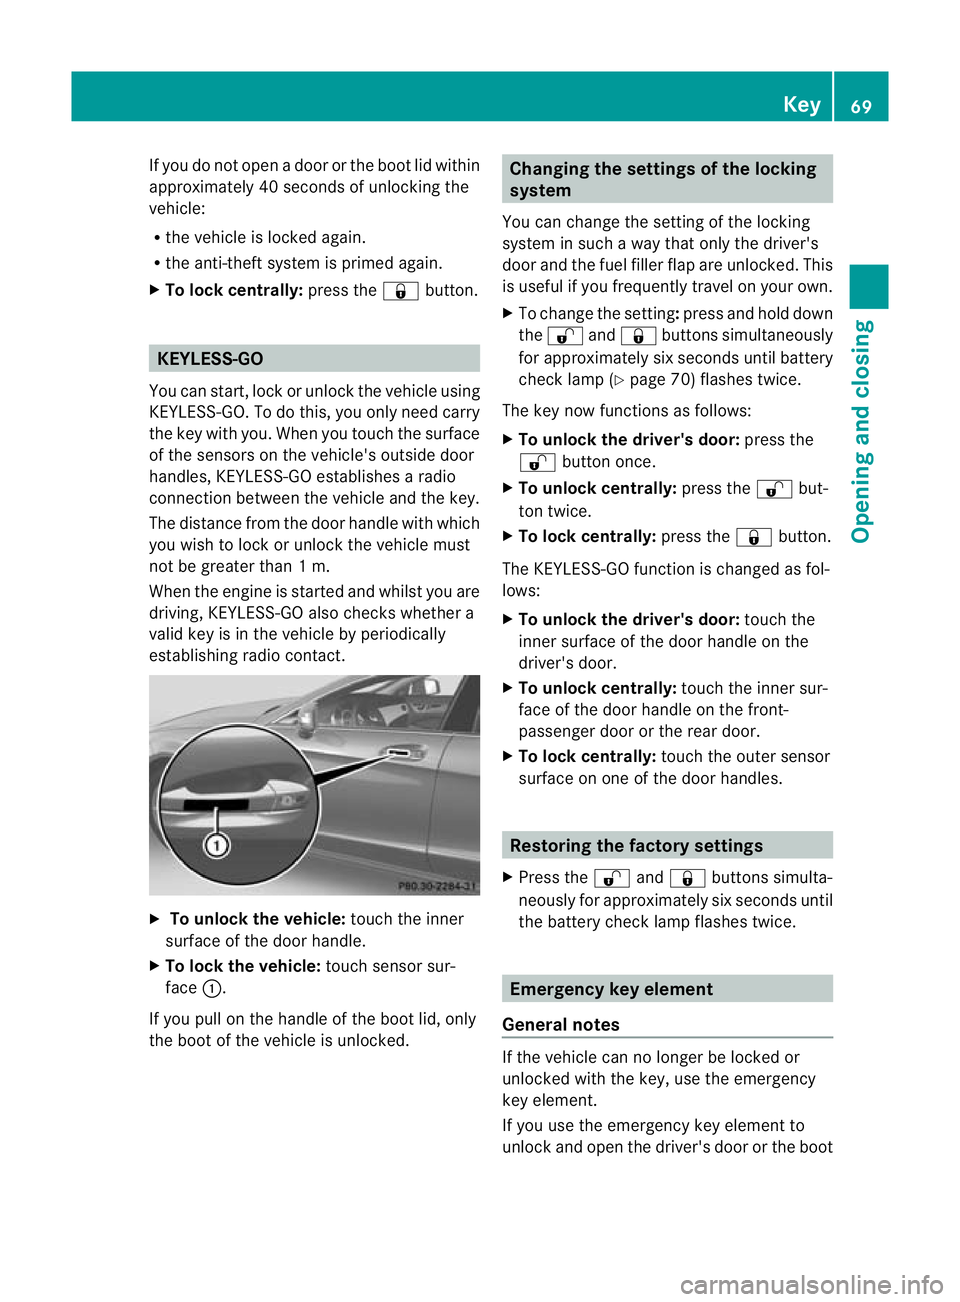
establishing radio contact. X
To unlock the vehicle: touch the inner
surface of the door handle.
X To lock the vehicle: touch sensor sur-
face :.
If you pull on the handle of the boot lid, only
the boot of the vehicle is unlocked. Changing the settings of the locking
system
You can change the setting of the locking
system in such a way that only the driver's
door and the fuel filler flap are unlocked. This
is useful if you frequently travel on your own.
X To change the setting: press and hold down
the % and& buttons simultaneously
for approximately six seconds until battery
check lamp (Y page 70) flashes twice.
The key now functions as follows:
X To unlock the driver's door: press the
% button once.
X To unlock centrally: press the%but-
ton twice.
X To lock centrally: press the&button.
The KEYLESS-GO function is changed as fol-
lows:
X To unlock the driver's door: touch the
inner surface of the door handle on the
driver's door.
X To unlock centrally: touch the inner sur-
face of the door handle on the front-
passenger door or the rear door.
X To lock centrally: touch the outer sensor
surface on one of the door handles. Restoring the factory settings
X Press the %and& buttons simulta-
neously for approximately six seconds until
the battery check lamp flashes twice. Emergency key element
General notes If the vehicle can no longer be locked or
unlocked with the key, use the emergency
key element.
If you use the emergenc
ykey element to
unlock and open the driver's door or the boot Key
69Opening and closing Z
Page 75 of 337

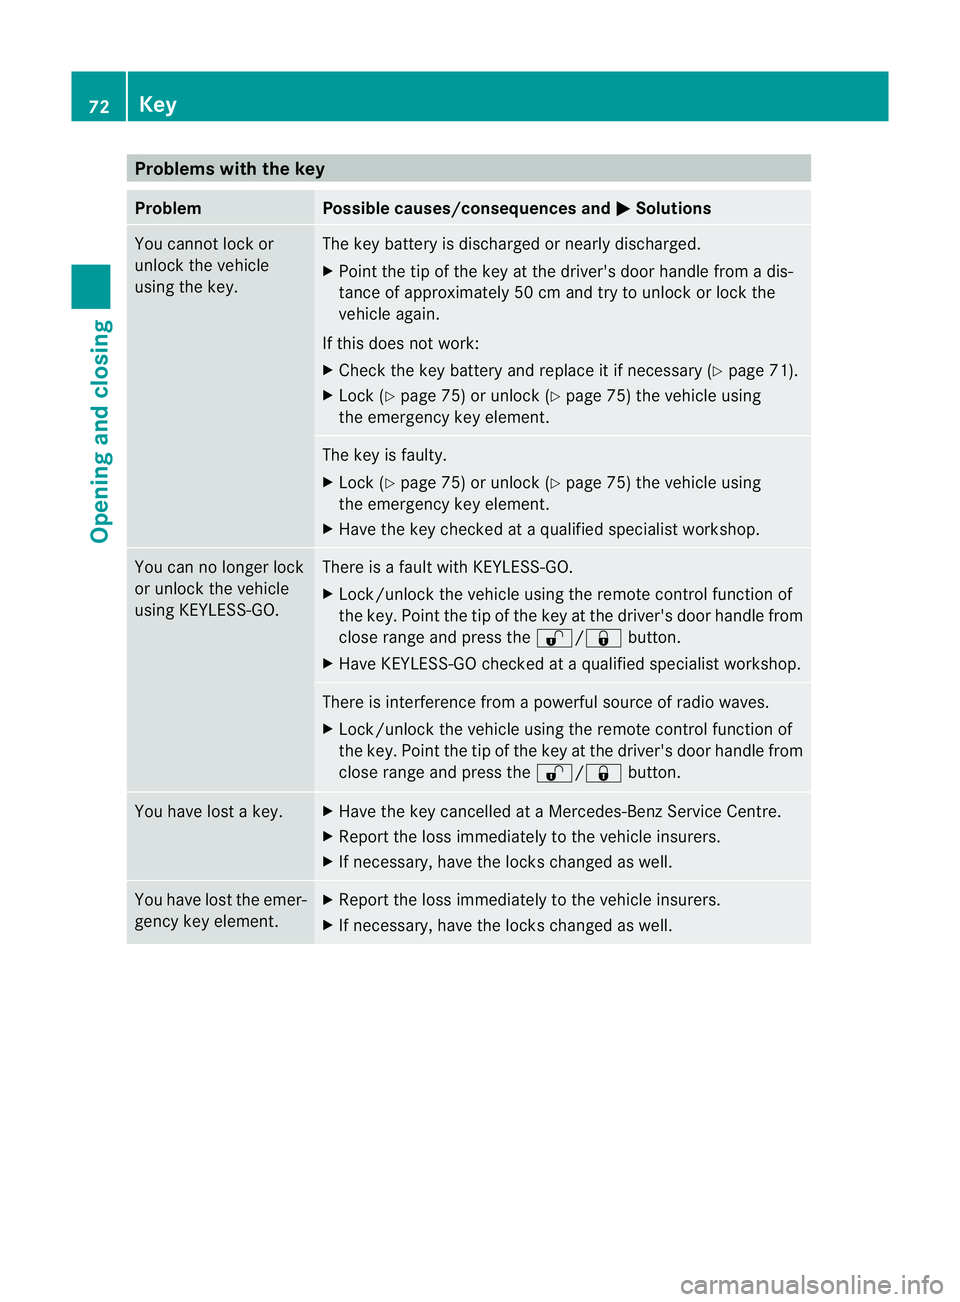
Problems with the key
Problem Possible causes/consequences and
M Solutions
You cannot lock or
unlock the vehicle
using the key. The key battery is discharged or nearly discharged.
X
Point the tip of the key at the driver's door handle from a dis-
tance of approximately 50 cm and try to unlock or lock the
vehicle again.
If this does not work:
X Check the key battery and replace it if necessary (Y page 71).
X Lock (Y page 75) or unlock (Y page 75) the vehicle using
the emergency key element. The key is faulty.
X
Lock (Y page 75) or unlock (Y page 75) the vehicle using
the emergency key element.
X Have the key checked at a qualified specialist workshop. You can no longer lock
or unlock the vehicle
using KEYLESS-GO. There is a fault with KEYLESS-GO.
X
Lock/unlock the vehicle using the remote control function of
the key. Point the tip of the key at the driver's door handle from
close range and press the %/&button.
X Have KEYLESS-GO checked at a qualified specialist workshop. There is interference from a powerful source of radio waves.
X
Lock/unlock the vehicle using the remote control function of
the key. Point the tip of the key at the driver's door handle from
close range and press the %/&button. You have lost a key. X
Have the key cancelled at a Mercedes-Benz Service Centre.
X Report the loss immediately to the vehicle insurers.
X If necessary, have the locks changed as well. You have lost the emer-
gency key element. X
Report the loss immediately to the vehicle insurers.
X If necessary, have the locks changed as well. 72
KeyOpening and closing
Page 107 of 337

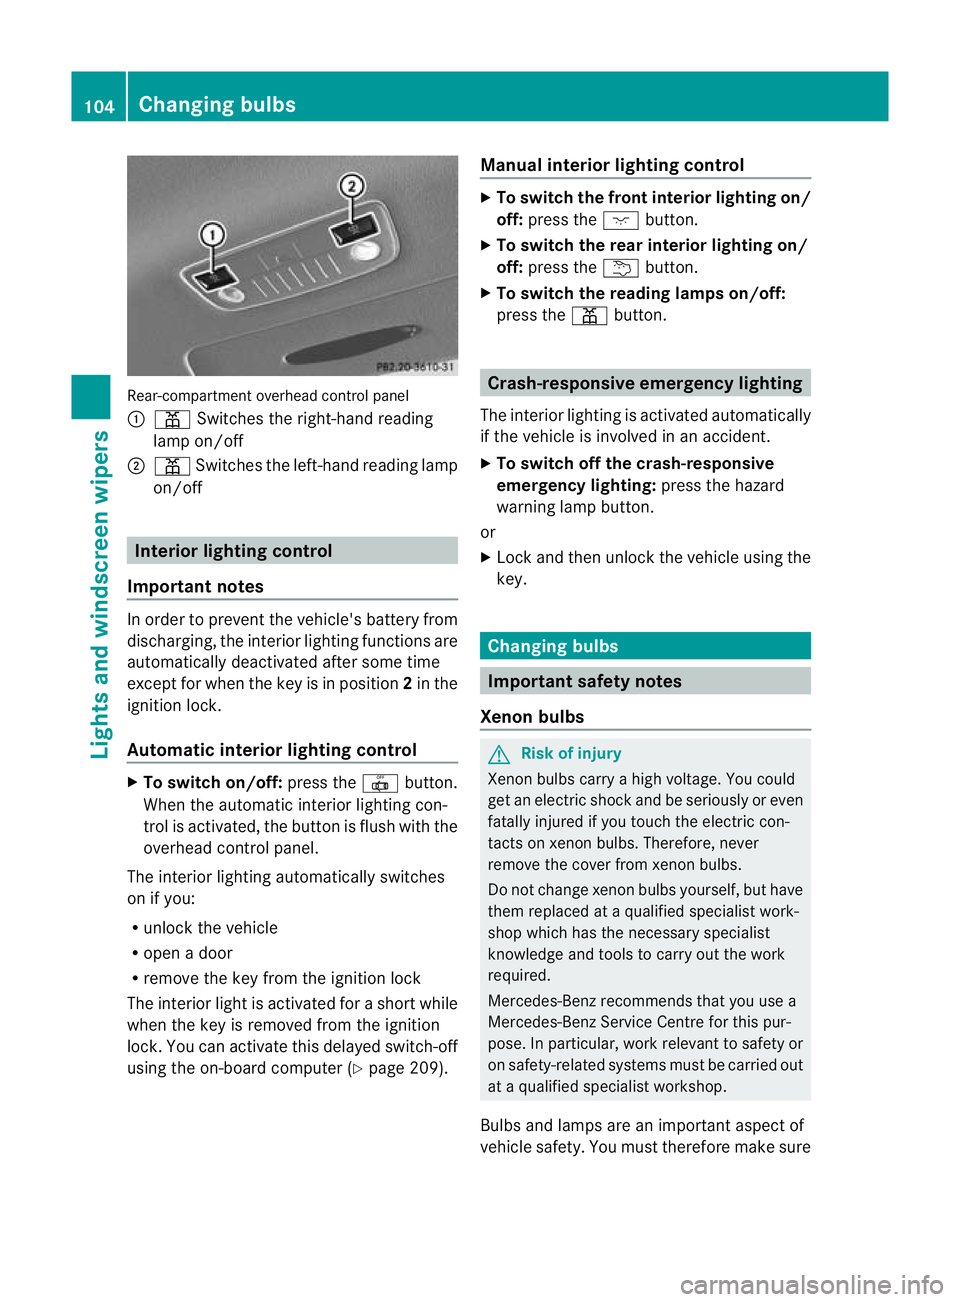
Rear-compartmen
toverhead control panel
: p Switches the right-hand reading
lamp on/off
; p Switches the left-hand reading lamp
on/off Interior lighting control
Important notes In order to prevent the vehicle's battery from
discharging, the interior lighting functions are
automatically deactivated after some time
except for when the key is in position
2in the
ignitio nlock.
Automatic interior lighting control X
To switch on/off: press the|button.
When the automatic interior lighting con-
trol is activated, the button is flush with the
overhead control panel.
The interior lighting automatically switches
on if you:
R unlock the vehicle
R open a door
R remove the key from the ignition lock
The interior light is activated for a short while
when the key is removed from the ignition
lock. You can activate this delayed switch-off
using the on-board computer (Y page 209).Manual interior lighting control X
To switch the front interior lighting on/
off: press the cbutton.
X To switch the rear interior lighting on/
off: press the ubutton.
X To switch the reading lamps on/off:
press the pbutton. Crash-responsive emergency lighting
The interior lighting is activated automatically
if the vehicle is involved in an accident.
X To switch off the crash-responsive
emergency lighting: press the hazard
warning lamp button.
or
X Lock and then unlock the vehicle using the
key. Changing bulbs
Important safety notes
Xenon bulbs G
Risk of injury
Xenon bulbs carry a high voltage. You could
get an electric shock and be seriously or even
fatally injured if you touch the electric con-
tacts on xenon bulbs. Therefore, never
remove the cover from xenon bulbs.
Do not change xenon bulbs yourself, but have
them replaced at a qualified specialist work-
shop which has the necessary specialist
knowledge and tools to carry out the work
required.
Mercedes-Benz recommends that you use a
Mercedes-Benz Service Centre for this pur-
pose. In particular, work relevant to safety or
on safety-related systems must be carried out
at a qualified specialist workshop.
Bulbs and lamps are an important aspect of
vehicle safety. You must therefore make sure 104
Changing bulbsLights and windscreen wipers
Page 122 of 337

X
Turn the key to position 0in the ignition
lock or remove it.
X To switch on: press theÌbutton.
The indicator lamp in the Ìbutton lights
up.
X To deactivate: press theÌbutton.
The indicator lamp in the Ìbutton goes
out.
i Residual heat is deactivated automati-
cally:
R after about 30 minutes
R when the ignition is switched on
R if the battery voltage drops
R if the coolant temperature is too low Auxiliary heating
Important safety notes G
Risk of poisoning
Exhaust fumes are produced when the auxili-
ary heating is in operation. Inhaling these
exhaust fumes can be poisonous. You should
therefore switch off the auxiliary heating in
confined spaces without an extraction sys-
tem, e.g. a garage. G
Risk of fire
When operating the auxiliary heating, parts of
the vehicle may become very hot, and highly
inflammable material such as fuels could be
ignited. Operating the auxiliary heating is thus
prohibited at filling station sorwhen your vehi-
cle is being refuelled. You must therefore
switch off the auxiliary heating at filling sta-
tions.
! Operating the auxiliary heating/ventila-
tion draws on the vehicle battery. After you
have heated or ventilated the vehicle a
maximum of two times, drive for a longer
distance.
i Switch on the auxiliary heating regularly,
e.g. for about ten minutes every month. The auxiliary heating heats the air in the vehi-
cle interior to the set temperature without
using the heat of the running engine. The aux-
iliary heating is operated directly using the
vehicle's fuel. For this reason, the tank con-
tent must be at least at reserve fuel level to
ensure that the auxiliary heating functions.
The auxiliary heating/ventilation automati-
cally adjusts to changes in temperature and
weather conditions. For this reason, the aux-
iliary heating could switch from ventilation
mode to heating mode or from heating mode
to ventilation mode.
The auxiliary heating switches off automati-
cally after 50 minutes. This time limit can be
altered. To do this, visit a qualified specialist
workshop, e.g. a Mercedes-Ben
zService
Centre.
You cannot use the auxiliary ventilation to
cool the vehicle interior to a temperature
lower than the outside temperature.
Before switching on X
Turn the key to position 2in the ignition
lock.
X Set the temperature.
The auxiliary heating/ventilation can be acti-
vated even when the climate control is being
controlled manually. Optimum comfort can
be attained when the system is set to auto-
matic mode. Set the temperature to 22 †.
The auxiliary heating/ventilation can be acti-
vated or deactivated using the remote control
or the button on the centre console.
The on-board computer can be used to spec-
ify up to three departure times, one of which
may be preselected (Y page 210). Operating the climate control system
119Climate control Z
Page 239 of 337

Display messages Possible causes/consequences and
M Solutions
&
inoperative Bat‐
tery low The on-board voltage is too low. The auxiliary heating has switched
itself of
forcannot be switched on (Y page 119).
X Drive for a longer distance.
The battery is being charged. The auxiliary heating can be reac-
tivated as soon as the on-board electrical system voltage is suf-
ficient. &
inoperative
Refuel
vehicle The fuel level in the fuel tan
kis too low. The auxiliary heating can-
not be switched on (Y page 119).
X Refuel at the nearest filling station. &
inoperative See
Owner's Man. The auxiliary heating has a temporary malfunction or is faulty.
X
When the vehicle is on alevel surface and the engine has cooled
down, make up to four attempts to switch on the auxiliary heat-
ing, waiting several minutes between each attempt
(Y page 119).
X If the auxiliary heating does not switch on, consult a qualified
specialist workshop. ¥
Top
up washer fluid The washer fluid level in the washer fluid reservoir has dropped
below the minimum.
X
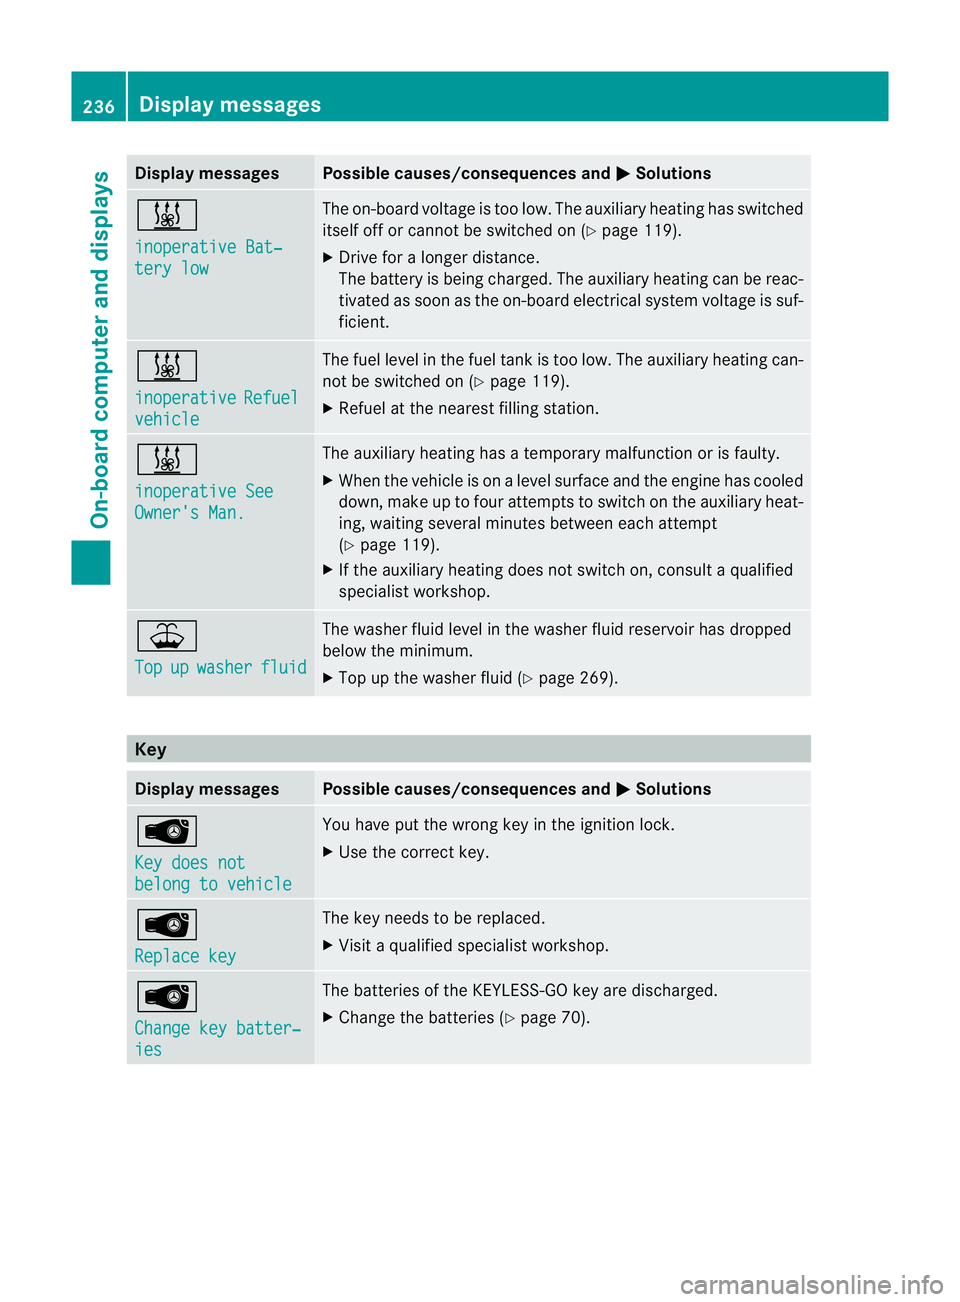
Top up the washer fluid (Y page 269).Key
Display messages Possible causes/consequences and
M Solutions
Â
Key does not
belong to vehicle You have put the wrong key in the ignition lock.
X
Use the correct key. Â
Replace key The key needs to be replaced.
X
Visit a qualified specialist workshop. Â
Change key batter‐
ies The batteries of the KEYLESS-GO key are discharged.
X
Change the batteries (Y page 70).236
Display messagesOn-board computer and displays