2010 MERCEDES-BENZ CLS COUPE change time
[x] Cancel search: change timePage 186 of 337
Problems with Night View Assist Plus
Problem Possible causes/consequences and
M Solutions
The picture quality of
Night View Assist Plus
has deteriorated. The windscreen wipers are smearing the windscreen.
X
Replace the wiper blades (Y page 107). The windscreen is smeared after cleaning the vehicle in a car wash.
X Cleant he windscreen (Y page 273). Windscreen chip damage in the camera's field of vision.
X
Replace the windscreen. The windscreen is misted up on the inside.
X
Demist the windscreen (Y page 117). The windscreen is iced up.
X
De-ice the windscreen (Y page 116). There is dirt on the inside of the windscreen.
X
Cleant he inside of the windscreen (Y page 273).Lane Tracking package
General notes The Lane Tracking package consists of Blind
Spot Assist (Y page 183) and Lane Keeping
Assist (Y page 185).
Blind Spot Assist Important safety notes
Blind Spot Assist uses a radar sensor system
to monitor the areas on both sides of your
vehicle. Blind Spot Assist provides assistance
at speeds higher than 30 km/h. A warning
lamp in the exterior mirrors draws your atten-
tion to detected vehicles in the monitored
area. If you then switch on the corresponding
turn signal to change lane, you will also
receive an optical and acoustic collision warn-
ing. For this purpose, Blind Spot Assist uses
sensors in the rear bumper. G
Risk of accident
Blind Spot Assist is only an aid designed to
assist driving. It may fail to detect some vehi-
cles and is no substitute for attentive driving.
Blind Spot Assist cannot detect road and traf-
fic conditions. It may fail to detect narrow
vehicles, such as motorcycles or bicycles, or
only detect them too late.
Monitoring may be affected by dirty sensors,
strong spray or poor visibility caused by snow,
rain or mist, for example. In this case, vehicles
are detected late or not at all.
Always pay attention to traffic conditions and
your surroundings. Otherwise, you may fail to
recognise dangers in time, cause an accident
and injure yourself and others.
The radar sensor system is automatically
deactivated near radio telescope facilities
(Y page 327).
For Blind Spot Assist to assist you when driv-
ing, the radar sensor system must be
switched on (Y page 210) and operational. Driving systems
183Driving and parking Z
Page 189 of 337
R
the lane markings change quickly, e.g.
lanes branch off, cross one anothe ror
merge.
R the road is narrow and winding.
Lane Keeping Assist cannot detect road and
traffic conditions. It is not a substitute for
attentive driving. You are responsible for the
vehicle's speed, braking in good time, and
steering correctly. Always adapt yourd riving
style to suitt he prevailing road and weather
conditions. Always pay attention to traffic
conditions and your surroundings. Otherwise,
you may fail to recognise dangers in time,
cause an accident and injure yourself and oth-
ers.
A warning can be given when a front wheel
passes over a lane marking. It will warn you
by means of intermittent vibration in the
steering wheel for up to 1.5 seconds.
In order that you are warned only when nec-
essary and in good time if you cross the lane
marking, the system recognises certain con-
ditions and warns you accordingly.
The warning vibration occurs earlier if:
R you approach the outer lane marking on a
bend.
R the road has very wide lanes, e.g. a motor-
way.
R the system recognises solid lane markings.
The warning vibration occurs later if:
R the road has narrow lanes.
R you cut the corner on a bend.
No warning vibration occurs if:
R you clearly and actively steer, brake, or
accelerate.
R you cut the corner on a sharp bend.
R a driving safety system intervenes, such as
ABS, BAS or ESP ®
.
R you switch on the turn signals. In this event,
the warnings are suppressed for a certain
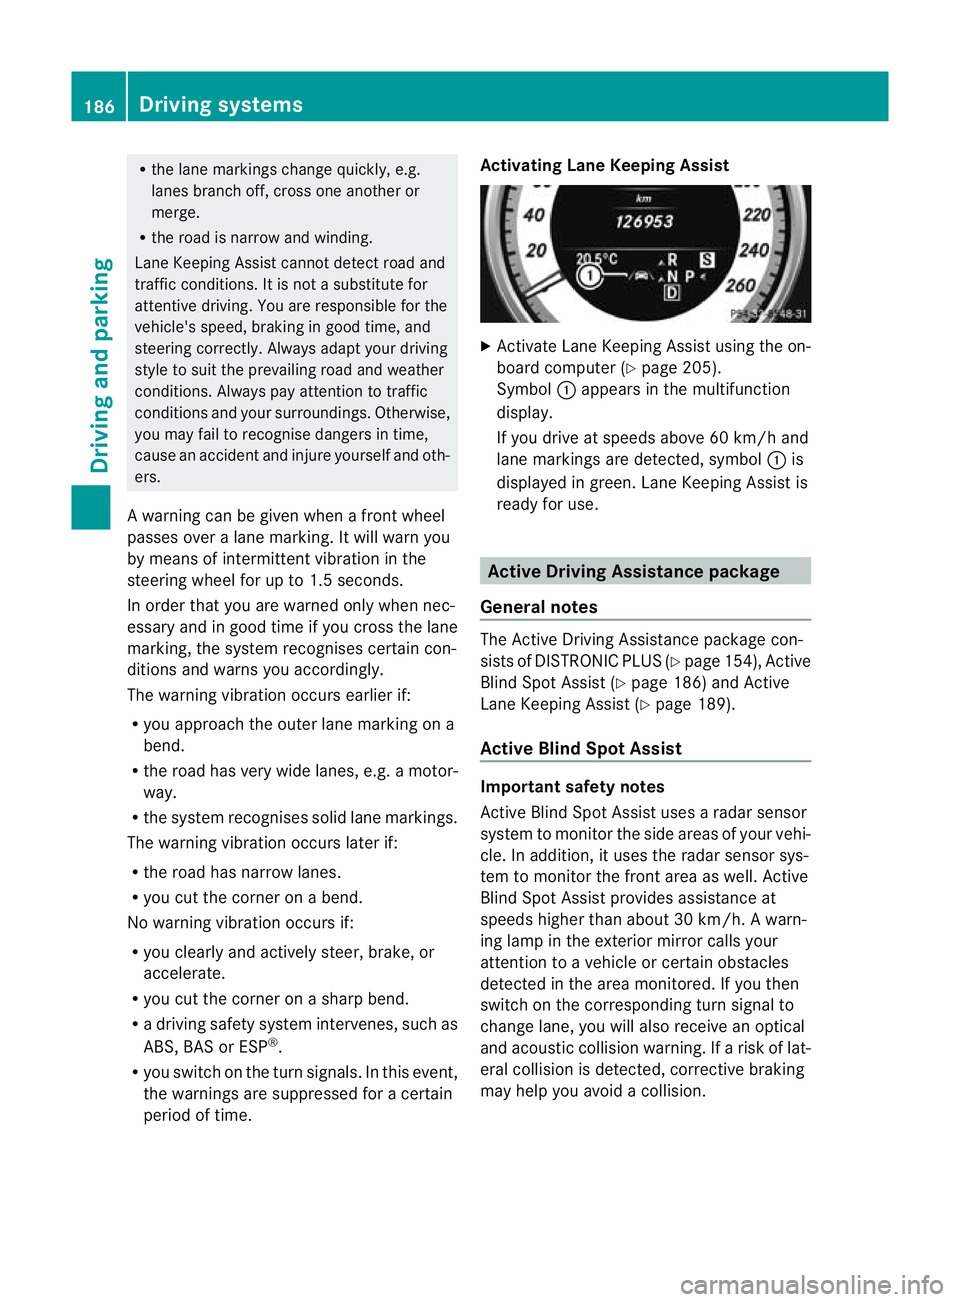
period of time. Activating Lane Keeping Assist X
Activate Lane Keeping Assist using the on-
board computer (Y page 205).
Symbol :appears in the multifunction
display.
If you drive at speeds above 60 km/h and
lane markings are detected, symbol :is
displayed in green. Lane Keeping Assist is
ready for use. Active Driving Assistance package
General notes The Active Driving Assistance package con-
sists of DISTRONIC PLUS (Y page 154), Active
Blind Spot Assist (Y page 186) and Active
Lane Keeping Assist (Y page 189).
Active Blind Spot Assist Important safety notes
Active Blind Spot Assist uses a radar sensor
system to monitor the side areas of your vehi-
cle. In addition, it uses the radar sensor sys-
tem to monitor the front area as well. Active
Blind Spot Assist provides assistance at
speeds higher than about 30 km/h. Awarn-
ing lamp in the exterior mirror calls your
attentio nto a vehicle or certain obstacles
detected in the area monitored. If you then
switch on the corresponding turn signal to
change lane, you will also receive an optical
and acoustic collision warning. If a risk of lat-
eral collision is detected, corrective braking
may help you avoid a collision. 186
Driving systemsDriving and parking
Page 191 of 337
close to crash barriers or similar solid lane
borders.
Two Active Blind Spot Assist sensors are inte-
grated into the front and rear bumpers
respectively. An additiona lsensor is located
behind the cover in the radiator grille. Make
sure that the bumpers are free from dirt, ice
or slush around the sensors. The rear radar
sensors must not be covered, for example by
cycle racks or overhanging loads. Following a
severe impact or in the event of damage to
the bumpers, have the function of the radar
sensors checked at a qualified specialist
workshop, e.g. a Mercedes-Benz Service
Centre. Active Blind Spot Assist may other-
wise fail to work correctly.
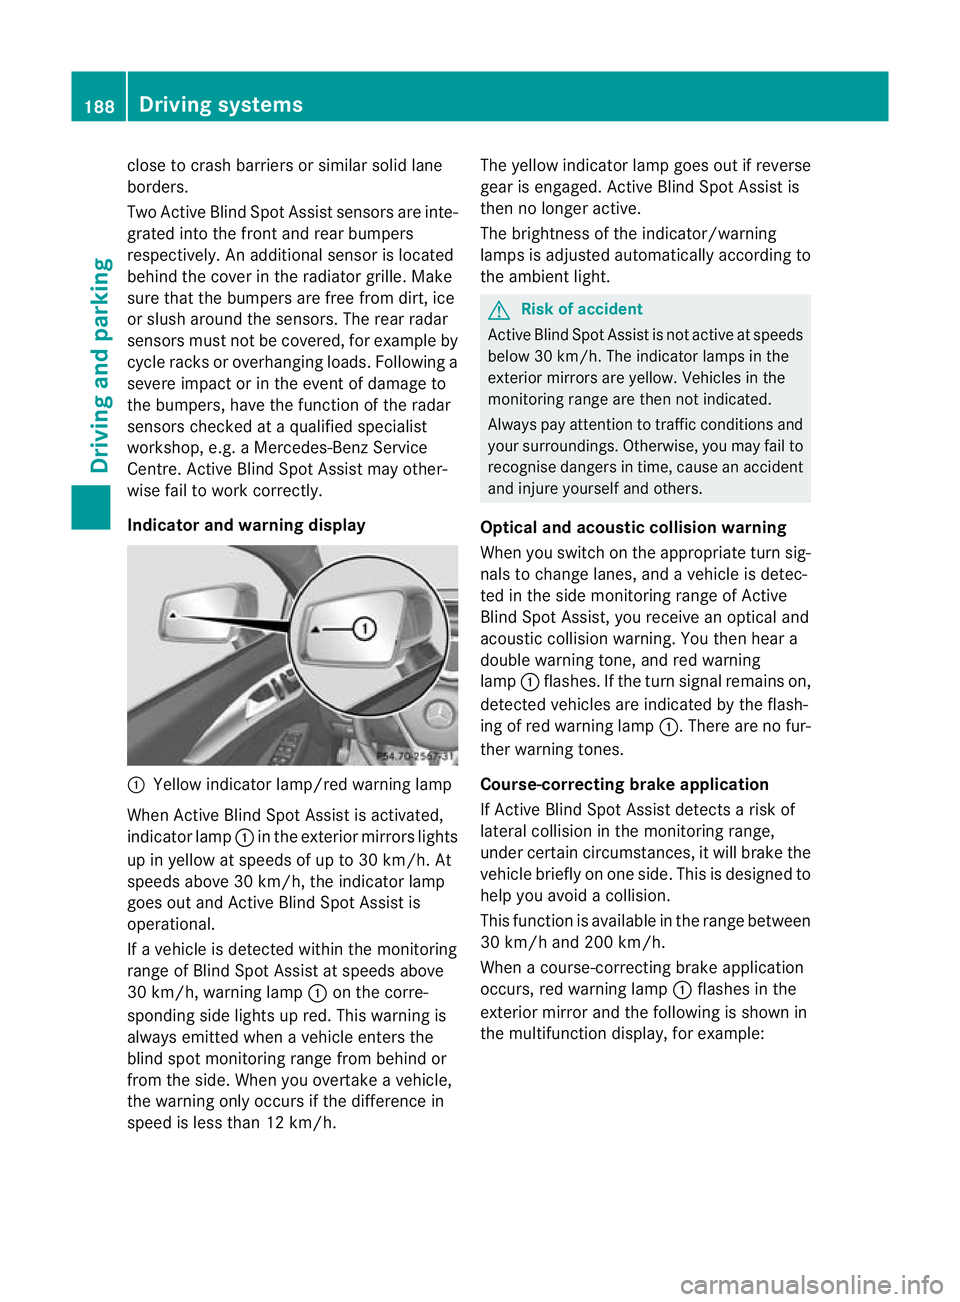
Indicator and warning display :
Yellow indicator lamp/red warning lamp
When Active Blind Spot Assist is activated,
indicator lamp :in the exterior mirrors lights
up in yellow at speeds of up to 30 km/h. At
speeds above 30 km/h, the indicator lamp
goes out and Active Blind Spot Assist is
operational.
If a vehicle is detected within the monitoring
range of Blind Spot Assist at speeds above
30 km/h, warning lamp :on the corre-
sponding side lights up red. This warning is
always emitted when a vehicle enters the
blind spot monitoring range from behind or
from the side. When you overtake a vehicle,
the warning only occurs if the difference in
speed is less than 12 km/h. The yellow indicator lamp goes out if reverse
gear is engaged. Active Blind Spot Assist is
then no longer active.
The brightness of the indicator/warning
lamps is adjusted automatically according to
the ambient light. G
Risk of accident
Active Blind Spot Assist is not active at speeds
below 30 km/h. The indicator lamps in the
exterior mirrors are yellow. Vehicles in the
monitoring range are then not indicated.
Always pay attention to traffic conditions and
your surroundings. Otherwise, you may fail to
recognise dangers in time, cause an accident
and injure yourself and others.
Optical and acoustic collision warning
When you switch on the appropriate turn sig-
nals to change lanes, and a vehicle is detec-
ted in the side monitoring range of Active
Blind Spot Assist, you receive an optical and
acoustic collision warning. You then hear a
double warning tone, and red warning
lamp :flashes. If the turn signal remains on,
detected vehicles are indicated by the flash-
ing of red warning lamp :.There are no fur-
ther warning tones.
Course-correcting brake application
If Active Blind Spot Assist detects a risk of
lateral collision in the monitoring range,
under certain circumstances, it will brake the
vehicle briefly on one side. This is designed to
help you avoid a collision.
This function is available in the range between
30 km/h and 200 km/h.
When a course-correcting brake application
occurs, red warning lamp :flashes in the
exterior mirror and the following is shown in
the multifunction display, for example: 188
Driving systemsDriving and parking
Page 193 of 337
G
Risk of accident
Active Lane Keeping Assist does not keep
your vehicle in its lane. It is only an aid and
may detect the lane markings on the road
incorrectly or not at all.
The system may be impaired or may not func-
tion if:
R several or no lane markings for a single lane
are present.
R there is poo rvisibility, e.g. due to insuffi-
cien tillumination of the road, or due to
snow, rain, fog or spray.
R there is glare, e.g. from oncoming traffic,
the sun, or reflection from other vehicles.
R the windscreen is dirty, misted up or cov-
ered, for instance by a sticker, in the vicinity
of the camera.
R the lane markings are worn away, dark or
covered up, e.g. by dirt or snow.
R the distance to the vehicle in front is too
small and the lane markings thus cannot be
detected.
R the lane markings on the road are unclear,
e.g. near roadworks.
R the lane markings change quickly, e.g.
lanes branch off, cross one another or
merge.
R the road is narrow and winding.
Active Lane Keeping Assist cannot detect
road and traffic conditions. It is not a substi-
tute for attentive driving. You are responsible
for the vehicle's speed, braking in good time,
and steering correctly. Always adapt your
driving style to suit the prevailing road and
weathe rconditions .Always pay attention to
traffic conditions and your surroundings. Oth-
erwise, you may fail to recognise dangers in
time, cause an accident and injure yourself
and others.
Warning vibration in the steering wheel
A warning can be given when a front wheel
passes over a lane marking. It will warn you
by means of intermittent vibration in the
steering wheel for up to 1. 5seconds. In order that you are warned only when nec-
essary and in good time if you cross the lane
marking, the system recognises certain con-
ditions and warns you accordingly.
The warning vibration occurs earlier if:
R
you approach the outer lane marking on a
bend.
R the road has very wide lanes, e.g. a motor-
way.
R the system recognises solid lane markings.
The warning vibration occurs later if:
R the road has narrow lanes.
R you cut the corner on a bend.
No warning vibration occurs if:
R you clearly and actively steer, brake, or
accelerate.
R you cut the corner on a sharp bend.
R a driving safety system intervenes, such as
ABS, BAS or ESP ®
.
R you switch on the turn signals. In this event,
the warnings are suppressed for a certain
period of time.
Lane-correcting brake application
If you leave your lane under certain circum-
stances, the vehicle will brake briefly on one
side. This is designed to help you bring the
vehicle back into the original lane.
This function is available in the range between
60 km/h and 200 km/h.
A lane-correcting brake application can only
be made after driving over a solid, recognis-
able lane marking. Befor ethis, a warning
must be emitted by means of intermittent
vibration in the steering wheel. In addition, a
lane with lane markings on both sides must
be recognised. The brake application also
slightly reduces driving speed.
If a lane-correcting brake application occurs,
the following message appears in the multi-
function display: 190
Driving systemsDriving and parking
Page 198 of 337
Outside temperature display
The outside temperature display is in the mul-
tifunction display (Y page 196). G
Risk of accident
At temperatures just above freezing point, the
street may be icy, especially in wooded areas
or on bridges. If you do not adapt your driving
style to the conditions ,the vehicle could skid.
For this reason, adapt your driving style and
speed to the weather conditions.
Changes in the outside temperature are dis-
played after a short delay. Speedometer with segments
The segments in the speedometer indicate
which speed range is available.
Cruise control (Y page 152) activated:
The segments light up from the stored speed
to the maximum speed.
Variable SPEEDTRONIC (Y page 162) activa-
ted:
The segments light up from the start of the
scale to the selected limit speed.
DISTRONIC PLUS (Y page 154) activated:
One or two segments in the set speed range
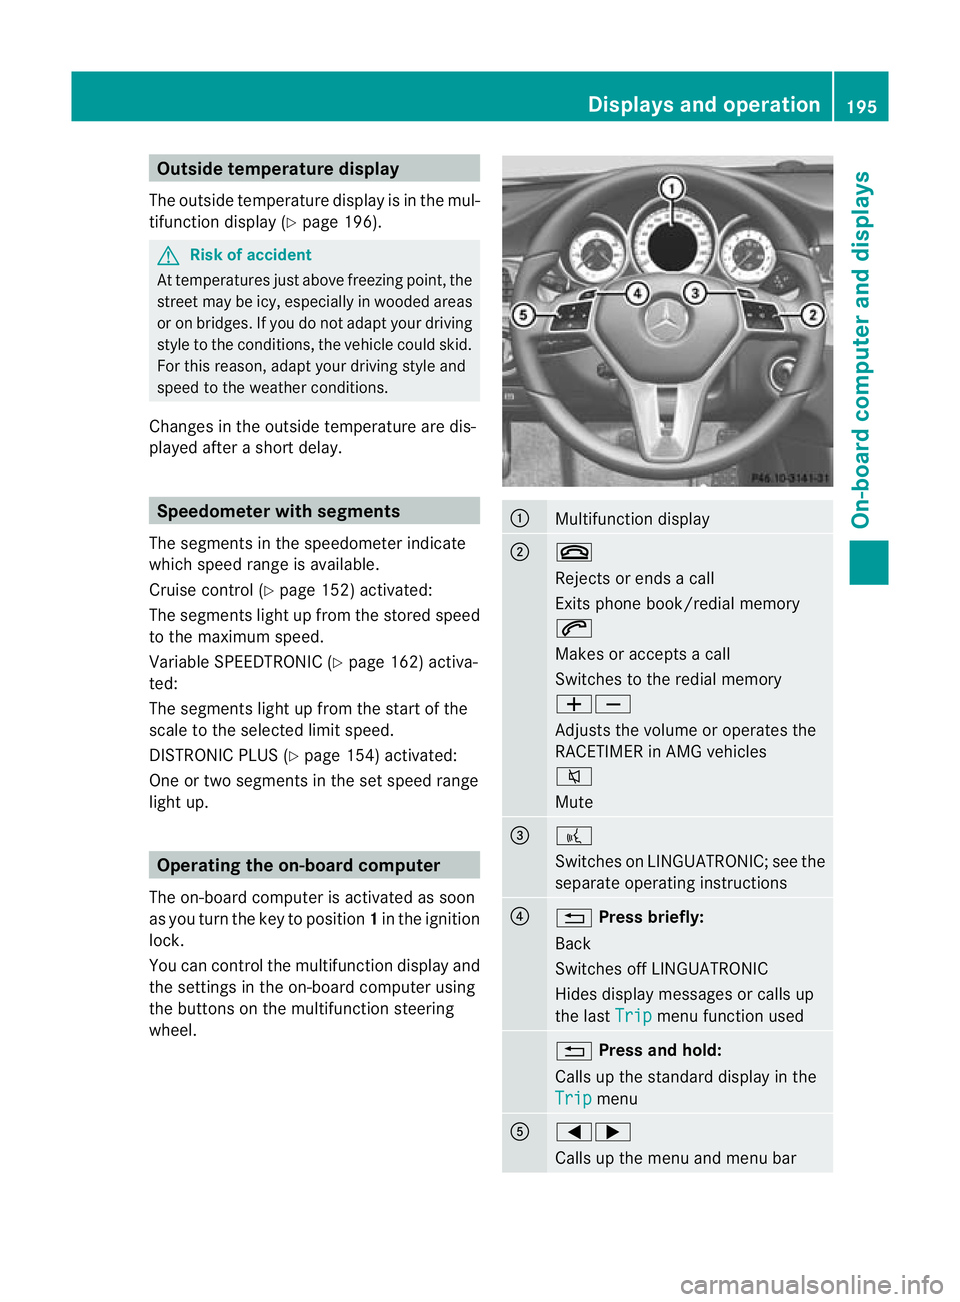
light up. Operating the on-board computer
The on-board computer is activated as soon
as you turn the key to position 1in the ignition
lock.
You can control the multifunction display and
the settings in the on-board computer using
the buttons on the multifunction steering
wheel. :
Multifunction display
;
~
Rejects or ends a call
Exits phone book/redial memory
6
Makes or accepts a call
Switches to the redial memory
WX
Adjusts the volume or operates the
RACETIMER in AMG vehicles
8
Mute
=
?
Switches on LINGUATRONIC; see the
separate operating instructions
?
%
Press briefly:
Back
Switches off LINGUATRONIC
Hides display messages or calls up
the last Trip menu function used
%
Press and hold:
Calls up the standard display in the
Trip menu
A
=;
Calls up the menu and menu bar Displays and operation
195On-board computer and displays Z
Page 206 of 337
X
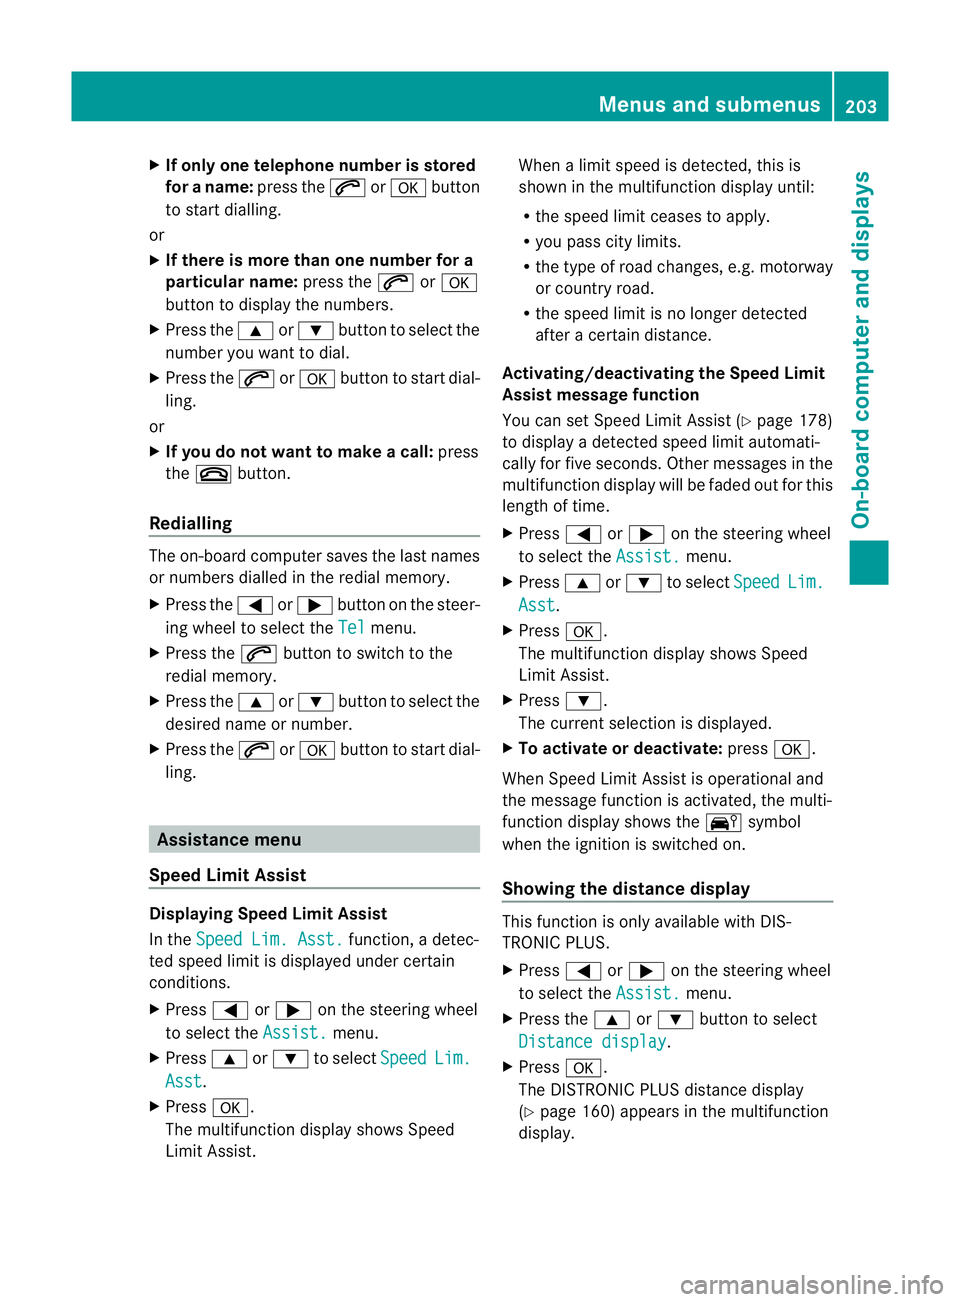
If only one telephone number is stored
for a name: press the6ora button
to start dialling.
or
X If there is more than one number for a
particular name: press the6ora
butto nto display the numbers.
X Press the 9or: button to select the
number you want to dial.
X Press the 6ora button to start dial-
ling.
or
X If you do not want to make a call: press
the ~ button.
Redialling The on-board computer saves the last names
or numbers dialled in the redial memory.
X Press the =or; button on the steer-
ing wheel to select the Tel menu.
X Press the 6button to switch to the
redial memory.
X Press the 9or: button to select the
desired name or number.
X Press the 6ora button to start dial-
ling. Assistance menu
Speed Limit Assist Displaying Speed Limit Assist
In the
Speed Lim. Asst. function, a detec-
ted speed limit is displayed under certain
conditions.
X Press =or; on the steering wheel
to select the Assist. menu.
X Press 9or: to select Speed Lim.
Asst .
X Press a.
The multifunction display shows Speed
Limit Assist. When a limit speed is detected, this is
shown in the multifunction display until:
R the speed limit ceases to apply.
R you pass city limits.
R the type of road changes, e.g. motorway
or country road.
R the speed limit is no longer detected
after a certain distance.
Activating/deactivating the Speed Limit
Assist message function
You can set Speed Limit Assist (Y page 178)
to display a detected speed limit automati-
cally for five seconds. Other messages in the
multifunction display will be faded out for this
length of time.
X Press =or; on the steering wheel
to select the Assist. menu.
X Press 9or: to select Speed Lim.
Asst .
X Press a.
The multifunction display shows Speed
Limit Assist.
X Press :.
The current selection is displayed.
X To activate or deactivate: pressa.
When Speed Limit Assist is operational and
the message function is activated, the multi-
function display shows the Äsymbol
when the ignition is switched on.
Showing the distance display This function is only available with DIS-
TRONIC PLUS.
X
Press =or; on the steering wheel
to select the Assist. menu.
X Press the 9or: button to select
Distance display .
X Press a.
The DISTRONIC PLUS distance display
(Y page 160) appears in the multifunction
display. Menus and submenus
203On-board computer and displays Z
Page 209 of 337

X
Press the =or; button on the steer-
ing wheel to select the Settings menu.
X Press the :or9 button to select the
Inst. cluster submenu.
X Press the abutton to confirm.
X Press the :or9 button to select the
Display unit Speed-/odometer func-
tion.
You will see the selected setting: km or
miles .
X Press the abutton to save the setting.
Selecting the permanent display function
i Vehicles for the United Kingdom: this
function is not available.
The Permanent display function allows you
to choose whether the status area in the mul-
tifunction display always shows the outside
temperature or the speed in mph.
X Press the =or; button on the steer-
ing wheel to select the Sett. menu.
X Press the :or9 button to select the
Inst. cluster submenu.
X Press the abutton to confirm.
X Press :or9 to select the Perma‐ nent display function.
You will see the selected setting Outsidetemperature or
Dig. speedom [mph] .
X Press the abutton to save the setting.
Time/date This submenu is only available on vehicles
with Audio 20.
In the
Time/date submenu, you can set the
time and date.
The set time is also used for the analogue
clock in the centre console.
Your vehicle could have the following audio
equipment:
A: Audio 20
B: Audio 50 APS
C: COMAND APS X
Refer to the separate operating instruc-
tions to find out which audio system is fit-
ted in your vehicle.
Depending on the audio system, the time and
date are received from GPS satellites and
cannot be set using the on-board computer
(see the following table). A B C
Setting using the on-board com-
puter X
Automatic GPS satellite recep-
tion X X
Setting the time zone once; see
the separate operating instruc-
tions X X
X
Press the =or; button on the steer-
ing wheel to select the Settings menu.
X Press the :or9 button to select the
Time/Date submenu.
X Press the abutton to confirm.
X Press the :or9 button to select
Time: or
Date: .
The curren ttime or date set is displayed.
X Press ato change the setting.
X Press the =or; button to selec tthe
display you want to change: hour, minute,
day, month, year.
X Press the :or9 button to set the
selected display.
X Press the abutton to store the entry.
Lights Setting brightness for display/switches
X
Press the =or; button on the steer-
ing wheel to select the Settings menu.
X Press the :or9 button to select the
Light submenu.
X Press the abutton to confirm. 206
Menus and submenusOn-board computer and displays
Page 210 of 337
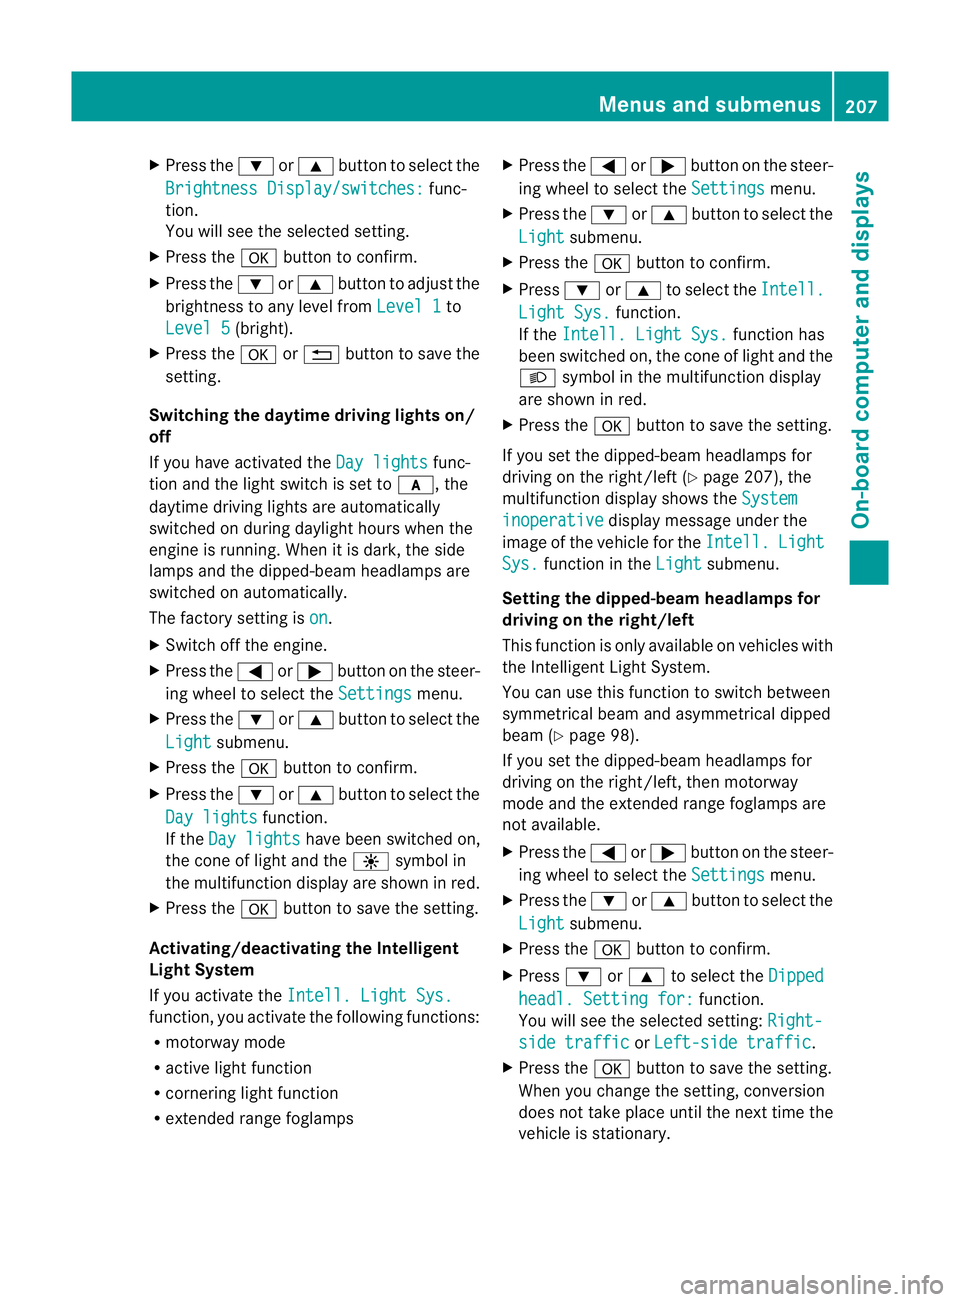
X
Press the :or9 button to select the
Brightness Display/switches: func-
tion.
You will see the selected setting.
X Press the abutton to confirm.
X Press the :or9 button to adjust the
brightness to any level from Level 1 to
Level 5 (bright).
X Press the aor% button to save the
setting.
Switching the daytime driving lights on/
off
If you have activated the Day lights func-
tion and the light switch is set to c, the
daytime driving lights are automatically
switched on during daylight hours when the
engine is running. When it is dark, the side
lamps and the dipped-beam headlamps are
switched on automatically.
The factory setting is on .
X Switch off the engine.
X Press the =or; button on the steer-
ing wheel to select the Settings menu.
X Press the :or9 button to select the
Light submenu.
X Press the abutton to confirm.
X Press the :or9 button to select the
Day lights function.
If the Day lights have been switched on,
the cone of light and the Wsymbol in
the multifunction display are shown in red.
X Press the abutton to save the setting.
Activating/deactivating the Intelligent
Light System
If you activate the Intell. Light Sys. function, you activate the following functions:
R motorway mode
R active light function
R cornering light function
R extended range foglamps X
Press the =or; button on the steer-
ing wheel to select the Settings menu.
X Press the :or9 button to select the
Light submenu.
X Press the abutton to confirm.
X Press :or9 to select the Intell. Light Sys. function.
If the Intell. Light Sys. function has
been switched on, the cone of light and the
L symbol in the multifunction display
are shown in red.
X Press the abutton to save the setting.
If you set the dipped-beam headlamps for
driving on the right/left (Y page 207), the
multifunction display shows the System inoperative display message under the
image of the vehicle for the Intell. Light
Sys. function in the
Light submenu.
Setting the dipped-beam headlamps for
driving on the right/left
This function is only available on vehicles with
the Intelligent Light System.
You can use this function to switch between
symmetrical beam and asymmetrical dipped
beam (Y page 98).
If you set the dipped-beam headlamps for
driving on the right/left, then motorway
mode and the extended range foglamps are
not available.
X Press the =or; button on the steer-
ing wheel to select the Settings menu.
X Press the :or9 button to select the
Light submenu.
X Press the abutton to confirm.
X Press :or9 to select the Dipped headl. Setting for: function.
You will see the selected setting: Right- side traffic or
Left-side traffic .
X Press the abutton to save the setting.
When you change the setting, conversion
does not take place until the next time the
vehicle is stationary. Menus and submenus
207On-board computer and displays Z