Page 308 of 337

achieving an increased driving force (cut-
ting action). Tyre pressure
Tyre pressure specifications
You will find a table of tyre pressures for var-
ious operating conditions on the inside of
your vehicle's fuel fille rflap.
The applicable value for the emergency spare
wheel is stated on the spare wheel and in the
technical data section.
For trailer towing, adjust the tyre pressure of
the rear tyres to the maximum tyre pressure
value stated on the table inside the fuel filler
flap.
The load conditions "partially laden" and "fully
laden" are defined in the table for different
numbers of passengers and amounts of lug-
gage. The actual number of seats may vary –
for more information please refer to the vehi-
cle's registration documents.
If no other data is stated, the tyre pressures
specified on the fuel filler flap apply for all
tyres approved for this vehicle. If a tyre size precedes a tyre pressure, the tyre
pressure information followin gis only valid
for that tyre size. Instead of the complete tyre size, the rim
diameter alone, for example
R16,may be lis-
ted. Rim diameter
:is part of the tyre size and
can be found on the tyre sidewall. G
Risk of accident
Tyre pressure that is either too high or too low
has a negative effect on the vehicle's driving
safety, which could lead you to cause an acci-
dent. Therefore, you should regularly check
the pressure of all the tyres, particularly prior
to long trips, and correct the pressure as nec-
essary.
To test tyre pressure, use a suitable pressure
gauge.T he outer appearance of a tyre does
not permit any reliable conclusion about the
tyre pressure. On vehicles fitted with the elec-
tronic tyre pressure monitor, the tyre pres-
sure can be checked using the on-board com-
puter. G
Risk of accident
Do not fit anything else to the tyre valve other
than the standard valve cap. In particular, ret- Tyre pressure
305Wheels and tyres
Z
Page 312 of 337

i
For an overview of the menus, see
(Y page 197).
If you wish to define the new reference values
manually:
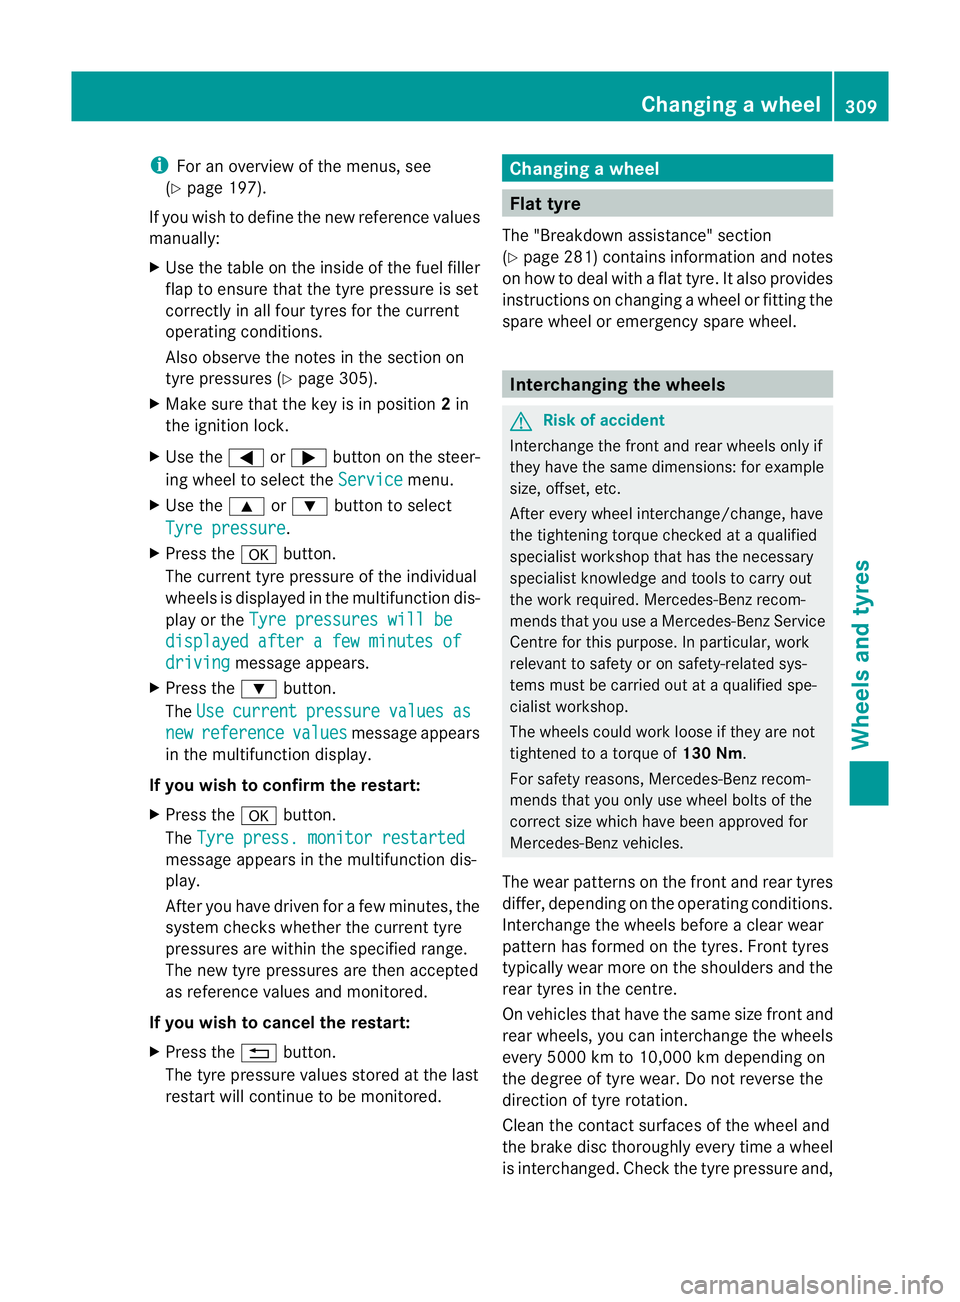
X Use the table on the inside of the fuel filler
flap to ensure that the tyre pressure is set
correctly in all four tyres for the current
operating conditions.
Also observe the notes in the section on
tyre pressures (Y page 305).
X Make sure that the key is in position 2in
the ignition lock.
X Use the =or; button on the steer-
ing wheel to select the Service menu.
X Use the 9or: button to select
Tyre pressure .
X Press the abutton.
The current tyre pressure of the individual
wheels is displayed in the multifunction dis-
play or the Tyre pressures will be displayed after a few minutes of
driving message appears.
X Press the :button.
The Use current pressure values as
new reference values message appears
in the multifunction display.
If you wish to confirm the restart:
X Press the abutton.
The Tyre press. monitor restarted message appears in the multifunction dis-
play.
After you have driven for a few minutes, the
system checks whether the current tyre
pressures are within the specified range.
The new tyre pressures are then accepted
as reference values and monitored.
If you wish to cancel the restart:
X Press the %button.
The tyre pressure values stored at the last
restart will continue to be monitored. Changing
awheel Flat tyre
The "Breakdown assistance" section
(Y page 281) contains information and notes
on how to deal with a fla ttyre. It also provides
instructions on changing a wheel or fitting the
spare wheel or emergency spare wheel. Interchanging the wheels
G
Risk of accident
Interchange the front and rear wheels only if
they have the same dimensions :for example
size, offset, etc.
After every wheel interchange/change, have
the tightening torque checked at a qualified
specialist workshop that has the necessary
specialist knowledge and tools to carry out
the work required. Mercedes-Benz recom-
mends that you use a Mercedes-Benz Service
Centre for this purpose. In particular, work
relevant to safety or on safety-related sys-
tems must be carried out at a qualified spe-
cialist workshop.
The wheels could work loose if they are not
tightened to a torque of 130 Nm.
For safety reasons, Mercedes-Benz recom-
mends that you only use wheel bolts of the
correc tsize which have been approved for
Mercedes-Ben zvehicles.
The wear patterns on the fron tand rea rtyres
differ, depending on the operating conditions.
Interchange the wheels before a clear wear
pattern has formed on the tyres. Front tyres
typically wear more on the shoulders and the
rear tyres in the centre.
On vehicles that have th esame size fron tand
rea rwheels, you can interchange the wheels
every 5000 km to 10,000 km depending on
the degree of tyre wear. Do not reverse the
direction of tyre rotation.
Cleant he contact surfaces of the wheel and
the brake disc thoroughly every time a wheel
is interchanged. Check the tyre pressure and, Changing
awheel
309Wheels and tyres Z
Page 314 of 337

i
You will find a table of tyre pressures on
the inside of your vehicle's fuel filler flap.
For further information on tyre pressure,
see (Y page 305).
i Notes on the vehicle equipmen t–always
fit the vehicle:
R with tyres of the same size on a given axle
(left/right)
R with the same type of tyres at a given
time (summer tyres, winter tyres,
MOExtended tyres)
i Vehicles with MOExtended tyres are not
equipped with a TIREFIT kit at the factory.
It is therefore recommended that you addi-
tionally equip your vehicle with a TIREFIT kit
if you fit tyres that do not feature run-flat
properties, e.g. winter tyres. You can obtain
aT IREFIT kit from aMercedes-Benz Service
Centre, for example.
i Overview of abbreviations used in the fol-
lowing tyre tables:
R BA: both axles
R FA: front axle
R RA: rear axle
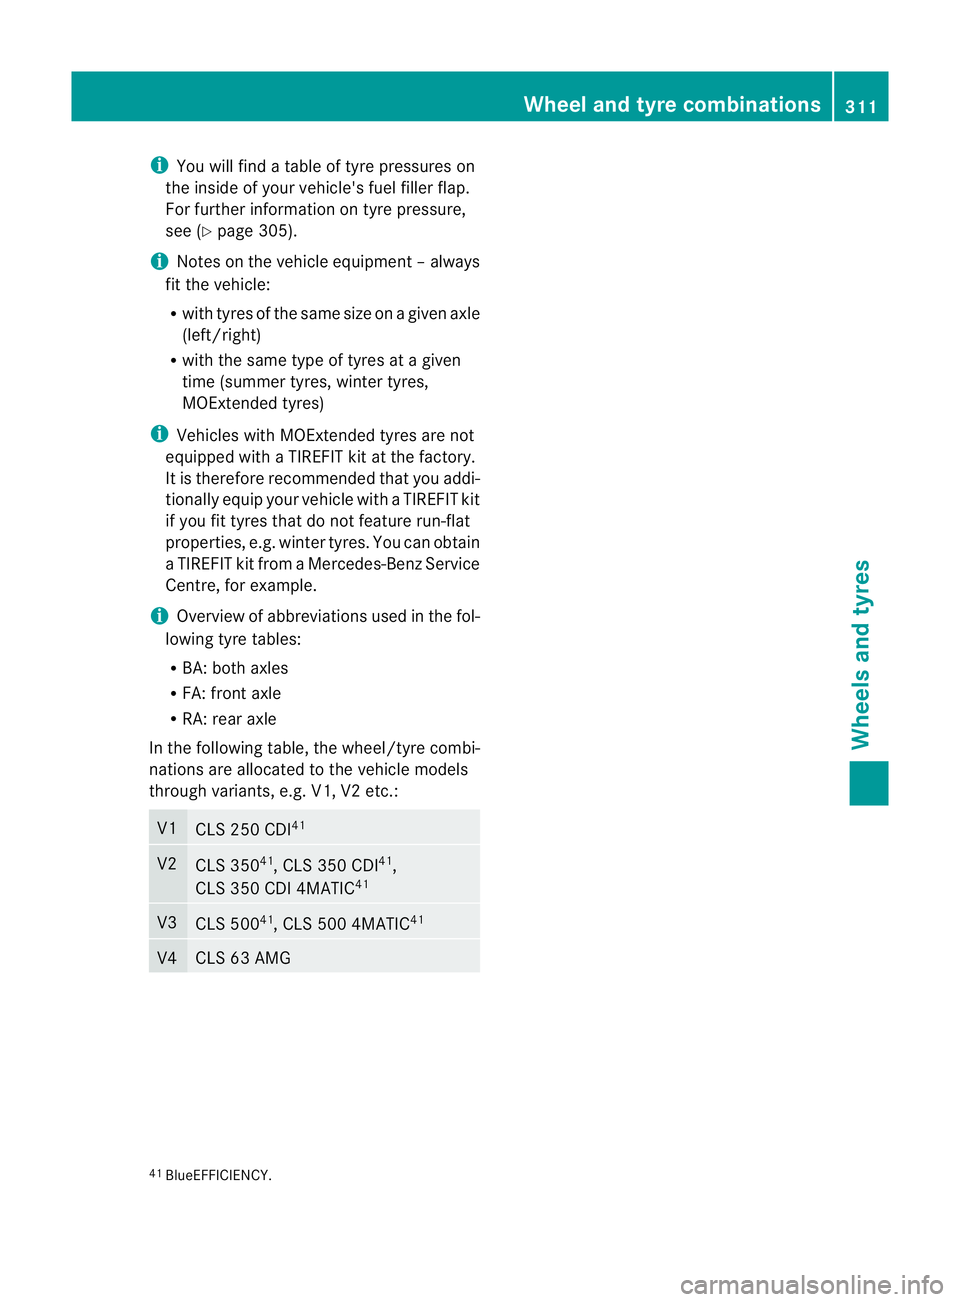
In the following table, the wheel/tyre combi-
nations are allocated to the vehicle models
through variants, e.g. V1, V2 etc.: V1
CLS 250 CDI
41 V2
CLS 350
41
, CLS 350 CDI 41
,
CLS 350 CDI 4MATIC 41V3
CLS 500
41
, CLS 500 4MATIC 41 V4 CLS 63 AMG
41
BlueEFFICIENCY. Wheel and tyre combinations
311Wheels and tyres Z