2010 MERCEDES-BENZ CL63AMG reset
[x] Cancel search: resetPage 233 of 500

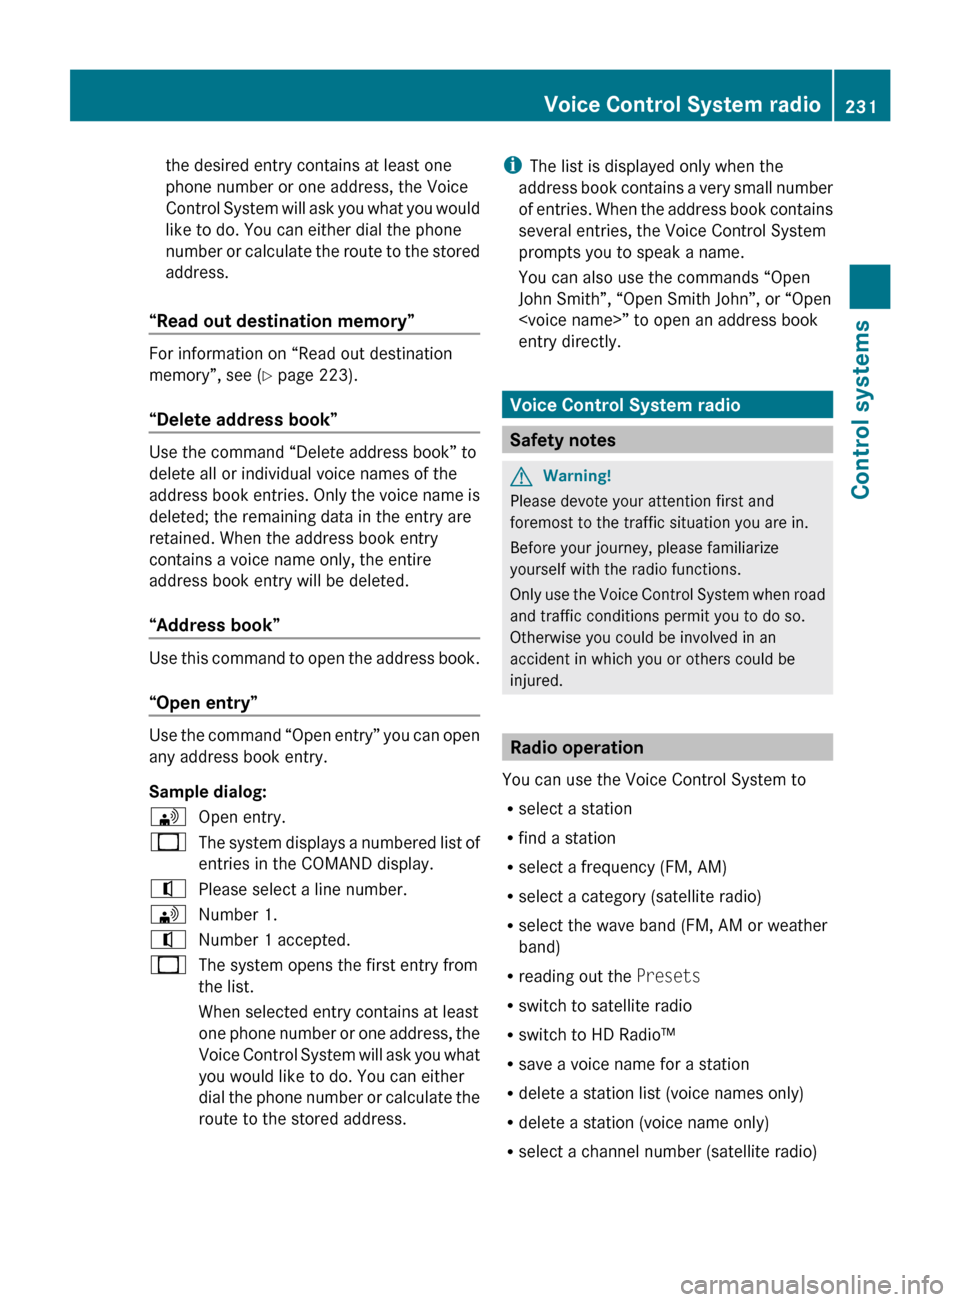
the desired entry contains at least one
phone number or one address, the Voice
Control
System
will ask you what you would
like to do. You can either dial the phone
number or calculate the route to the stored
address.
“Read out destination memory” For information on “Read out destination
memory”, see
(
Y
page 223).
“Delete address book” Use the command “Delete address book” to
delete all or individual voice names of the
address
book
entries. Only the voice name is
deleted; the remaining data in the entry are
retained. When the address book entry
contains a voice name only, the entire
address book entry will be deleted.
“Address book” Use this command to open the address book.
“Open entry”
Use the command “Open entry” you can open
any address book entry.
Sample dialog:
\
Open entry.
_ The system displays a numbered list of
entries in the COMAND display.
^ Please select a line number.
\ Number 1.
^ Number 1 accepted.
_ The system opens the first entry from
the list.
When selected entry contains at least
one phone
number or one address, the
Voice Control System will ask you what
you would like to do. You can either
dial the phone number or calculate the
route to the stored address. i
The list is displayed only when the
address book
contains a very small number
of entries. When the address book contains
several entries, the Voice Control System
prompts you to speak a name.
You can also use the commands “Open
John Smith”, “Open Smith John”, or “Open
entry directly. Voice Control System radio
Safety notes
G
Warning!
Please devote your attention first and
foremost to the traffic situation you are in.
Before your journey, please familiarize
yourself with the radio functions.
Only use
the Voice Control System when road
and traffic conditions permit you to do so.
Otherwise you could be involved in an
accident in which you or others could be
injured. Radio operation
You can use the Voice Control System to
R select a station
R find a station
R select a frequency (FM, AM)
R select a category (satellite radio)
R select the wave band (FM, AM or weather
band)
R reading out the Presets
R switch to satellite radio
R switch to HD Radio™
R save a voice name for a station
R delete a station list (voice names only)
R delete a station (voice name only)
R select a channel number (satellite radio) Voice Control System radio
231Control systems
216_AKB; 3; 90, en-US
d2ureepe, Version: 2.11.8.1 2009-05-15T11:47:50+02:00 - Seite 231 Z
Page 235 of 500

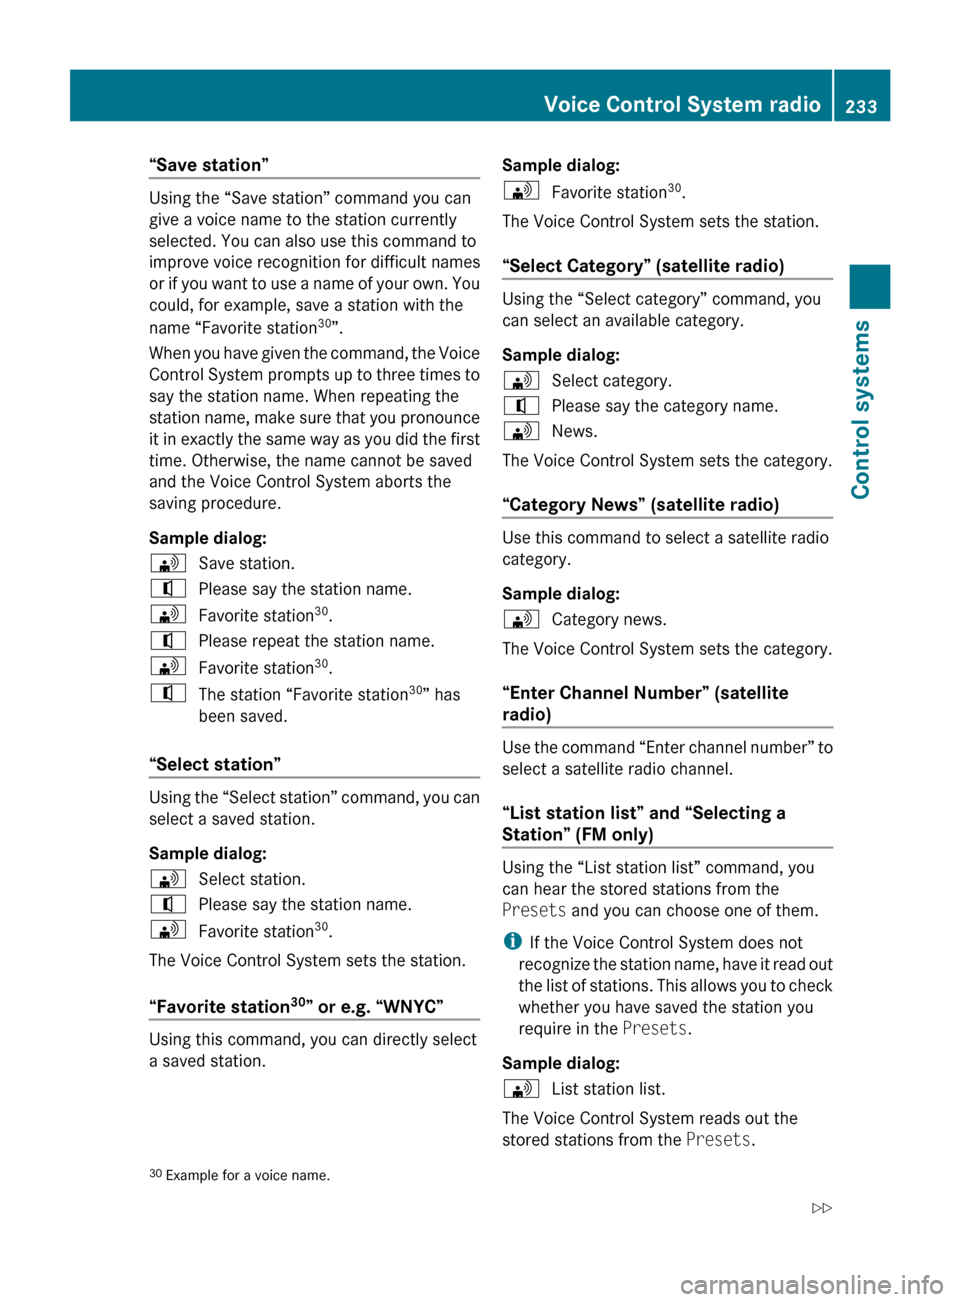
“Save station”
Using the “Save station” command you can
give a voice name to the station currently
selected. You can also use this command to
improve voice recognition for difficult names
or
if
you want to use a name of your own. You
could, for example, save a station with the
name “Favorite station 30
”.
When you have given the command, the Voice
Control System prompts up to three times to
say the station name. When repeating the
station name, make sure that you pronounce
it in exactly the same way as you did the first
time. Otherwise, the name cannot be saved
and the Voice Control System aborts the
saving procedure.
Sample dialog:
\ Save station.
^ Please say the station name.
\ Favorite station 30
.
^ Please repeat the station name.
\ Favorite station 30
.
^ The station “Favorite station 30
” has
been saved.
“Select station” Using the “Select station” command, you can
select a saved station.
Sample dialog:
\
Select station.
^ Please say the station name.
\ Favorite station 30
.
The Voice Control System sets the station.
“Favorite station 30
” or e.g. “WNYC” Using this command, you can directly select
a saved station. Sample dialog:
\
Favorite station 30
.
The Voice Control System sets the station.
“Select Category” (satellite radio) Using the “Select category” command, you
can select an available category.
Sample dialog:
\
Select category.
^ Please say the category name.
\ News.
The Voice Control System sets the category.
“Category News” (satellite radio) Use this command to select a satellite radio
category.
Sample dialog:
\
Category news.
The Voice Control System sets the category.
“Enter Channel Number” (satellite
radio) Use the command “Enter channel number” to
select a satellite radio channel.
“List station list” and “Selecting a
Station” (FM only)
Using the “List station list” command, you
can hear the stored stations from the
Presets and you can choose one of them.
i
If the Voice Control System does not
recognize the
station name, have it read out
the list of stations. This allows you to check
whether you have saved the station you
require in the Presets.
Sample dialog:
\ List station list.
The Voice Control System reads out the
stored stations from the Presets.
30 Example for a voice name. Voice Control System radio
233
Control systems
216_AKB; 3; 90, en-US
d2ureepe, Version: 2.11.8.1 2009-05-15T11:47:50+02:00 - Seite 233 Z
Page 236 of 500

To select a station:
X
Press button ?, when the system reads
the desired station.
X Canceling the dialog: Press button %.
The dialog is concluded. The system
confirms “Cancel”.
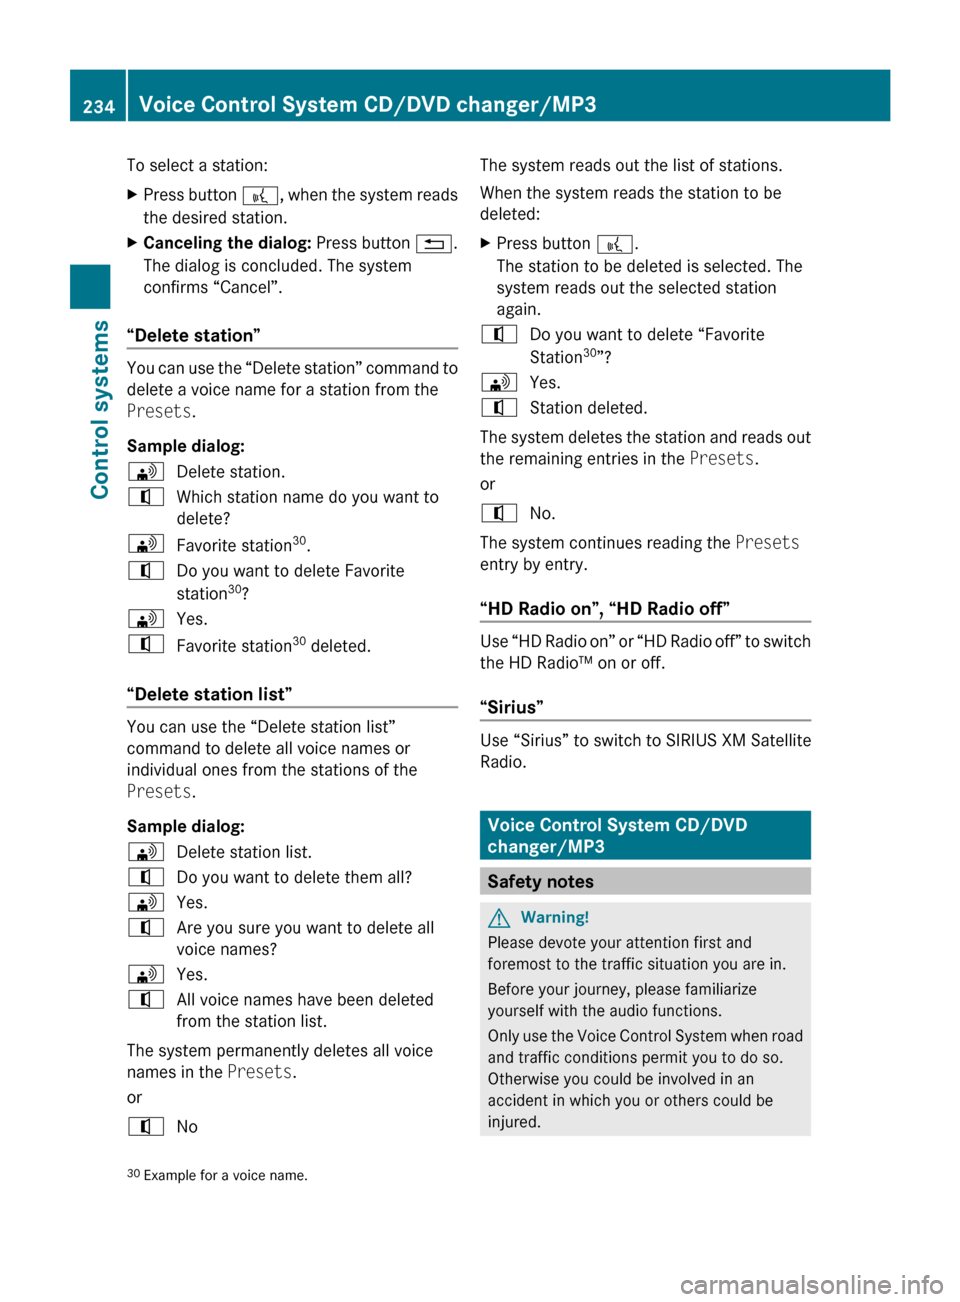
“Delete station” You can use the “Delete station” command to
delete a voice name for a station from the
Presets.
Sample dialog:
\
Delete station.
^ Which station name do you want to
delete?
\ Favorite station 30
.
^ Do you want to delete Favorite
station 30
?
\ Yes.
^ Favorite station 30
deleted.
“Delete station list” You can use the “Delete station list”
command to delete all voice names or
individual ones from the stations of the
Presets.
Sample dialog:
\
Delete station list.
^ Do you want to delete them all?
\ Yes.
^ Are you sure you want to delete all
voice names?
\ Yes.
^ All voice names have been deleted
from the station list.
The system permanently deletes all voice
names in the Presets.
or
^ No The system reads out the list of stations.
When the system reads the station to be
deleted:
X
Press button ?.
The station to be deleted is selected. The
system reads out the selected station
again.
^ Do you want to delete “Favorite
Station 30
”?
\ Yes.
^ Station deleted.
The system deletes the station and reads out
the remaining entries in the Presets.
or
^ No.
The system continues reading the Presets
entry by entry.
“HD Radio on”, “HD Radio off” Use “HD Radio on” or “HD Radio off” to switch
the HD Radio™ on or off.
“Sirius”
Use “Sirius” to switch to SIRIUS XM Satellite
Radio.
Voice Control System CD/DVD
changer/MP3
Safety notes
G
Warning!
Please devote your attention first and
foremost to the traffic situation you are in.
Before your journey, please familiarize
yourself with the audio functions.
Only use
the Voice Control System when road
and traffic conditions permit you to do so.
Otherwise you could be involved in an
accident in which you or others could be
injured.
30 Example for a voice name. 234
Voice Control System CD/DVD changer/MP3
Control systems
216_AKB; 3; 90, en-US
d2ureepe,
Version: 2.11.8.1 2009-05-15T11:47:50+02:00 - Seite 234
Page 252 of 500

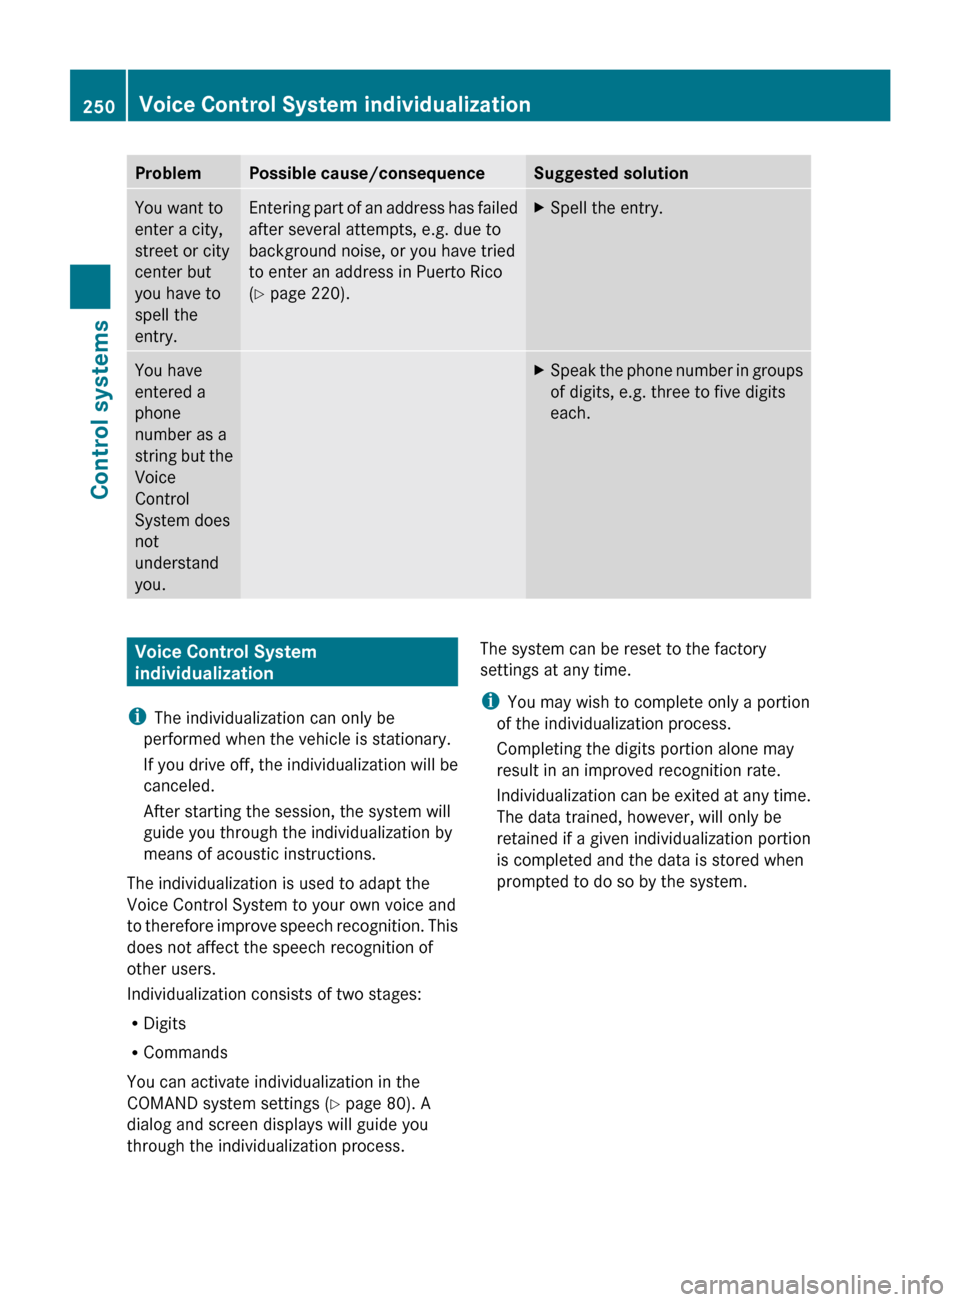
Problem Possible cause/consequence Suggested solution
You want to
enter a city,
street or city
center but
you have to
spell the
entry. Entering part of an address has failed
after several attempts, e.g. due to
background noise, or you have tried
to enter an address in Puerto Rico
(Y page 220). X
Spell the entry. You have
entered a
phone
number as a
string
but
the
Voice
Control
System does
not
understand
you. X
Speak the phone number in groups
of digits, e.g. three to five digits
each. Voice Control System
individualization
i The individualization can only be
performed when the vehicle is stationary.
If you
drive off, the individualization will be
canceled.
After starting the session, the system will
guide you through the individualization by
means of acoustic instructions.
The individualization is used to adapt the
Voice Control System to your own voice and
to therefore improve speech recognition. This
does not affect the speech recognition of
other users.
Individualization consists of two stages:
R Digits
R Commands
You can activate individualization in the
COMAND system settings (Y page 80). A
dialog and screen displays will guide you
through the individualization process. The system can be reset to the factory
settings at any time.
i
You may wish to complete only a portion
of the individualization process.
Completing the digits portion alone may
result in an improved recognition rate.
Individualization can
be exited at any time.
The data trained, however, will only be
retained if a given individualization portion
is completed and the data is stored when
prompted to do so by the system. 250
Voice Control System individualization
Control systems
216_AKB; 3; 90, en-US
d2ureepe,
Version: 2.11.8.1 2009-05-15T11:47:50+02:00 - Seite 250
Page 259 of 500

Fix whatever is affecting the window before
trying to shut the door.
Automatic central locking
You can switch the automatic central locking
on or off using the COMAND system
(Y page 193).
The doors and the trunk lock automatically
when the vehicle is set into motion.
You can open a locked door from the inside.
Open door only when conditions are safe to
do so.
The doors are designed to unlock
automatically after an accident if the force of
the impact exceeds a preset threshold.
The vehicle locks automatically when the
ignition is switched on and the wheels are
turning at a vehicle speed of above 9 mph
(15 km/h). You could therefore lock yourself
out when the vehicle is pushed or towed or is
on a test stand. Locking and unlocking from the inside
G
Observe Safety notes, see page 51.
You can lock or unlock the vehicle from the
inside using the central locking or unlocking
switch. This can be useful, for example, if you
want to lock the vehicle before starting to
drive.
The central locking or unlocking switch does
not lock or unlock the fuel filler flap or the
interior storage compartments, such as the
glove box. X
Locking: Press central locking switch ;.
When the passenger door is closed, the
vehicle locks.
X Unlocking: Press central unlocking
switch :.
You can open a locked door from the inside.
Open door only when conditions are safe to
do so.
If the vehicle was previously locked with the
central locking switch
R and the SmartKey is set to factory settings,
the complete vehicle is unlocked when a
door is opened from the inside
R and the SmartKey is set to selective
settings, only the door opened from inside
is unlocked
If the vehicle has been locked centrally with
the SmartKey or with KEYLESS-GO, it will not
unlock using the central unlocking switch. Opening the trunk
G
Warning!
Make sure the trunk is closed when the engine
is running and while driving. Among other
dangers, deadly carbon monoxide (CO) gases
may enter vehicle interior resulting in
unconsciousness and death.
! When you open the trunk, the trunk lid
swings open upwards. Always make sure
there is sufficient overhead clearance. Locking and unlocking
257Controls in detail
216_AKB; 3; 90, en-US
d2ureepe, Version: 2.11.8.1 2009-05-15T11:47:50+02:00 - Seite 257 Z
Page 274 of 500

i
At low ambient temperatures, the exterior
rear view mirrors will be heated
automatically. Auto-dimming rear view mirrors
The exterior rear view mirror on the driver’s
side and the interior rear view mirror will
respond automatically to glare when the
ignition is switched on and incoming light
from headlamps falls on the sensor in the
interior rear view mirror.
The rear view mirrors will not react if the
automatic transmission is set to reverse gear
R or the interior lighting is switched on. G
Warning!
The auto dimming function does not react if
incoming light is not aimed directly at sensors
in the interior rear view mirror.
The interior rear view mirror and the exterior
rear view mirror on the driver’s side do not
react, for example, if the rear window
sunshade is in raised position.
Light hitting the mirror(s) at certain angles
(incident light) could blind you. As a result,
you may not be able to observe traffic
conditions and could cause an accident. Exterior rear view mirror parking
position
To assist during parking maneuvers, you can
set the passenger-side exterior rear view
mirror so that you can see the rear wheel and
the road curb.
Setting and storing the parking position X
Switch on the ignition.
X Press button =, to select the passenger-
side exterior rear view mirror.
X Shift the automatic transmission into
reverse gear R.
The passenger-side exterior rear view
mirror moves to the preset parking
position.
X Adjust the passenger-side exterior rear
view mirror with adjustment button ; so
that you see the rear wheel and the road
curb.
The exterior rear view mirror parking
position is stored.
You can also store the parking position using
the memory button M ::
X Switch on the ignition.
X Press button =, to select the passenger-
side exterior rear view mirror.
X Adjust the passenger-side exterior rear
view mirror with adjustment button ; so
that you see the rear wheel and the road
curb.
X Press memory button M : and within
3 seconds, press one of the arrows of
adjustment button ;.
The parking position is stored if the exterior
rear view mirror does not move.
i If the exterior rear view mirror does move,
repeat the above steps. After the setting is
stored, you can move the exterior rear view
mirror again. 272
MirrorsControls in detail
216_AKB; 3; 90, en-US
d2ureepe,
Version: 2.11.8.1 2009-05-15T11:47:50+02:00 - Seite 272
Page 279 of 500

USA only
You can only switch on the high-beam
headlamps in low ambient lighting conditions.
The high-beam flasher is available at all times.
When the engine is running, and you turn the
exterior lamp switch to position T or
L, the manual headlamp mode has
priority over the daytime running lamp mode.
The corresponding exterior lamps come on
(Y page 275).
Fog lamps
Fog lamps cannot be switched on with the
exterior lamp switch in position c.
G
Warning!
In low ambient lighting or foggy conditions,
only switch from position c to L with
the vehicle at a standstill in a safe location.
Switching from c to L will briefly
switch off the headlamps. Doing so while
driving in low ambient lighting conditions may
result in an accident.
Fog lamps will operate with the parking lamps
and/or the low-beam headlamps on. Fog
lamps should only be used in conjunction with
low-beam headlamps. Consult your State or
Province Motor Vehicle Regulations
regarding permissible lamp operation.
X Switch on the ignition.
X Turn the exterior lamp switch to position
T or L (Y page 275).
X Switching on front fog lamps: Pull out the
exterior lamp switch to first stop.
The green indicator lamp N in the
exterior lamp switch comes on.
X Switching on rear fog lamp: Pull out the
exterior lamp switch to second stop.
The rear fog lamp, the front fog lamps, the
green N and the yellow indicator lamp
R in the exterior lamp switch come on.
X Switching off front fog lamps/rear fog
lamp: Push in the exterior lamp switch to
its stop. Locator lighting and night security
illumination The locator lighting and night security
illumination are described in the COMAND
vehicle menu section under (Y page 191).
Combination switch
Turn signals
X
Press the combination switch in direction
of arrow ; or ?.
The corresponding turn signal indicator
lamp ! or # in the instrument
cluster flashes.
The combination switch resets automatically
after major steering wheel movements.
To signal minor directional changes:
X Press the combination switch only to the
point of resistance in direction of
arrow ; or ? and release.
The corresponding turn signal lamps will
flash three times. Lighting
277Controls in detail
216_AKB; 3; 90, en-US
d2ureepe, Version: 2.11.8.1 2009-05-15T11:47:50+02:00 - Seite 277 Z
Page 280 of 500

High beam
X
Turn the exterior lamp switch to position
L (Y page 275).
X Switching on: Push the combination
switch in direction of arrow :.
The high-beam headlamp indicator lamp
K in the instrument cluster comes on.
X Switching off: Pull the combination switch
in direction of arrow = to its original
position.
i Also note the information on high-beam
headlamps with activated automatic
headlamp mode ( Y page 275) or the
daytime running lamp mode ( Y page 276).
High-beam flasher X
Switching on: Pull the combination switch
briefly in direction of arrow =.Hazard warning flasher
The hazard warning flasher can be switched
on at all times, even with the SmartKey
removed from the starter switch.
The hazard warning flasher comes on
automatically when an air bag deploys.
CL 600 and CL 65 AMG (USA only):
The hazard warning flasher comes on
automatically when you brake the vehicle
strongly at a speed of more than 50 mph
(70 km/h) and bring it to a complete stop. X
Switching on: Press hazard warning
flasher switch :.
All turn signal lamps are flashing.
i With the hazard warning flasher activated
and the combination switch set for either
left or right turn, only the respective left or
right turn signals will operate when the
ignition is switched on.
X Switching off: Press hazard warning
flasher switch : again.
i If the hazard warning flasher was
activated automatically, press hazard
warning flasher switch : to switch it off.
CL 600 and CL 65 AMG (USA only):
When the hazard warning flasher was
activated by a hard stop automatically, it
will be switched off automatically at a
vehicle speed of above 6 mph (10 km/h). Headlamp cleaning system
The headlamps will be cleaned with a high-
pressure water jet automatically when the
engine is running and you have
R switched on the headlamps
and
R the windshield wipers have wiped the
windshield with washer fluid five times
The counter resets when you switch off the
ignition.
For information on filling up the washer
reservoir, see “Washer system and headlamp
cleaning system” ( Y page 372). Corner-illuminating lamps
The corner-illuminating lamps improve
illumination of the area in the direction into
which you are turning.
The corner-illuminating lamps will only
operate in low ambient lighting conditions. 278
LightingControls in detail
216_AKB; 3; 90, en-US
d2ureepe,
Version: 2.11.8.1 2009-05-15T11:47:50+02:00 - Seite 278