Page 310 of 648
310
3-3. Using the audio system
GS_G_U (OM30C80U)
June 29, 2011 10:30 am
Connecting Bluetooth® audio player
To use the Bluetooth
® audio system, you need to enter your portable
player into the system. Once registered, you can enjoy your music on the
vehicle’s audio system. (P. 243)
For the operation procedure for the portable player, consult your player’s
accompanying instruction manual.
■When the connection method is set to “From Vehicle”
When auto connection is on
When the portable player is on standby for the connection, it will be
automatically connected whenever the “ENGINE START STOP”
switch is in either ACCESSORY or IGNITION ON mode.
When auto connection is off
Manually connect the portable player in accordance with the following
procedure.
Touch “Connect”.
A message is shown if connection
has been successful.
If connection fails, a message will
be displayed and connection will
be re-attempted.
Page 311 of 648
311
3-3. Using the audio system
3
Interior features
GS_G_U (OM30C80U)
June 29, 2011 10:30 am
■When the connection method is set to “From Portable Player”
Operate the portable player and connect it to the Bluetooth
® audio
system.
Touch “Connect”.
A message is shown if connection
has been successful.
If connection fails, a message will
be displayed and connection will
be re-attempted.
Playing Bluetooth® audio
Touch or to play/pause.
Some titles may not be displayed
depending on the type of portable
player.
Page 313 of 648

313
3-3. Using the audio system
3
Interior features
GS_G_U (OM30C80U)
June 29, 2011 10:30 am
■When using the Bluetooth® audio system
●In the following conditions, the system may not function.
• The portable player is turned off
• The portable player is not connected
• The portable player battery is low
●There may be a delay if phone connection is carried out during Bluetooth®
audio play.
●Depending on the type of portable player that is connected to the system, oper-
ation may differ slightly and certain functions may not be available.
■Bluetooth® antenna
The antenna is built into the instrument panel. If the portable player is behind the
seat or in the glove box or console box, or is touching or covered by metal objects,
connection status may deteriorate.
■Battery charge/signal status
This display may not correspond exactly with the portable player, and this system
does not have a charging function.
■About Bluetooth®
Bluetooth is a registered trademark of
Bluetooth SIG. Inc.
Page 314 of 648

314
3-3. Using the audio system
GS_G_U (OM30C80U)
June 29, 2011 10:30 am
■Compatible models
Portable players must correspond to the following specifications:
●Bluetooth® specification
Ve r. 1 .1 o r h i g h e r
(Recommended: Ver. 2.0+EDR or higher)
●Profile
• A2DP (Advanced Audio Distribution Profile) Ver. 1.0 or higher
• AVRCP (Audio/Video Remote Control Profile) Ver. 1.0 or higher
(Recommended: Ver. 1.3 or higher)
However, please note that some functions may be limited depending on the type of
portable player.
Please go to the website at http://www.lexus.com/
to find approved portable play-
ers for this system.
■Certification
P. 3 3 6
■Reconnecting the portable player
If the portable player is disconnected with a poor reception when the “ENGINE
START STOP” switch is in ACCESSORY or IGNITION ON mode, the system
automatically reconnects the portable player.
If you have switched off the portable player yourself, follow the instructions below to
reconnect:
●Select the portable player again
●Enter the portable player
■When transferring ownership of your vehicle
Be sure to remove the registered portable player from the system.
Page 315 of 648
315
3-3. Using the audio system
3
Interior features
GS_G_U (OM30C80U)
June 29, 2011 10:30 am
CAUTION
■While driving
Do not use the portable player or connect the Bluetooth
® system.
NOTICE
■When leaving the vehicle
Do not leave your portable player in the vehicle. The inside of the vehicle may
become hot, causing damage to the portable player.
Page 329 of 648
329
3-3. Using the audio system
3
Interior features
GS_G_U (OM30C80U)
June 29, 2011 10:30 am
Using the steering switches
Some audio features can be controlled using the steering switches.
Power on, select audio
source
Vo l u m e
Radio mode: Selects a radio
station
CD mode: Selects a
track, file
(MP3 and
WMA) and
disc
DVD mode
*: Selects a
track, chapter
and disc
Bluetooth
® audio mode:
Selects a track
and album
iPod
® mode: Selects a song
USB memory mode:
Selects a file
and folder
*: DVD player only
Page 330 of 648

330
3-3. Using the audio system
GS_G_U (OM30C80U)
June 29, 2011 10:30 am
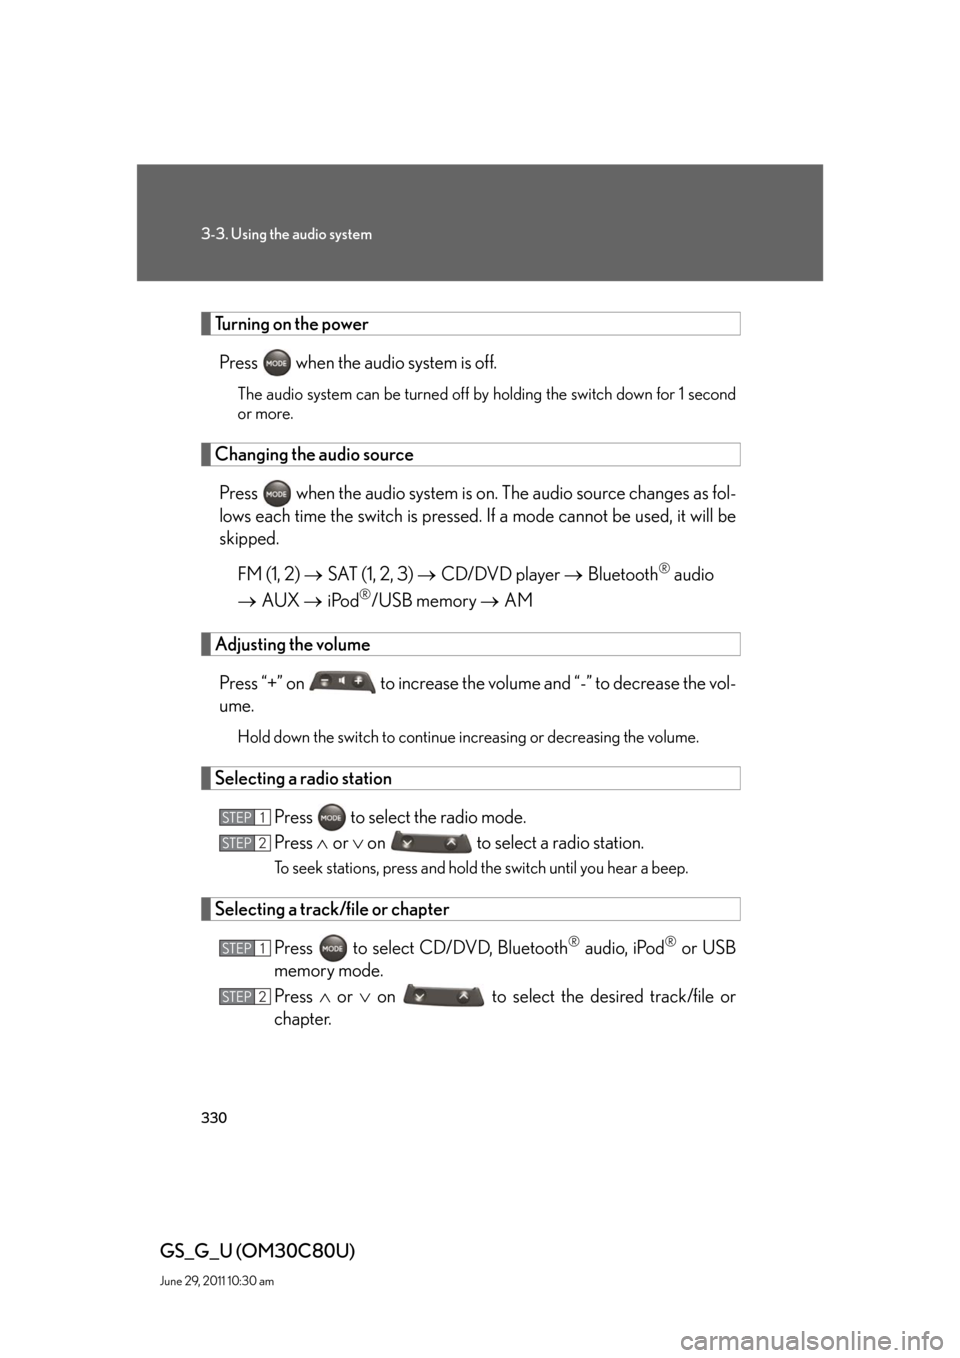
Turning on the power
Press when the audio system is off.
The audio system can be turned off by holding the switch down for 1 second
or more.
Changing the audio source
Press when the audio system is on. The audio source changes as fol-
lows each time the switch is pressed. If a mode cannot be used, it will be
skipped.
FM (1, 2) SAT (1, 2, 3) CD/DVD player Bluetooth
® audio
AUX iPod
®/USB memory AM
Adjusting the volume
Press “+” on to increase the volume and “-” to decrease the vol-
ume.
Hold down the switch to continue increasing or decreasing the volume.
Selecting a radio station
Press to select the radio mode.
Press or on to select a radio station.
To seek stations, press and hold the switch until you hear a beep.
Selecting a track/file or chapter
Press to select CD/DVD, Bluetooth
® audio, iPod® or USB
memory mode.
Press or on to select the desired track/file or
chapter.
STEP1
STEP2
STEP1
STEP2
Page 331 of 648
331
3-3. Using the audio system
3
Interior features
GS_G_U (OM30C80U)
June 29, 2011 10:30 am
Selecting a disc in the CD or DVD player
Press to select the CD or DVD mode.
Press and hold or on until you hear a beep.
Selecting an album
Press to select Bluetooth
® audio mode.
Press and hold or on until you hear a beep.
Selecting a folder
Press to select CD (only when MP3/WMA disc is in use) or
USB memory mode.
Press and hold or on until you hear a beep.
■Canceling automatic seek station
Push the same switch.
CAUTION
■To reduce the risk of an accident
Exercise care when operating the audio switches on the steering wheel.
STEP1
STEP2
STEP1
STEP2
STEP1
STEP2