2010 KIA VENGA mil
[x] Cancel search: milPage 57 of 379

Safety features of your vehicle
44
3
Driver's and passenger's front air
bag (if equipped)
Your vehicle is equipped with a
Supplemental Restraint (Air Bag) System
and lap/shoulder belts at both the driver
and passenger seating positions.
WARNING
If an air bag deploys, there may be a loud noise followed by a fine
dust released in the vehicle.These conditions are normal and
are not hazardous - the air bags
are packed in this fine powder.
The dust generated during air
bag deployment may cause skin
or eye irritation as well as aggra-
vate asthma for some persons.
Always wash all exposed skin
areas thoroughly with lukewarmwater and a mild soap after an
accident in which the air bags
were deployed.
The SRS can function only when the ignition switch is in the ONposition.
Before you replace a fuse or dis- connect a battery terminal, turn
the ignition switch to the LOCK
position and remove the ignition
key. Never remove or replace the
air bag related fuse(s) when the
ignition switch is in the ON posi-
tion. Failure to heed this warning
will cause the SRS air bag warn-
ing light to illuminate.
OYN039024
OYN039025
Driver’s front air bag
Passenger’s front air bag
WARNING
Do not install or place any acces- sories (drink holder, cassette
holder, sticker, etc.) on the front
passenger's panel above the
glove box in a vehicle with a pas-
senger's air bag. Such objects
may become dangerous projec-
tiles and cause injury if the pas-
senger's air bag inflates.
When installing a container of liq- uid air freshener inside the vehi-
cle, do not place it near the
instrument cluster nor on the
instrument panel surface.
It may become a dangerous pro-
jectile and cause injury if the pas-
senger's air bag inflates.
B240B05L
Passenger’s front air bag
Page 61 of 379

Safety features of your vehicle
48
3
✽✽
NOTICE
When the passenger’s front air bag
ON/OFF switch is set to the ON position,
the passenger’s front air bag is activated
and child or infant seat should not be
installed on the front passenger seat.
When the passenger’s front air bag
ON/OFF switch is set to the OFF posi-
tion, the passenger’s front air bag is
deactivated.
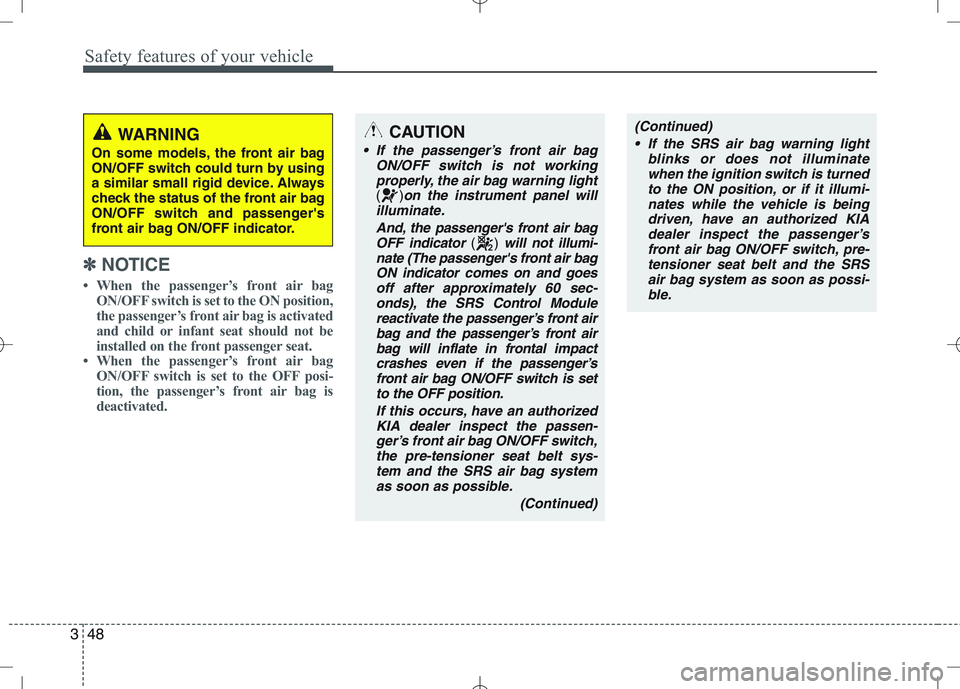
CAUTION
If the passenger’s front air bag
ON/OFF switch is not working
properly, the air bag warning light
()on the instrument panel will
illuminate.
And, the passenger's front air bagOFF indicator
() will not illumi-
nate (The passenger's front air bag
ON indicator comes on and goesoff after approximately 60 sec- onds), the SRS Control Modulereactivate the passenger’s front air
bag and the passenger’s front airbag will inflate in frontal impact crashes even if the passenger’s front air bag ON/OFF switch is set
to the OFF position.
If this occurs, have an authorizedKIA dealer inspect the passen-ger’s front air bag ON/OFF switch,the pre-tensioner seat belt sys-
tem and the SRS air bag systemas soon as possible.
(Continued)
(Continued) If the SRS air bag warning light blinks or does not illuminatewhen the ignition switch is turnedto the ON position, or if it illumi-
nates while the vehicle is beingdriven, have an authorized KIA dealer inspect the passenger’s
front air bag ON/OFF switch, pre-tensioner seat belt and the SRS air bag system as soon as possi-ble.WARNING
On some models, the front air bag
ON/OFF switch could turn by using
a similar small rigid device. Always
check the status of the front air bag
ON/OFF switch and passenger's
front air bag ON/OFF indicator.
Page 80 of 379

Features of your vehicle
8
4
With a smart key, you can lock or unlock
a door (and tailgate) and even start the
engine without inserting the key.
The functions of the buttons on a smart
key are similar to the remote keyless
entry. (Refer to the “Remote keyless
entry” in this section.)
Smart key functions
Carrying the smart key, you may lock and
unlock the vehicle doors (and tailgate).
Also, you may start the engine. Refer to
the following, for more details.Locking
Pressing the button of the front outside door handles with all doors (and tailgate)
closed and any door unlocked, locks all
the doors (and tailgate). The hazard
warning lights will blink once to indicate
that all doors (and tailgate) are locked.
The button will only operate when the
smart key is within 0.7 m (28 in.) from the
outside door handle. If you want to make
sure that a door has locked or not, you
should check the door lock button inside
the vehicle or pull the outside door han-
dle. Even though you press the button, the
doors will not lock and the chime sounds
if any of the following occurs:
The smart key is in the vehicle.
The ENGINE START/STOP button is in
the ACC or ON position.
Any door except the tailgate is opened.
Unlocking
Pressing the button of the front outside door handles with all doors (and tailgate)
closed and locked, unlocks all the doors
(and tailgate). The hazard warning lights
will blink twice to indicate that all doors
(and tailgate) are unlocked. The button
will only operate when the smart key iswithin 0.7 m (28 in.) from the outside
door handle.
When the smart key is recognized in the area of 0.7 m (28 in.) from the front out-
side door handle, other people can alsoopen a door without possession of the
smart key.
SMART KEY (IF EQUIPPED)
OXM049001LOYN049005
Page 107 of 379

435
Features of your vehicle
Inside rearview mirror
Adjust the rearview mirror so that the
center view through the rear window is
seen. Make this adjustment before you
start driving.
Day/night rearview mirror (if equipped)
Make this adjustment before you start
driving and while the day/night lever is in
the day position.
Pull the day/night lever toward you to reduce glare from the headlights of the
vehicles behind you during night driving.
Remember that you lose some rearviewclarity in the night position.
Electrochromic mirror (ECM)
(if equipped)
The electric rearview mirror automatical- ly controls the glare from the headlights
of the car behind you in nighttime or low
light driving conditions. The sensormounted in the mirror senses the light
level around the vehicle, and automati-cally controls the headlight glare from
vehicles behind you.
When the engine is running, the glare is
automatically controlled by the sensor
mounted in the rearview mirror.
Whenever the shift lever is shifted into
reverse (R), the mirror will automatically
go to the brightest setting in order to
improve the drivers view behind the vehi-
cle.
MIRRORS
OAM049023
CAUTION
When cleaning the mirror, use a
paper towel or similar material dampened with glass cleaner. Donot spray glass cleaner directly on
the mirror as that may cause the liq-uid cleaner to enter the mirror hous-ing.
Day
Night
WARNING - Rear visibility
Do not place objects in the rear
seat or cargo area which would
interfere with your vision out the
rear window.
WARNING
Do not adjust the rearview mirror
while the vehicle is moving. This
could result in loss of control, and
an accident which could cause
death, serious injury or property
damage.
Page 114 of 379

Features of your vehicle
42
4
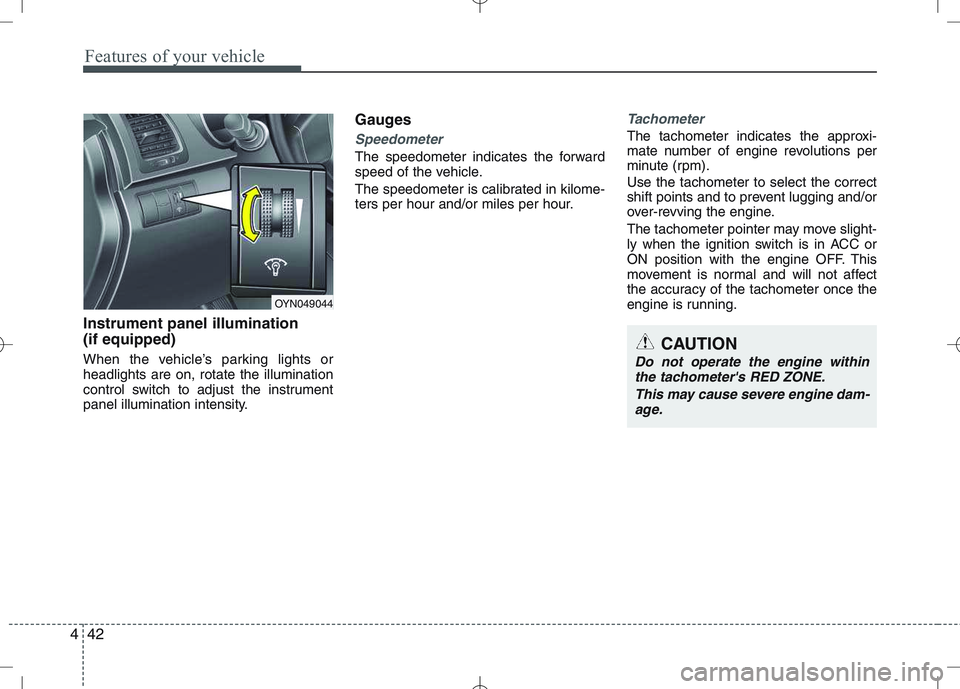
Instrument panel illumination (if equipped)
When the vehicle’s parking lights or headlights are on, rotate the illumination
control switch to adjust the instrument
panel illumination intensity. Gauges
Speedometer
The speedometer indicates the forward
speed of the vehicle.
The speedometer is calibrated in kilome-
ters per hour and/or miles per hour.
Tachometer
The tachometer indicates the approxi-
mate number of engine revolutions per
minute (rpm). Use the tachometer to select the correct
shift points and to prevent lugging and/or
over-revving the engine.
The tachometer pointer may move slight-
ly when the ignition switch is in ACC or
ON position with the engine OFF. This
movement is normal and will not affect
the accuracy of the tachometer once the
engine is running.
OYN049044
CAUTION
Do not operate the engine within
the tachometer's RED ZONE.
This may cause severe engine dam-age.
Page 116 of 379

Features of your vehicle
44
4
Odometer (km or mi.) The odometer indicates the total dis-
tance the vehicle has been driven.
You will also find the odometer useful to
determine when periodic maintenance
should be performed.
✽✽
NOTICE
It is forbidden to alter the odometer of
all vehicles with the intent to change the
mileage registered on the odometer. The
alteration may void your warranty cov-
erage.
Tripmeter (km or mi.)
TRIP A: Tripmeter A
TRIP B: Tripmeter BThis mode indicates the distance of indi-
vidual trips selected since the last trip-meter reset.
The meter's working range is from 0.0 to 999.9 km (0.0 to 999.9 miles).
Pressing the TRIP button for more than 1
second, when the tripmeter (TRIP A or
TRIP B) is being displayed, clears the
tripmeter to zero (0.0).Tripmeter/Trip computer (if equipped)
The trip computer is a microcomputer-
controlled driver information system that
displays information related to driving,
such as tripmeter, distance to empty,
elapsed time, average fuel consumptionand instant fuel consumption on the dis-
play when the ignition switch is in the ON
position. All stored driving information
(except distance to empty and instant
fuel consumption) is reset if the battery isdisconnected.
OYN049045/Q
Trip computer (if equipped)
OYN049100OYN049129
Page 117 of 379

445
Features of your vehicle
Press the TRIP button for less than 1
second to select any mode as follows:Tripmeter (km or mi.)
TRIP A : Tripmeter A
TRIP B : Tripmeter BThis mode indicates the distance of indi-
vidual trips selected since the last trip-meter reset.
The meter's working range is from 0.0 to 999.9 km (0.0 to 999.9 miles).
Pressing the TRIP button for more than 1
second, when the tripmeter (TRIP A or
TRIP B) is being displayed, clears the
tripmeter to zero (0.0).Distance to empty (if equipped)
(km or mi.) This mode indicates the estimated dis- tance to empty based on the current fuelin the fuel tank and the amount of fuel
delivered to the engine. When the
remaining distance is below 50 km (30
miles), “---” will be displayed and the dis-
tance to empty indicator will blink.
The meter’s working range is from 50 to 990 km (30 to 990 miles).
Tripmeter B
Elapsed time*
Tripmeter A
Distance to empty*
Average fuel consumption*
Instant fuel consumption*
* if equipped
OYN049130OYN049102
Page 118 of 379

Features of your vehicle
46
4
Average fuel consumption (if equipped) ( l/100 km or MPG)
This mode calculates the average fuelconsumption from the total fuel used and
the distance since the last average con-
sumption reset. The total fuel used is cal-culated from the fuel consumption input.
For an accurate calculation, drive morethan 50 m (0.03 miles).
Pressing the TRIP button for more than 1
second, when the average fuel consump-
tion is being displayed, clears the average
fuel consumption to zero (--.-). Instant fuel consumption (if equipped)(
l/100 km or MPG)
This mode calculates the instant fuel
consumption during the last few sec-
onds.
✽✽ NOTICE
If the vehicle is not on level ground or the battery power has been interrupt-
ed, the “Distance to empty” function
may not operate correctly.
The trip computer may not register
additional fuel if less than 6 liters (1.6
gallons) of fuel are added to the vehi-
cle.
The fuel consumption and distance to
empty values may vary significantly
based on driving conditions, driving
habits, and condition of the vehicle.
The distance to empty value is an esti-
mate of the available driving distance.
This value may differ from the actual
driving distance available.
OYN049103OYN049104