Page 140 of 522
continuous operation. At that time, the number of indi-
cator lights changes from two to one, indicating the
change. Operation on the Low-level heating will also
turn OFF automatically after approximately 30 minutes.
NOTE:When a heat setting is selected, heat will be felt
within two to five minutes.
WARNING!
•Persons who are unable to feel pain to the skin
because of advanced age, chronic illness, diabetes,
spinal cord injury, medication, alcohol use, ex-
haustion or other physical condition must exercise
care when using the seat heater. It may cause burns
even at low temperatures, especially if used for
long periods.
•Do not place anything on the seat that insulates
against heat, such as a blanket or cushion. This
may cause the seat heater to overheat.
60/40 Split Folding Rear Seat with Fold-Flat
Feature
To provide additional storage area, each rear seat can be
folded flat. This allows for extended cargo space and still
maintains some rear seating room.
NOTE: Prior to folding the rear seat, it may be necessary
to position the front seat to its mid-track position. Also,
be sure that the front seats are fully upright and posi-
tioned forward. This will allow the rear seat to fold down
easily.
WARNING!
•It is extremely dangerous to ride in a cargo area,
inside or outside of a vehicle. In a collision, people
riding in these areas are more likely to be seri-
ously injured or killed.
(Continued)
3
UNDERSTANDING THE FEATURES OF YOUR VEHICLE 139
Page 149 of 522
CAUTION! (Continued)
•Lower the hood to approximately 6 in (15.2 cm)
above the closed position and drop the hood to
latch it.
•Never drive your vehicle unless the hood is fully
closed, with both latches engaged.
WARNING!
If the hood is not fully latched, it could fly up when
the vehicle is moving and block your forward vision.
Be sure all hood latches are fully latched before
driving.
LIGHTS
Multifunction Lever
The multifunction lever on the left side of the steering
column controls the operation of the headlights, parking
lights, turn signal lights, instrument panel lights, instru-
ment panel light dimming, interior lights and fog lights
(if equipped).
Multifunction Lever
148 UNDERSTANDING THE FEATURES OF YOUR VEHICLE
Page 164 of 522
Tapping the SET DECEL button once will result in a
1 mph (2 km/h) speed decrease. Each time the button is
tapped, speed decreases.
To Accelerate for Passing
Press the accelerator as you would normally. When the
pedal is released, the vehicle will return to the set speed.
Using Electronic Speed Control On Hills
NOTE:The Electronic Speed Control system maintains
speed up and down hills. A slight speed change on
moderate hills is normal.
On steep hills, a greater speed loss or gain may occur so
it may be preferable to drive without Electronic Speed
Control.
Vehicles equipped with a manual transmission may need
to be shifted into a lower gear to climb hills without
speed loss.
WARNING!
Electronic Speed Control can be dangerous where the
system cannot maintain a constant speed. Your ve-
hicle could go too fast for the conditions, and you
could lose control. An accident could be the result.
Do not use Electronic Speed Control in heavy traffic
or on roads that are winding, icy, snow-covered or
slippery.
PARKSENSE� REAR PARK ASSIST — IF
EQUIPPED
The ParkSense� Rear Park Assist system provides visual
and audible indications of the distance between the rear
fascia and the detected obstacle when backing up. Refer
to ParkSense� System Usage Precautions for limitations
of this system and recommendations.
3
UNDERSTANDING THE FEATURES OF YOUR VEHICLE 163
Page 174 of 522
WARNING! (Continued)
•Before using the ParkSense�Rear Park Assist
System, it is strongly recommended that the ball
mount and hitch ball assembly is disconnected
from the vehicle when the vehicle is not used for
towing. Failure to do so can result in injury or
damage to vehicles or obstacles because the hitch
ball will be much closer to the obstacle than the
rear fascia when the warning display turns on the
single flashing arc and sounds the continuous
tone. Also, the sensors could detect the ball mount
and hitch ball assembly, depending on its size and
shape, giving a false indication that an obstacle is
behind the vehicle.
GARAGE DOOR OPENER — IF EQUIPPED
HomeLink� replaces up to three remote controls (hand-
held transmitters) that operate devices such as garage door openers, motorized gates, lighting or home security
systems. The HomeLink�
unit operates off your vehicle’s
battery.
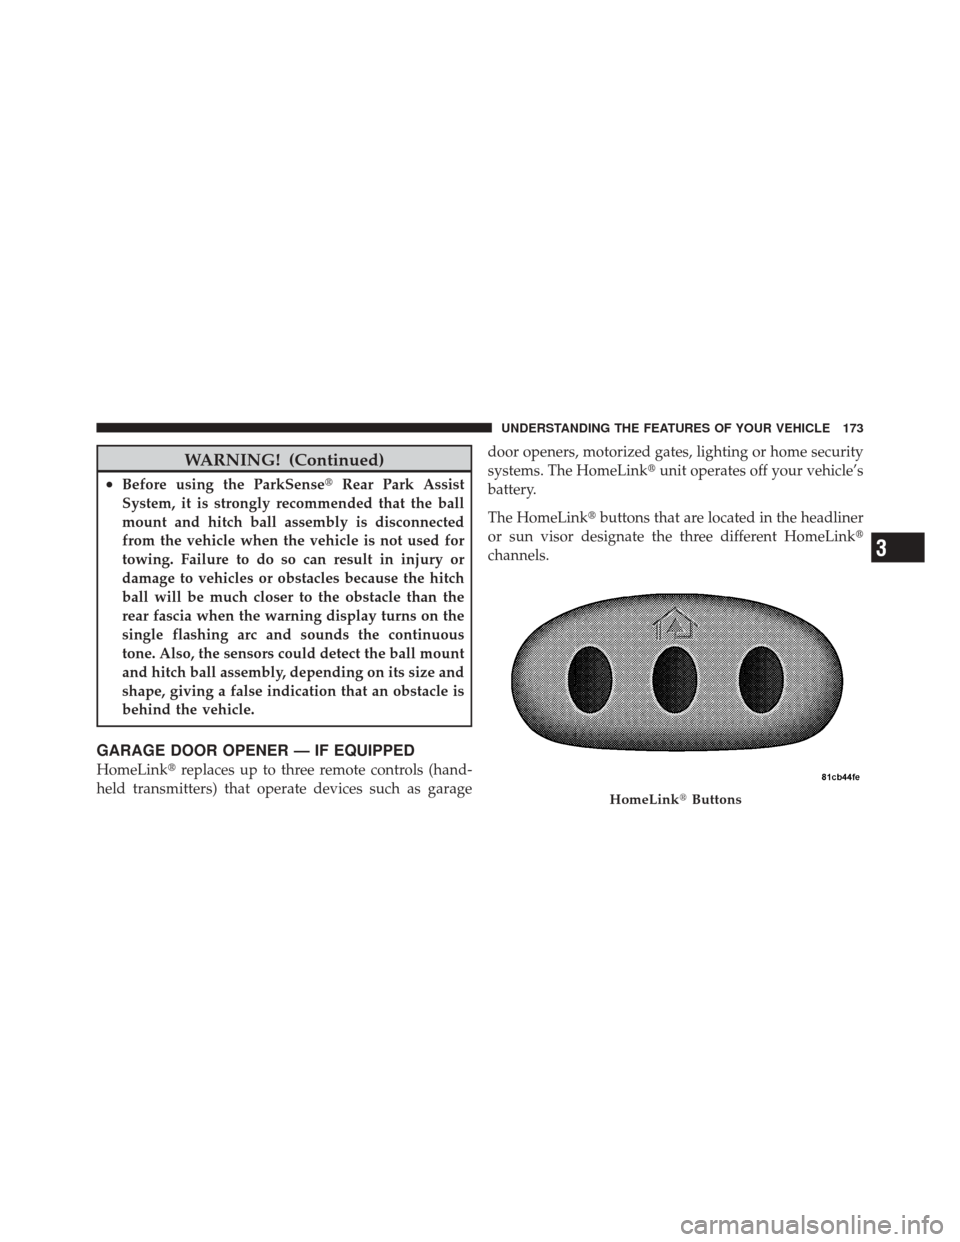
The HomeLink� buttons that are located in the headliner
or sun visor designate the three different HomeLink �
channels.
HomeLink� Buttons
3
UNDERSTANDING THE FEATURES OF YOUR VEHICLE 173
Page 190 of 522
ELECTRICAL POWER OUTLET
Your vehicle is equipped with a fused 12 Volt (DC) power
outlet. This power outlet is located on the instrument
panel, below the climate controls. It has power available
when the ignition switch is in the ON or ACC position.Insert the cigar lighter or accessory plug into the outlet
for use to ensure proper operation.
NOTE:
•To ensure proper operation a MOPAR�
knob and
element must be used.
•Do not exceed the maximum power of 160 Watts (13
Amps) at 12 Volts.
WARNING!
To avoid serious injury or death:
•Only devices designed for use in this type of
outlet should be inserted into any 12 Volt outlet.
•Do not touch with wet hands.
•Close the lid when not in use and while driving
the vehicle.
•If this outlet is mishandled, it may cause an
electric shock and failure.Front Power Outlet
3
UNDERSTANDING THE FEATURES OF YOUR VEHICLE 189
Page 212 of 522
CAUTION!
Prolonged driving with the MIL on could cause
damage to the engine control system. It also could
affect fuel economy and drivability. If the MIL is
flashing, severe catalytic converter damage and
power loss will soon occur. Immediate service is
required.
WARNING!
A malfunctioning catalytic converter, as referenced
above, can reach higher temperatures than in normal
operating conditions. This can cause a fire if you
drive slowly or park over flammable substances such
as dry plants or wood or cardboard, etc. This could
result in death or serious injury to the driver, occu-
pants or others.7. High Beam Indicator
This indicator shows that the high beam head-
lights are on. Pull the multifunction control lever
on the left side of the steering column toward you to
switch to low beam.
8. Front Fog Light Indicator — If Equipped This indicator will illuminate when the fog lights
are on.
9. Speedometer
Shows the vehicle speed in Miles Per Hour (MPH) or
kilometers per hour (km/h).
10. Turn Signal Indicators The arrow will flash with the exterior turn signal
when the turn signal lever is operated.
If the vehicle electronics sense that the vehicle has
traveled about 1 mile (1.6 km) with the turn signals on, a
4
UNDERSTANDING YOUR INSTRUMENT PANEL 211
Page 214 of 522
vehicle is experiencing a problem with the charging
system. Obtain SERVICE IMMEDIATELY. See an autho-
rized dealer.
If jump starting is required, refer to “Jump Starting
Procedures” in section 6 of this manual.
13. Oil Pressure Warning LightThis light indicates low engine oil pressure. The
light should turn on momentarily when the engine
is started. If the light turns on while driving, stop the
vehicle and shut off the engine as soon as possible. A
chime will sound for four minutes when this light turns
on.
Do not operate the vehicle until the cause is corrected.
This light does not indicate how much oil is in the engine.
The engine oil level must be checked under the hood. 14. Anti-Lock Brake (ABS) Light
This light monitors the Anti-Lock Brake System
(ABS). The light will turn on when the ignition
switch is turned to the ON position and may
stay on for as long as four seconds.
If the ABS light remains on or turns on while driving, it
indicates that the Anti-Lock portion of the brake system
is not functioning and that service is required. However,
the conventional brake system will continue to operate
normally if the BRAKE warning light is not on.
If the ABS light is on, the brake system should be serviced
as soon as possible to restore the benefits of Anti-Lock
brakes. If the ABS light does not turn on when the
Ignition switch is turned to the ON position, have the
light inspected by an authorized dealer.
4
UNDERSTANDING YOUR INSTRUMENT PANEL 213
Page 216 of 522
20. Electronic Stability Control (ESC) OFF Indicator
Light — If EquippedThis light indicates the Electronic Stability Con-
trol (ESC) is off.
21. SERV (Service) 4WD Indicator Light — If Equipped The “SERV 4WD Indicator Light” will turn on
when the ignition key is turned to the ON
position and it will stay on for two seconds. If
the light stays on or turns on during driving, it
means that the 4WD system is not functioning properly
and that service is required.
22. Engine Temperature Warning Light This light warns of an overheated engine condi-
tion. As temperatures rise and the gauge ap-
proaches H,this indicator will illuminate and a
single chime will sound after reaching a set threshold.
Further overheating will cause the temperature gauge to pass
H,the indicator will continuously flash and a
continuous chime will occur until the engine is allowed
to cool.
If the light turns on while driving, safely pull over and
stop the vehicle. If the A/C system is on, turn it off. Also,
shift the transmission into NEUTRAL and idle the ve-
hicle. If the temperature reading does not return to
normal, turn the engine off immediately and call for
service. Refer to “If Your Engine Overheats” in Section 6
for more information.
23. Temperature Gauge
The temperature gauge shows engine coolant tempera-
ture. Any reading within the normal range indicates that
the engine cooling system is operating satisfactorily.
The gauge pointer will likely indicate a higher tempera-
ture when driving in hot weather, up mountain grades,
or when towing a trailer. It should not be allowed to
exceed the upper limits of the normal operating range.
4
UNDERSTANDING YOUR INSTRUMENT PANEL 215