Page 419 of 522
▫Cooling System ..................... 435
▫ Brake System ....................... 441
▫ Automatic Transmission ............... 443
▫ Transfer Case ....................... 444
▫ Front/Rear Axle Fluid ................. 445
▫ Sky Slider™Top Care ................. 446
▫ Appearance Care And Protection From
Corrosion .......................... 448
� Fuses .............................. 454
▫ Totally Integrated Power Module (TIPM) . . . 454
� Replacement Bulbs .................... 461 �
Bulb Replacement ..................... 461
▫ Headlamp ......................... 461
▫ Front Turn Signal And Front Side Marker
Lamp ............................. 462
▫ Front Fog Lamp ..................... 463
▫ Rear Tail/Stop, Turn Signal, And Back-Up
Lamp ............................. 464
� Fluid Capacities ...................... 465
� Fluids, Lubricants, And Genuine Parts ....... 466
▫ Engine ............................ 466
▫ Chassis ........................... 467
418 MAINTAINING YOUR VEHICLE
Page 456 of 522
Cavity CartridgeFuseMini-
Fuse Description
J3 30 Amp Pink — Rear Door Modules
J4 25 Amp White — Driver Door Node
J5 25 Amp White — Passenger Door Node
J6 40 Amp Green — Anti-Lock Brake Sys-
tem (ABS) Pump/ESP
- if equipped
J7 30 Amp Pink — Anti-Lock Brake Sys-
tem (ABS) Valve/ESP
- if equipped
J8 40 Amp Green — Power Seats - if
equipped
J9 40 Amp Green — PZEV/Flex Fuel - if
equippedCavity CartridgeFuseMini-
Fuse Description
J10 30 Amp Pink — Headlamp Wash Re-
lay - if equipped/
Man Tuning Valve - if
equipped
J11 30 Amp Pink — Sway Bar - if
equipped/Thatchm
Lk-Ulk - if equiped/
Pwr Sld Dr Mod - if
equipped
J13 60 Amp Yellow — Ignition Off Draw
(IOD)
J14 40 Amp Green — EBL (Rear Window
Defogger) - if
equipped
J15 30 Amp Pink — Rear Blower - if
equipped
7
MAINTAINING YOUR VEHICLE 455
Page 462 of 522

CAUTION! (Continued)
•When replacing a blown fuse, it is important to
use only a fuse having the correct amperage rating.
The use of a fuse with a rating other than indicated
may result in a dangerous electrical system over-
load. If a properly rated fuse continues to blow, it
indicates a problem in the circuit that must be
corrected.
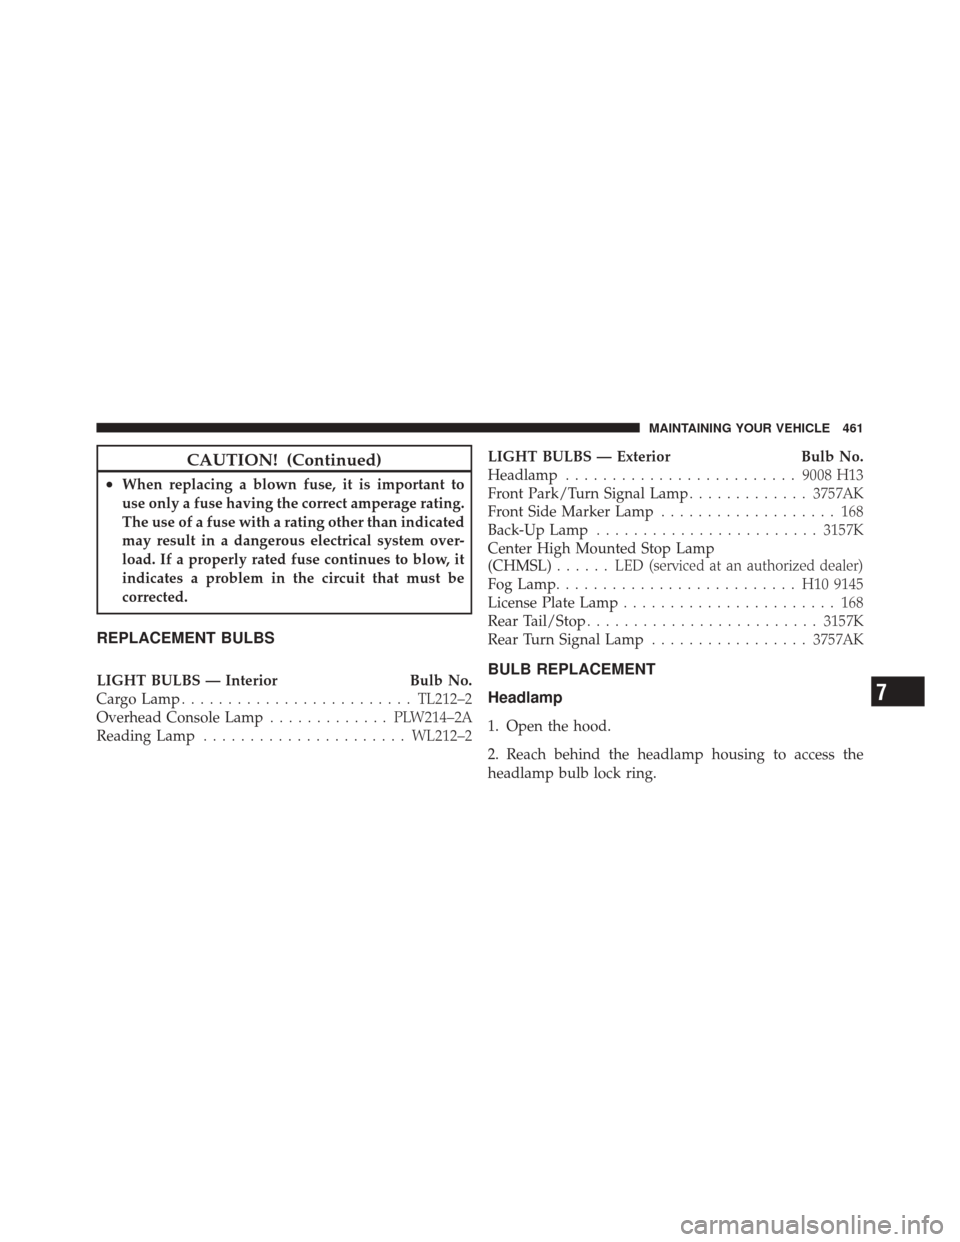
REPLACEMENT BULBS
LIGHT BULBS — InteriorBulb No.
Cargo Lamp ......................... TL212–2
Overhead Console Lamp ............. PLW214–2A
Reading Lamp ...................... WL212–2LIGHT BULBS — Exterior
Bulb No.
Headlamp ......................... 9008 H13
Front Park/Turn Signal Lamp .............3757AK
Front Side Marker Lamp ................... 168
Back-Up Lamp ........................ 3157K
Center High Mounted Stop Lamp
(CHMSL) ...... LED (serviced at an authorized dealer)
Fog Lamp .......................... H10 9145
License Plate Lamp ....................... 168
Rear Tail/Stop ......................... 3157K
Rear Turn Signal Lamp .................3757AKBULB REPLACEMENT
Headlamp
1. Open the hood.
2. Reach behind the headlamp housing to access the
headlamp bulb lock ring.
7
MAINTAINING YOUR VEHICLE 461
Page 463 of 522

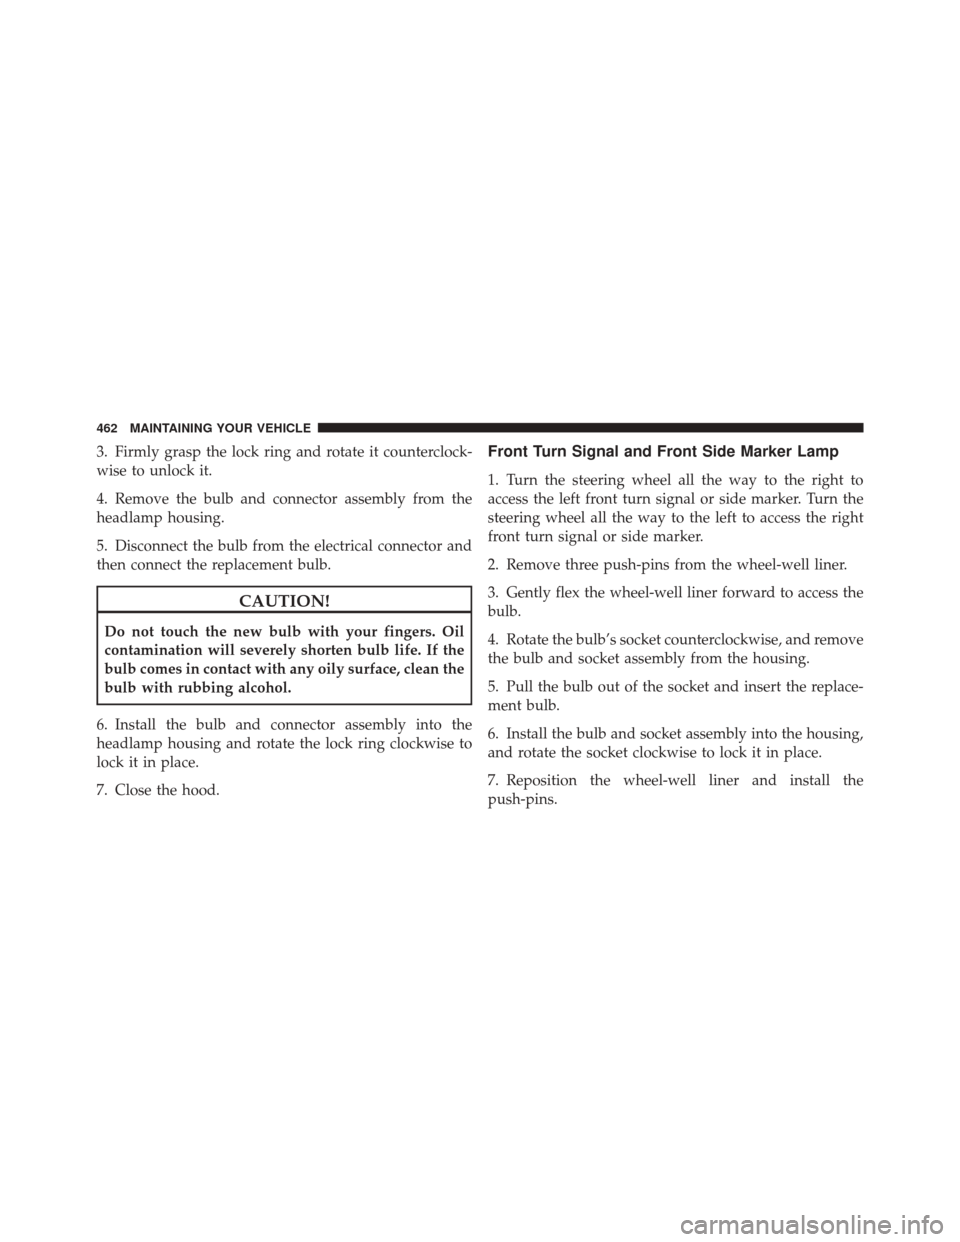
3. Firmly grasp the lock ring and rotate it counterclock-
wise to unlock it.
4. Remove the bulb and connector assembly from the
headlamp housing.
5. Disconnect the bulb from the electrical connector and
then connect the replacement bulb.
CAUTION!
Do not touch the new bulb with your fingers. Oil
contamination will severely shorten bulb life. If the
bulb comes in contact with any oily surface, clean the
bulb with rubbing alcohol.
6. Install the bulb and connector assembly into the
headlamp housing and rotate the lock ring clockwise to
lock it in place.
7. Close the hood.
Front Turn Signal and Front Side Marker Lamp
1. Turn the steering wheel all the way to the right to
access the left front turn signal or side marker. Turn the
steering wheel all the way to the left to access the right
front turn signal or side marker.
2. Remove three push-pins from the wheel-well liner.
3. Gently flex the wheel-well liner forward to access the
bulb.
4. Rotate the bulb’s socket counterclockwise, and remove
the bulb and socket assembly from the housing.
5. Pull the bulb out of the socket and insert the replace-
ment bulb.
6. Install the bulb and socket assembly into the housing,
and rotate the socket clockwise to lock it in place.
7. Reposition the wheel-well liner and install the
push-pins.
462 MAINTAINING YOUR VEHICLE
Page 464 of 522
Front Fog Lamp
1. Open the hood.
2. Reach behind the headlamp housing to access the
bulb.
3. Rotate the bulb’s socket counterclockwise, and remove
the bulb and socket assembly from the fog lamp housing.
4. Pull the bulb out of the socket and insert the replace-
ment bulb.
CAUTION!
Do not touch the new bulb with your fingers. Oil
contamination will severely shorten bulb life. If the
bulb comes in contact with any oily surface, clean the
bulb with rubbing alcohol.
5. Install the bulb and socket assembly into the into the
fog lamp housing, and rotate the connector clockwise to
lock it in place.
6. Close the hood.
7
MAINTAINING YOUR VEHICLE 463