Page 25 of 407
1. A weak battery in the RKE transmitter. The expected
life of the battery is a minimum of three years.
2. Closeness to a radio transmitter such as a radio station
tower, airport transmitter, and some mobile or CB radios.
REMOTE STARTING SYSTEM — IF EQUIPPED
This system uses the Remote Keyless Entry
(RKE) transmitter to start the engine conve-
niently from outside the vehicle while still
maintaining security. The system has a range of
approximately 328 ft (100 m).
NOTE: The vehicle must be equipped with an auto-
matic transmission to be equipped with Remote Start.
How to Use Remote Start
All of the following conditions must be met before the
engine will remote start:
•Shift lever in PARK
•Doors closed
•Hood closed
•Liftgate closed
•Hazard switch off
•Brake switch inactive (brake pedal not pressed)
•Ignition key removed from ignition switch
•Battery at an acceptable charge level
•RKE PANIC button not pressed
24 THINGS TO KNOW BEFORE STARTING YOUR VEHICLE
Page 41 of 407
5. Position the shoulder belt on your chest so that it is
comfortable and not resting on your neck. The retractor
will withdraw any slack in the belt.6. To release the belt, push the red button marked PRESS
on the buckle. The belt will automatically retract to its
stowed position. If necessary, slide the latch plate down
the webbing to allow it to retract fully.
WARNING!
A frayed or torn belt could rip apart in a collision and
leave you with no protection. Inspect the belt system
periodically, checking for cuts, frays, or loose parts.
Damaged parts must be replaced immediately. Do
not disassemble or modify the system. Seat belt
assemblies must be replaced after an accident if they
have been damaged (bent retractor, torn webbing,
etc.).
Removing Slack from Belt
40 THINGS TO KNOW BEFORE STARTING YOUR VEHICLE
Page 66 of 407

LATCH — Child Seat Anchorage System (Lower
Anchors and Tether for CHildren)
Your vehicle’s rear seat is equipped with the child
restraint anchorage system called LATCH. The LATCH
system provides for the installation of the child restraint
without using the vehicle’s seat belts, instead securing
the child restraint using lower anchorages and upper
tether straps from the child restraint to the vehicle
structure.
LATCH-compatible child restraint systems are now avail-
able. However, because the lower anchorages are to be
introduced over a period of years, child restraint systems
having attachments for those anchorages will continue to
also have features for installation using the vehicle’s seat
belts. Child restraints having tether straps and hooks for
connection to the top tether anchorages, have been
available for some time. For some older child restraints,
many child restraint manufacturers offer add-on tetherstrap kits or retro-fit kits. You are urged to take advantage
of all the available attachments provided with your child
restraint in any vehicle.
NOTE:
When using the LATCH attaching system to
install a child restraint, please ensure that all seat belts
not being used for occupant restraints are stowed and out
of reach of children. Remind all children in the vehicle
that the seat belts are not toys and should not be played
with, and never leave your child unattended in the
vehicle.
All three rear seating positions have lower anchorages
that are capable of accommodating LATCH-compatible
child seats having flexible, webbing-mounted lower at-
tachments. Child seats with fixed lower attachments
must be installed in the outboard positions only. Regard-
less of the specific type of lower attachment, NEVER
install LATCH-compatible child seats such that two seats
share a common lower anchorage.
2
THINGS TO KNOW BEFORE STARTING YOUR VEHICLE 65
Page 93 of 407
1. Pull the release strap (toward the front of the vehicle)
to release.
NOTE: Do not fold the rear seat down with the center
seat belt buckled.
2. Fold the rear seat completely forward.
To Raise Rear Seat
Raise the rear seatback and lock it into place. If interfer-
ence from the cargo area prevents the seatback from fully
locking, you will have difficulty returning the seat to its
proper position.Rear Seat Release
Rear Seat Folded
92 UNDERSTANDING THE FEATURES OF YOUR VEHICLE
Page 99 of 407

driving position when the key is placed into the
ignition, and turned out of the LOCK position toward
the ACC/ON position.
The Easy Entry/Exit feature will be automatically dis-
abled if the seat is already positioned closer than 0.9 in
(23 mm) forward of the rear stop. At this position, there
is no benefit to the driver by moving the seat for Easy
Exit/Entry.
Each stored memory setting will have an associated Easy
Entry/Exit position.
NOTE: The Easy Entry/Exit feature is not enabled
when the vehicle is delivered from the factory. The Easy
Entry/Exit feature is enabled (or later disabled) through
the programmable features in the Electronic Vehicle
Information Center (EVIC). Refer to “Electronic Vehicle
Information Center (EVIC)/Customer-Programmable
Features” in “Understanding Your Instrument Panel” for
further information.TO OPEN AND CLOSE THE HOOD
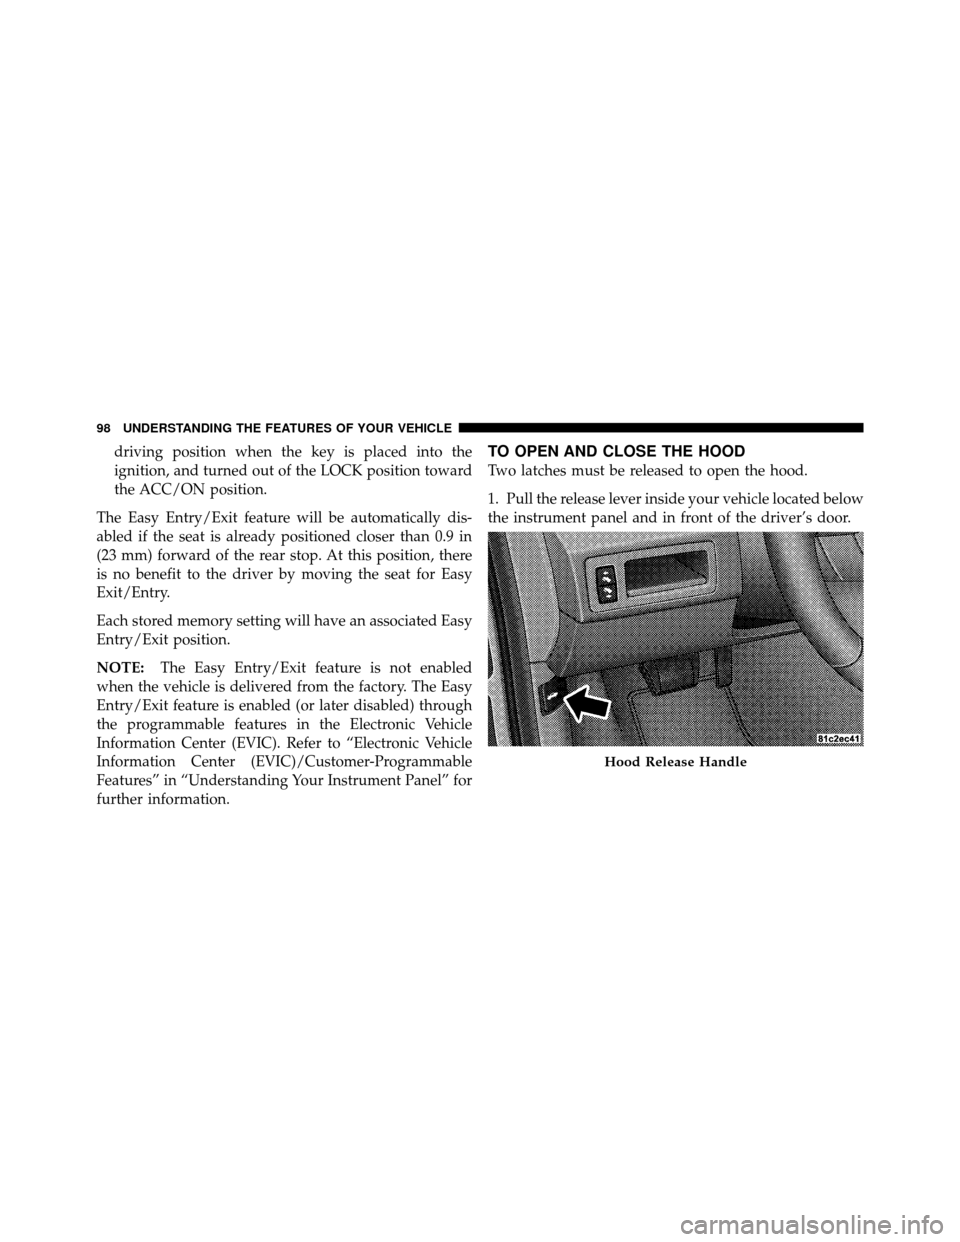
Two latches must be released to open the hood.
1. Pull the release lever inside your vehicle located below
the instrument panel and in front of the driver’s door.
Hood Release Handle
98 UNDERSTANDING THE FEATURES OF YOUR VEHICLE
Page 103 of 407

approximately four minutes after the wipers completely
stop. Refer to “Windshield Wipers and Washers” in this
section for further information.
NOTE:When your headlights come on during the
daytime, the instrument panel lights will automatically
dim to the lower nighttime intensity. Refer to “Lights” in
this section for further information.
SmartBeam™ — If Equipped
The SmartBeam™ system provides increased forward
lighting at night by automating high beam control
through the use of a digital camera mounted on the
inside rearview mirror. This camera detects vehicle spe-
cific light and automatically switches from high beams to
low beams until the approaching vehicle is out of view.
NOTE: If the windshield or SmartBeam™ mirror is
replaced, the SmartBeam™ mirror must be re-aimed to
ensure proper performance. See your local authorized
dealer.
To Activate
1. Select “Auto High Beams.” Refer to “Electronic Ve-
hicle Information Center (EVIC)/Customer-
Programmable Features” in “Understanding Your Instru-
ment Panel” for further information.
2. Turn the end of the multifunction lever to the AUTO
headlight position.
3. Push the multifunction lever away from you (toward
front of vehicle) to engage the high beam mode.
NOTE: This system will not activate until the vehicle is
at or above 20 mph (32 km/h).
To Deactivate
1. Pull back on the multifunction lever to manually
deactivate the system (normal operation of low beams).
2. Push back on the multifunction lever once again to
reactivate the system.
102 UNDERSTANDING THE FEATURES OF YOUR VEHICLE
Page 107 of 407

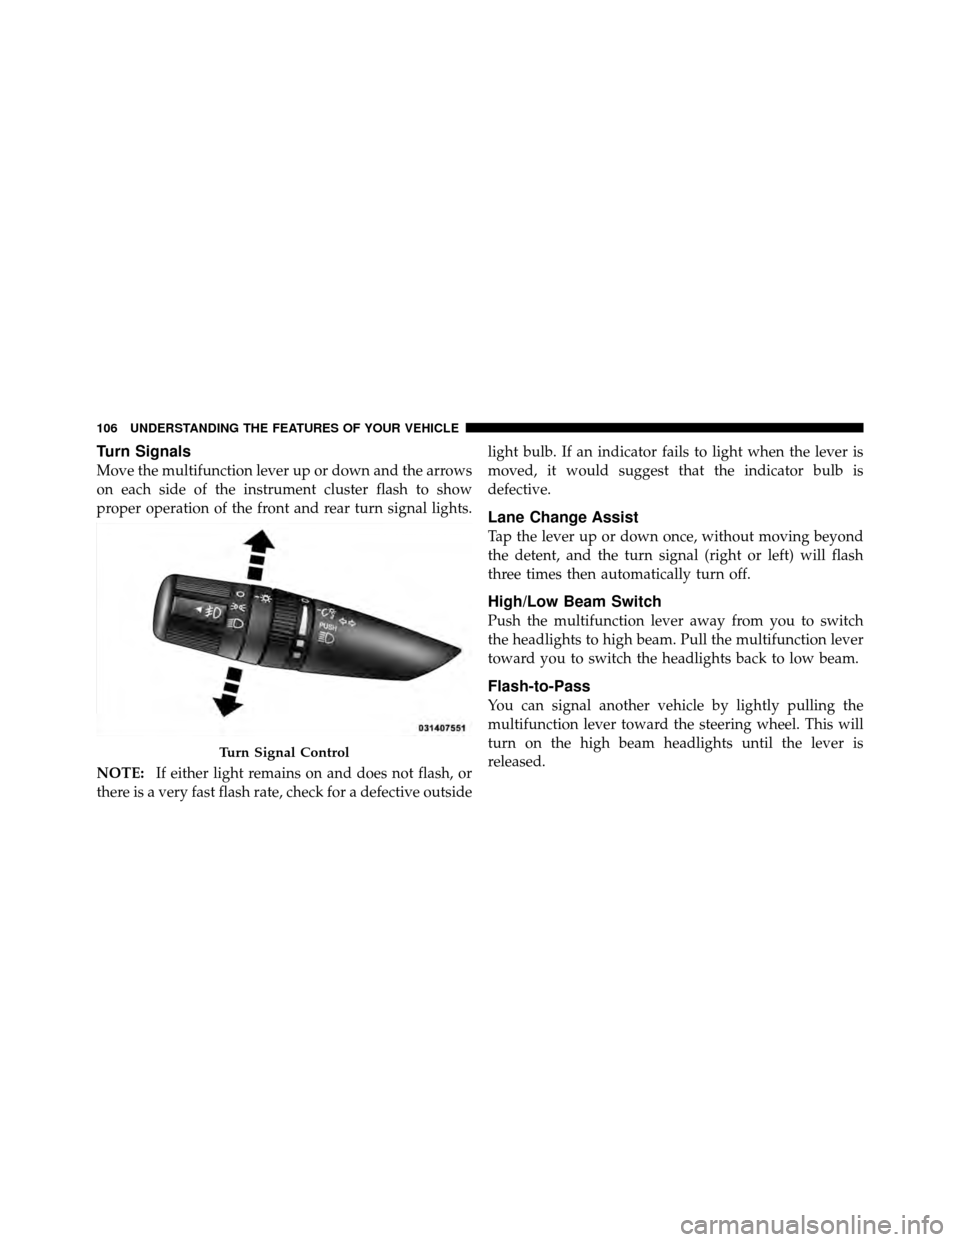
Turn Signals
Move the multifunction lever up or down and the arrows
on each side of the instrument cluster flash to show
proper operation of the front and rear turn signal lights.
NOTE:If either light remains on and does not flash, or
there is a very fast flash rate, check for a defective outside light bulb. If an indicator fails to light when the lever is
moved, it would suggest that the indicator bulb is
defective.
Lane Change Assist
Tap the lever up or down once, without moving beyond
the detent, and the turn signal (right or left) will flash
three times then automatically turn off.
High/Low Beam Switch
Push the multifunction lever away from you to switch
the headlights to high beam. Pull the multifunction lever
toward you to switch the headlights back to low beam.
Flash-to-Pass
You can signal another vehicle by lightly pulling the
multifunction lever toward the steering wheel. This will
turn on the high beam headlights until the lever is
released.
Turn Signal Control
106 UNDERSTANDING THE FEATURES OF YOUR VEHICLE
Page 112 of 407
Windshield Washer Operation
To use the washer, pull the lever toward you and hold
while spray is desired. If the lever is pulled while in the
delay range, the wiper will operate for several wipe
cycles after the lever is released, and then resume the
intermittent interval previously selected.
If the lever is pulled while in the off position, the wipers
will operate for several wipe cycles, then turn off.
WARNING!
Sudden loss of visibility through the windshield
could lead to an accident. You might not see other
vehicles or other obstacles. To avoid sudden icing of
the windshield during freezing weather, warm the
windshield with the defroster before and during
windshield washer use.
Mist
Use the Mist feature when weather conditions make
occasional usage of the wipers necessary. Pull down and
release the control lever for a single wiping cycle.
Mist Control
3
UNDERSTANDING THE FEATURES OF YOUR VEHICLE 111