Page 3969 of 4210

CONTROL UNITVTL-7
< ON-VEHICLE REPAIR >
C
DE
F
G H
J
K L
M A
B
VTL
N
O P
ON-VEHICLE REPAIR
CONTROL UNIT
Removal and InstallationINFOID:0000000005147605
A/C and AV SWITCH ASSEMBLY
Removal and Installation
The front A/C switch is integrated into the A/C and AV swit ch assembly in cluster lid C in the instrument panel.
Refer to AV-169, "
Removal and Installation".
A/C AUTO AMP.
Removal
1. Remove the display unit. Refer to AV-171, "Removal and Installation".
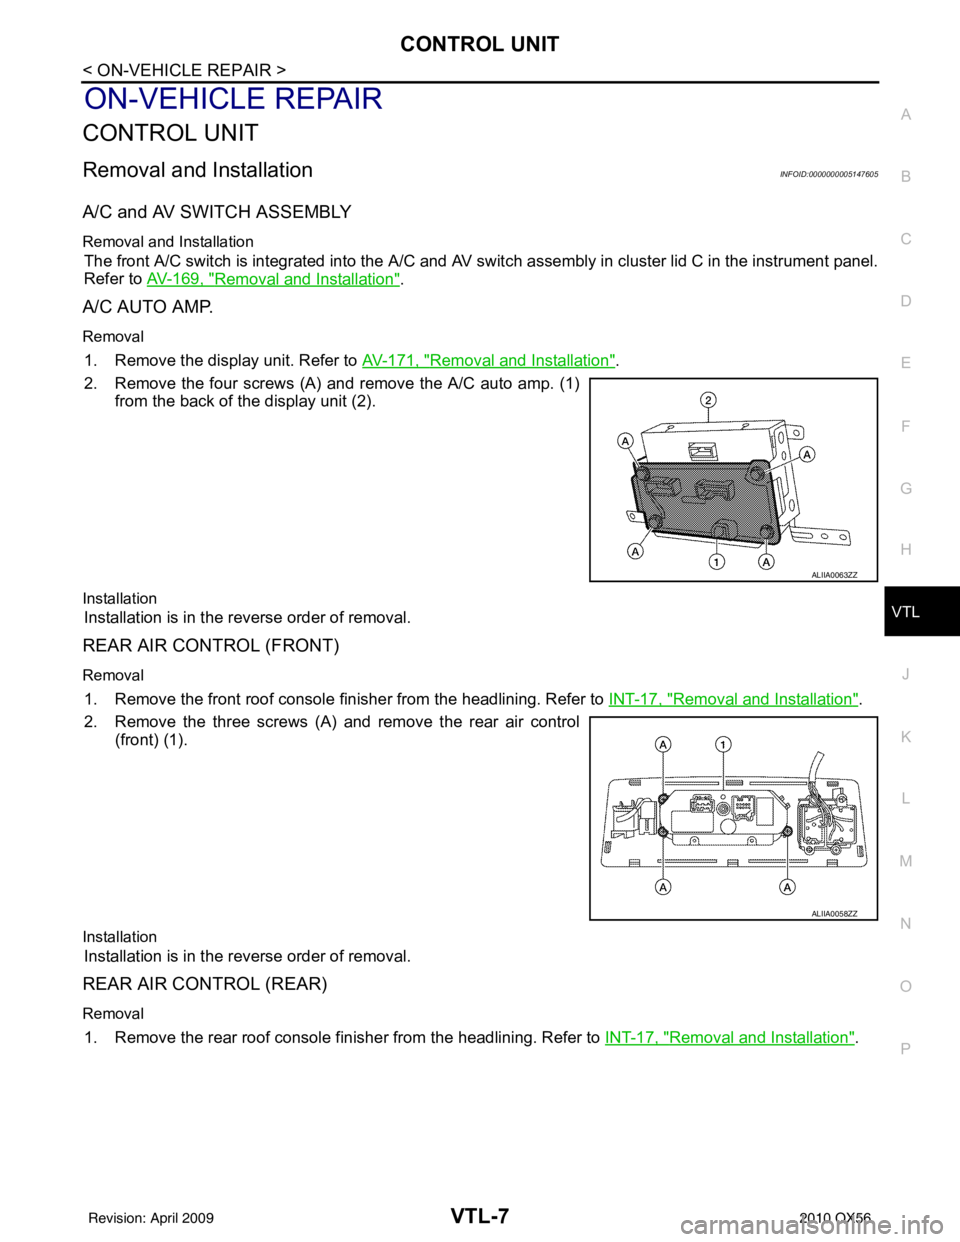
2. Remove the four screws (A) and remove the A/C auto amp. (1) from the back of the display unit (2).
Installation
Installation is in the reverse order of removal.
REAR AIR CONTROL (FRONT)
Removal
1. Remove the front roof console finisher from the headlining. Refer to INT-17, "Removal and Installation".
2. Remove the three screws (A) and remove the rear air control (front) (1).
Installation
Installation is in the reverse order of removal.
REAR AIR CONTROL (REAR)
Removal
1. Remove the rear roof console finisher from the headlining. Refer to INT-17, "Removal and Installation".
ALIIA0063ZZ
ALIIA0058ZZ
Revision: April 20092010 QX56
Page 3997 of 4210
DUCTS AND GRILLESVTL-35
< ON-VEHICLE REPAIR >
C
DE
F
G H
J
K L
M A
B
VTL
N
O P
Grilles
ALIIA0067ZZ
1. Front pillar finisher (RH shown LH similar) 2. Side demister grille (RH shown LH
similar) 3. Rear roof console
4. Rear roof console grilles 5. Instrument panel 6. Side ventilator grille (LH)
7. Instrument side finisher (LH) 8. Ventilator grille (LH) 9. Ventilator grille (RH)
10. Cluster lid C 11. Instrument side finisher (RH) 12. Side ventilator grille (RH)
Front
Revision: April 20092010 QX56
Page 3999 of 4210

DUCTS AND GRILLESVTL-37
< ON-VEHICLE REPAIR >
C
DE
F
G H
J
K L
M A
B
VTL
N
O P
REAR OVERHEAD DUCTS
Removal
1. Remove the luggage side finisher lower RH. Refer to INT-19, "Removal and Installation".
2. Remove the headliner. Refer to INT-17, "
Removal and Installation".
NOTE:
The rear headliner duct connected to the rear over head duct is part of the headlining trim panel and is
replaced as an assembly.
3. Remove the two bolts and remove the rear upper and lower overhead ducts.
Installation
Installation is in the reverse order of removal.
REAR FLOOR DUCT
Removal
1. Remove the luggage side finisher lower RH. Refer to INT-19, "Removal and Installation".
2. Reposition the floor carpet out of the way.
3. Remove the two bolts and remove the rear floor duct.
Installation
Installation is in the reverse order of removal.
GRILLES
Removal
1. Remove the interior trim panels as necessary. Refer to IP-12, "Removal and Installation" or INT-14,
"Removal and Installation".
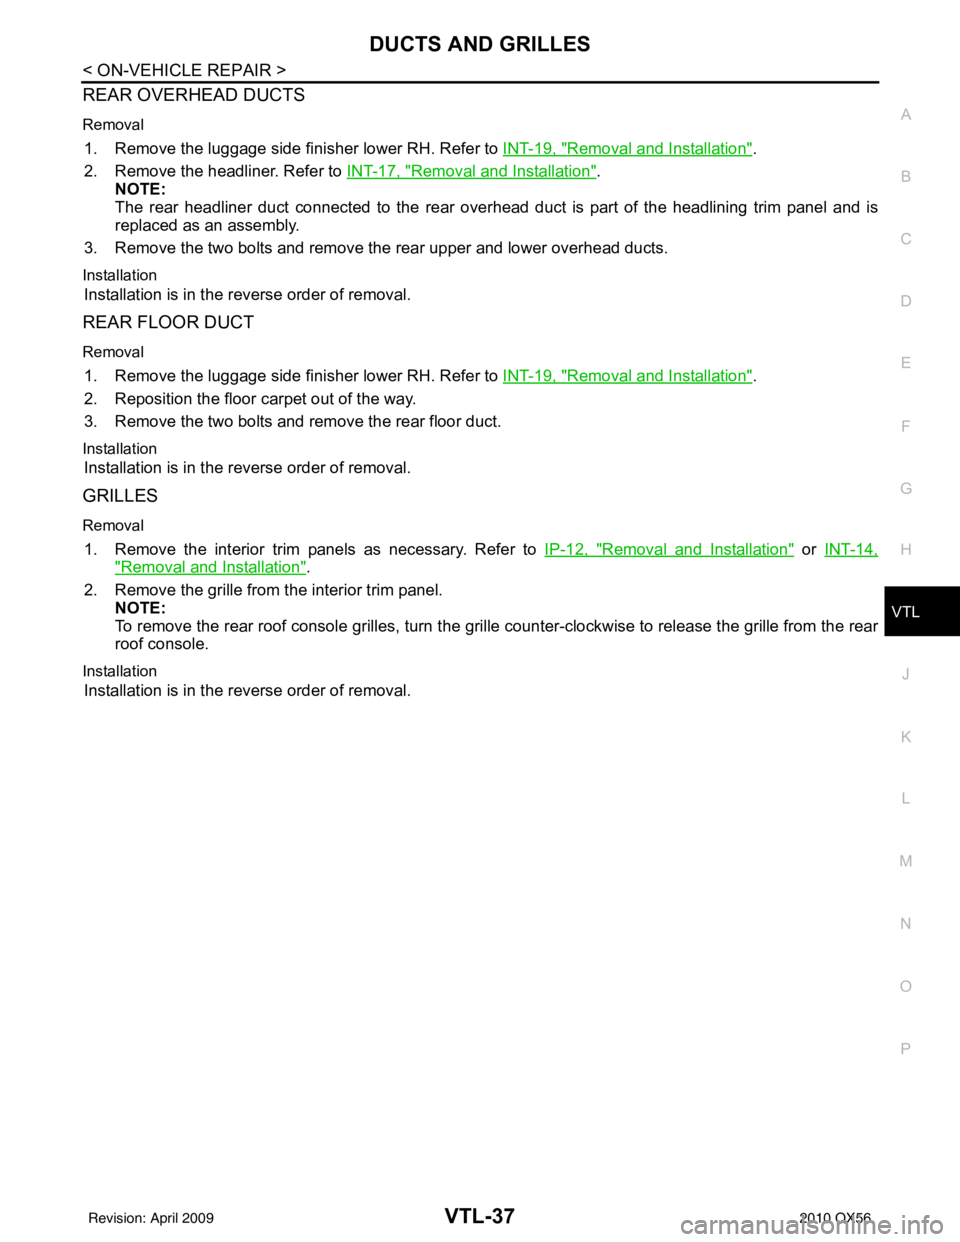
2. Remove the grille from the interior trim panel. NOTE:
To remove the rear roof console grilles, turn the grille counter-clockwise to release the grille from the rear
roof console.
Installation
Installation is in the reverse order of removal.
Revision: April 20092010 QX56