Page 2144 of 4210
SQUEAK AND RATTLE TROUBLE DIAGNOSESEXT-9
< SERVICE INFORMATION >
C
DE
F
G H
I
J
L
M A
B
EXT
N
O P
Diagnostic WorksheetINFOID:0000000005147316
LAIA0072E
Revision: April 20092010 QX56
Page 2145 of 4210
EXT-10
< SERVICE INFORMATION >
SQUEAK AND RATTLE TROUBLE DIAGNOSES
LAIA0071E
Revision: April 20092010 QX56
Page 2146 of 4210
CLIP AND FASTENEREXT-11
< SERVICE INFORMATION >
C
DE
F
G H
I
J
L
M A
B
EXT
N
O P
CLIP AND FASTENER
DescriptionINFOID:0000000005147317
• Replace any clips and/or fasteners which are damaged during removal or installation.
Symbol No. Shapes
Removal & Installation
C101
C103
C203
CE103
CG104 CE114 —
SBF302HSBF367BA
SBT095SBF423H
SBF258GLIIA0236E
SBF104BSBF147B
LIIA0237ESBF352C
SBF353C
Revision: April 20092010 QX56
Page 2147 of 4210
EXT-12
< SERVICE INFORMATION >
CLIP AND FASTENER
CG101CR103CS101
CF118 C205
Symbol
No. Shapes
Removal & Installation
SBF145BSBF085B
SBF768BSBF770B
SBF078BSBF992G
LIIA1341ELIIA1342E
LIIA1344ELIIA1345E
Revision: April 20092010 QX56
Page 2148 of 4210
FRONT BUMPEREXT-13
< SERVICE INFORMATION >
C
DE
F
G H
I
J
L
M A
B
EXT
N
O P
FRONT BUMPER
Removal and InstallationINFOID:0000000005147318
1. Lower energy absorber 2. Front bumper side bracket RH 3. Front bumper stay RH
4. Upper bumper reinforcement 5. Upper energy absorber (part of up- per bumper reinforcement) 6. Sonar sensors (if equipped)
AWKIA1559ZZ
Revision: April 20092010 QX56
Page 2149 of 4210

EXT-14
< SERVICE INFORMATION >
FRONT BUMPER
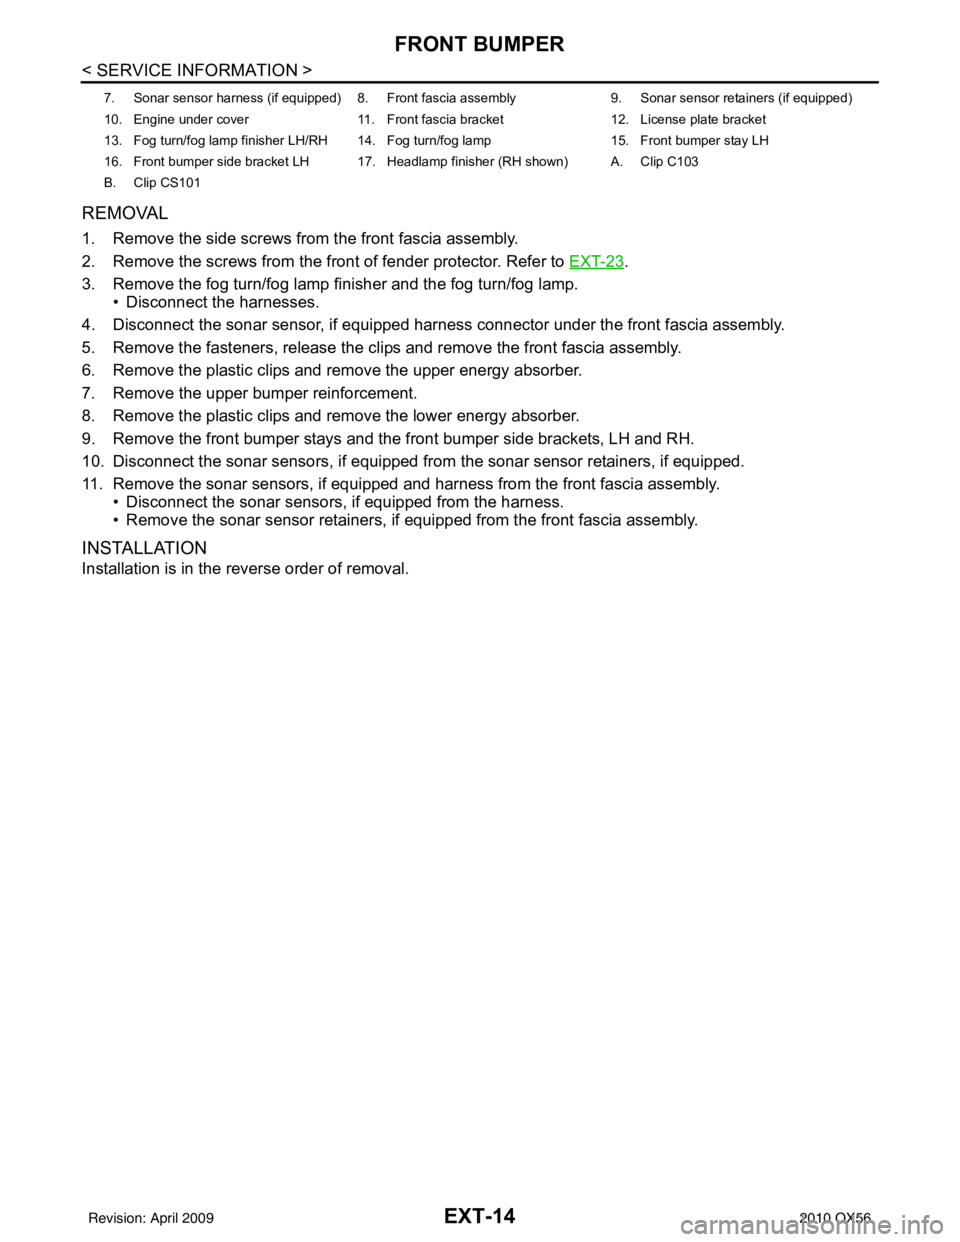
REMOVAL
1. Remove the side screws from the front fascia assembly.
2. Remove the screws from the front of fender protector. Refer to EXT-23
.
3. Remove the fog turn/fog lamp finisher and the fog turn/fog lamp. • Disconnect the harnesses.
4. Disconnect the sonar sensor, if equipped harness connector under the front fascia assembly.
5. Remove the fasteners, release the clips and remove the front fascia assembly.
6. Remove the plastic clips and remove the upper energy absorber.
7. Remove the upper bumper reinforcement.
8. Remove the plastic clips and remove the lower energy absorber.
9. Remove the front bumper stays and the front bumper side brackets, LH and RH.
10. Disconnect the sonar sensors, if equipped from the sonar sensor retainers, if equipped.
11. Remove the sonar sensors, if equipped and harness from the front fascia assembly. • Disconnect the sonar sensors, if equipped from the harness.
• Remove the sonar sensor retainers, if equipped from the front fascia assembly.
INSTALLATION
Installation is in the reverse order of removal.
7. Sonar sensor harness (if equipped) 8. Front fascia assembly 9. Sonar sensor retainers (if equipped)
10. Engine under cover 11. Front fascia bracket12. License plate bracket
13. Fog turn/fog lamp finisher LH/RH 14. Fog turn/fog lamp 15. Front bumper stay LH
16. Front bumper side bracket LH 17. Headlamp finisher (RH shown) A. Clip C103
B. Clip CS101
Revision: April 20092010 QX56
Page 2150 of 4210
REAR BUMPEREXT-15
< SERVICE INFORMATION >
C
DE
F
G H
I
J
L
M A
B
EXT
N
O P
REAR BUMPER
Removal and InstallationINFOID:0000000005147319
1. Retainer assembly 2. Clip C1033. S clip
4. Energy absorber 5. Sonar sensors6. Sonar sensor harness
7. Quarter panel trim cover LH 8. Drafter duct 9. Retainer clip
AWKIA1560ZZ
Revision: April 20092010 QX56
Page 2151 of 4210

EXT-16
< SERVICE INFORMATION >
REAR BUMPER
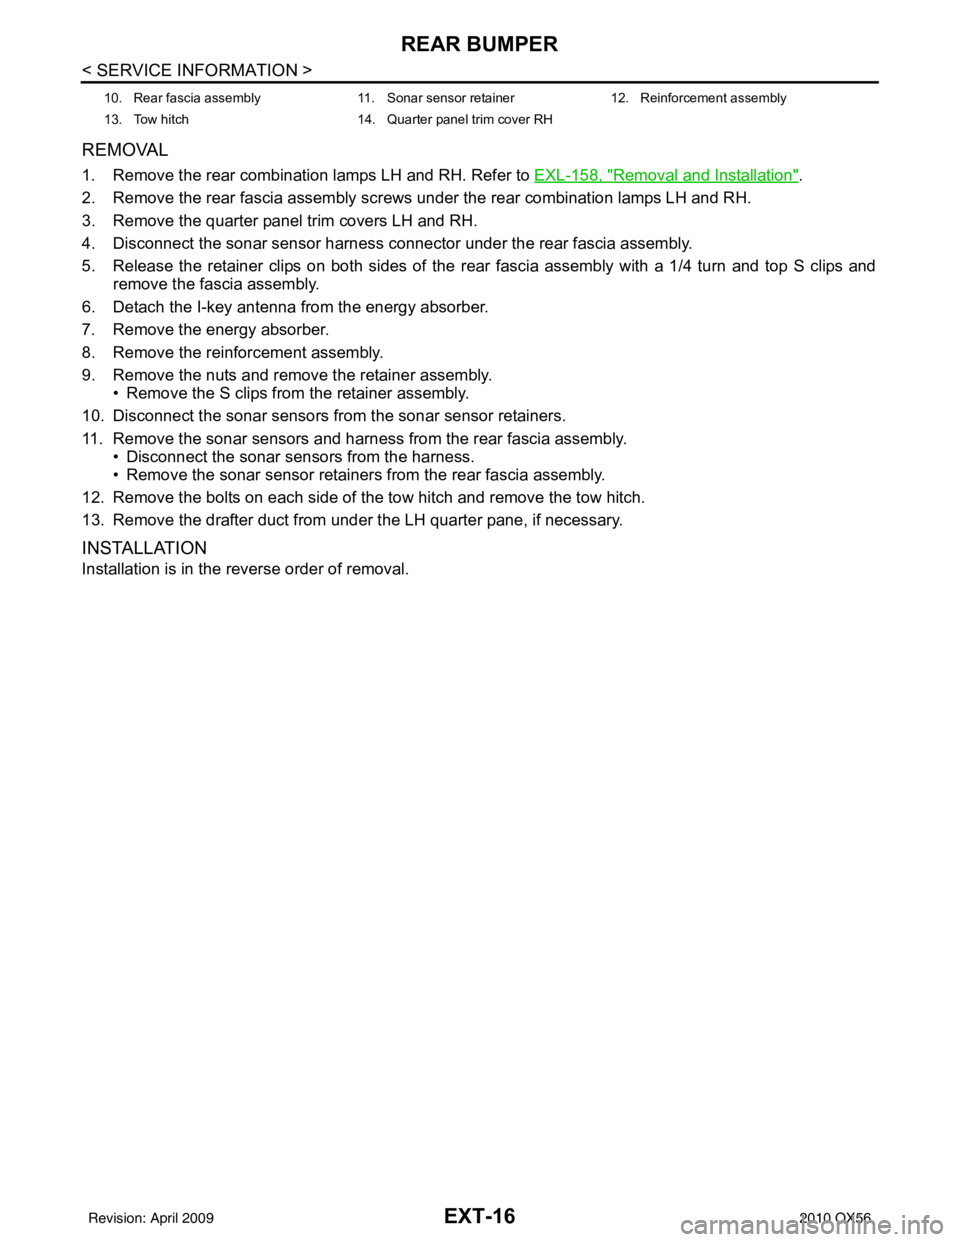
REMOVAL
1. Remove the rear combination lamps LH and RH. Refer to EXL-158, "Removal and Installation".
2. Remove the rear fascia assembly screws under the rear combination lamps LH and RH.
3. Remove the quarter panel trim covers LH and RH.
4. Disconnect the sonar sensor harness c onnector under the rear fascia assembly.
5. Release the retainer clips on both sides of the rear fascia assembly with a 1/4 turn and top S clips and remove the fascia assembly.
6. Detach the I-key antenna from the energy absorber.
7. Remove the energy absorber.
8. Remove the reinforcement assembly.
9. Remove the nuts and remove the retainer assembly. • Remove the S clips from the retainer assembly.
10. Disconnect the sonar sensors from the sonar sensor retainers.
11. Remove the sonar sensors and harness from the rear fascia assembly. • Disconnect the sonar sensors from the harness.
• Remove the sonar sensor retainers from the rear fascia assembly.
12. Remove the bolts on each side of the tow hitch and remove the tow hitch.
13. Remove the drafter duct from under the LH quarter pane, if necessary.
INSTALLATION
Installation is in the reverse order of removal.
10. Rear fascia assembly 11. Sonar sensor retainer12. Reinforcement assembly
13. Tow hitch 14. Quarter panel trim cover RH
Revision: April 20092010 QX56