2010 HYUNDAI VERACRUZ ECO mode
[x] Cancel search: ECO modePage 211 of 425
4129
Features of your vehicle
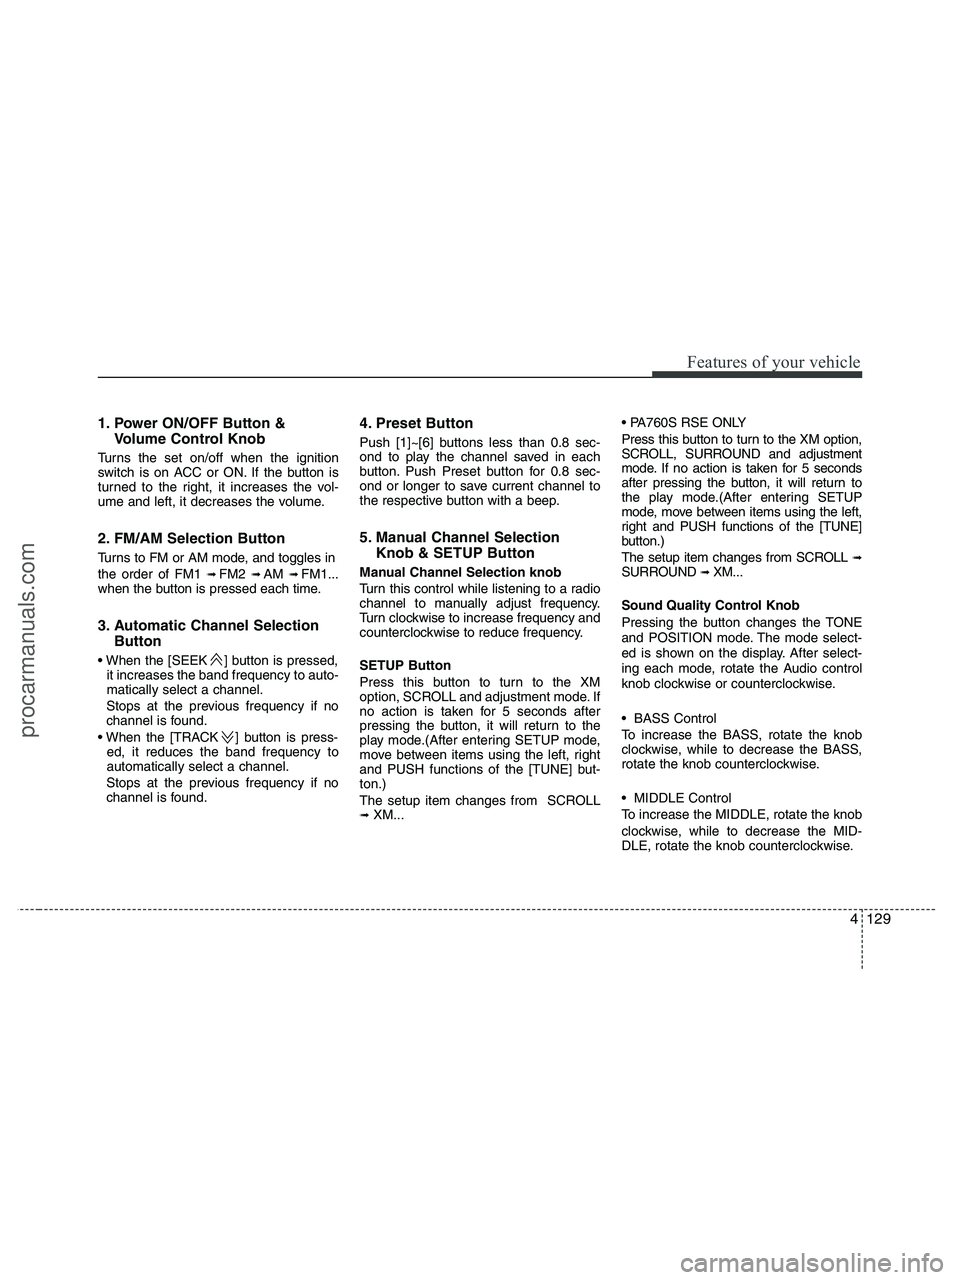
1. Power ON/OFF Button &
Volume Control Knob
Turns the set on/off when the ignition
switch is on ACC or ON. If the button is
turned to the right, it increases the vol-
ume and left, it decreases the volume.
2. FM/AM Selection Button
Turns to FM or AM mode, and toggles in
the order of FM1
➟ FM2 ➟ AM ➟ FM1...
when the button is pressed each time.
3. Automatic Channel Selection
Button
] button is pressed,
it increases the band frequency to auto-
matically select a channel.
Stops at the previous frequency if no
channel is found.
] button is press-
ed, it reduces the band frequency to
automatically select a channel.
Stops at the previous frequency if no
channel is found.
4. Preset Button
Push [1]~[6] buttons less than 0.8 sec-
ond to play the channel saved in each
button. Push Preset button for 0.8 sec-
ond or longer to save current channel to
the respective button with a beep.
5. Manual Channel Selection
Knob & SETUP Button
Manual Channel Selection knob
Turn this control while listening to a radio
channel to manually adjust frequency.
Turn clockwise to increase frequency and
counterclockwise to reduce frequency.
SETUP Button
Press this button to turn to the XM
option, SCROLL and adjustment mode. If
no action is taken for 5 seconds after
pressing the button, it will return to the
play mode.(After entering SETUP mode,
move between items using the left, right
and PUSH functions of the [TUNE] but-
ton.)
The setup item changes from SCROLL
➟ XM...
Press this button to turn to the XM option,
SCROLL, SURROUND and adjustment
mode. If no action is taken for 5 seconds
after pressing the button, it will return to
the play mode.(After entering SETUP
mode, move between items using the left,
right and PUSH functions of the [TUNE]
button.)
The setup item changes from SCROLL
➟SURROUND ➟ XM...
Sound Quality Control Knob
Pressing the button changes the TONE
and POSITION mode. The mode select-
ed is shown on the display. After select-
ing each mode, rotate the Audio control
knob clockwise or counterclockwise.
BASS Control
To increase the BASS, rotate the knob
clockwise, while to decrease the BASS,
rotate the knob counterclockwise.
MIDDLE Control
To increase the MIDDLE, rotate the knob
clockwise, while to decrease the MID-
DLE, rotate the knob counterclockwise.
procarmanuals.com
Page 212 of 425
Features of your vehicle
130 4
TREBLE Control
To increase the TREBLE, rotate the knob
clockwise, while to decrease the TRE-
BLE, rotate the knob counterclockwise.
FADER Control
Turn the control knob clockwise to empha-
size rear speaker sound(front speaker
sound will be attenuated). When the con-
trol knob is turned counterclockwise, front
speaker sound will be emphasized(rear
speaker sound will be attenuated).
BALANCE Control
Rotate the knob clockwise to emphasize
right speaker sound(left speaker sound
will be attenuated). When the control
knob is turned counterclockwise, left
speaker sound will be emphasized(right
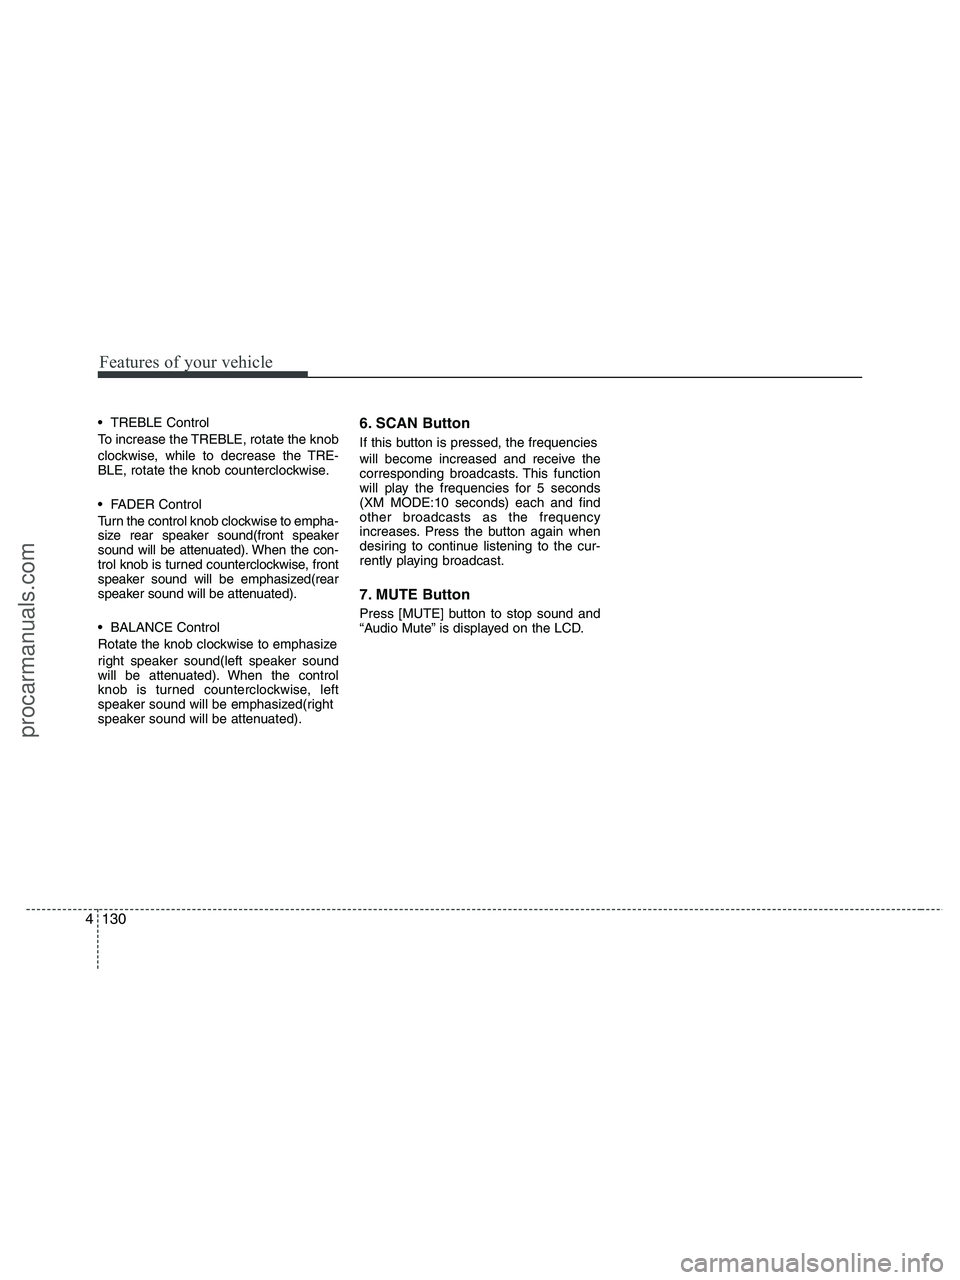
speaker sound will be attenuated).6. SCAN Button
If this button is pressed, the frequencies
will become increased and receive the
corresponding broadcasts. This function
will play the frequencies for 5 seconds
(XM MODE:10 seconds) each and find
other broadcasts as the frequency
increases. Press the button again when
desiring to continue listening to the cur-
rently playing broadcast.
7. MUTE Button
Press [MUTE] button to stop sound and
“Audio Mute” is displayed on the LCD.
procarmanuals.com
Page 216 of 425
Features of your vehicle
134 4
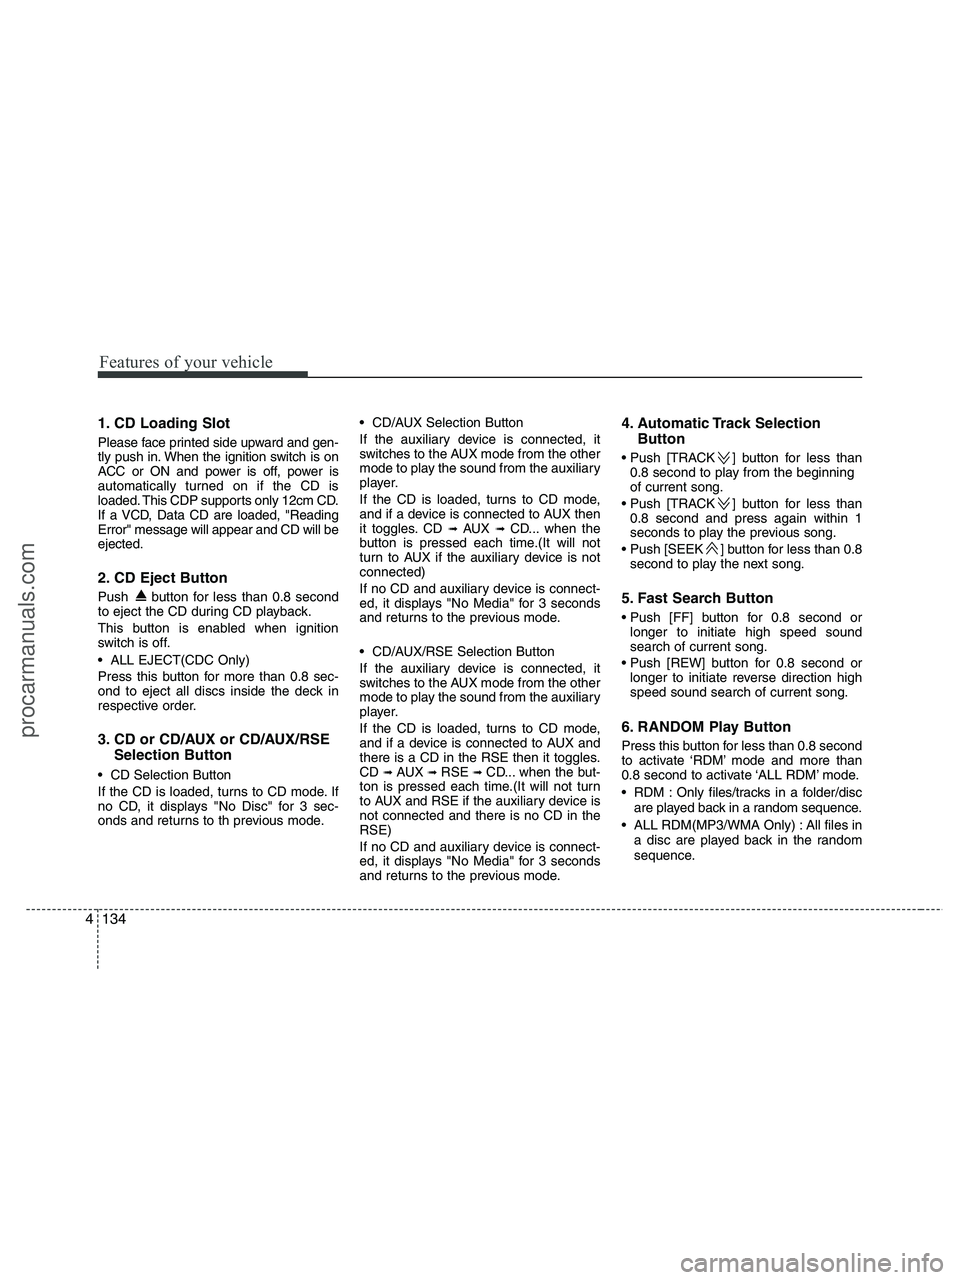
1. CD Loading Slot
Please face printed side upward and gen-
tly push in. When the ignition switch is on
ACC or ON and power is off, power is
automatically turned on if the CD is
loaded. This CDP supports only 12cm CD.
If a VCD, Data CD are loaded, "Reading
Error" message will appear and CD will be
ejected.
2. CD Eject Button
Push button for less than 0.8 second
to eject the CD during CD playback.
This button is enabled when ignition
switch is off.
ALL EJECT(CDC Only)
Press this button for more than 0.8 sec-
ond to eject all discs inside the deck in
respective order.
3. CD or CD/AUX or CD/AUX/RSE
Selection Button
CD Selection Button
If the CD is loaded, turns to CD mode. If
no CD, it displays "No Disc" for 3 sec-
onds and returns to th previous mode. CD/AUX Selection Button
If the auxiliary device is connected, it
switches to the AUX mode from the other
mode to play the sound from the auxiliary
player.
If the CD is loaded, turns to CD mode,
and if a device is connected to AUX then
it toggles. CD
➟ AUX ➟ CD... when the
button is pressed each time.(It will not
turn to AUX if the auxiliary device is not
connected)
If no CD and auxiliary device is connect-
ed, it displays "No Media" for 3 seconds
and returns to the previous mode.
CD/AUX/RSE Selection Button
If the auxiliary device is connected, it
switches to the AUX mode from the other
mode to play the sound from the auxiliary
player.
If the CD is loaded, turns to CD mode,
and if a device is connected to AUX and
there is a CD in the RSE then it toggles.
CD
➟ AUX ➟ RSE ➟ CD... when the but-
ton is pressed each time.(It will not turn
to AUX and RSE if the auxiliary device is
not connected and there is no CD in the
RSE)
If no CD and auxiliary device is connect-
ed, it displays "No Media" for 3 seconds
and returns to the previous mode.
4. Automatic Track Selection
Button
] button for less than
0.8 second to play from the beginning
of current song.
] button for less than
0.8 second and press again within 1
seconds to play the previous song.
] button for less than 0.8
second to play the next song.
5. Fast Search Button
longer to initiate high speed sound
search of current song.
longer to initiate reverse direction high
speed sound search of current song.
6. RANDOM Play Button
Press this button for less than 0.8 second
to activate ‘RDM’ mode and more than
0.8 second to activate ‘ALL RDM’ mode.
RDM : Only files/tracks in a folder/disc
are played back in a random sequence.
ALL RDM(MP3/WMA Only) : All files in
a disc are played back in the random
sequence.
procarmanuals.com
Page 217 of 425
4135
Features of your vehicle
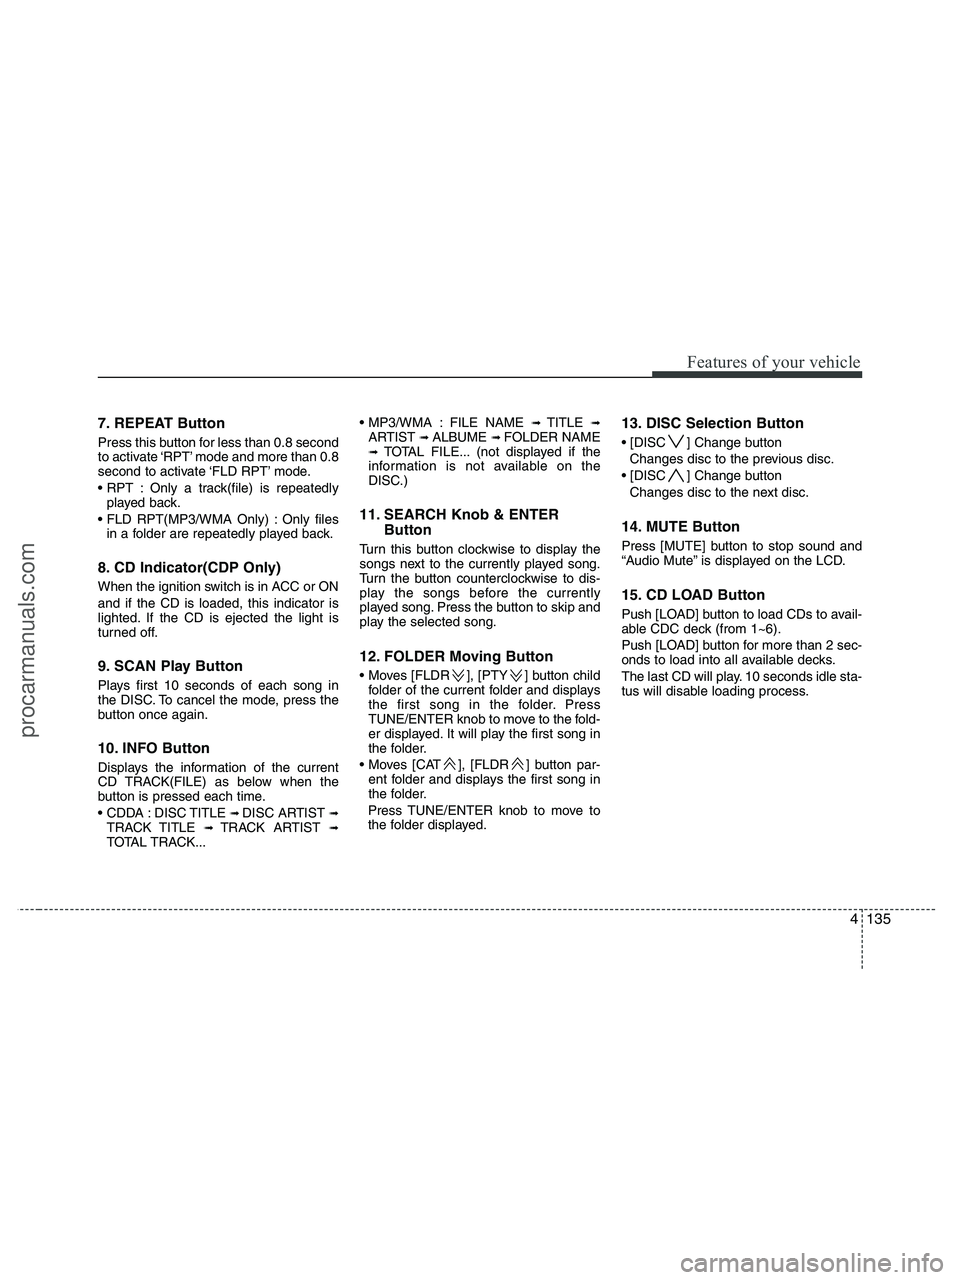
7. REPEAT Button
Press this button for less than 0.8 second
to activate ‘RPT’ mode and more than 0.8
second to activate ‘FLD RPT’ mode.
Only a track(file) is repeatedly
played back.
Only files
in a folder are repeatedly played back.
8. CD Indicator(CDP Only)
When the ignition switch is in ACC or ON
and if the CD is loaded, this indicator is
lighted. If the CD is ejected the light is
turned off.
9. SCAN Play Button
Plays first 10 seconds of each song in
the DISC. To cancel the mode, press the
button once again.
10. INFO Button
Displays the information of the current
CD TRACK(FILE) as below when the
button is pressed each time.
DISC TITLE
➟ DISC ARTIST ➟TRACK TITLE ➟ TRACK ARTIST ➟TOTAL TRACK... FILE NAME
➟ TITLE ➟ARTIST ➟ ALBUME ➟ FOLDER NAME➟TOTAL FILE... (not displayed if the
information is not available on the
DISC.)
11. SEARCH Knob & ENTER
Button
Turn this button clockwise to display the
songs next to the currently played song.
Turn the button counterclockwise to dis-
play the songs before the currently
played song. Press the button to skip and
play the selected song.
12. FOLDER Moving Button
], [PTY ] button child
folder of the current folder and displays
the first song in the folder. Press
TUNE/ENTER knob to move to the fold-
er displayed. It will play the first song in
the folder.
], [FLDR ] button par-
ent folder and displays the first song in
the folder.
Press TUNE/ENTER knob to move to
the folder displayed.
13. DISC Selection Button
] Change button
Changes disc to the previous disc.
] Change button
Changes disc to the next disc.
14. MUTE Button
Press [MUTE] button to stop sound and
“Audio Mute” is displayed on the LCD.
15. CD LOAD Button
Push [LOAD] button to load CDs to avail-
able CDC deck (from 1~6).
Push [LOAD] button for more than 2 sec-
onds to load into all available decks.
The last CD will play. 10 seconds idle sta-
tus will disable loading process.
procarmanuals.com
Page 218 of 425
Features of your vehicle
136 4
CAUTION - Using USB
device
To use an external USB device,
make sure the device is not con-
nected when starting up the vehi-
cle and mount the device after
starting up.
If you start the vehicle when the
USB device is mounted, it may
damage the USB device. (USB is
not ESA)
If the vehicle is started up or
turned off while the external USB
device is connected, the external
USB device may not work.
It may not play inauthentic MP3 or
WMA files.
1) It can only play MP3 files with
the compression rate between
8Kbps~320Kbps.
2) It can only play WMA music
files with the compression rate
between 8Kbps~320Kbps.
Take cautions for static electricity
when mounting or dismounting
the external USB device.
An encoded MP3 PLAYER is not
recognizable.
(Continued)
(Continued)
Depending on the condition of
the external USB device, the con-
nected external USB device can
be unrecognizable.
When the formatted byte/sector
setting of External USB devices is
not either 512BYTE or 2048BYTE,
then the device will not be recog-
nized.
Use only a USB device formatted
to FAT 12/16/32.
USB devices without USB IF
authentication may not be recog-
nizable.
Make sure the USB connection
terminal does not come in contact
with a human body or any object.
If you repeat mounting or dis-
mounting USB device in a short
period of time, it may break the
device.
You might hear a strange noise
when mounting or dismounting a
USB device.
(Continued)(Continued)
If you dismount the external USB
device during playback in USB
mode, the external USB device can
be damaged or malfunction.
Therefore, mount the external USB
device when the engine is turned
off or in another mode.
Depending on the type and capac-
ity of the external USB device or
the type of the files stored in the
device, there is a difference in the
time taken for recognition of the
device, but this is not an indicator
of trouble and you only have to
wait.
Do not use the USB device for other
purposes than playing music files.
Use of USB accessories such as
recharger or heater using USB I/F
may lower performance or cause
trouble.
If you use devices such as a USB
hub you purchased separately,
the vehicle’s audio system may
not recognize the USB device.
Connect the USB device directly
to the multimedia terminal of the
vehicle.
(Continued)
procarmanuals.com
Page 223 of 425
4141
Features of your vehicle
1. INFO Selection Button
Displays the information of the file cur-
rently played in the order of FILE NAME
➟ TITLE ➟ ARTIST ➟ ALBUM ➟ FOLD-
ER ➟ TOTAL FILE ➟ NORMAL DISPLAY➟ FILE NAME ➟... (Displays no informa-
tion if the file has no song information.)
2. TRACK Moving Button
] button for less
than 0.8 second to play from the begin-
ning of the song currently played. Press
the button for less than 0.8 second and
press it again within 1 seconds to move
and play the previous track.
] button for less
than 0.8 second to move to the next-
track.
3. RANDOM Playback Button
Press this button for less than 0.8 second
to activate 'RDM' mode and more than
0.8 second to activate 'ALL RDM' mode.
Only files in a folder are played
back in a random sequence.
All files in a USB memory
are played back in the random
sequence.
4. REPEAT Button
Press this button for less than 0.8 second
to activate 'RPT' mode and more than
0.8 second to activate 'FLD RPT' mode.
Only a file is repeatedly played
back.
Only files in a folder are
repeatedly played back.
5. USB Selection Button
If USB is connected, it switches to the
USB mode from the other mode to play
the song files stored in the USB.
If no CD and auxiliary device is connect-
ed, it displays "No Media" for 3 seconds
and returns to the previous mode.
6. FOLDER Moving Button
], [PTY ] button sub
folder of the current folder and displays
the first song in the folder.
Press TUNE/ENTER knob to move to
the folder displayed. It will play the first
song in the folder.
], [FLDR ] button main
folder and displays the first song in the
folder.
Press TUNE/ENTER knob to move to
the folder displayed.
7. SEARCH Knob & ENTER
Button
Turn this button clockwise to display the
songs next to the currently played song.
Turn the button counterclockwise to dis-
play the songs before the currently
played song.
Press the button to skip and play the
selected song.
8. SCAN Selection Button
Plays 10 seconds of each song in the
USB device.
Press the button once again to cancel
scanning.
9. Fast Search Button
Push [FF] button for 0.8 second or longer
to initiate high speed sound search of
current song.
Push [REW] button for 0.8 second or
longer to initiate reverse direction high
speed sound search of current song.
10. MUTE Button
Press [MUTE] to stop sound and “Audio
Mute” is displayed on the LCD.
procarmanuals.com
Page 227 of 425
4145
Features of your vehicle
Using an iPod when the exclusive cable is
connected to the multiple terminal inside
the consol on the right hand side of the
driver's seat.
When the iPod is connected, the 'iPod'
icon will be displayed on the top left cor-
ner of the display screen.
1. INFO Selection Button
Displays the information of the file cur-
rently played in the order of TITLE ➟ARTIST ➟ ALBUM ➟ NORMAL DISPLAY➟ TITLE ➟... (Displays no information if
the file has no song information.)
2. TRACK Moving Button
] button for less
than 0.8 second to play from the begin-
ning of the song currently played. Press
the button for less than 0.8 second and
press it again within 1 seconds to move
and play the previous track.
] button for less
than 0.8 second to move to the next
track.
3. RANDOM Playback Button
Press the button for less than 0.8 second
to activate or deactivate the random play-
back of the songs within the current cat-
egory. Press the button for longer than
0.8 second to randomly play all songs in
the entire album of the iPod.
Press the button once again to cancel
the mode.
4. REPEAT Button
Repeats the song currently played.
5. iPod Selection Button
If iPod is connected, it switches to the
iPod mode from the CD mode to play the
song files stored in the iPod. If no CD and
auxiliary device is connected, it displays
"No Media" for 3 seconds and returns to
the previous mode.
6. CATEGORY Selection Button
Moves to the upper category from cur-
rentlyplayed category of the iPod.
To move to the category displayed, press
SEARCH/ENTER Button. You will be able
to search through the lower category of
the selected category.
The order of iPod's category is SONG,
ALBUMS, ARTISTS, GENRES, and iPod.
7. SEARCH Knob & ENTER
Button
When you turn the button clockwise, it
will display the songs(category) next to
the song currently played(category in the
same level).
Also, when you turn the button counter-
clockwise, it will display the songs(cate-
gory) before the song currently played
(category in the same level).
If you want to listen to the song displayed
in the song category, press the button,
then it will skip to the selected song and
play.
8. Fast Search Button
longer to initiate high speed sound
search of current song.
longer to initiate reverse direction high
speed sound search of current song.
9. MUTE Button
Press [MUTE] button to stop sound and
“Audio Mute” is displayed on the LCD.
procarmanuals.com
Page 228 of 425
Features of your vehicle
146 4
✽
✽
NOTICE - Using iPod device
• Some iPod models might not support
the communication protocol and the
files will not be played. (iPod models
supported: Mini, 4G, Photo, Nano,
5G)
• The order of search or playback of
songs in the iPod can be different
from the order searched in the audio
system.
• If the iPod crashes due to its own trou-
ble, reset the iPod. (Reset: Refer to
iPod manual)
• An iPod may not operate normally on
low battery.CAUTION- Using iPod
device
You need the HYUNDAI acces-
sorty iPod cable to properly con-
nect an iPod to the audio system.
Any other cable may not allow the
operation of the iPod through the
audio system. The PC cable pro-
vided by Apple may not operate
properly, and is not recommend-
ed. See your HYUNDAI dealer-
ship for the correct accessory
cable.
When connecting the cable to an
iPod, be sure the connectors at
both ends are fully connected to
ensure proper operation.
When adjusting the sound effects
(equalizer, bass, and treble set-
tings), set the controls on either
the iPod or the audio system, but
not both. This is to prevent over-
lapping control, which might
reduce or distort the sound quali-
ty."
(Continued)
(Continued)
Deactivate (turn off) the equalizer
function of an iPod when adjust-
ing the audio system’s equalizer,
bass, and treble settings. Or turn
the audio system’s equalizer off
and turn bass and treble controls
to "0" when using the iPod's
equalizer.
When the iPod cable is connect-
ed, the system can be switched to
the AUX mode even without the
iPod connected, which may result
in static noise. Disconnect the
iPod cable when you are not
using the iPod device.
Be sure to disconnect the cable
from the vehicle and the iPod
when removing the iPod from the
vehicle. Leaving the cable con-
nected to the iPod may prevent
the iPod display from operating.
procarmanuals.com