Page 169 of 207

6
DO-IT-YOURSELF MAINTENANCE
11
!
G050D01HR
G050D01HR-GAT To Change the Coolant The coolant should be changed at those intervals specified in the vehiclemaintenance schedule in Section 5.
CAUTION:
Engine coolant can damage the fin-ish of your car. If you spill enginecoolant on the car, wash it off thor- oughly with clean water.
!
1. Park the car on level ground, set the parking brake and lift up the front passenger's seat. (Refer to "To in- spect the Engine Compartment Un- der the Front Passenger's Seat" onpage 1-13). 2. Turn the radiator cap counterclock-
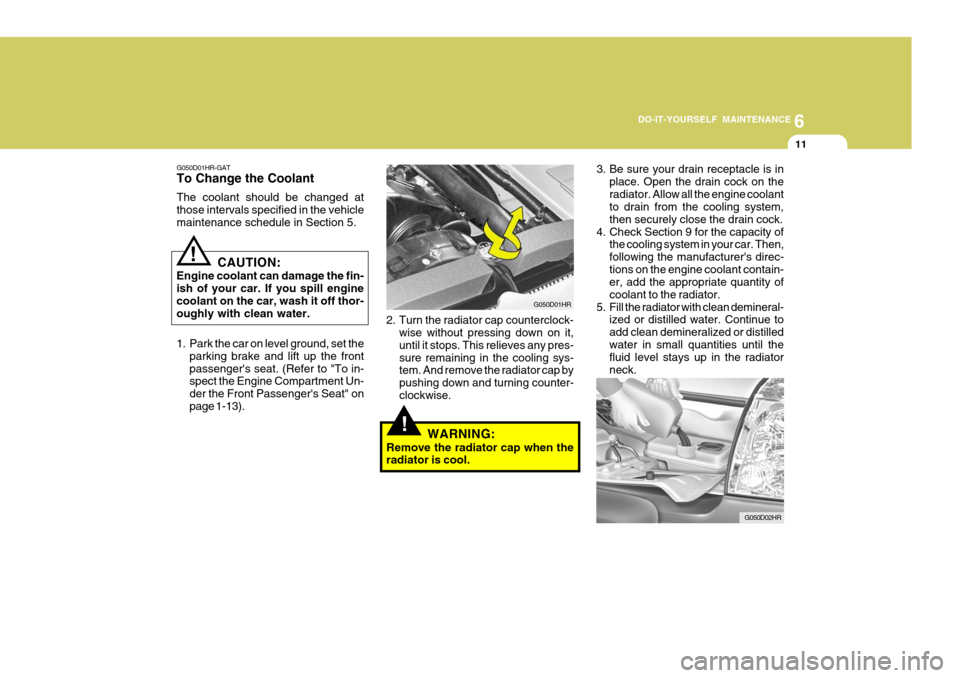
wise without pressing down on it,until it stops. This relieves any pres-sure remaining in the cooling sys- tem. And remove the radiator cap by pushing down and turning counter-clockwise.
WARNING:
Remove the radiator cap when the radiator is cool. 3. Be sure your drain receptacle is in
place. Open the drain cock on the radiator. Allow all the engine coolant to drain from the cooling system, then securely close the drain cock.
4. Check Section 9 for the capacity of the cooling system in your car. Then,following the manufacturer's direc-tions on the engine coolant contain- er, add the appropriate quantity of coolant to the radiator.
5. Fill the radiator with clean demineral- ized or distilled water. Continue toadd clean demineralized or distilledwater in small quantities until the fluid level stays up in the radiator neck.
G050D02HR
Page 175 of 207

6
DO-IT-YOURSELF MAINTENANCE
17
Park the car on level ground with the engine off.
1. Using a wrench of the correct size, loosen the oil filler plug by turning it counterclockwise and remove it with your fingers.
2. Use a suitable tool to feel inside the
hole. The oil level should be within 14mm from its bottom edge. If it is not, check for leaks before adding oil. Torefill the rear axle or bring the oil level up,add oil slowly until it reaches the proper level. Do not overfill.
3. Replace the plug and washer, screw it in with your fingers and then tightensecurely with the wrench.
NOTE: It is recommended that the rear axle oil should be checked by an autho- rized Hyundai dealer.
!
CHECKING THE BRAKES
G120A01A-AAT
G120B01A-AAT Checking the Brake Fluid Level
! CAUTION:
Because brakes are essential to the safe operation of the car, it is sug- gested that they be checked andinspected by your Hyundai dealer. The brakes should be checked and inspected for wear at those inter-vals specified in the vehicle mainte- nance schedule in Section 5.
WARNING:
Use caution when handling brake fluid. It can damage your vision if it gets into your eyes. It will also dam- age your vehicle's paint if spilledon it and not removed immediately.
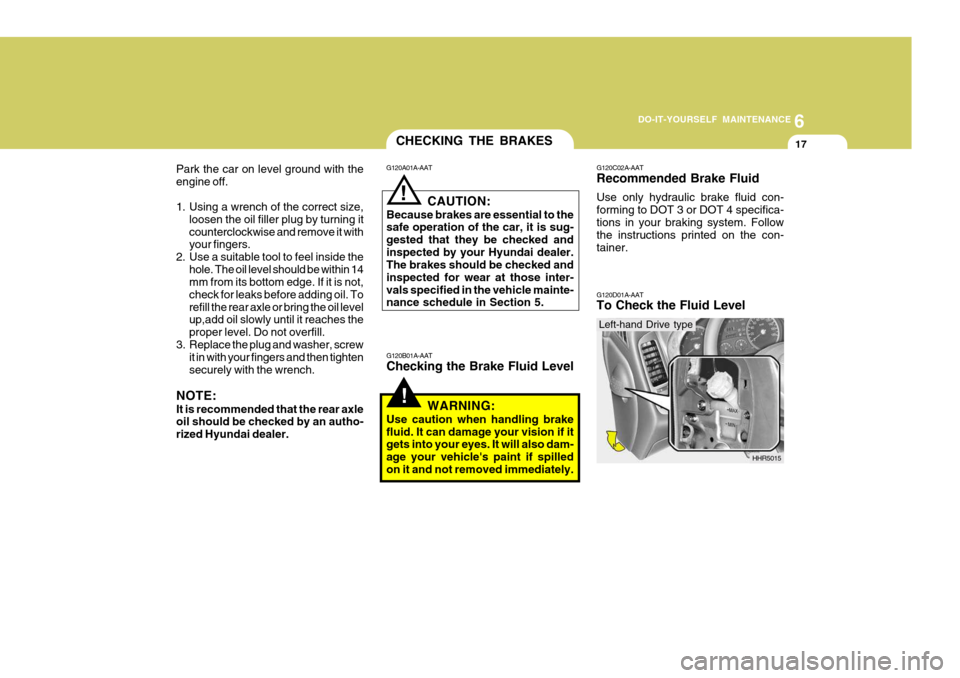
G120C02A-AAT Recommended Brake Fluid Use only hydraulic brake fluid con- forming to DOT 3 or DOT 4 specifica-tions in your braking system. Follow the instructions printed on the con- tainer. G120D01A-AAT To Check the Fluid Level
HHR5015
Left-hand Drive type
Page 176 of 207

6 DO-IT-YOURSELF MAINTENANCE
18
!
G120E01HR-GAT Adding Brake Fluid
WARNING:
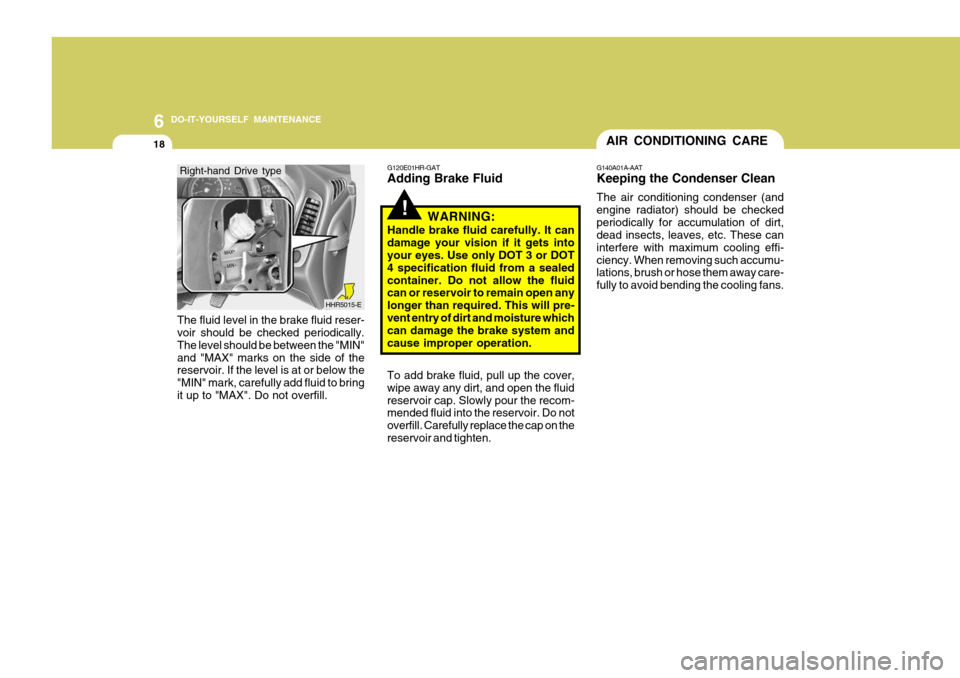
Handle brake fluid carefully. It can damage your vision if it gets into your eyes. Use only DOT 3 or DOT 4 specification fluid from a sealedcontainer. Do not allow the fluid can or reservoir to remain open any longer than required. This will pre-vent entry of dirt and moisture which can damage the brake system and cause improper operation. To add brake fluid, pull up the cover, wipe away any dirt, and open the fluidreservoir cap. Slowly pour the recom- mended fluid into the reservoir. Do not overfill. Carefully replace the cap on thereservoir and tighten.
The fluid level in the brake fluid reser- voir should be checked periodically. The level should be between the "MIN"and "MAX" marks on the side of the reservoir. If the level is at or below the "MIN" mark, carefully add fluid to bringit up to "MAX". Do not overfill.
HHR5015-E
Right-hand Drive type
AIR CONDITIONING CARE
G140A01A-AAT Keeping the Condenser Clean The air conditioning condenser (and engine radiator) should be checkedperiodically for accumulation of dirt, dead insects, leaves, etc. These can interfere with maximum cooling effi-ciency. When removing such accumu- lations, brush or hose them away care- fully to avoid bending the cooling fans.
Page 179 of 207

6
DO-IT-YOURSELF MAINTENANCE
21
G170A01A-GAT BRAKE PEDAL
G160A01HR
3 ~ 8 mm (0.12 ~ 0.31 in.)
With the engine off, press down on the brake pedal several times to reduce thevacuum in the brake booster. Then, using your hand, press down slowly on the brake pedal until you feela change in resistance. This is the brake pedal free-play. The free-play should be within the limitsspecified in the illustration. If it is not, have it inspected by your Hyundai dealer and adjusted or repaired if nec-essary.
1
2
3
CHECKING DRIVE BELTS
Water pump pulley
G190A01HR-GAT
G190A01HR
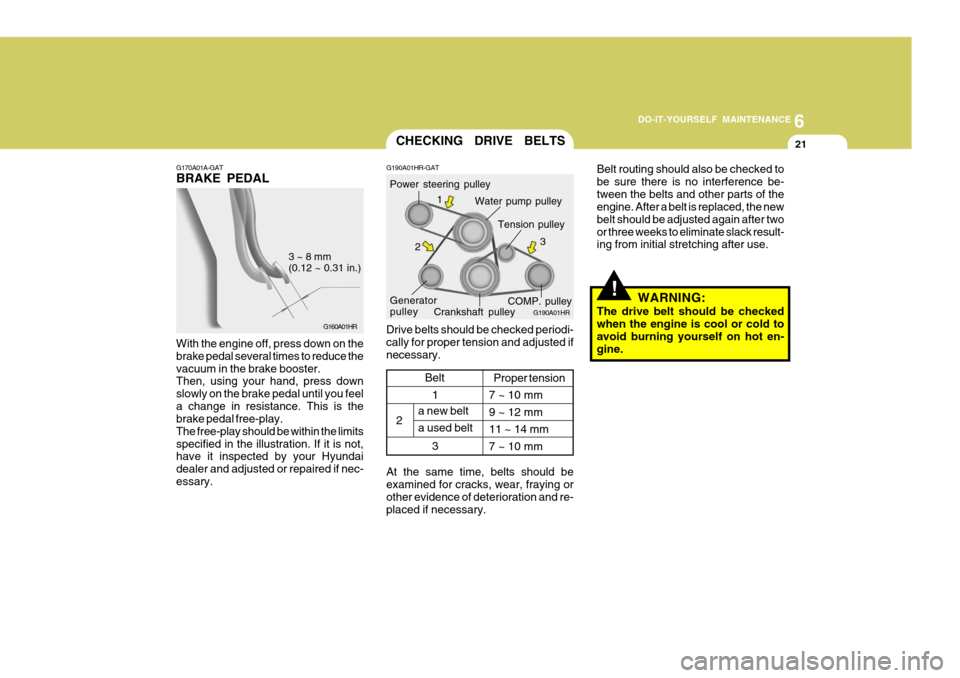
Drive belts should be checked periodi- cally for proper tension and adjusted ifnecessary. Power steering pulley
Crankshaft pulley
Generator pulley Tension pulley
COMP. pulley
1
2 3
a new belt a used beltProper tension
7 ~ 10 mm9 ~ 12 mm11 ~ 14 mm7 ~ 10 mm
Belt
At the same time, belts should be examined for cracks, wear, fraying or other evidence of deterioration and re-placed if necessary.
!
Belt routing should also be checked to be sure there is no interference be-tween the belts and other parts of the engine. After a belt is replaced, the new belt should be adjusted again after twoor three weeks to eliminate slack result- ing from initial stretching after use. WARNING:
The drive belt should be checked when the engine is cool or cold to avoid burning yourself on hot en- gine.