Page 169 of 207

6
DO-IT-YOURSELF MAINTENANCE
11
!
G050D01HR
G050D01HR-GAT To Change the Coolant The coolant should be changed at those intervals specified in the vehiclemaintenance schedule in Section 5.
CAUTION:
Engine coolant can damage the fin-ish of your car. If you spill enginecoolant on the car, wash it off thor- oughly with clean water.
!
1. Park the car on level ground, set the parking brake and lift up the front passenger's seat. (Refer to "To in- spect the Engine Compartment Un- der the Front Passenger's Seat" onpage 1-13). 2. Turn the radiator cap counterclock-
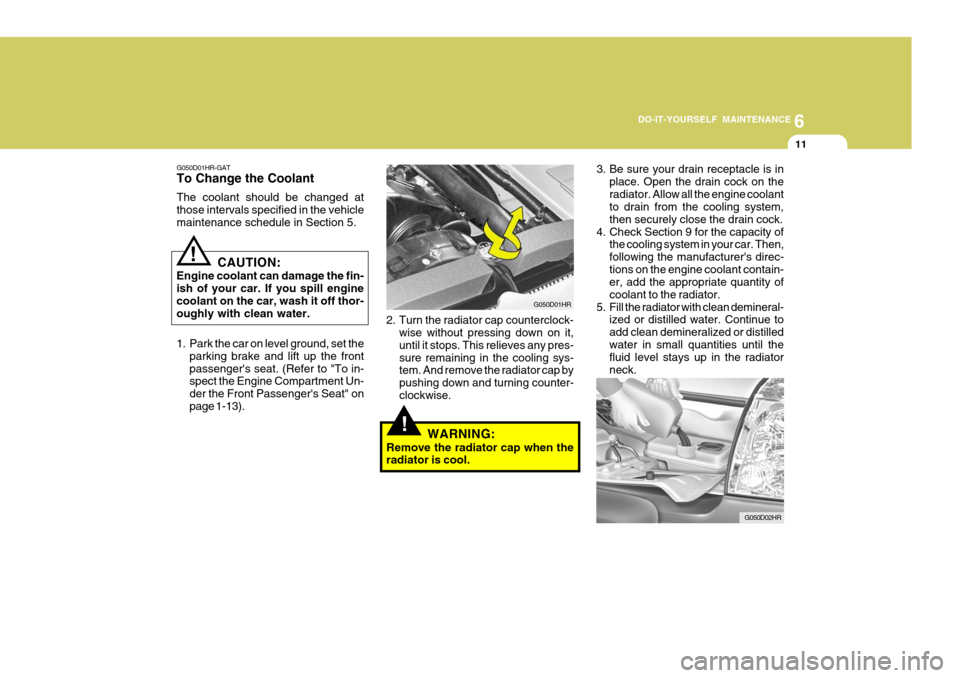
wise without pressing down on it,until it stops. This relieves any pres-sure remaining in the cooling sys- tem. And remove the radiator cap by pushing down and turning counter-clockwise.
WARNING:
Remove the radiator cap when the radiator is cool. 3. Be sure your drain receptacle is in
place. Open the drain cock on the radiator. Allow all the engine coolant to drain from the cooling system, then securely close the drain cock.
4. Check Section 9 for the capacity of the cooling system in your car. Then,following the manufacturer's direc-tions on the engine coolant contain- er, add the appropriate quantity of coolant to the radiator.
5. Fill the radiator with clean demineral- ized or distilled water. Continue toadd clean demineralized or distilledwater in small quantities until the fluid level stays up in the radiator neck.
G050D02HR
Page 174 of 207

6 DO-IT-YOURSELF MAINTENANCE
16CHECKING THE REAR AXLE OIL
!
Park the car on level ground with the engine off.
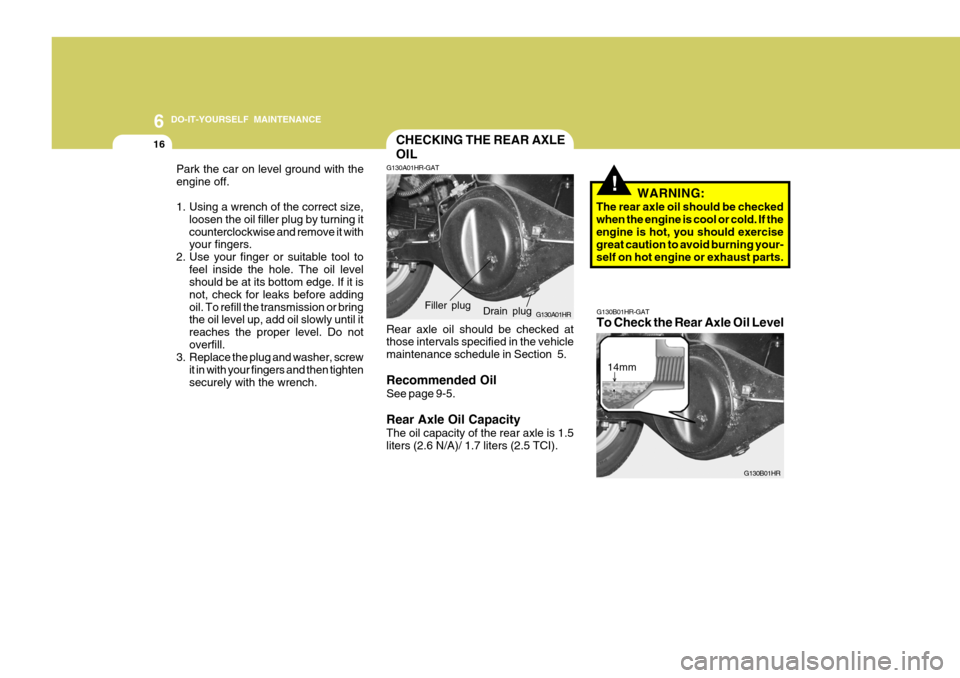
1. Using a wrench of the correct size,
loosen the oil filler plug by turning it counterclockwise and remove it with your fingers.
2. Use your finger or suitable tool to
feel inside the hole. The oil levelshould be at its bottom edge. If it is not, check for leaks before addingoil. To refill the transmission or bring the oil level up, add oil slowly until it reaches the proper level. Do notoverfill.
3. Replace the plug and washer, screw
it in with your fingers and then tightensecurely with the wrench. G130A01HR-GAT
G130A01HR
Rear axle oil should be checked at those intervals specified in the vehicle maintenance schedule in Section 5. Recommended Oil See page 9-5. Rear Axle Oil Capacity The oil capacity of the rear axle is 1.5 liters (2.6 N/A)/ 1.7 liters (2.5 TCI). WARNING:
The rear axle oil should be checkedwhen the engine is cool or cold. If the engine is hot, you should exercise great caution to avoid burning your-self on hot engine or exhaust parts.
Drain plug
Filler plug
G130B01HR-GAT To Check the Rear Axle Oil Level
G130B01HR
14mm
Page 175 of 207

6
DO-IT-YOURSELF MAINTENANCE
17
Park the car on level ground with the engine off.
1. Using a wrench of the correct size, loosen the oil filler plug by turning it counterclockwise and remove it with your fingers.
2. Use a suitable tool to feel inside the
hole. The oil level should be within 14mm from its bottom edge. If it is not, check for leaks before adding oil. Torefill the rear axle or bring the oil level up,add oil slowly until it reaches the proper level. Do not overfill.
3. Replace the plug and washer, screw it in with your fingers and then tightensecurely with the wrench.
NOTE: It is recommended that the rear axle oil should be checked by an autho- rized Hyundai dealer.
!
CHECKING THE BRAKES
G120A01A-AAT
G120B01A-AAT Checking the Brake Fluid Level
! CAUTION:
Because brakes are essential to the safe operation of the car, it is sug- gested that they be checked andinspected by your Hyundai dealer. The brakes should be checked and inspected for wear at those inter-vals specified in the vehicle mainte- nance schedule in Section 5.
WARNING:
Use caution when handling brake fluid. It can damage your vision if it gets into your eyes. It will also dam- age your vehicle's paint if spilledon it and not removed immediately.
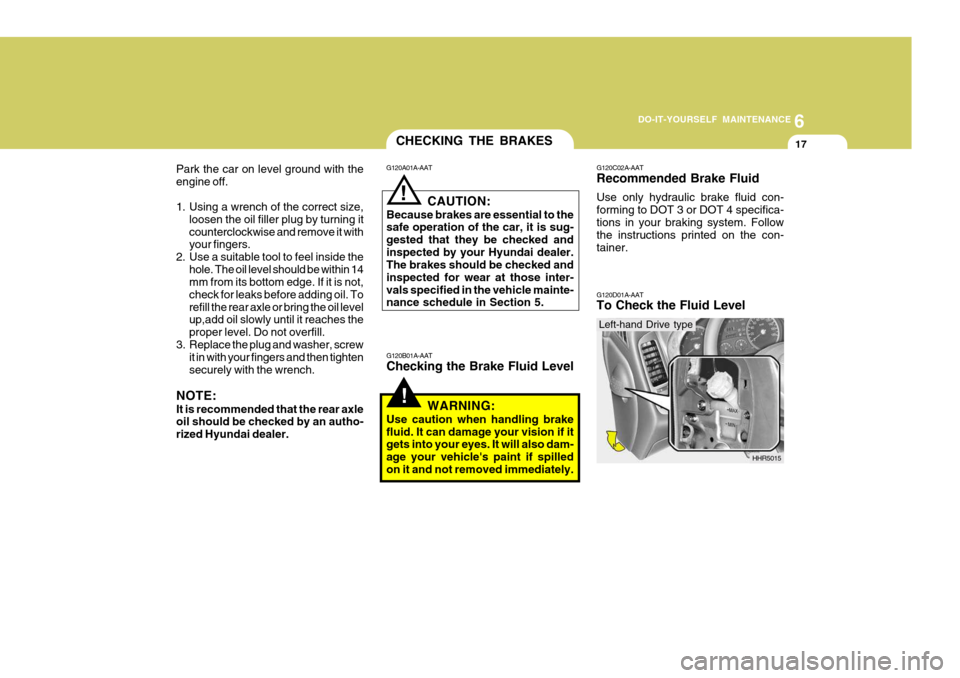
G120C02A-AAT Recommended Brake Fluid Use only hydraulic brake fluid con- forming to DOT 3 or DOT 4 specifica-tions in your braking system. Follow the instructions printed on the con- tainer. G120D01A-AAT To Check the Fluid Level
HHR5015
Left-hand Drive type
Page 182 of 207

6 DO-IT-YOURSELF MAINTENANCE
24
!
CHECKING THE BATTERY
G210A01A-AAT
WARNING:
Batteries can be dangerous! When working with batteries, carefully ob-serve the following precautions to avoid serious injuries. D010B01HR
The fluid in the battery contains a strong solution of sulfuric acid, which is poi- sonous and highly corrosive. Be careful not to spill it on yourself or the car. If youdo spill battery fluid on yourself, imme- diately do the following:
NOTE: See page 6-38 for the fuse panel descriptions. G200C01HR-GAT Power Connector
4. Insert the power connector in the
opposite direction.
NOTE:
o If the power connector is pulled up from the fuse panel, the warn- ing chime, audio, clock and inte-rior lamps, etc., will not operate. The following items must be reset after replacement.- Digital Clock
o Even though the power connector
is pulled up, the battery can stillbe discharged by operation of the headlights or other electrical de- vices.
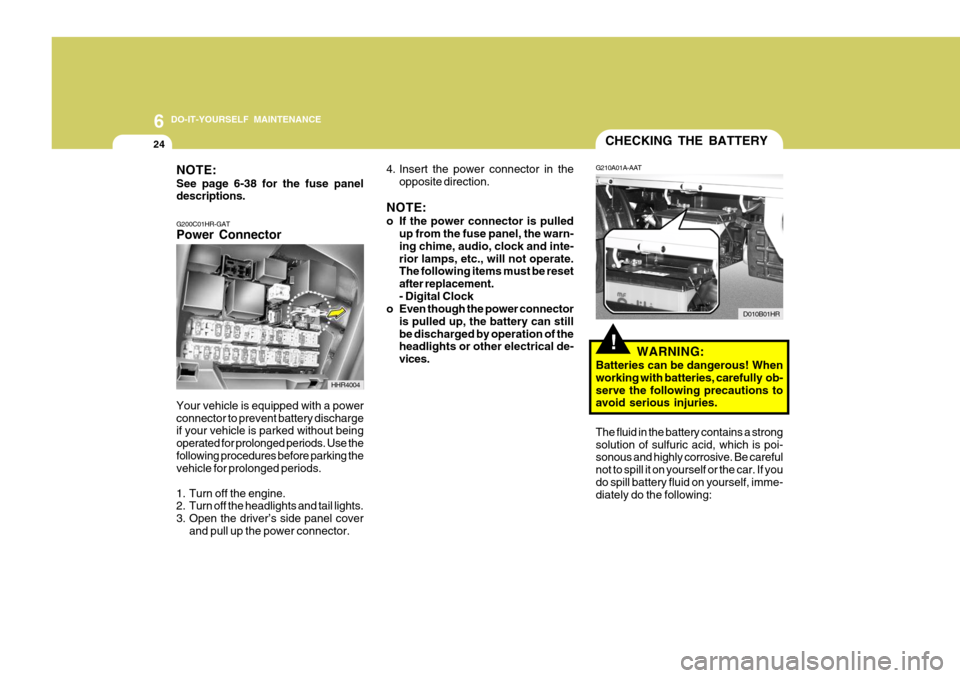
Your vehicle is equipped with a powerconnector to prevent battery discharge if your vehicle is parked without being operated for prolonged periods. Use thefollowing procedures before parking the vehicle for prolonged periods.
1. Turn off the engine.
2. Turn off the headlights and tail lights.
3. Open the driver’s side panel cover and pull up the power connector.
HHR4004
Page 191 of 207
6
DO-IT-YOURSELF MAINTENANCE
33
2. Open the hood and remove a head-
light assembly mounting bolt with a spanner.
3. Disconnect the power cord from the bulb. HHR5034
4. To replace the front turn signal light
(1) or position light (2), take it out from the bulb holder by turning it counterclockwise.
5. Install the new bulb. HHR5035(1)
(2) G270D01HR-GAT Rear Combination Light
G270D01HR
1. Disconnect the power cord from the bulb.
G270D02HR
2. Remove the cover by pressing the both sides of the cover.
Page 192 of 207
6 DO-IT-YOURSELF MAINTENANCE
34
3. To replace the rear combination light
(stop/tail light, turn signal light or back-up light), take it out from the bulb holder by turning it counter-clockwise.
(1) Turn Signal Light(2) Stop/Tail Light (3) Back-up Light
4. Install the new bulb. HHR5038
(1) (2)
(3)G270I01HR-GAT License Plate Light
1. Remove the mounting screws of the
license plate light with a phillips screwdriver. OHR0581002. Take the bulb out from the bulb
holder by turning it counterclockwiseand disconnect the power code.
3. Install the new bulb.
OHR058101 G270E01A-GAT Side Repeater (If Installed)
G270E01HR
1. Push the cover toward the front of vehicle and remove it.
Page 193 of 207
6
DO-IT-YOURSELF MAINTENANCE
35
G270E03HR
3. Replace with a new bulb. G270E02HR
2. Disconnect the power code.
G270F02HR-GAT Rear Fog Light (If Installed)
1. Remove the cover by pressing the both sides of the cover. G270F02HR
2. Take the bulb out from the bulb
holder by turning it counterclock- wise.
3. Replace with a new bulb. (21 W) G270F03HR