Page 284 of 526

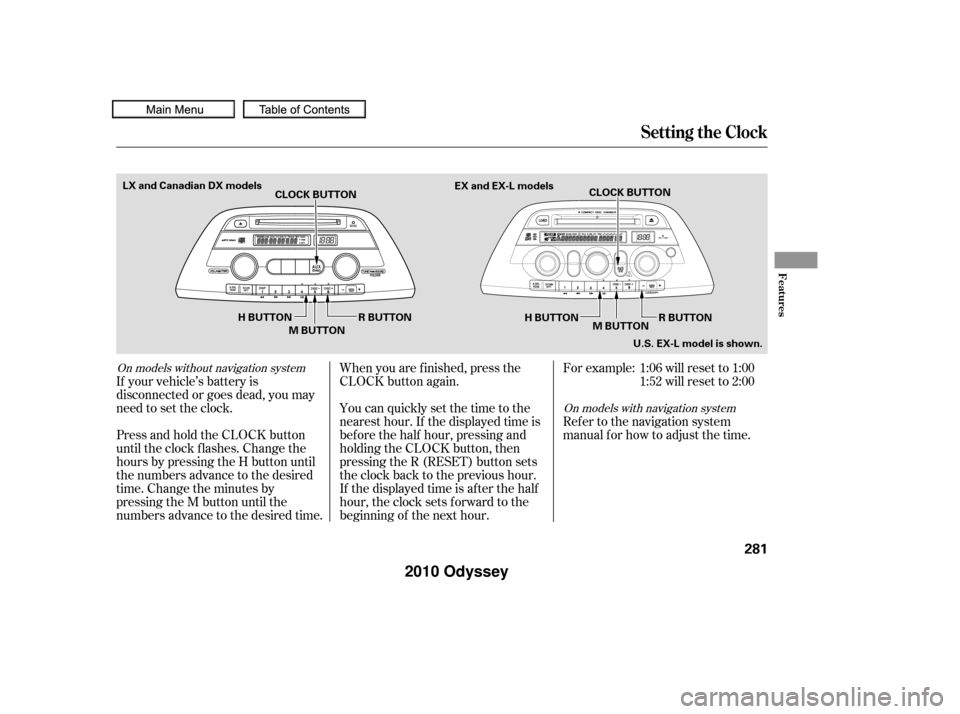
If your vehicle’s battery is
disconnected or goes dead, you may
need to set the clock.You can quickly set the time to the
nearest hour. If the displayed time is
bef ore the half hour, pressing and
holding the CLOCK button, then
pressing the R (RESET) button sets
the clock back to the previous hour.
If the displayed time is after the half
hour, the clock sets f orward to the
beginning of the next hour. When you are f inished, press the
CLOCK button again.For example: 1:06 will reset to 1:00
1:52 will reset to 2:00
Press and hold the CLOCK button
until the clock f lashes. Change the
hours by pressing the H button until
the numbers advance to the desired
time. Change the minutes by
pressing the M button until the
numbers advance to the desired time. Refer to the navigation system
manual f or how to adjust the time.
On models without navigation system
On models with navigation system
Setting the Clock
Features
281
CLOCK BUTTON
R BUTTON
M BUTTON CLOCK BUTTON
H BUTTON M BUTTON
EX and EX-L models
U.S. EX-L model is shown.
H BUTTON
LX and Canadian DX models
R BUTTON
�����—�����—�
���y�
�����������
�y���
�(�����������y���������y
2010 Odyssey
Page 288 of 526
CONT INUED
Rear Entertainment System
Features
285
Overhead Screen Unit
DVD Player
Models with Navigation System
Models without Navigation System
REAR CTRL KNOB
REAR PWR BUTTON
REAR CTRL KNOB
REAR PWR BUTTON
�����—�����—�
���y�
�������������y���
�(�����������y���������y
2010 Odyssey
Page 289 of 526

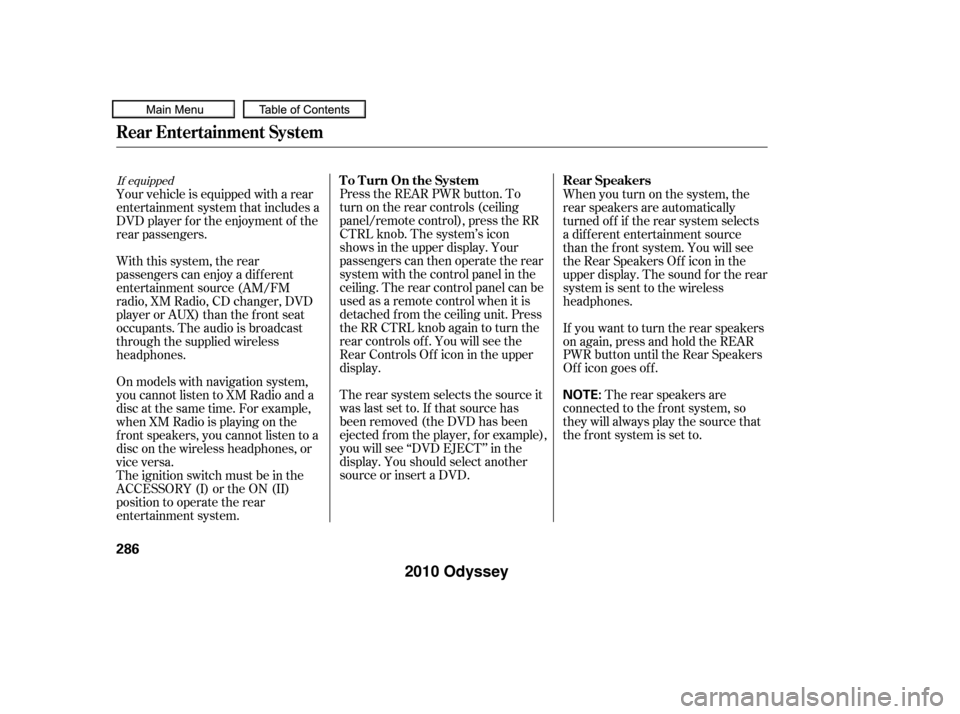
Press the REAR PWR button. To
turn on the rear controls (ceiling
panel/remote control), press the RR
CTRL knob. The system’s icon
shows in the upper display. Your
passengers can then operate the rear
system with the control panel in the
ceiling. The rear control panel can be
used as a remote control when it is
detached f rom the ceiling unit. Press
the RR CTRL knob again to turn the
rear controls of f . You will see the
RearControlsOff iconintheupper
display.
The rear system selects the source it
waslastsetto.Ifthatsourcehas
been removed (the DVD has been
ejected f rom the player, f or example),
you will see ‘‘DVD EJECT’’ in the
display. You should select another
source or insert a DVD.Whenyouturnonthesystem,the
rear speakers are automatically
turned of f if the rear system selects
a dif f erent entertainment source
than the front system. You will see
the Rear Speakers Of f icon in the
upper display. The sound f or the rear
system is sent to the wireless
headphones.
If youwanttoturntherearspeakers
on again, press and hold the REAR
PWR button until the Rear Speakers
Of f icon goes of f .
The rear speakers are
connected to the f ront system, so
they will always play the source that
the f ront system is set to.
Your vehicle is equipped with a rear
entertainment system that includes a
DVD player f or the enjoyment of the
rear passengers.
With this system, the rear
passengers can enjoy a dif f erent
entertainment source (AM/FM
radio, XM Radio, CD changer, DVD
player or AUX) than the front seat
occupants. The audio is broadcast
through the supplied wireless
headphones.
On models with navigation system,
youcannotlistentoXMRadioanda
disc at the same time. For example,
when XM Radio is playing on the
f ront speakers, you cannot listen to a
disc on the wireless headphones, or
vice versa.
The ignition switch must be in the
ACCESSORY (I) or the ON (II)
position to operate the rear
entertainment system.
If equippedTo Turn On the System
Rear Speakers
Rear Entertainment System
286
NOTE:
�����—�����—�
���y�
�����������
�y���
�(�����������y�������
�y
2010 Odyssey
Page 291 of 526
Rear Entertainment System
288
PLAY BUTTONPLAY BUTTON PAUSE BUTTON
REAR CTRL KNOB SEEK/SKIP BAR
PAUSE BUTTON
SEEK/SKIP BAR
REAR CTRL KNOB
EJECT BUTTON
Models without Navigation System Models with Navigation System
�����—�����—�
���y�
�������������y���
�(�����������y���������y
2010 Odyssey
Page 329 of 526

With a linked phone, HFL allows you
to send and receive calls in your
vehicle without holding the phone.
The HFL system has a help f unction
to provide instructions f or pairing a
phone, and give hints on how to
operate HFL properly. If your
response or command is not correct,
or the system cannot recognize a
command, the HFL system will give
you an appropriate command or play
the help prompt.HFL can store up to 50 names and
phone numbers in its phonebook.
Withalinkedphone,youcanthen
automatically dial any name or
number in the phonebook.
Your vehicle’s HFL system has the
cellular phonebook import f unction.
This allows you to import your
cellular phonebook to HFL. Using
the navigation system, you can make
acalldirectlyandstoreadesired
number in HFL f rom the list shown
on the navigation display. For
more inf ormation on how to import
the phonebook, see page . To
make a call, see page . Your phone may not have
phonebook import f unction. Visit ,orcallthe
HandsFreeLink
consumer support
at (888) 528-7876. In Canada, call
(888) 9-HONDA-9. You can see your
phone’s owner’s manual f or
inf ormation.
You can also store the desired
number to the HFL phonebook
directly f rom your cell phone using
the receive contact f unction in HFL.
340351
handsf reelink.honda.com
BluetoothHandsFreeL ink
Incoming/Outgoing Calls
Help Assistance Phonebook
326
NOTE:
�����—�����—�
���y�
�������������y���
�(�����������y�������
�y
2010 Odyssey
Page 330 of 526

Ensure that you use the HFL
buttons, not the NAVI buttons, to
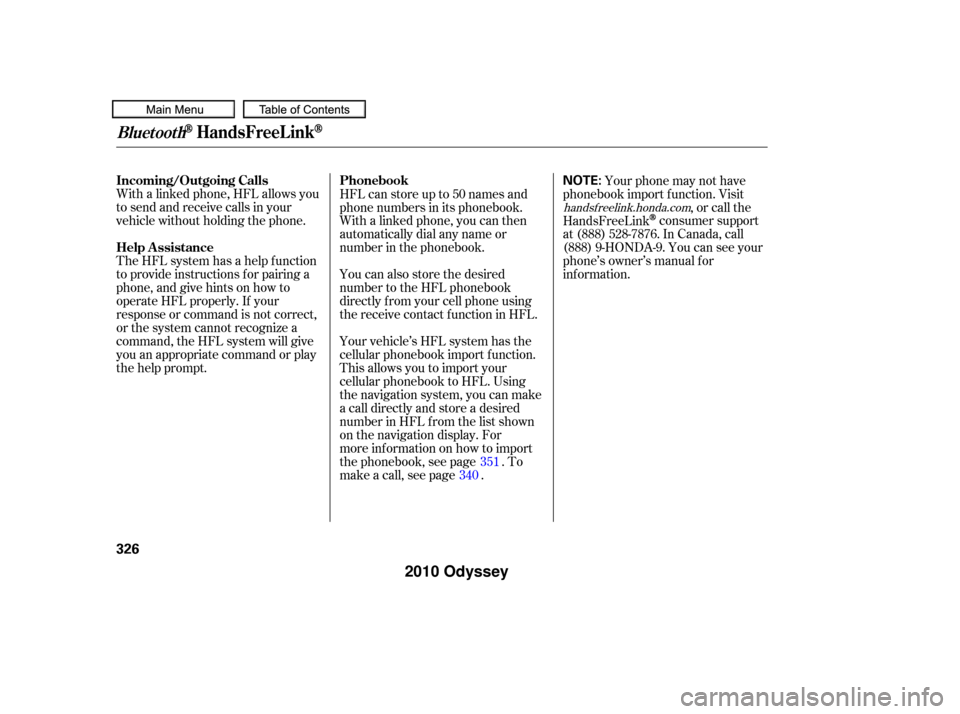
give HFL voice commands. To operate HFL, use the HFL Talk
and Back buttons on the left side of
the steering wheel.
When HFL is in use, the sound
comes through the vehicle’s f ront
audio system speakers. If the audio
system is in use while operating
either of the HFL buttons or making
a call, HFL overrides the audio
system. To change the volume level,
use the audio system volume knob or
the steering wheel volume controls.
The HFL microphone is on the
ceiling, between the f ront map lights
and the HomeLink buttons. On
models with navigation system, the
microphone is shared with the
navigation system.
HFL and the navigation system have
separate voice recognition systems.
When HFL is in use, a voice
command f or the navigation system
will not be recognized even if you
press the navigation Talk button. In
this case, you will hear two short
beeps, and the HFL system has no
prompt.
CONT INUED
BluetoothHandsFreeL ink
HFL Buttons
Audio System
Microphone
Features
327
NOTE:
HFL BACK
BUTTON
HFL TALK
BUTTON
NAVI VOICE CONTROL BUTTONS
�����—�����—�
���y�
�������������y���
�(�����������y���������y
2010 Odyssey
Page 331 of 526
When you are operating HFL, dialing
or receiving calls with the audio
system in use, you will see the above
screen on the navigation display.You will also see ‘‘HANDS FREE
LINK’’ on the audio display.
‘‘ ’’ indicator will be displayed on
the audio display if your phone is
linked to the
compatible
cell phone.
HFLTalk:Thisbuttonisusedbefore
you give a command, and to answer
incoming calls.
HFLBack:Thisbuttonisusedto
end a call, go back to the previous
voice control command, and to
cancel an operation. The HFL buttons are used as
f ollows:
Press and release the button, then
wait f or a beep bef ore giving a
command.Bluetooth
BluetoothHandsFreeL ink
Inf ormation Display
328
BLUETOOTH INDICATOR
�����—�����—�
���y�
�������������y���
�(�����������y���������y
2010 Odyssey
Page 344 of 526
To make a call f rom the list shown onthe navigation display, do this:
Press the INFO button to show
the inf ormation screen, then select
a ‘‘Cellular Phonebook’’ icon.
The screen is changed as shown
above.
Select a ‘‘Search Imported
Phonebook’’ icon. Select a desired phonebook (see
page ).
Select a name f rom the list on the
screen. The ‘‘Select a number to
call’’ screen is displayed.
Select the desired number f rom
the list to store it in HFL.The ‘‘Select a number to store’’
screen is displayed. Select a
desired number to call.
1.
2.
3. 4.
5.
6.7.
352
CONT INUED
BluetoothHandsFreeL ink
Features
341
�����—�����—�
���y�
�������������y���
�(�����������y���������y
2010 Odyssey