Page 82 of 526

�¶�¶�µ�µ
�µ�µ�µ
�µ�µ�µ
This indicator displays the outside
temperature in Fahrenheit (U.S.
models) or Celsius (Canadian
models). To see the outside
temperature, press and release the
select/reset knob until the
temperature is displayed.
The temperature sensor is in the
f ront bumper. The temperature
reading can be affected by heat
ref lection f rom the road surf ace,
engine heat, and the exhaust f rom
surrounding traf f ic. This can cause
an incorrect temperature reading
when your vehicle speed is under
19 mph (30 km/h). When you start
your trip, the sensor is not f ully
acclimatized, theref ore it may take
several minutes until the proper
temperature is displayed. In certain weather conditions,
temperature readings near f reezing
(32°F, 0°C) could mean that ice is
f orming on the road surf ace.
If the outside temperature is
incorrectly displayed, you can adjust
it up to 5°F in U.S. models ( 3°C
in Canadian models) warmer or
cooler.
The temperature must be
stabilized bef ore doing this
procedure. To adjust the outside temperature
indicator, press and hold the select/
reset knob f or 10 seconds. The
f ollowing sequence will appear f or 1
secondeach:0,1,2,3,4,5, 5, 4,
3, 2, 1, 0 (U.S.) or 0, 1, 2, 3,
3, 2, 1, 0 (Canada).
When the temperature reaches the
desired value, release the select/
reset knob. You should see the new
outside temperature displayed.
On EX and EX-L models
Gauges
Outside Temperature Indicator
Inst rument s and Cont rols
79
NOTE:
�����—�����—�
���y�
����
����
���y���
�(�����������y���������y
2010 Odyssey
Page 84 of 526

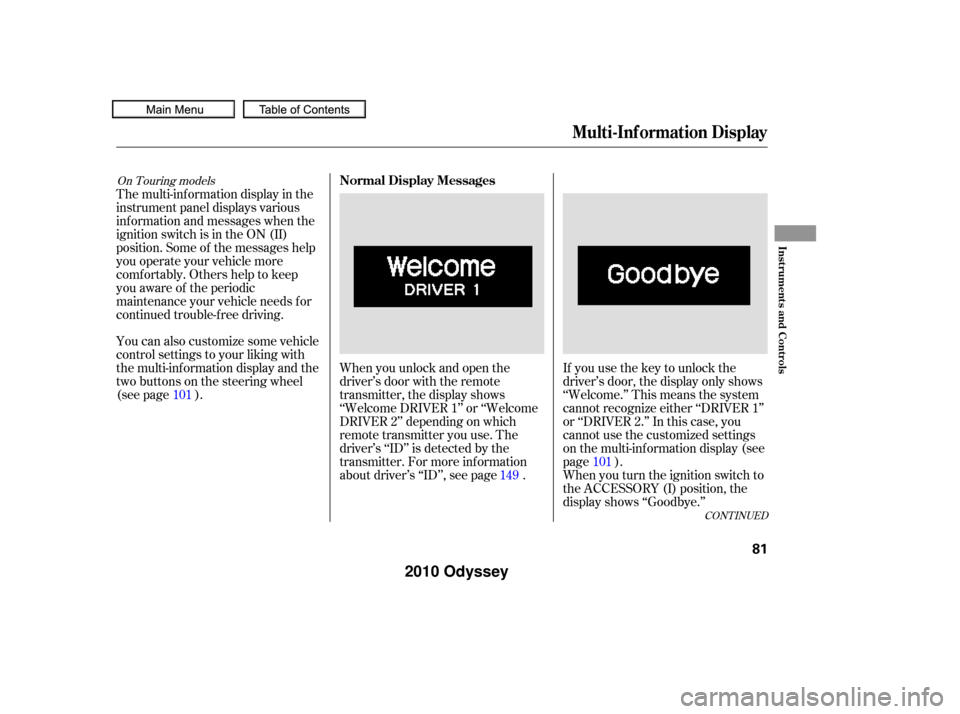
When you unlock and open the
driver’s door with the remote
transmitter, the display shows
‘‘Welcome DRIVER 1’’ or ‘‘Welcome
DRIVER 2’’ depending on which
remote transmitter you use. The
driver’s ‘‘ID’’ is detected by the
transmitter. For more information
about driver’s ‘‘ID’’, see page .If you use the key to unlock the
driver’s door, the display only shows
‘‘Welcome.’’ This means the system
cannot recognize either ‘‘DRIVER 1’’
or ‘‘DRIVER 2.’’ In this case, you
cannot use the customized settings
on the multi-information display (see
page ).
When you turn the ignition switch to
the ACCESSORY (I) position, the
display shows ‘‘Goodbye.’’
The multi-inf ormation display in the
instrument panel displays various
inf ormation and messages when the
ignition switch is in the ON (II)
position. Some of the messages help
you operate your vehicle more
comf ortably. Others help to keep
you aware of the periodic
maintenance your vehicle needs f or
continued trouble-f ree driving.
You can also customize some vehicle
control settings to your liking with
the multi-inf ormation display and the
two buttons on the steering wheel
(see page ).
101
149
101
CONT INUED
On Touring modelsNormal Display Messages
Multi-Inf ormation Display
Inst rument s and Cont rols
81
�����—�����—�
���y�
����
������
�y���
�(�����������y���������y
2010 Odyssey
Page 85 of 526

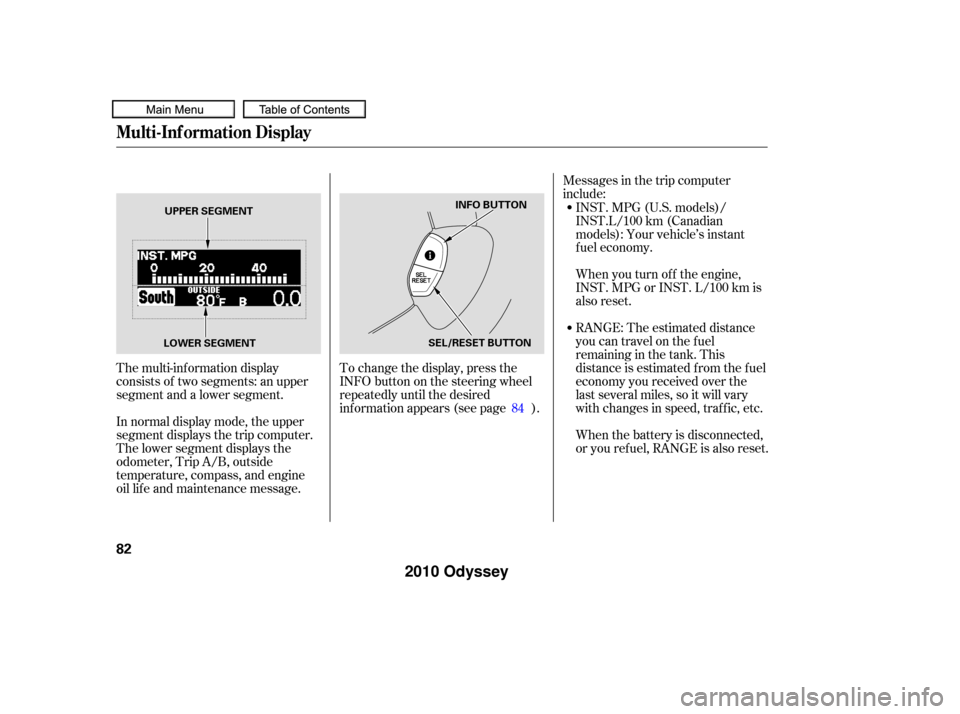
The multi-inf ormation display
consists of two segments: an upper
segment and a lower segment.To change the display, press the
INFObuttononthesteeringwheel
repeatedly until the desired
information appears (see page ).Messages in the trip computer
include:
In normal display mode, the upper
segment displays the trip computer.
The lower segment displays the
odometer, Trip A/B, outside
temperature, compass, and engine
oil lif e and maintenance message. INST.MPG(U.S.models)/
INST.L/100 km (Canadian
models): Your vehicle’s instant
f uel economy.
When you turn of f the engine,
INST. MPG or INST. L/100 km is
also reset.
RANGE: The estimated distance
you can travel on the fuel
remaining in the tank. This
distance is estimated from the fuel
economy you received over the
last several miles, so it will vary
withchangesinspeed,traffic,etc.
When the battery is disconnected,
or you ref uel, RANGE is also reset.
84
Multi-Inf ormation Display
82
LOWER SEGMENT UPPER SEGMENT
INFO BUTTON
SEL/RESET BUTTON
�����—�����—�
���y�
����
��������y���
�(�����������y���������y
2010 Odyssey
Page 86 of 526

CONT INUED
AVERAGE FUEL A/B: This
shows your vehicle’s average f uel
economy in mpg (U.S. models) or
/100 km (Canadian models)
since you last reset Trip A or Trip
B. When you select Trip B in the
lower segment by pressing the
SEL/RESET button on the
steering wheel, or the select/reset
knob on the instrument panel,
AVERAGE FUEL B appears on
the upper segment. You can customize the Trip A and
AVERAGE FUEL A reset condition
on the multi-information display (see
page ).
The average f uel economy will be
reset when you reset the trip meter,
or if the vehicle’s battery goes dead
or is disconnected.
ELAPSED TIME: The time
traveled since you last reset the
trip computer.
When you turn the ignition switch
to the ON (II) position, ELAPSED
TIME is reset.
You can customize the ELAPSED
TIME reset conditions on the
multi-inf ormation display (see
page ).
AVERAGE SPEED: The average
speed you are traveling.
When you reset Trip A,
AVERAGE SPEED is also reset. 112
114
Multi-Inf ormation Display
Inst rument s and Cont rols
83
�����—�����—�
���y�
����
��������y���
�(�����������y���������y
2010 Odyssey
Page 104 of 526

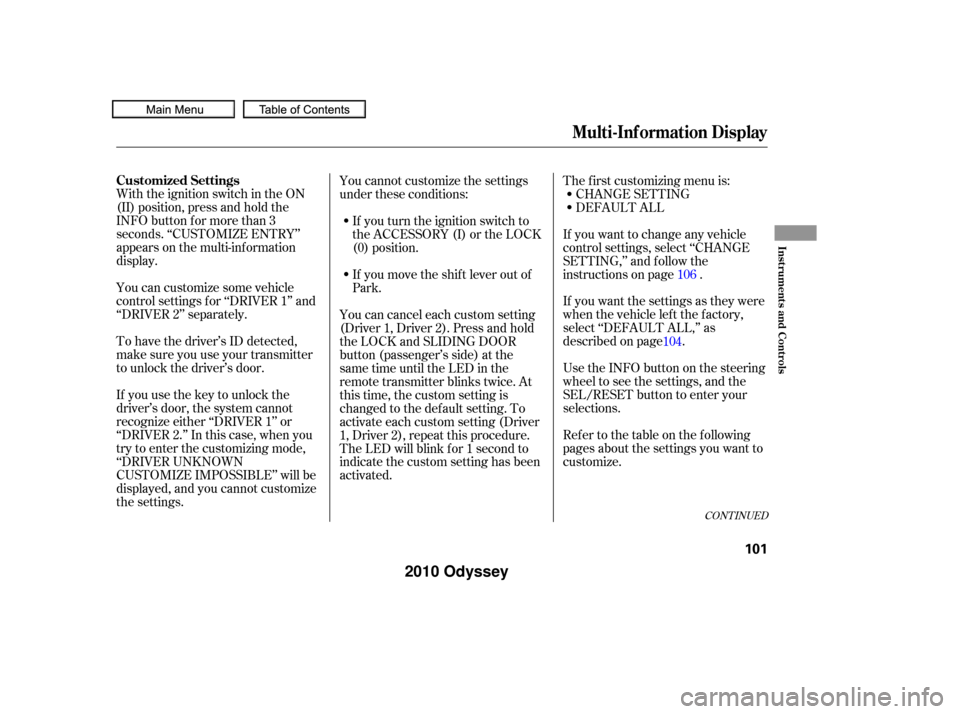
With the ignition switch in the ON
(II) position, press and hold the
INFO button for more than 3
seconds. ‘‘CUSTOMIZE ENTRY’’
appears on the multi-inf ormation
display.
You can customize some vehicle
control settings f or ‘‘DRIVER 1’’ and
‘‘DRIVER 2’’ separately.
To have the driver’s ID detected,
make sure you use your transmitter
to unlock the driver’s door.
If you use the key to unlock the
driver’s door, the system cannot
recognize either ‘‘DRIVER 1’’ or
‘‘DRIVER 2.’’ In this case, when you
try to enter the customizing mode,
‘‘DRIVER UNKNOWN
CUSTOMIZE IMPOSSIBLE’’ will be
displayed, and you cannot customize
the settings.Ref er to the table on the f ollowing
pages about the settings you want to
customize. UsetheINFObuttononthesteering
wheel to see the settings, and the
SEL/RESET button to enter your
selections. If you want the settings as they were
when the vehicle lef t the f actory,
select ‘‘DEFAULT ALL,’’ as
described on page . If you want to change any vehicle
control settings, select ‘‘CHANGE
SETTING,’’ and f ollow the
instructions on page . The f irst customizing menu is:
CHANGE SETTING
DEFAULT ALL
You cannot customize the settings
under these conditions:
If you turn the ignition switch to
the ACCESSORY (I) or the LOCK
(0) position.
If you move the shif t lever out of
Park.
You can cancel each custom setting
(Driver 1, Driver 2). Press and hold
the LOCK and SLIDING DOOR
button (passenger’s side) at the
same time until the LED in the
remote transmitter blinks twice. At
this time, the custom setting is
changed to the def ault setting. To
activate each custom setting (Driver
1, Driver 2), repeat this procedure.
The LED will blink f or 1 second to
indicate the custom setting has been
activated. 106
104
CONT INUED
Customized Settings
Multi-Inf ormation Display
Inst rument s and Cont rols
101
�����—�����—�
���y�
����
��������y���
�(�����������y���
�����y
2010 Odyssey
Page 107 of 526
To enter the customizing mode,
press and hold the INFO button for
more than 3 seconds. Then select
‘‘DEFAULT ALL’’ by pressing the
INFO button.To set the def ault settings, select
‘‘OK’’ by pressing the INFO button,
then press the SEL/RESET button.
When ‘‘DEFAULT ALL’’ is
completed successf ully, you will see
the above display f or several seconds,
and the display will return to
‘‘CUSTOMIZE ENTRY.’’
Press the SEL/RESET button to
enter ‘‘DEFAULT ALL.’’ DEFAUL T AL L
Multi-Inf ormation Display
104
�����—�����—�
���y�
����
������
�y���
�(�����������y���
�����y
2010 Odyssey
Page 108 of 526
If ‘‘DEFAULT ALL’’ is not completed
successf ully, you will see the above
display f or several seconds, then the
display goes back to the normal
message mode. Repeat the
procedure to select ‘‘DEFAULT ALL.’’If you want to cancel ‘‘DEFAULT
ALL,’’ select ‘‘CANCEL,’’ then press
the SEL/RESET button. The display
goes back to ‘‘CUSTOMIZE ENTRY.’’
Multi-Inf ormation Display
Inst rument s and Cont rols
105
�����—�����—�
���y�
����
��������y���
�(�����������y���
�
���y
2010 Odyssey
Page 140 of 526

�µThe lights turn of f automatically
when you turn the ignition switch to
the LOCK (0) position. To turn them
on again, either turn the ignition
switch to the ON (II) position, or
turn the light switch to the
position.
The automatic lighting f eature is
controlledbyasensorlocatedontop
of the dashboard. Do not cover this
sensor or spill liquids on it.
The automatic lighting
f eature turns on the headlights, all
other exterior lights, and the
instrument panel lights when it
senses low ambient light.
To turn on the automatic lighting,
turn the light switch to the AUTO
position at any time. The lights will
come on automatically when the
outside light level becomes low (at
dusk, f or example). The lights on
indicator comes on as a reminder.
The lights and indicator turn of f
automatically when the system
senses high ambient light. Even with the automatic lighting
f eature turned on, we recommend
thatyouturnonthelightsmanually
when driving at night or in a dense
f og, or when you enter dark areas
such as long tunnels or parking
f acilities.
On Touring models
Headlights
AUTO
Inst rument s and Cont rols
137
SENSOR
�����—�����—�
���y�
����
��������y���
�(�����������y���
�����y
2010 Odyssey