2010 GMC SIERRA fuel
[x] Cancel search: fuelPage 390 of 630

Driving in Water
{WARNING:
Driving through rushing water can be dangerous.
Deep water can sweep your vehicle downstream
and you and your passengers could drown. If it is
only shallow water, it can still wash away the
ground from under your tires, and you could lose
traction and roll the vehicle over. Do not drive
through rushing water.
Heavy rain can mean flash flooding, and flood waters
demand extreme caution.
Find out how deep the water is before driving through
it. Do not try it if it is deep enough to cover the wheel
hubs, axles, or exhaust pipe —you probably will not
get through. Deep water can damage the axle and
other vehicle parts. If the water is not too deep, drive slowly through it. At
faster speeds, water splashes on the ignition system
and the vehicle can stall. Stalling can also occur if you
get the tailpipe under water. If the tailpipe is under
water, you will never be able to start the engine. When
going through water, remember that when the brakes
get wet, it might take longer to stop. See
Driving in Rain
and on Wet Roads on page 5‑23.
After Off-Road Driving
Remove any brush or debris that has collected on the
underbody, chassis, or under the hood. These
accumulations can be a fire hazard.
After operation in mud or sand, have the brake linings
cleaned and checked. These substances can cause
glazing and uneven braking. Check the body structure,
steering, suspension, wheels, tires, and exhaust system
for damage and check the fuel lines and cooling system
for any leakage.
The vehicle requires more frequent service due to
off-road use. Refer to the Maintenance Schedule for
additional information.
5-22
Page 392 of 630

Hydroplaning
Hydroplaning is dangerous. Water can build up under
your vehicle's tires so they actually ride on the water.
This can happen if the road is wet enough and you are
going fast enough. When your vehicle is hydroplaning, it
has little or no contact with the road.
There is no hard and fast rule about hydroplaning.
The best advice is to slow down when the road is wet.
Other Rainy Weather Tips
Besides slowing down, other wet weather driving
tips include:
.Allow extra following distance.
.Pass with caution.
.Keep windshield wiping equipment in good shape.
.Keep the windshield washer fluid reservoir filled.
.Have good tires with proper tread depth. SeeTireson page 6‑64.
.Turn off cruise control.
Before Leaving on a Long Trip
To prepare your vehicle for a long trip, consider
having it serviced by your dealer/retailer before
departing. Things to check on your own include:
.Windshield Washer Fluid:
Reservoir full? Windows
clean —inside and outside?
.Wiper Blades: In good shape?
.Fuel, Engine Oil, Other Fluids: All levels checked?
.Lamps:Do they all work and are lenses clean?
.Tires:Are treads good? Are tires inflated to
recommended pressure?
.Weather and Maps: Safe to travel? Have
up-to-date maps?
Highway Hypnosis
Always be alert and pay attention to your surroundings
while driving. If you become tired or sleepy, find a safe
place to park your vehicle and rest.
Other driving tips include:
.Keep the vehicle well ventilated.
.Keep interior temperature cool.
.Keep your eyes moving —scan the road ahead
and to the sides.
.Check the rearview mirror and vehicle instruments
often.
5-24
Page 395 of 630

WARNING: (Continued)
If the vehicle is stuck in the snow:
.Clear away snow from around the base of
your vehicle, especially any that is blocking
the exhaust pipe.
.Check again from time to time to be sure
snow does not collect there.
.Open a window about 5 cm (two inches) on
the side of the vehicle that is away from the
wind to bring in fresh air.
.Fully open the air outlets on or under the
instrument panel.
.Adjust the Climate Control system to a setting
that circulates the air inside the vehicle and
set the fan speed to the highest setting.
See Climate Control System in the Index.
For more information about carbon monoxide, see
Engine Exhaust on page 3‑54.
Snow can trap exhaust gases under your vehicle.
This can cause deadly CO (carbon monoxide) gas
to get inside. CO could overcome you and kill you. (Continued)
WARNING: (Continued)
You cannot see it or smell it, so you might not
know it is in your vehicle. Clear away snow from
around the base of your vehicle, especially any
that is blocking the exhaust.
Run the engine for short periods only as needed to
keep warm, but be careful.
To save fuel, run the engine for only short periods as
needed to warm the vehicle and then shut the engine
off and close the window most of the way to save heat.
Repeat this until help arrives but only when you feel
really uncomfortable from the cold. Moving about to
keep warm also helps.
If it takes some time for help to arrive, now and then
when you run the engine, push the accelerator pedal
slightly so the engine runs faster than the idle speed.
This keeps the battery charged to restart the vehicle
and to signal for help with the headlamps. Do this as
little as possible to save fuel.
5-27
Page 401 of 630
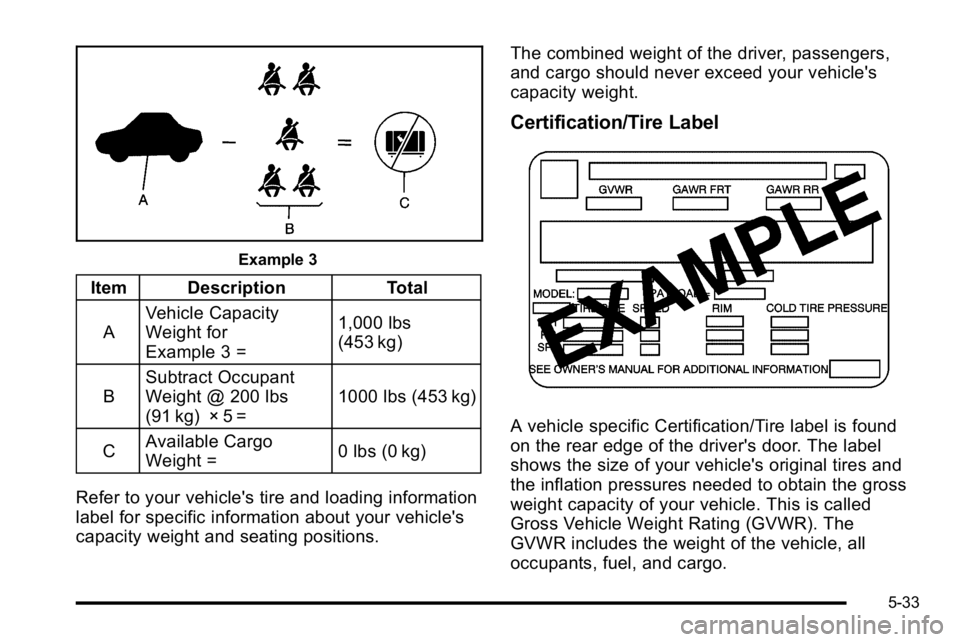
Example 3
Item DescriptionTotal
A Vehicle Capacity
Weight for
Example 3 = 1,000 lbs
(453 kg)
B Subtract Occupant
Weight @ 200 lbs
(91 kg) × 5 = 1000 lbs (453 kg)
C Available Cargo
Weight =
0 lbs (0 kg)
Refer to your vehicle's tire and loading information
label for specific information about your vehicle's
capacity weight and seating positions. The combined weight of the driver, passengers,
and cargo should never exceed your vehicle's
capacity weight.
Certification/Tire Label
A vehicle specific Certification/Tire label is found
on the rear edge of the driver's door. The label
shows the size of your vehicle's original tires and
the inflation pressures needed to obtain the gross
weight capacity of your vehicle. This is called
Gross Vehicle Weight Rating (GVWR). The
GVWR includes the weight of the vehicle, all
occupants, fuel, and cargo.
5-33
Page 406 of 630
Front axle reserve capacity is the difference between
your the Gross Axle Weight Rating (GAWR) and the
front axle weight of the vehicle with full fuel and
passengers. Basically, it is the amount of weight that
can be added to the front axle before reaching the
front GAWR.
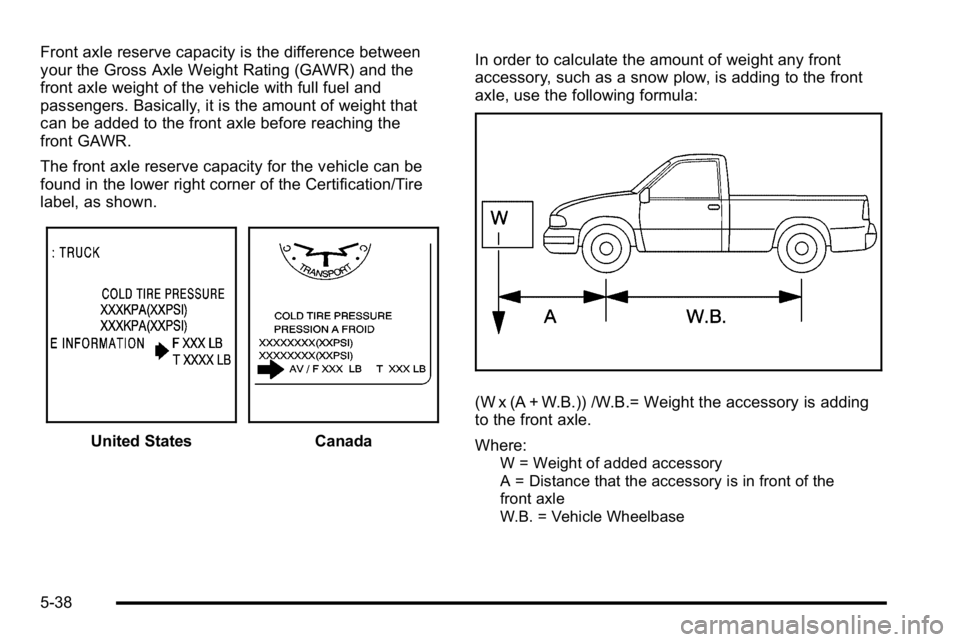
The front axle reserve capacity for the vehicle can be
found in the lower right corner of the Certification/Tire
label, as shown.
United StatesCanadaIn order to calculate the amount of weight any front
accessory, such as a snow plow, is adding to the front
axle, use the following formula:
(W x (A + W.B.)) /W.B.= Weight the accessory is adding
to the front axle.
Where:
W = Weight of added accessory
A = Distance that the accessory is in front of the
front axle
W.B. = Vehicle Wheelbase
5-38
Page 407 of 630
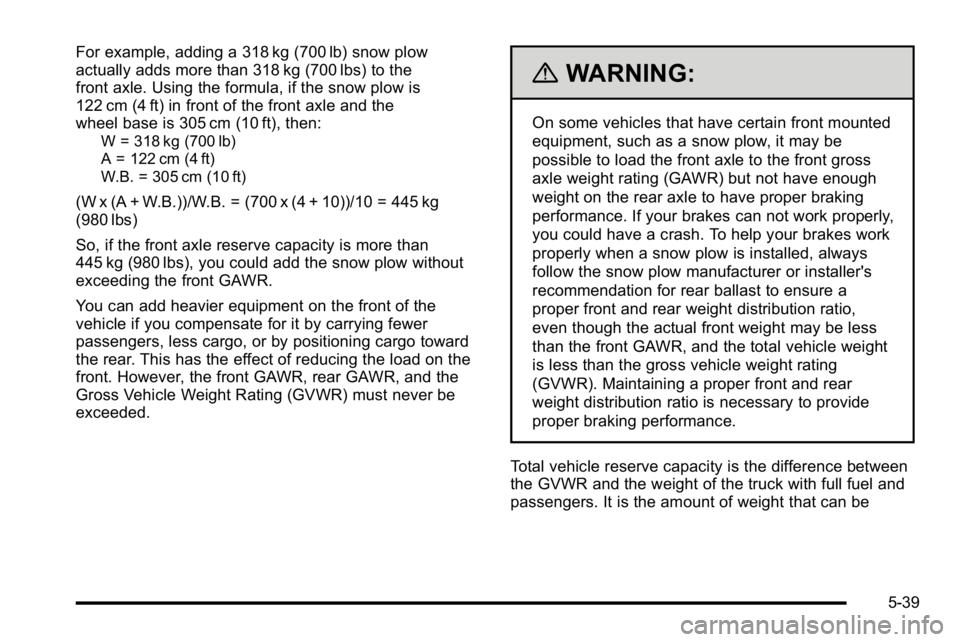
For example, adding a 318 kg (700 lb) snow plow
actually adds more than 318 kg (700 lbs) to the
front axle. Using the formula, if the snow plow is
122 cm (4 ft) in front of the front axle and the
wheel base is 305 cm (10 ft), then:
W = 318 kg (700 lb)
A = 122 cm (4 ft)
W.B. = 305 cm (10 ft)
(W x (A + W.B.))/W.B. = (700 x (4 + 10))/10 = 445 kg
(980 lbs)
So, if the front axle reserve capacity is more than
445 kg (980 lbs), you could add the snow plow without
exceeding the front GAWR.
You can add heavier equipment on the front of the
vehicle if you compensate for it by carrying fewer
passengers, less cargo, or by positioning cargo toward
the rear. This has the effect of reducing the load on the
front. However, the front GAWR, rear GAWR, and the
Gross Vehicle Weight Rating (GVWR) must never be
exceeded.
{WARNING:
On some vehicles that have certain front mounted
equipment, such as a snow plow, it may be
possible to load the front axle to the front gross
axle weight rating (GAWR) but not have enough
weight on the rear axle to have proper braking
performance. If your brakes can not work properly,
you could have a crash. To help your brakes work
properly when a snow plow is installed, always
follow the snow plow manufacturer or installer's
recommendation for rear ballast to ensure a
proper front and rear weight distribution ratio,
even though the actual front weight may be less
than the front GAWR, and the total vehicle weight
is less than the gross vehicle weight rating
(GVWR). Maintaining a proper front and rear
weight distribution ratio is necessary to provide
proper braking performance.
Total vehicle reserve capacity is the difference between
the GVWR and the weight of the truck with full fuel and
passengers. It is the amount of weight that can be
5-39
Page 418 of 630
Towing a Trailer
If the vehicle has a diesel engine, see the DURAMAX®
Diesel manual for more information.
If the vehicle has a two–mode hybrid engine, see the
Two–mode Hybrid manual for more information.
Do not tow a trailer during break‐in. SeeNew Vehicle
Break-In
on page 3‑21for more information.
{WARNING:
The driver can lose control when pulling a trailer if
the correct equipment is not used or the vehicle is
not driven properly. For example, if the trailer is
too heavy, the brakes may not work well or even
at all. The driver and passengers could be
seriously injured. The vehicle may also be
damaged; the resulting repairs would not be
covered by the vehicle warranty. Pull a trailer only
if all the steps in this section have been followed.
Ask your dealer/retailer for advice and information
about towing a trailer with the vehicle. Notice:
Pulling a trailer improperly can damage the
vehicle and result in costly repairs not covered by
the vehicle warranty. To pull a trailer correctly,
follow the advice in this section and see your
dealer/retailer for important information about
towing a trailer with the vehicle.
To identify the trailering capacity of the vehicle, read the
information in “Weight of the Trailer” that appears later
in this section.
Trailering is different than just driving the vehicle by
itself. Trailering means changes in handling,
acceleration, braking, durability and fuel economy.
Successful, safe trailering takes correct equipment, and
it has to be used properly.
The following information has many time-tested,
important trailering tips and safety rules. Many of
these are important for your safety and that of your
passengers. So please read this section carefully before
pulling a trailer.
5-50
Page 432 of 630
vehicle is unloaded. Such a selection when unloaded
may result in unpleasant engine and transmission
driving characteristics and reduced fuel economy.
Tow/Haul is recommended only when pulling a heavy
trailer or a large or heavy load.
Trailer Brakes
A loaded trailer that weighs more than 2,000 lbs
(900 kg) needs to have its own brake system that is
adequate for the weight of the trailer. Be sure to read
and follow the instructions for the trailer brakes so they
are installed, adjusted and maintained properly.
If the vehicle is equipped with StabiliTrak
®, the trailer
cannot tap into the vehicle's hydraulic brake system.
The trailer brake system can tap into the vehicle's
hydraulic brake system only if:
.The trailer parts can withstand 3,000 psi
(20 650 kPa) of pressure.
.The trailer's brake system will use less than
0.02 cubic inch (0.3 cc) of fluid from the vehicle's
master cylinder. Otherwise, both braking systems
will not work well or at all.
If everything checks out this far, make the brake tap at
the port on the master cylinder that sends the fluid to
the rear brakes. Use only steel brake tubing to make
the tap.
Integrated Trailer Brake Control System
The vehicle may have an
Integrated Trailer Brake
Control (ITBC) system for
electric trailer brakes.
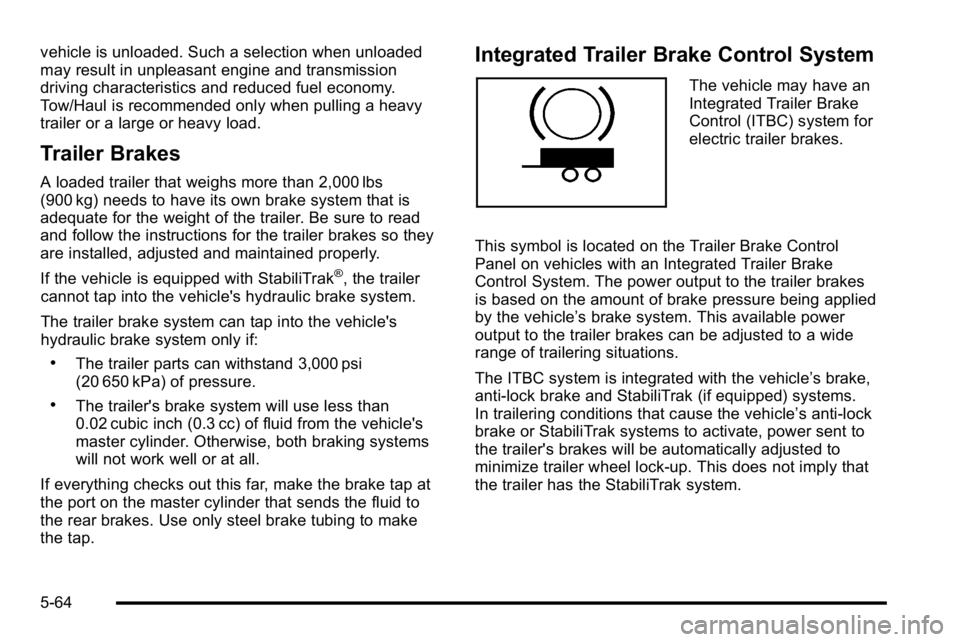
This symbol is located on the Trailer Brake Control
Panel on vehicles with an Integrated Trailer Brake
Control System. The power output to the trailer brakes
is based on the amount of brake pressure being applied
by the vehicle’ s brake system. This available power
output to the trailer brakes can be adjusted to a wide
range of trailering situations.
The ITBC system is integrated with the vehicle’s brake,
anti‐lock brake and StabiliTrak (if equipped) systems.
In trailering conditions that cause the vehicle’s anti‐lock
brake or StabiliTrak systems to activate, power sent to
the trailer's brakes will be automatically adjusted to
minimize trailer wheel lock-up. This does not imply that
the trailer has the StabiliTrak system.
5-64